-
Idling - Listen to it purr...

SFL Miata's Montego Blue Track Build
So I'm finally getting around to starting a build thread over here. I'll try to get as much from the original thread.
As some of you know this a very simple build that is primarily focused as a weekend/track car. I don't have any intensions of going crazy with the car as in gutted, caged, and fender flairs. Although the car will soon have a 02' VVT motor going in.
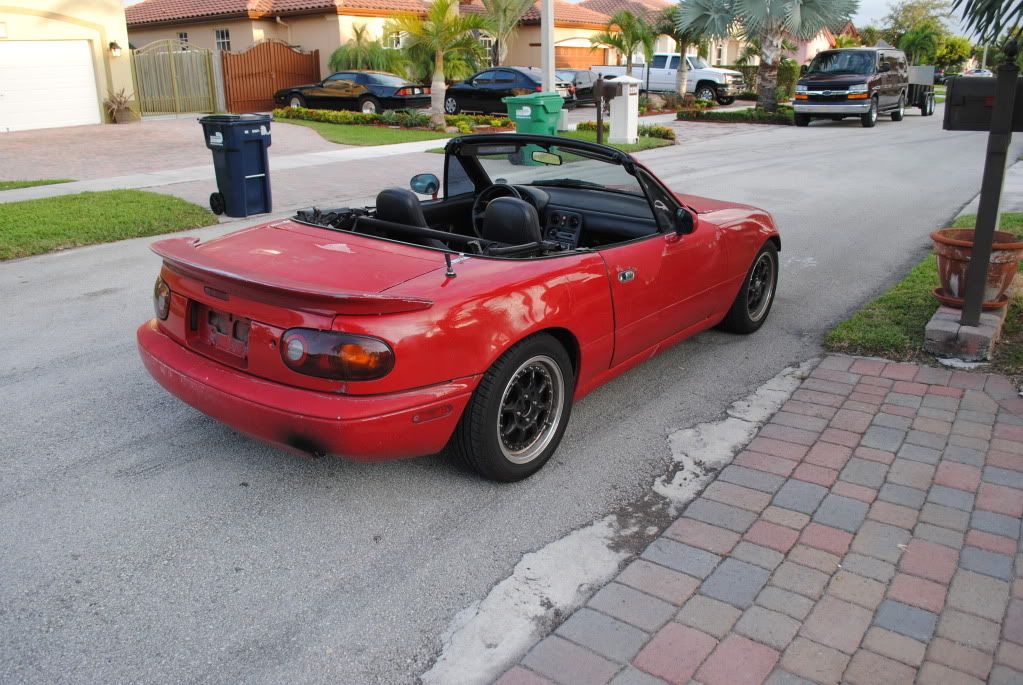
Started off with a completely stock 94 M-edition. No rust anywhere and a pretty clean overall.

DSC_0076 by Gio's photo stream, on Flickr

DSC_0095 by Gio's photo stream, on Flickr

DSC_0097 by Gio's photo stream, on Flickr

DSC_0099 by Gio's photo stream, on Flickr
First round of parts
Tein Flex 9k/6k
Master ES bushing set (not installed yet)
Centric rotors
Carbotech XP8 brakes
949 SS brake lines and clutch line
A few other random maintenance stuff

DSC_0060 by Gio's photo stream, on Flickr

DSC_0061 by Gio's photo stream, on Flickr

DSC_0062 by Gio's photo stream, on Flickr
Then I got my HDHCDD installed along with the HD door bars

DSC_0063 by Gio's photo stream, on Flickr

DSC_0064 by Gio's photo stream, on Flickr

DSC_0065 by Gio's photo stream, on Flickr
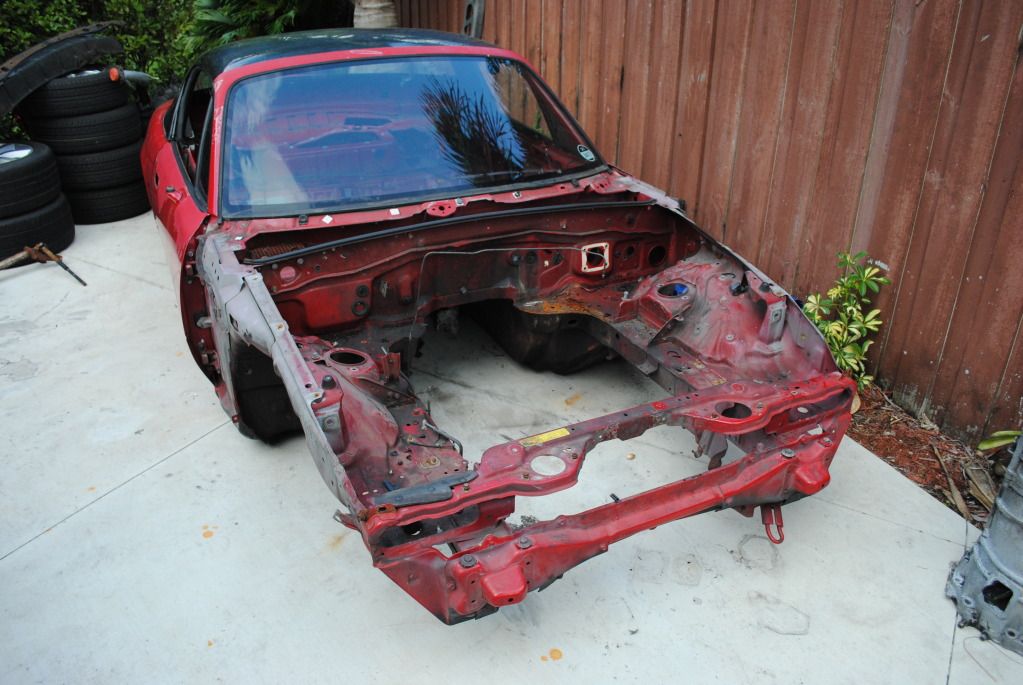
Before purchasing this 94M I had bought s slightly wrecked 02 for the complete drivetrain. Basically ended up ripping everything out and sold the shell for $450! I'll just say i made quite some profit after parting out/selling the shell. Plus I ended up keeping the motor and trans for myself.

DSC_0112 by Gio's photo stream, on Flickr
The VVT with just under 90k miles that will being going in my 94M soon.

DSC_0143 by Gio's photo stream, on Flickr
This is what $450 buys you in Miami lol

DSC_0147 by Gio's photo stream, on Flickr

DSC_0148 by Gio's photo stream, on Flickr
Then i went back to work on my 94 and redid all the brakes including new centric calipers

DSC_0107 by Gio's photo stream, on Flickr
New stuff installed.

DSC_0122 by Gio's photo stream, on Flickr
Got my wheels in today!
I havent really seen many people with these wheels but anyways
TRMotorsport C3M 15x9+36
wrapped in hankook RS-3 225-45-15
I know most won't like these and say that they are knockoff 6UL. In a way they are, but I just don't like how the 6ULs look. Yeah sure they are 3 pounds lighter a piece but they are almost 100 dollars more each when you add in lugs, valve stems, and rings. The C3Ms came with all of that and the tires already mounted, balanced, and heat cycled ready to go! So for $109 a piece for a 15x9 wheel I think its a great buy.

DSC_0126 by Gio's photo stream, on Flickr

DSC_0127 by Gio's photo stream, on Flickr

DSC_0130 by Gio's photo stream, on Flickr
-
-
Idling - Listen to it purr...
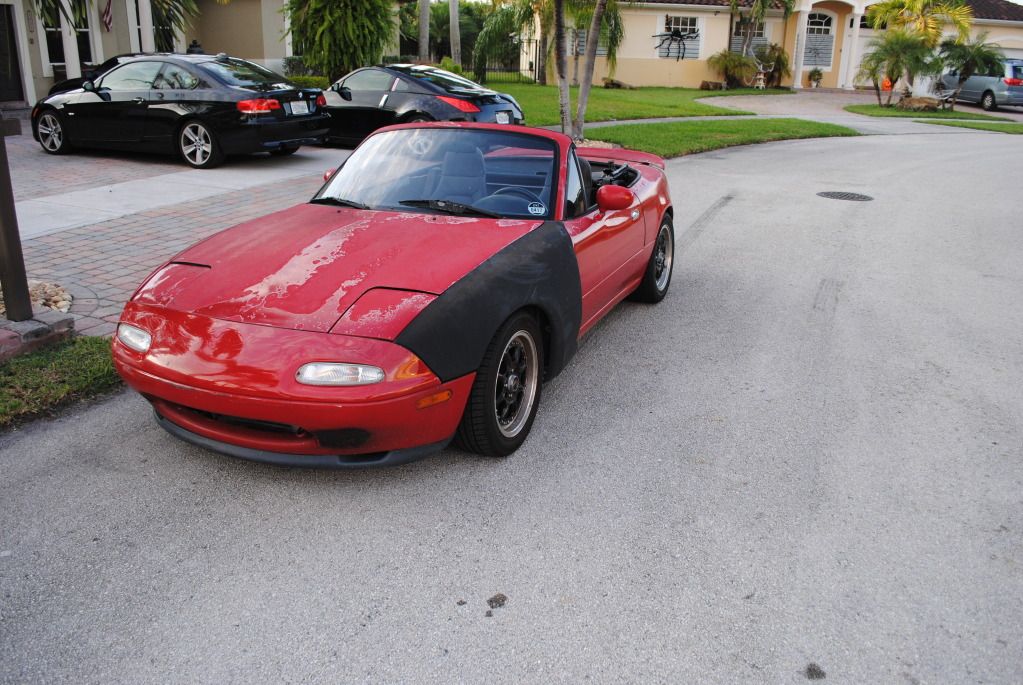
Installed the coils and put on the wheels. This is what it initially looked like without any adjustment or a front lip.

DSC_0149 by Gio's photo stream, on Flickr
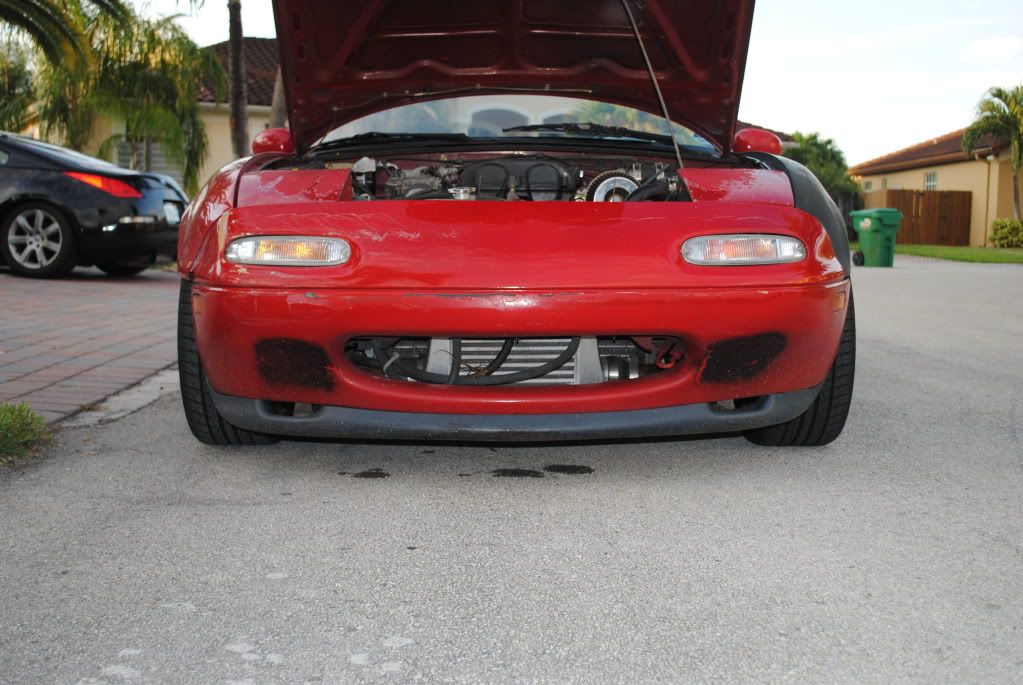
Then tried to put on an nb front sway bar and realized that the mounting points were slightly different so 949 links were soon to follow.

DSC_0131 by Gio's photo stream, on Flickr
crappy pic of the car still 4x4 status

DSC_0133 by Gio's photo stream, on Flickr

DSC_0138 by Gio's photo stream, on Flickr
949 sway bar endlinks came in. I just need to get a set for the rear.

DSC_0162 by Gio's photo stream, on Flickr
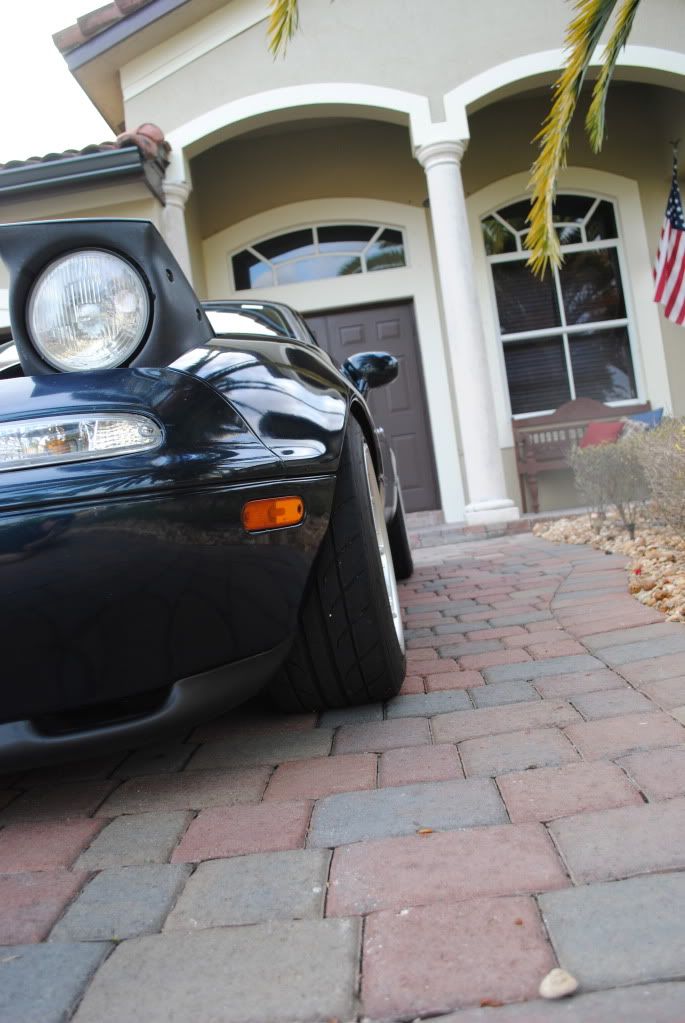
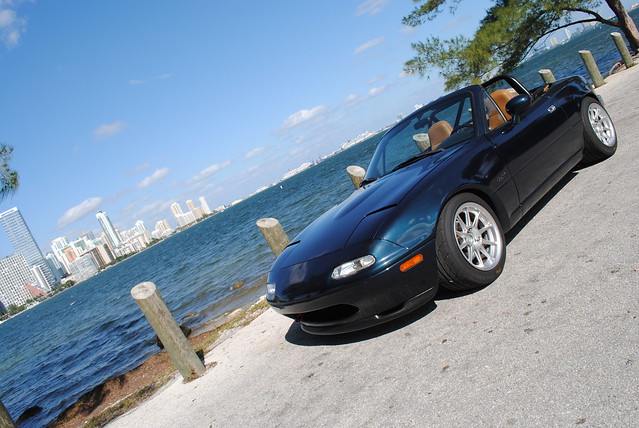
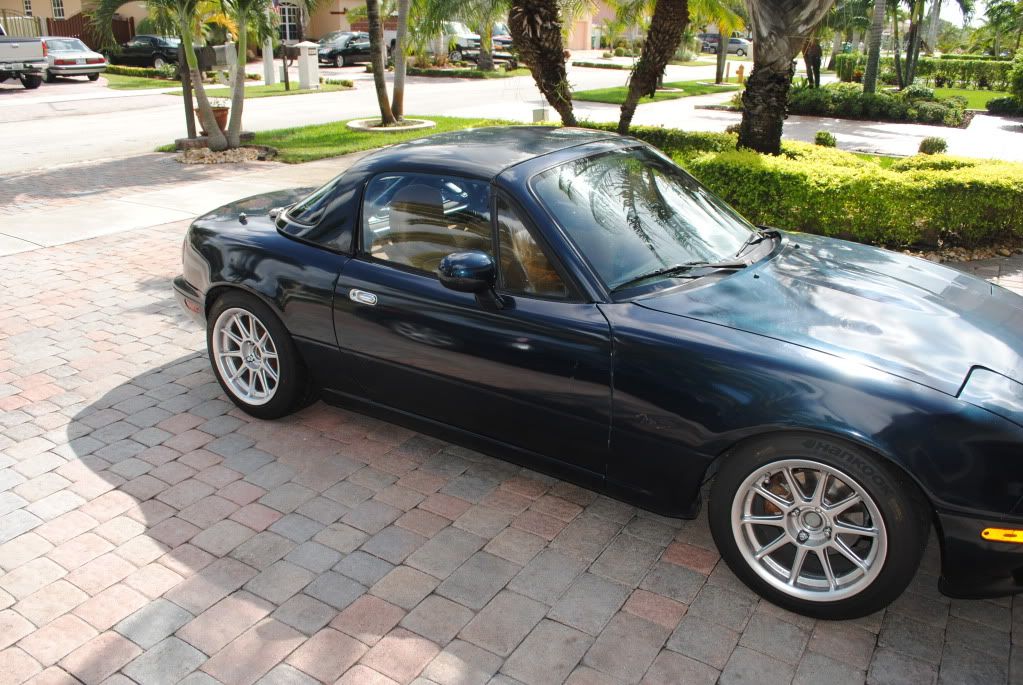
Finally some pics of how the car actually sits about 4' at the pinch welds with the rear just a tad bit higher.

DSC_0164 by Gio's photo stream, on Flickr

DSC_0166 by Gio's photo stream, on Flickr

DSC_0167 by Gio's photo stream, on Flickr

DSC_0168 by Gio's photo stream, on Flickr

DSC_0174 by Gio's photo stream, on Flickr
Then I found this sweet turbo 1.6 on craigslist for a ridiculously cheap price. Ended up parting the entire car out and again I made a killing.
This is the car's current state. Anyone need a shell?

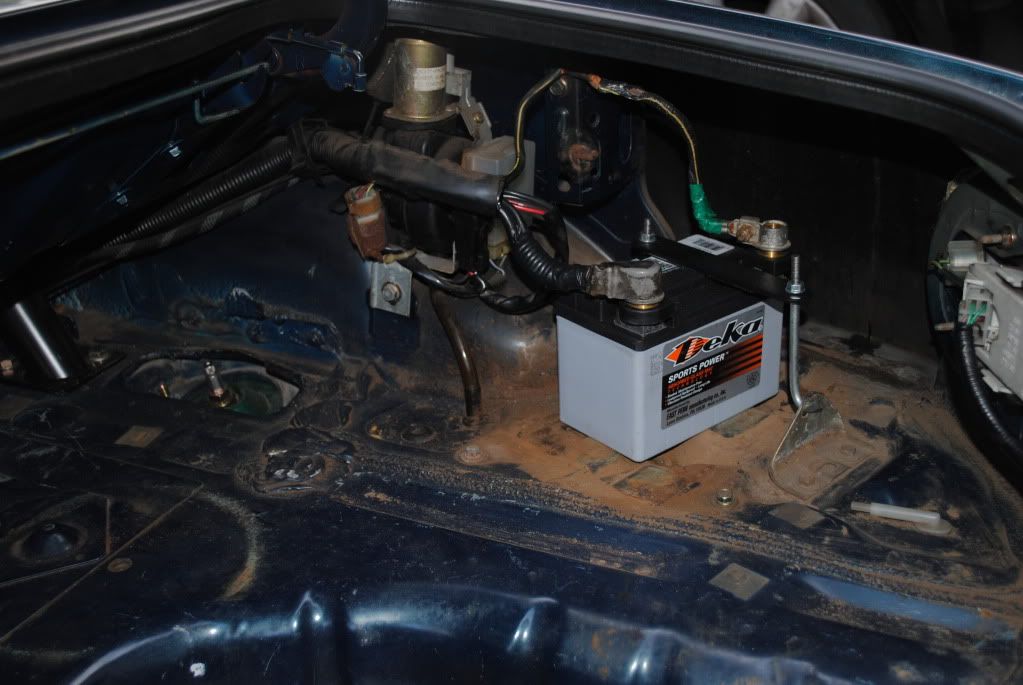
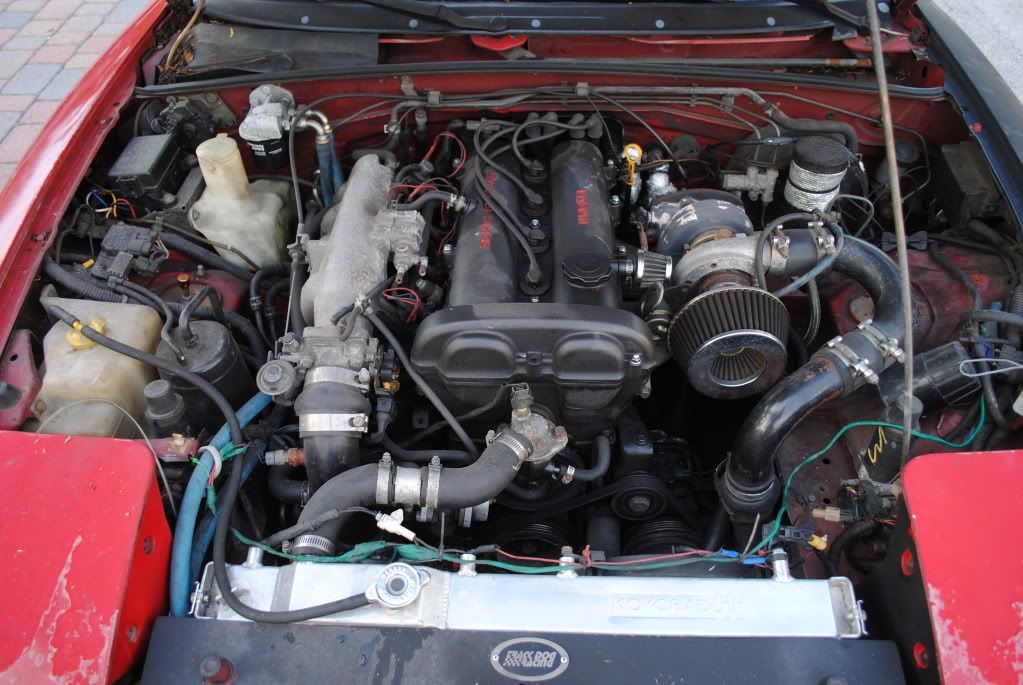
Did some more maintenance and got the timing belt/ water pump kit from rosenthal mazda. I very happy with the kit that they put together because it includes everything you need. Comes with the timing belt, water pump, tensioner pulley and idler pulley, crank and cam seals, new gaskets for the water pump, and two new belts. Install was pretty straight forward and I didn't really have any problems just it was a pain in the ass and took me all day. I also got new plugs and wires so the car idles a lot better. I'm now running straight water with some water wetter until the temperatures get a bit colder down here. Thats about it. Here are some pics...

valve train looking good even though it has a million miles on it.

A hard day of work for stuff you can't see

Last edited by SFL Miata; 03-03-2012 at 12:12 AM.
-
-
Idling - Listen to it purr...
So first track day with this car was a success. It ran great for the first three runs. The last run i had a spark plug cable pop off the coil pack and basically the coilpack is all craked and it was causing the motor to misfire. No brake fade and no understeer or oversteer. I obviously was not pushing the car to its limits, but I'm still new this tracking thing so speed will come with time. Here are some pics...

DSC_0793 by Gio's photo stream, on Flickr

DSC_0735 by Gio's photo stream, on Flickr

DSC_0711 by Gio's photo stream, on Flickr

DSC_0753 (1) by Gio's photo stream, on Flickr
Went for a cruise the next weekend with the gf. I really enjoy driving the car around the city so this is why the car will stay relatively mild.

DSC_0192 by Gio's photo stream, on Flickr

DSC_0189 by Gio's photo stream, on Flickr
DSC_0201 by Gio's photo stream, on Flickr
Here I am with the gf

DSC_0203 by Gio's photo stream, on Flickr
crappy rolling shot

DSC_0223 by Gio's photo stream, on Flickr
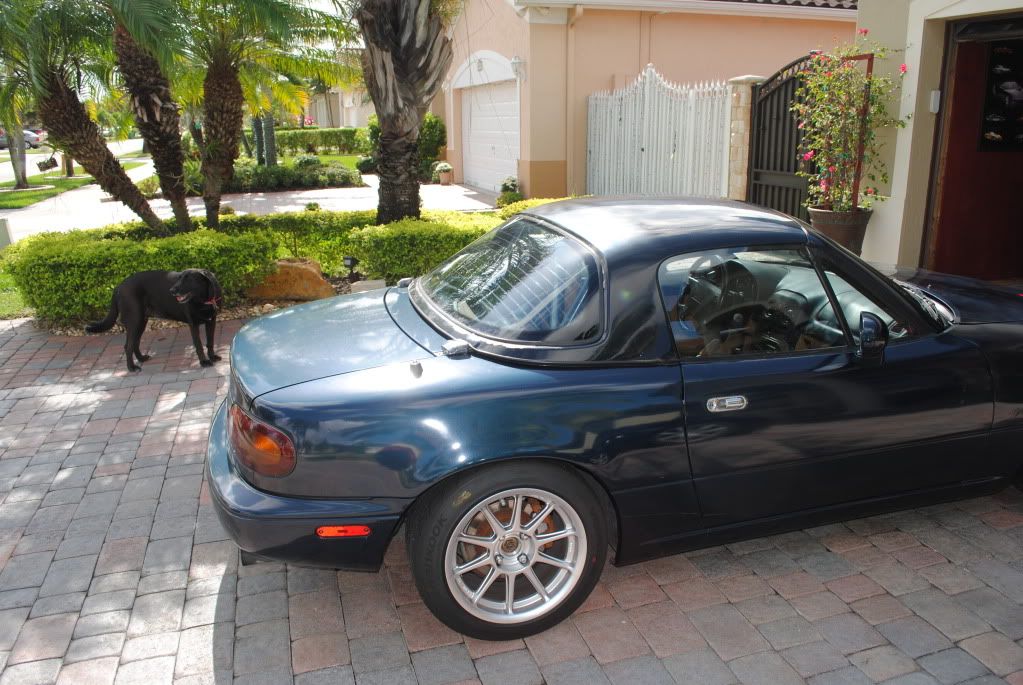
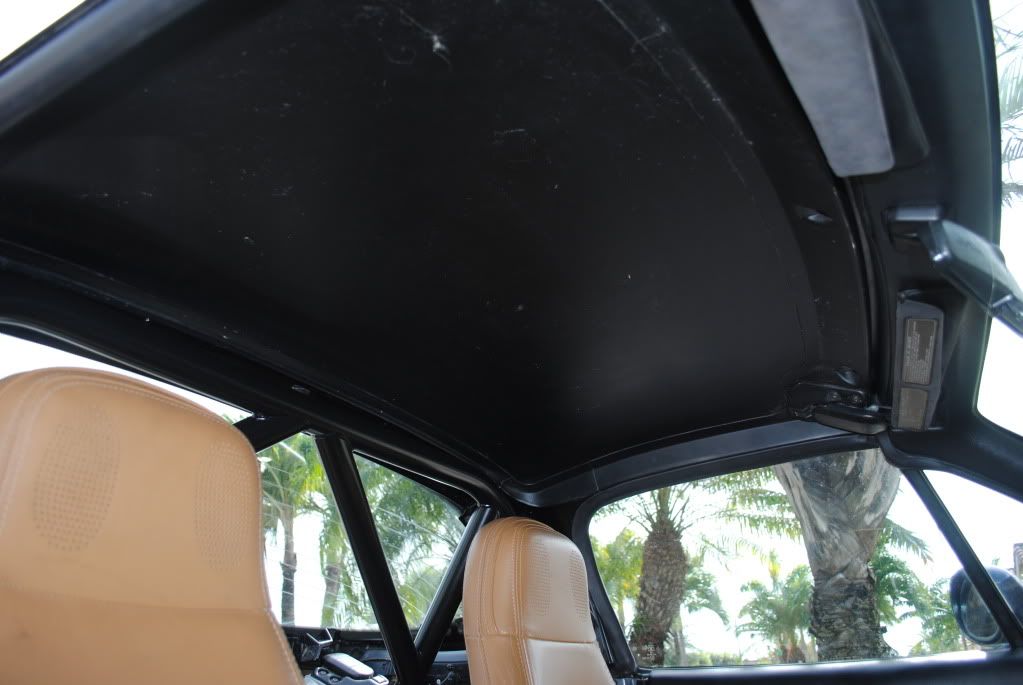
I had been looking for a hardtop on craigslist for a while and suddenly one popped up and I picked it up for a mere $400 bucks!!!!!!!!! All the latches are good and the rear mounts are in perfect shape. The paint is in ok except its seriously chipping by the glass but whatever. I'll get the top painted one day. Here are some pics.

 [/QUOTE]
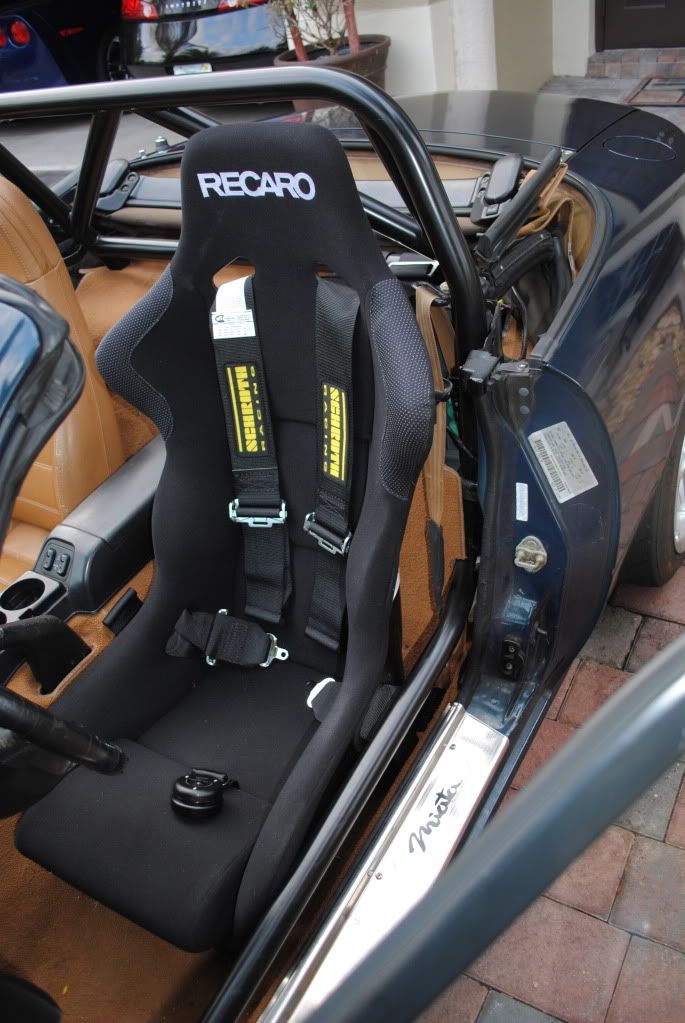
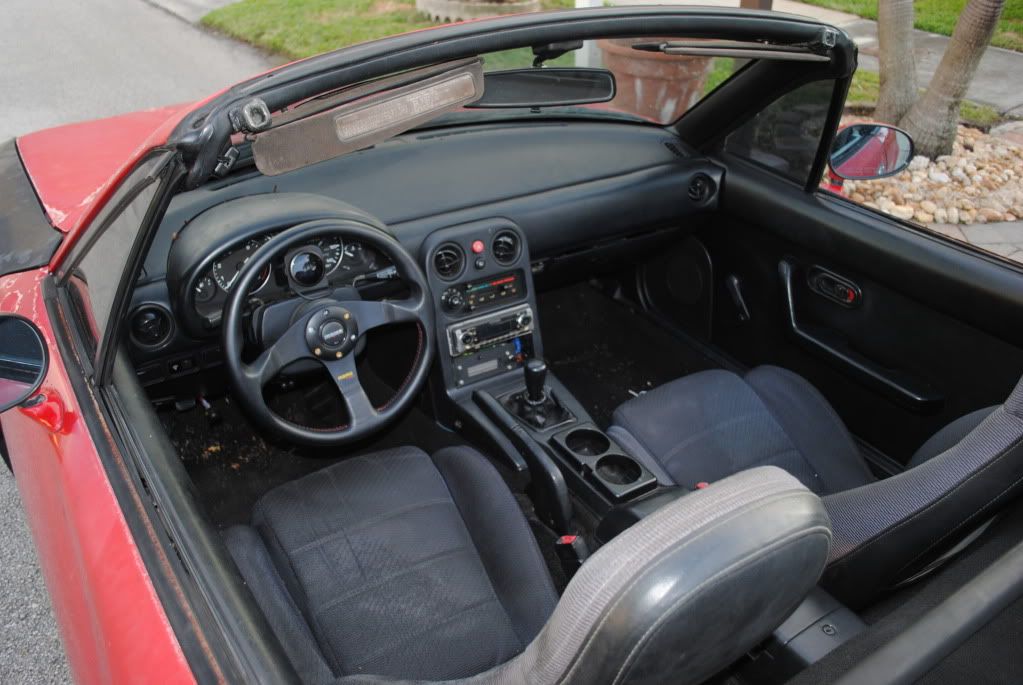
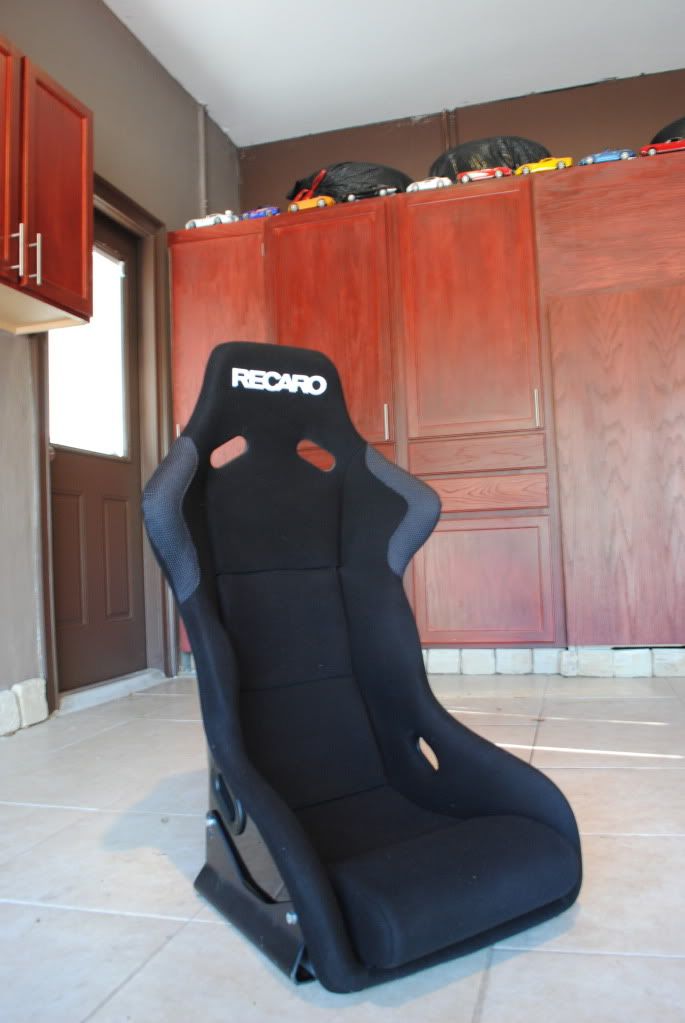
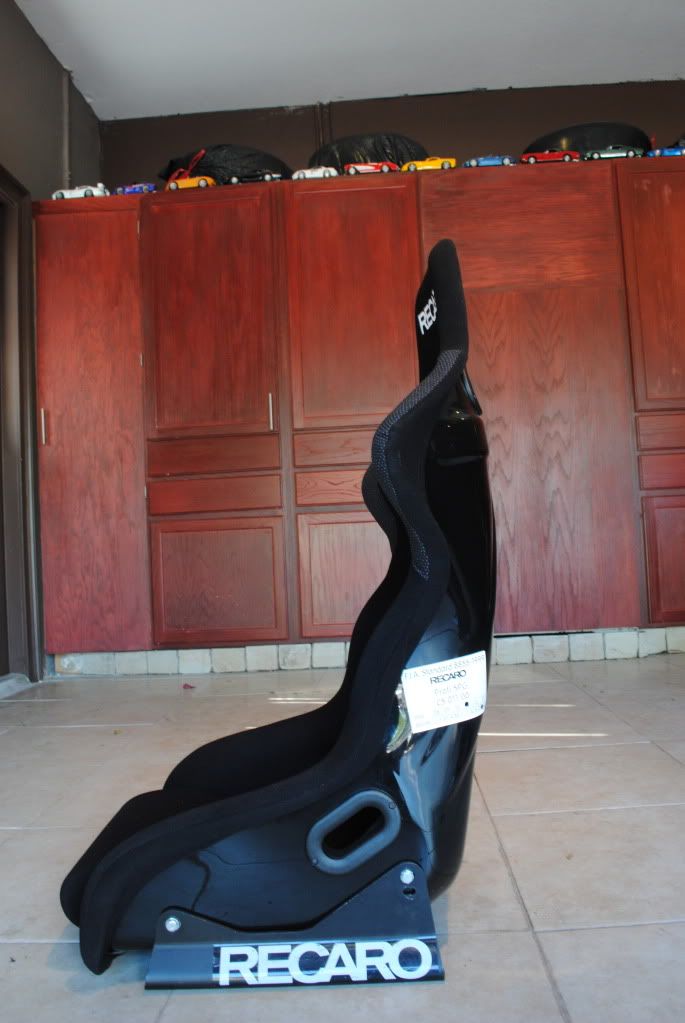
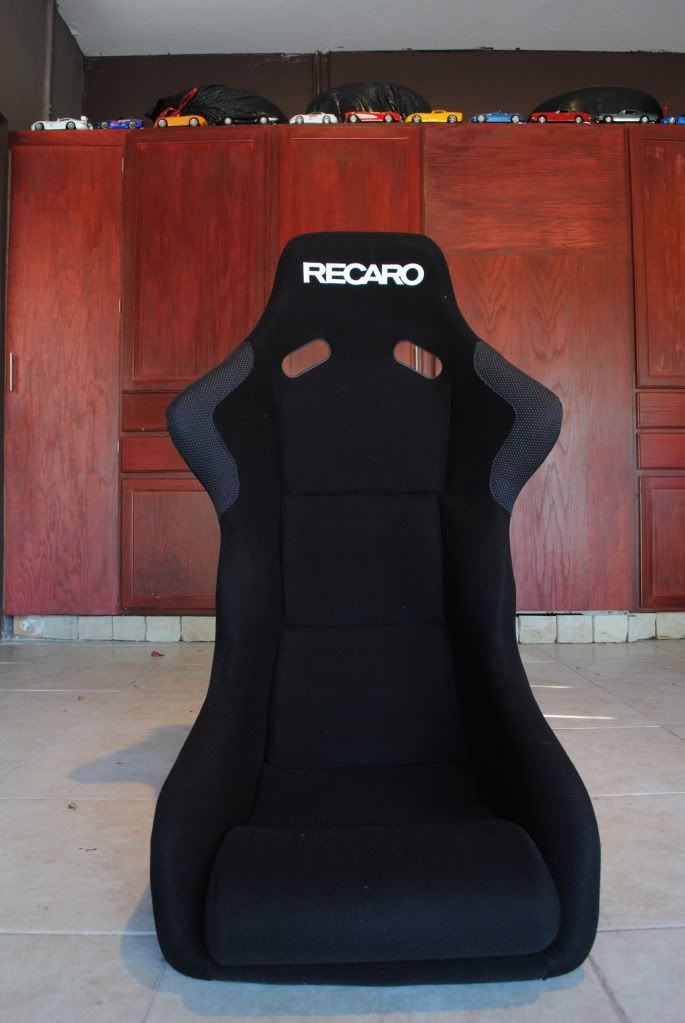
First up is a Recaro SPG Profi. I must say that I love this seat. It's pretty light, around 17 pounds, and even though it has little padding it is still very comfortable. It hugs you in nicely, well at least it does for me and I'm about 5'10" with a 31 waist. The fabric is very nice and the bumpy padding on the shoulder pads is a nice touch. Overall I'm very happy with the seat and I feel good that I got a legit seat not a knock off.

Last edited by SFL Miata; 03-03-2012 at 12:18 AM.
-
-
Idling - Listen to it purr...
-
-
Idling - Listen to it purr...
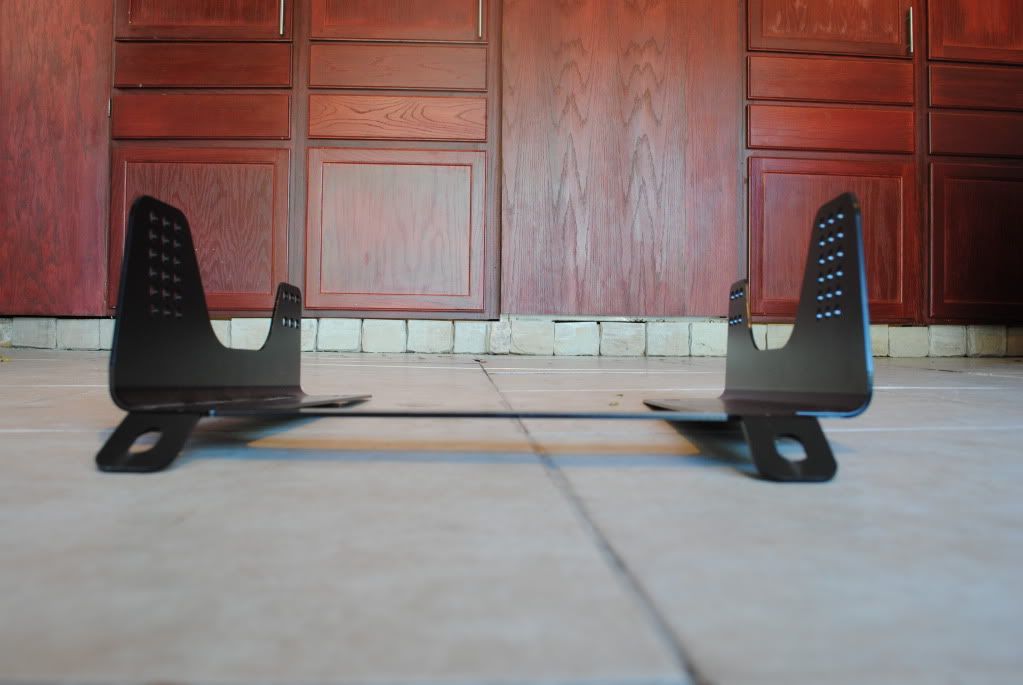
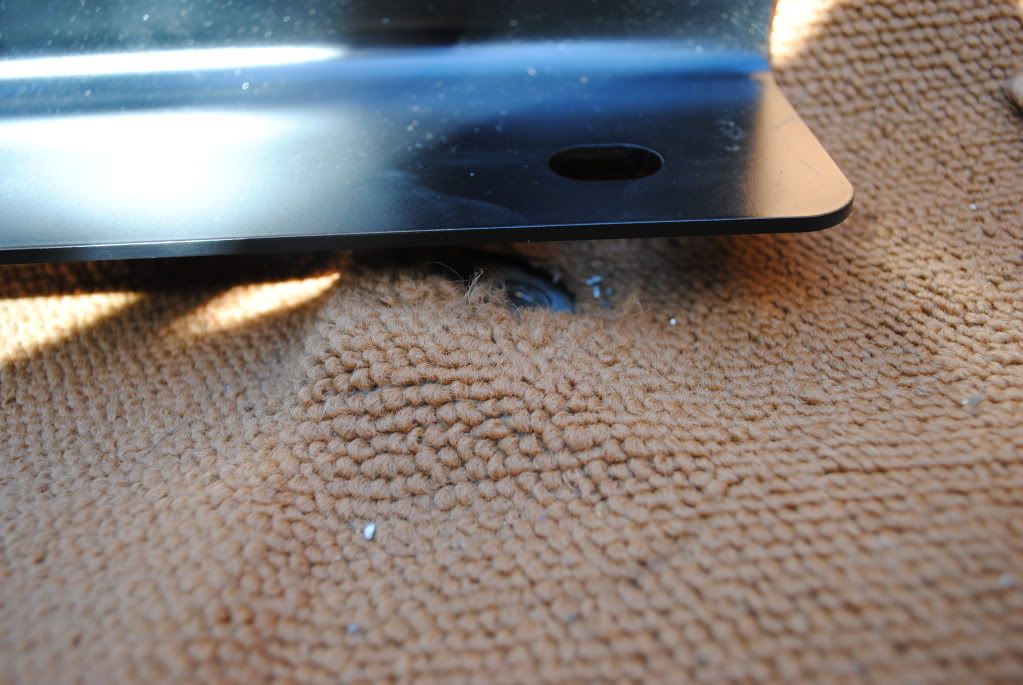
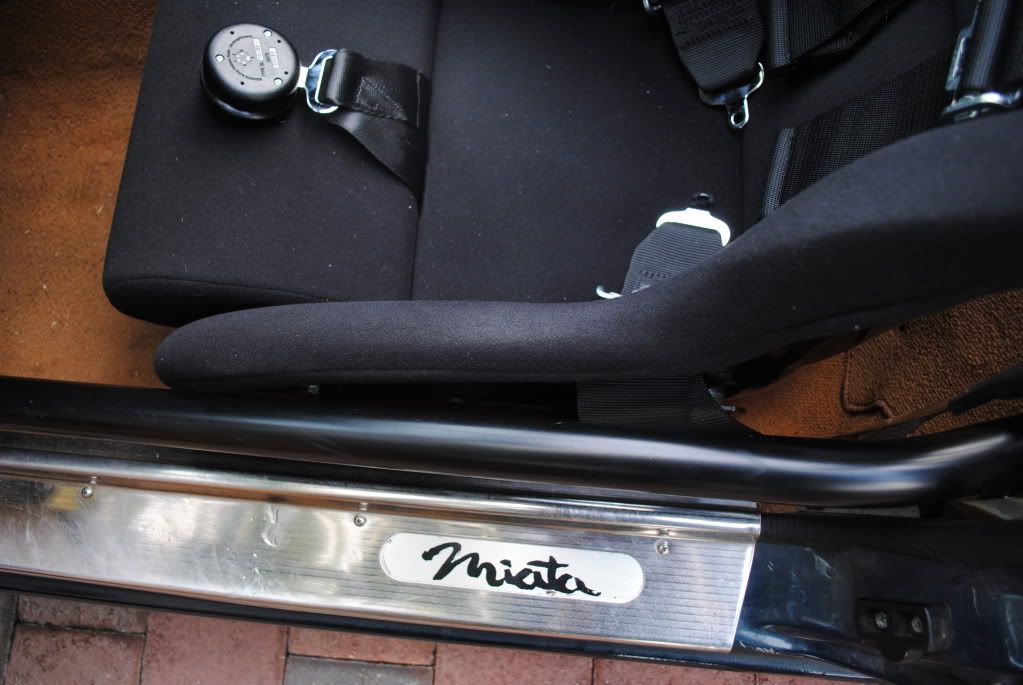
This is how you modify a seat bracket the proper way! This was quite an ordeal and I was in hurry to get everything done before my track event.
First things first. Take a plasma cutter to it!

Now we have 3 pieces instead of one.
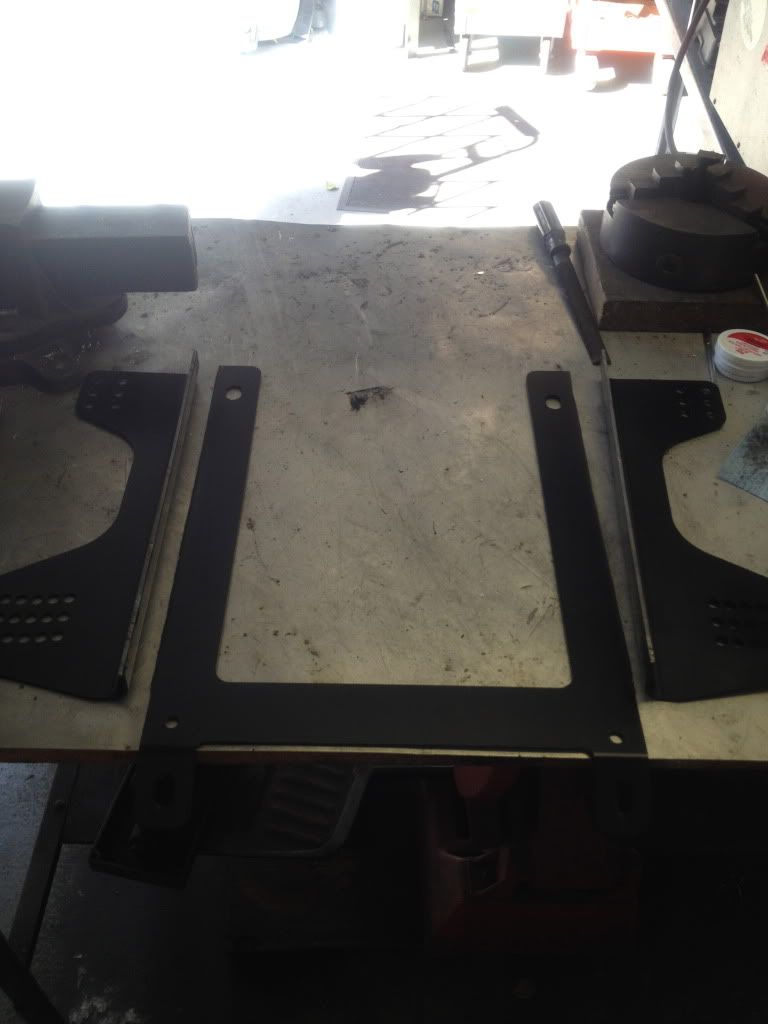
Then cut off the excess from the back, bend the steel, drill new holes.
Now we have a new base to work from.

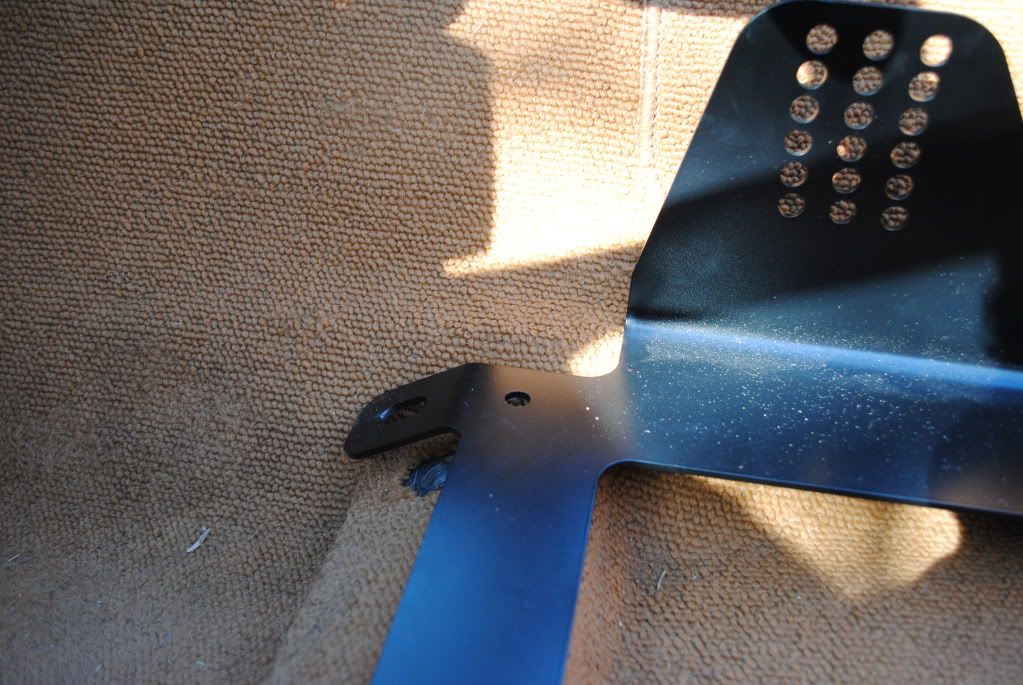
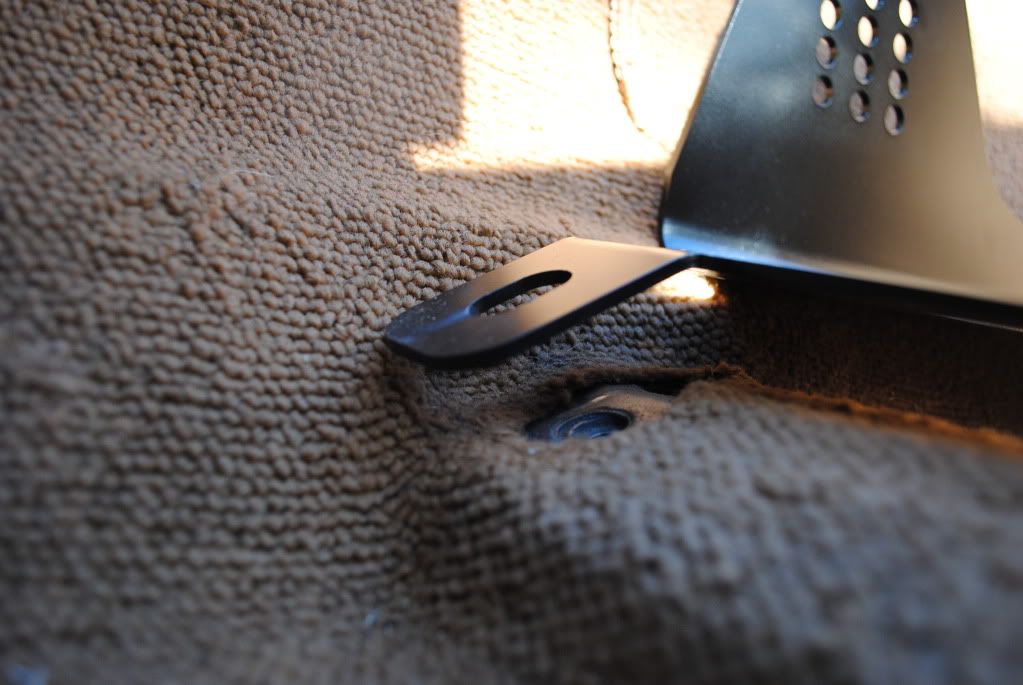
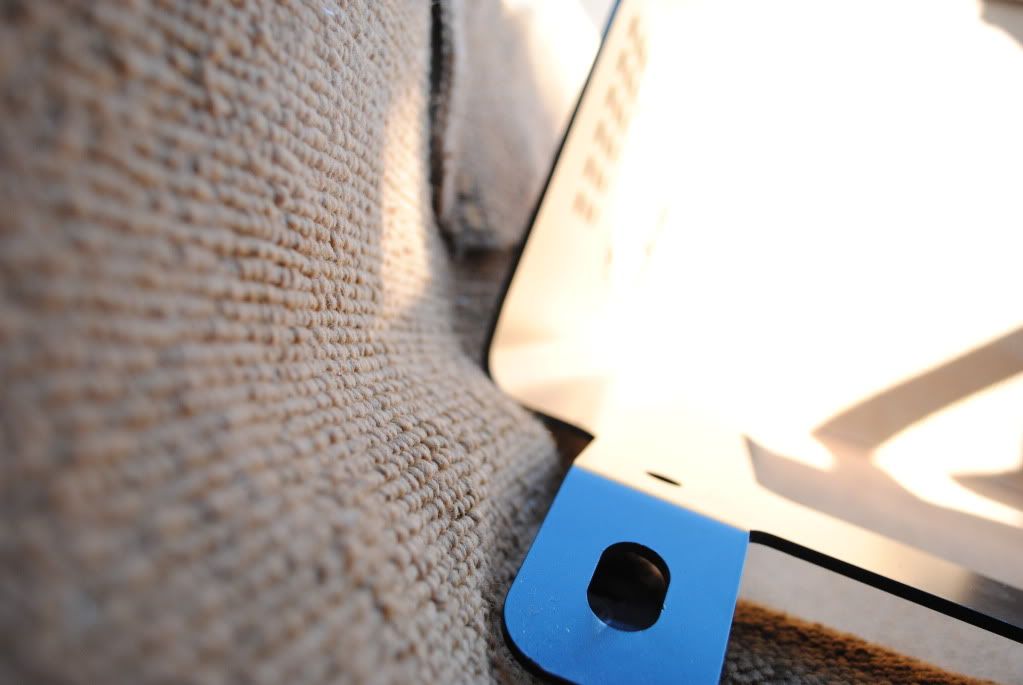
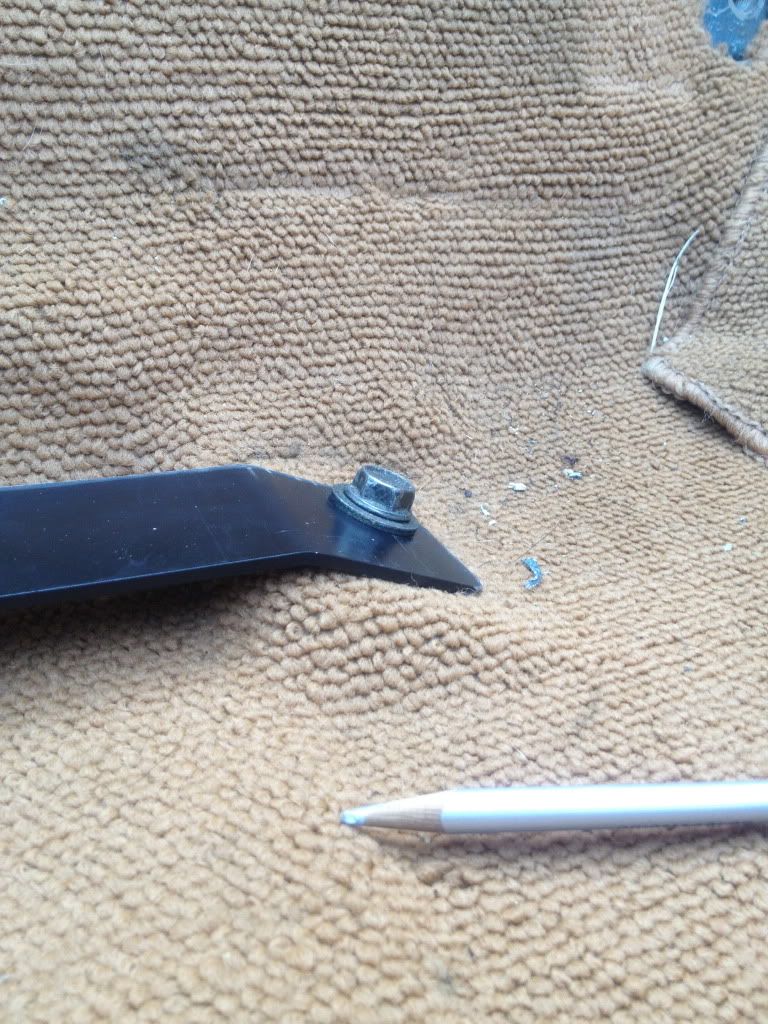
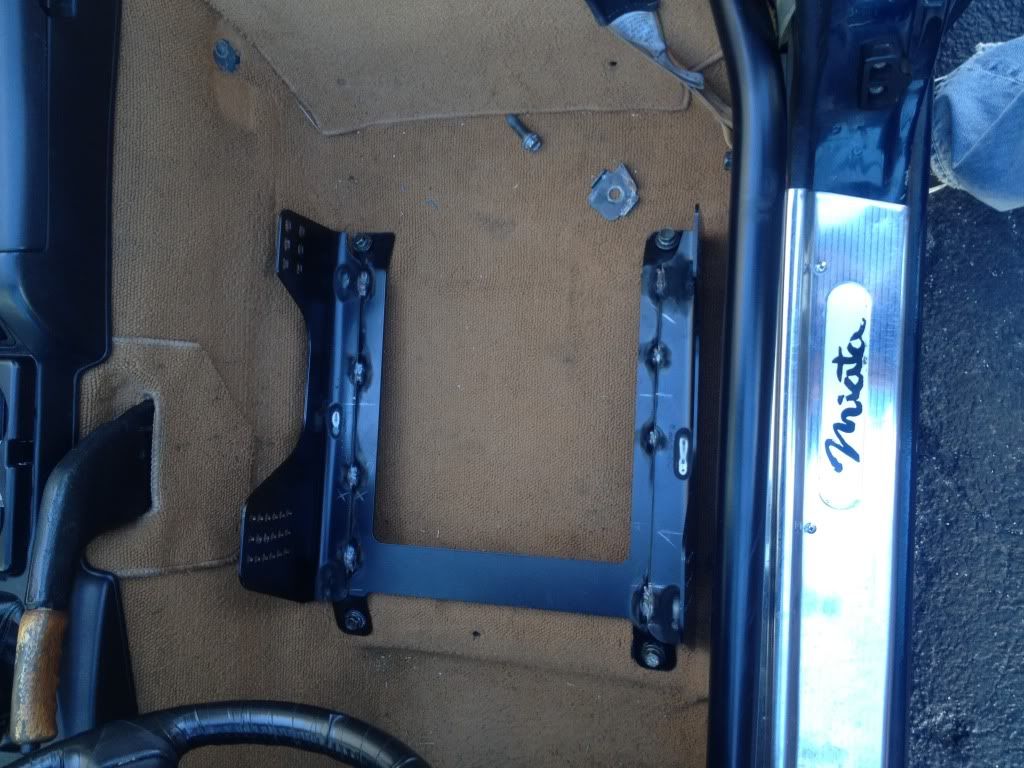
Bolt the brackets to the seat. Place the seat/brackets over the new base, take some measurements, check for clearance issues, and bam weld it all back together! New bracket that gets the job done. I know it doesn't look to pretty, but it works and its welded from underneath as well. At a later date I'll pull it out and paint it.
So here is my latest batch of parts. A bunch of stuff that isn't needed but sure is nice to have. I took a lot of pics for you guys since these items don't seem to have much documentation.
So first up this is everything that I ordered. Just some Italian stuff and Japanese stuff.

DSC_0094 by Gio's photo stream, on Flickr
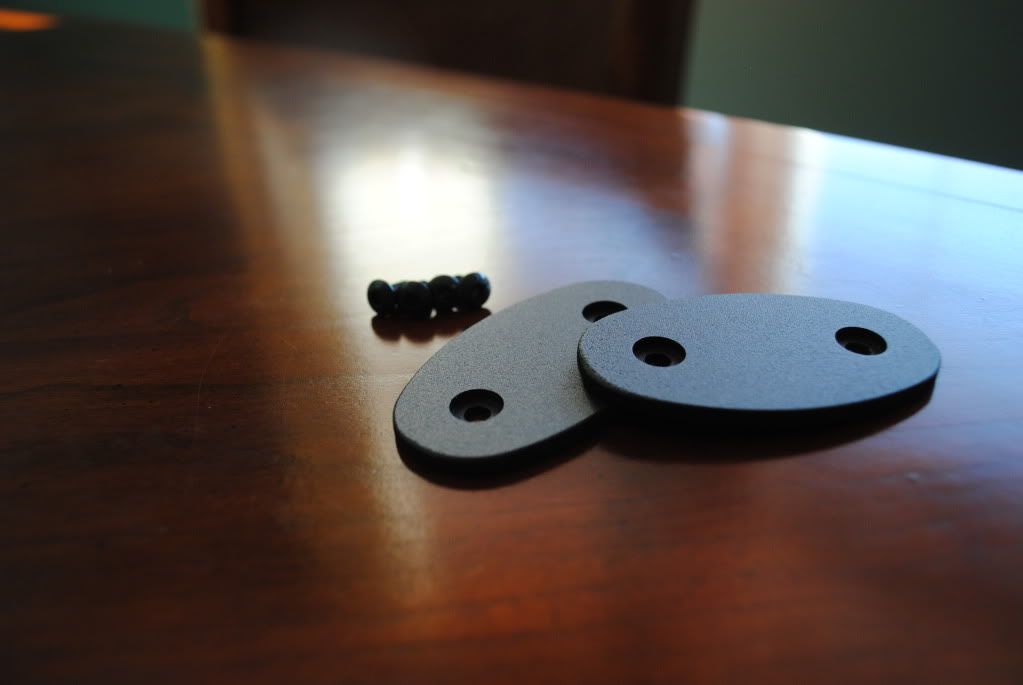
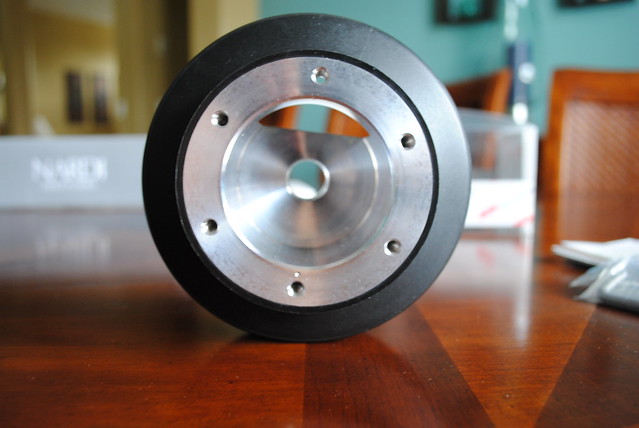
We'll start with the Works Bell Miata specific short hub (55mm) Machined out of a solid piece of aluminum. Comes with everything you need to rewire your horn and defeat that airbag light. Also came with lots a instructions (of course in Japanese) with some semi helpful pictures.

DSC_0097 by Gio's photo stream, on Flickr

DSC_0099 by Gio's photo stream, on Flickr
With that big cutout, it doesn't require any modification to the clock spring which is a plus for me.

DSC_0101 by Gio's photo stream, on Flickr
Here you can get a nice view of the plastic piece surrounding the hub. Looks pretty good to me.

DSC_0102 by Gio's photo stream, on Flickr
DSC_0103 by Gio's photo stream, on Flickr
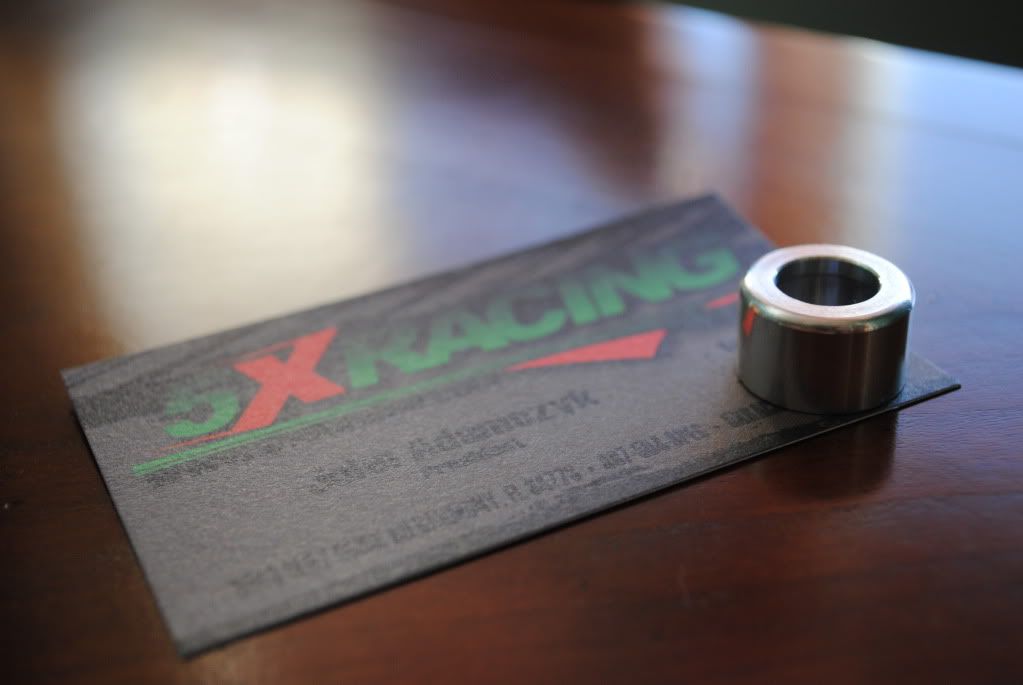
Next up is the Works Bell 12mm adapter to go from momo to nardi bolt pattern. Nice little piece of machined aluminum. Also comes with the hardware that you need.

DSC_0104 by Gio's photo stream, on Flickr
Here it is stacked on top of the hub. Still a very slim setup 77mm total.

DSC_0109 by Gio's photo stream, on Flickr
And the star of the show, 350mm Nardi Deep Corn with perforated leather and red stitching. Not too many people seem to have this wheel. Not sure why.

DSC_0113 by Gio's photo stream, on Flickr
Some concavity

DSC_0114 by Gio's photo stream, on Flickr
Here is a close up of the stitching and leather. Some quality stuff right there.

DSC_0116 by Gio's photo stream, on Flickr
Here is is with the horn button.

DSC_0119 by Gio's photo stream, on Flickr
A picture of the backside

DSC_0121 by Gio's photo stream, on Flickr
More closeups

DSC_0122 by Gio's photo stream, on Flickr
Something you don't see everyday

DSC_0123 by Gio's photo stream, on Flickr
Last edited by SFL Miata; 03-03-2012 at 12:30 AM.
-
-
Idling - Listen to it purr...
Got some installed pics even though they aren't the greatest.

Got a garage star 4" shifter extender from my buddy etikoner. Looks a little funny, but I want to try it out on the track. Should make shifting much easier.

I'm very happy with the quality of the works bell hub, but it really bothers me that the little plastic cover doesn't sit flush with the plstic steering column surround. I wish they just made it longer and then you can cut it down to suite your needs. O well it's going to stay.
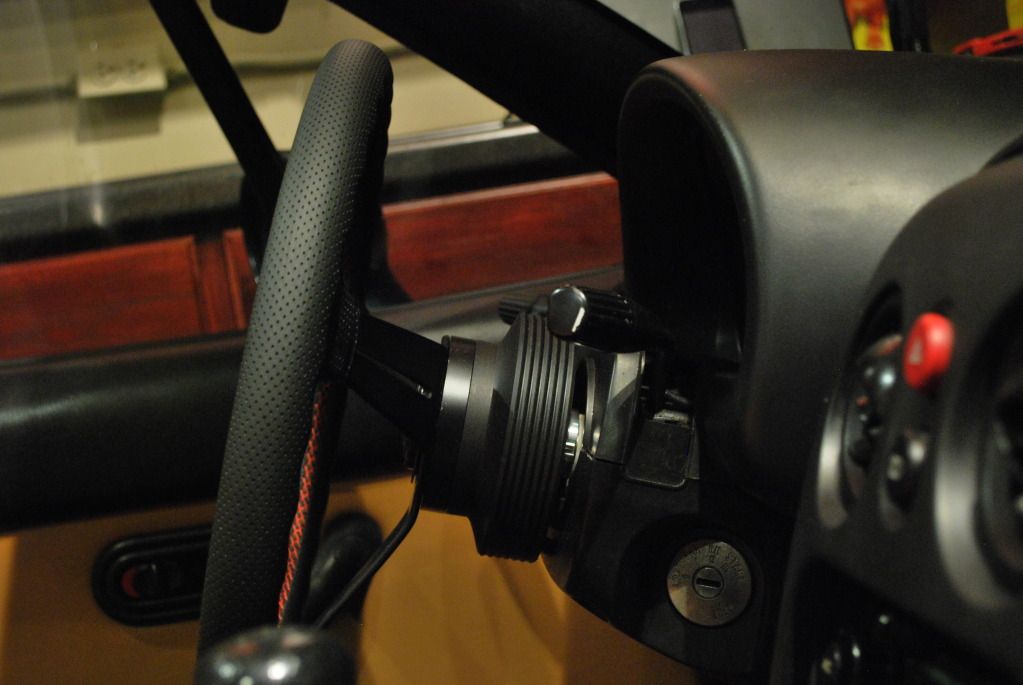
Also my horn button popped in but it still is loose. I guess since I don't have a quick release it doesn't really have anything to hold on to from the inside. It works though and I wired one of the supplied resistors and no airbag light.
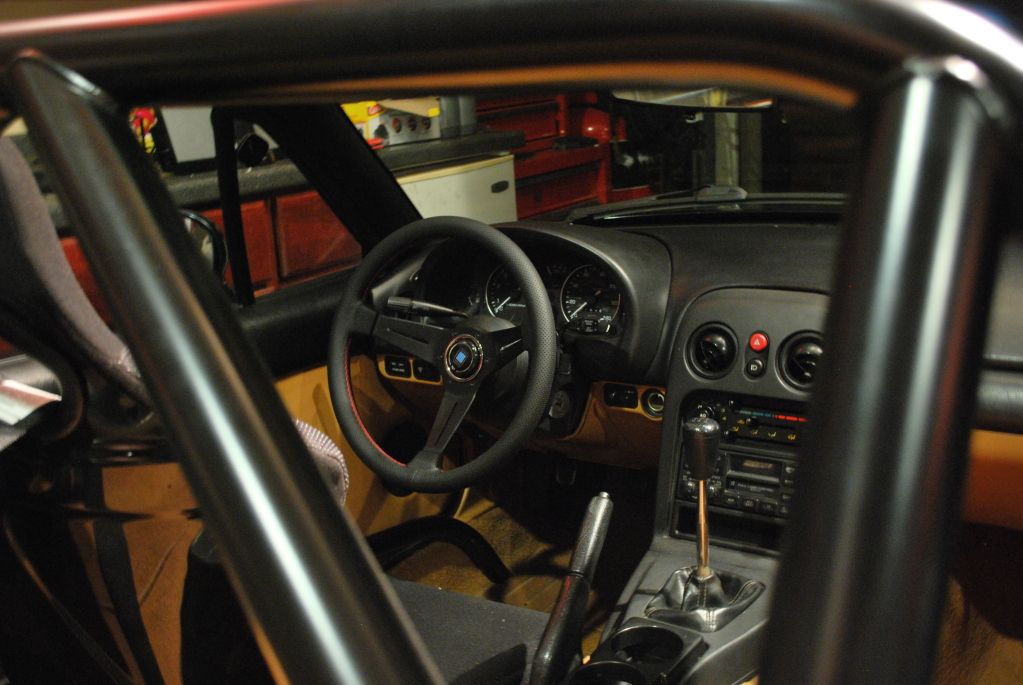
just chillen in the garage

Thats all for now. I have one more small mod to finish off the interior, but thats for a later date.
In other news I wake up to this... My car got a new paint job courtesy of my girlfriend for valentine's day. About two hours of work and 2,200 post its later we get a piece of art

DSC_0024 by Gio's photo stream, on Flickr

DSC_0026 by Gio's photo stream, on Flickr

DSC_0028 by Gio's photo stream, on Flickr
My brother added a touch cause he helped put on the post its

DSC_0029 by Gio's photo stream, on Flickr

DSC_0032 by Gio's photo stream, on Flickr
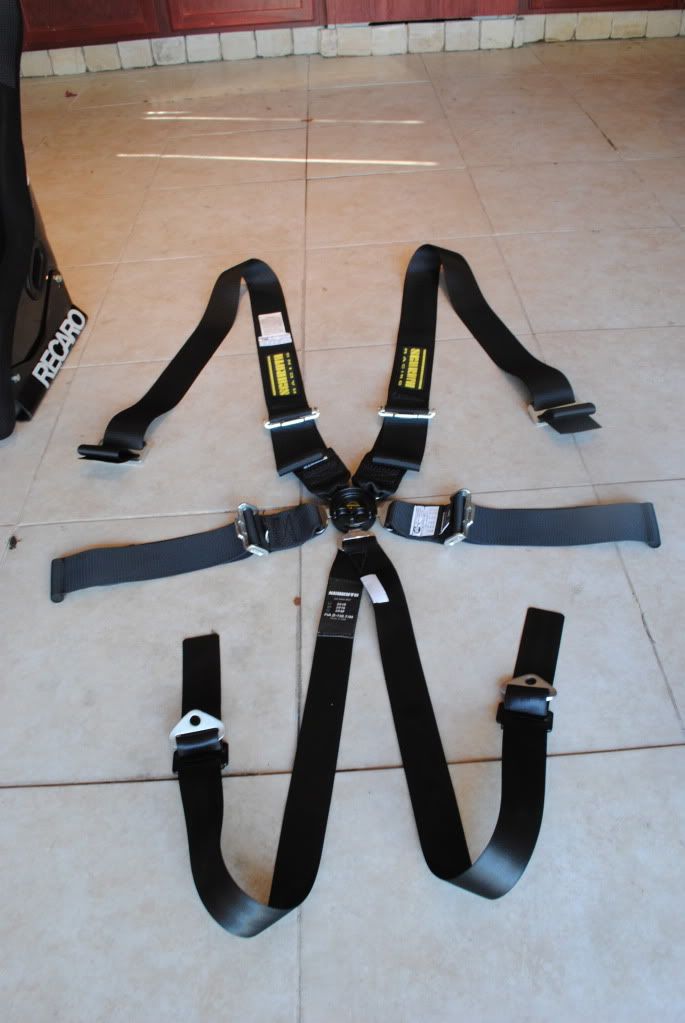
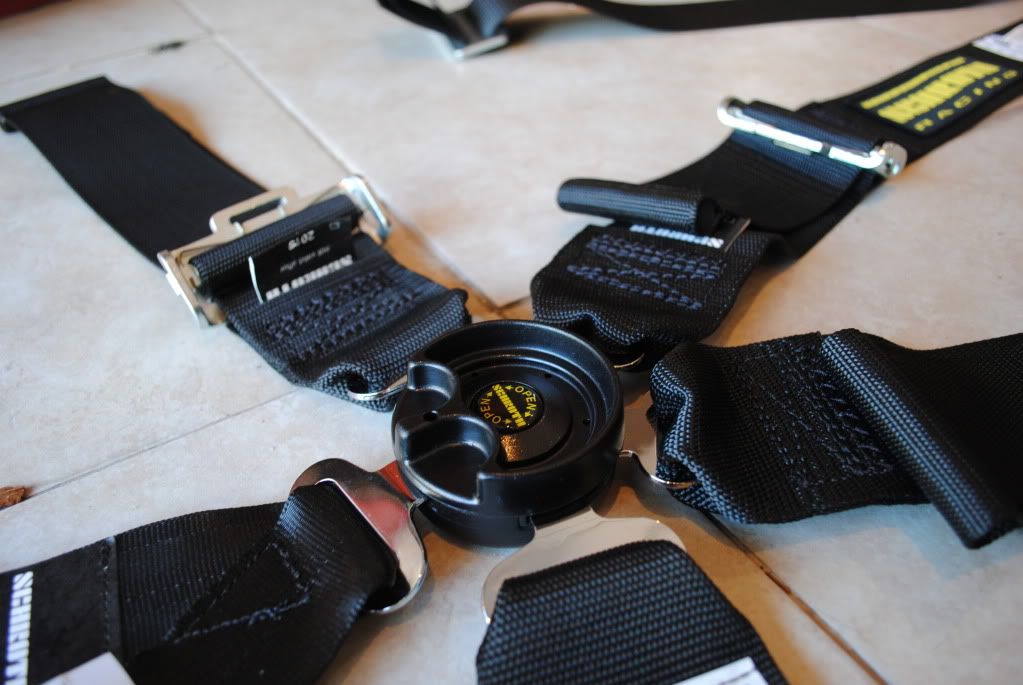
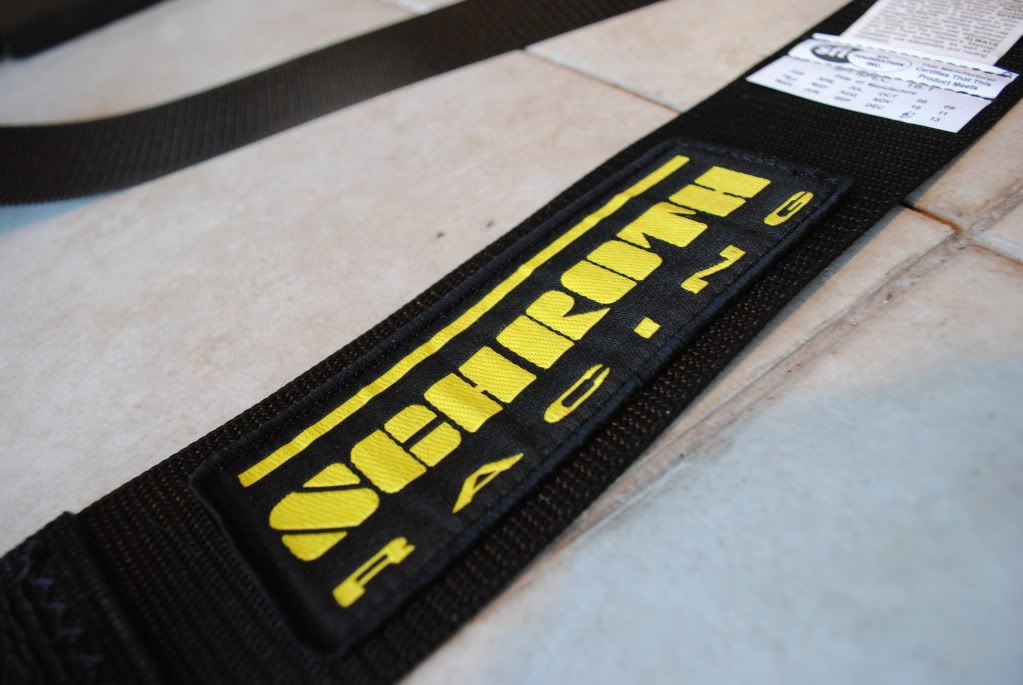
Finally got one of these. My amazing girlfriend got it for my birthday. Now I just need to get the rollbar mount.

DSC_0025 by Gio's photo stream, on Flickr
Last edited by SFL Miata; 03-03-2012 at 12:33 AM.
-
-
Idling - Listen to it purr...
So there you have it. The history of my car in the short 7 or 8 months that I have owned it. Sorry for the sort of randomness in the pictures as they are not all in order and some of the descriptions are in present tense instead of past. A lot of money, work, and time has already been put into this car. I have a total of 4 track days in March so you guys will be seeing plenty of video's of me driving around since I finally got a go pro. Phase 2 of this build will soon follow, but you guys will have to wait to see what I have planned.
-
 Posting Permissions
- You may not post new threads
- You may not post replies
- You may not post attachments
- You may not edit your posts
-
Forum Rules


 Reply With Quote