Page 2 of 4 FirstFirst 1234 LastLast
Results 16 to 30 of 52

Thread: Brap-Brap's Miata (Mis)Adventures

  1. #16
    1,000 rpm - releasing the clutch
    Drives
    Red 97' Daily Driver
    Location
    Columbus, OH
    Join Date
    May 2017
    Posts
    79
    Thanks Given
    10
    Thanked 146 Times in 42 Posts
    Another update time!

    Some quick and easy things to keep her running and happy... and make my life a little easier.


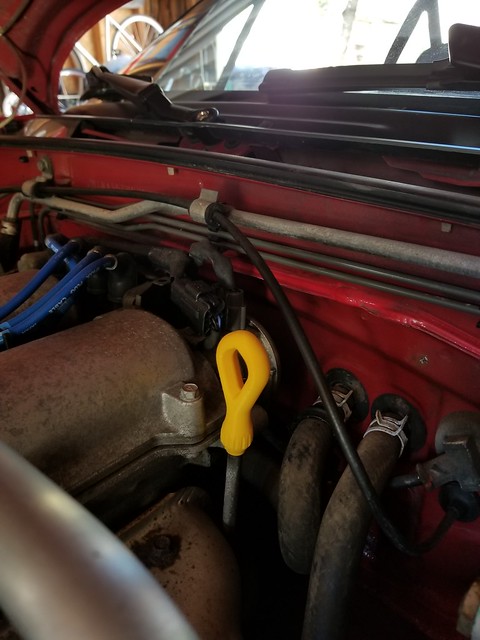
    Since my dipstick handle was broken (like most Miatas out there) I have been living with it for a bit. I saw this pop up in my eBay recommended and its cheap and super easy to install. Its 3D printed.


    Shoutout to Greg Parts on eBay for 3D printing a ton of cool stuff for the NA Miata. He also sells shift knobs, sun visor blanking plates, antenna plugs and various other little knick-knacks that you didn't realize you needed.


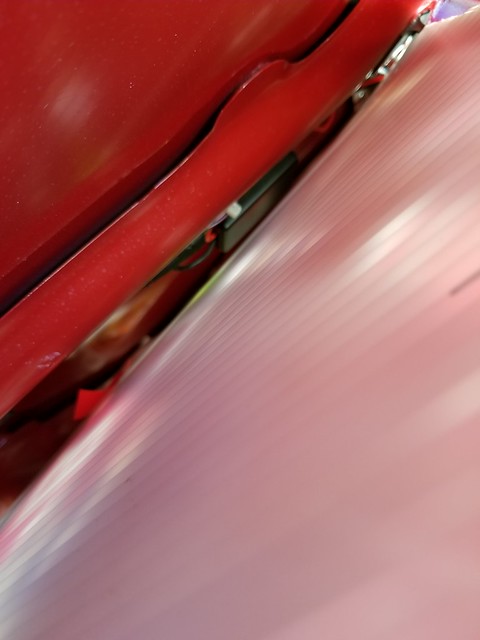
    My 3rd brake light bulb was out so I bought an LED from Superbright LED's and they sent me the wrong one. The one listed most places is an 1157 but my car took a 921. I also installed the 3rd brake light flasher.


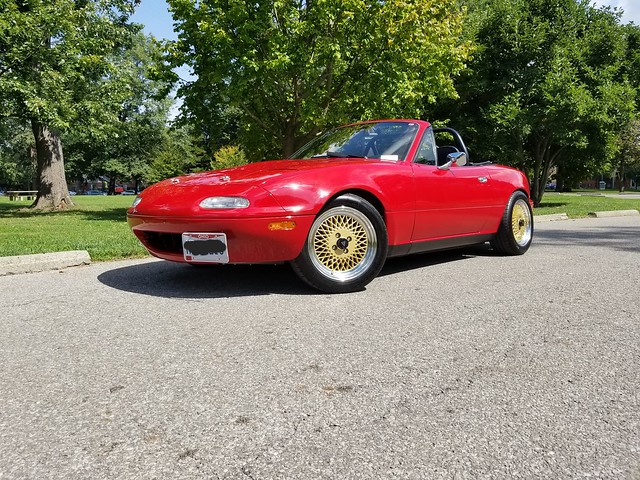
    Here's a pic of my rolled fenders. I trimmed the fender liner back a bit and made a little rubber bumper type thing on the top to keep larger debris out of it. I have tons of clearance all around so even in hard cornering I have zero rubbing. It was super easy.


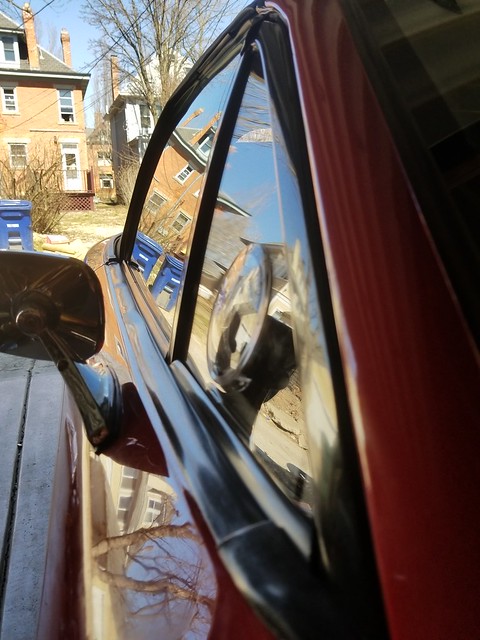
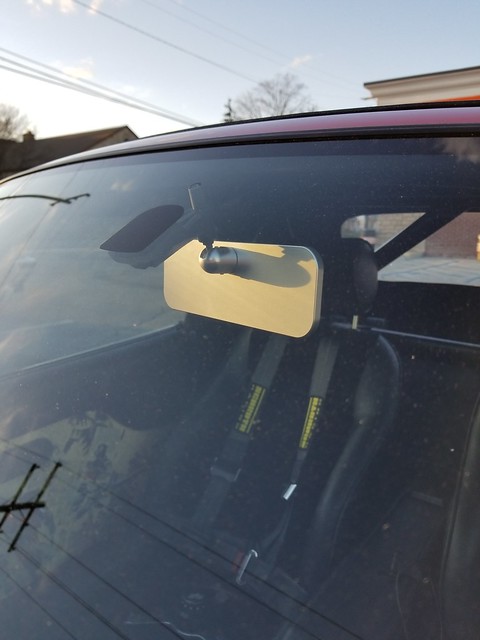
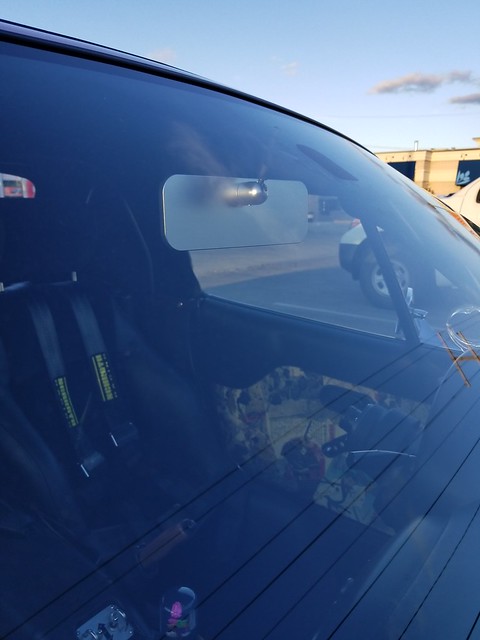
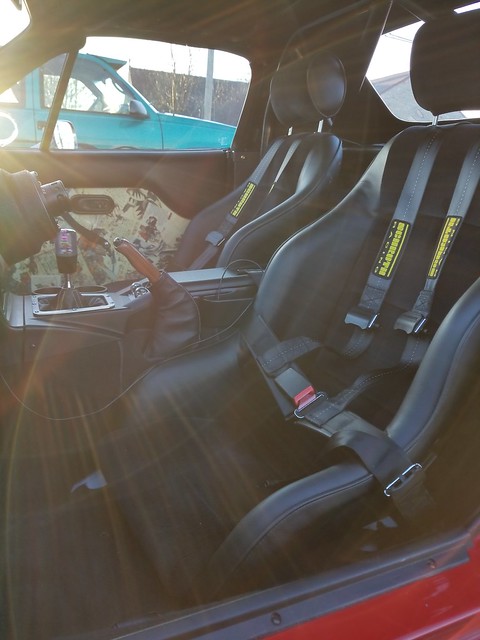
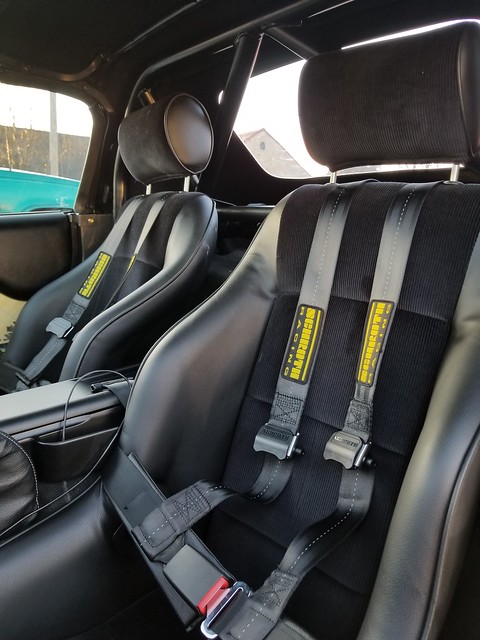
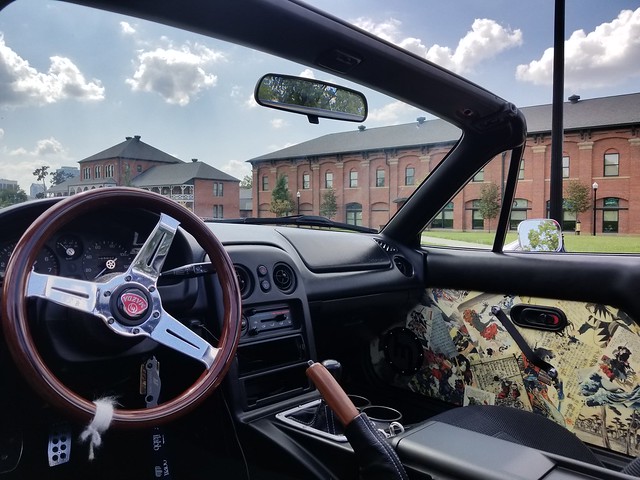
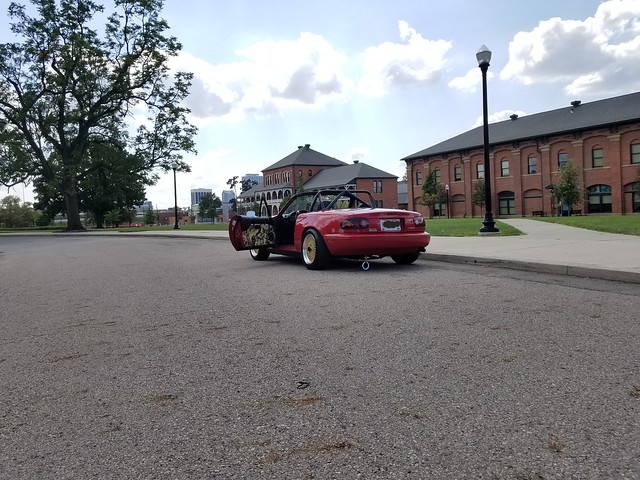
    Beauty shots because she got washed and looked really nice in the sun...


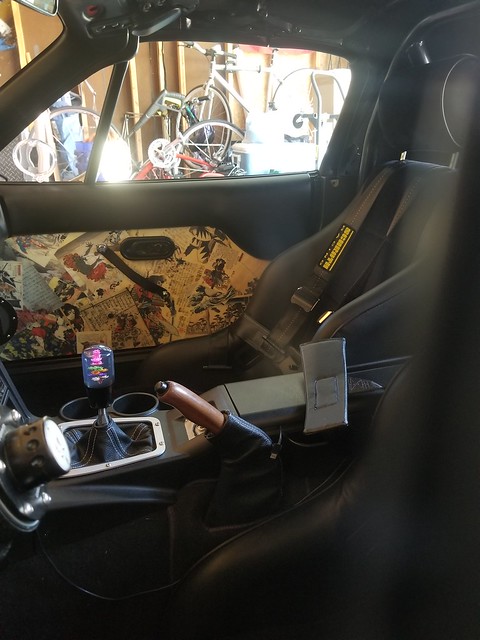
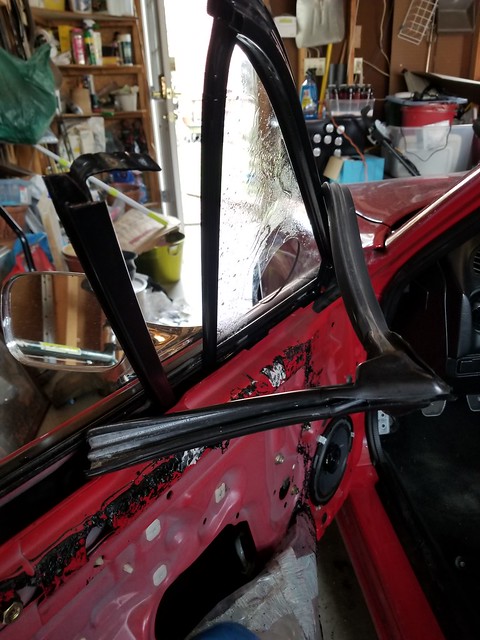
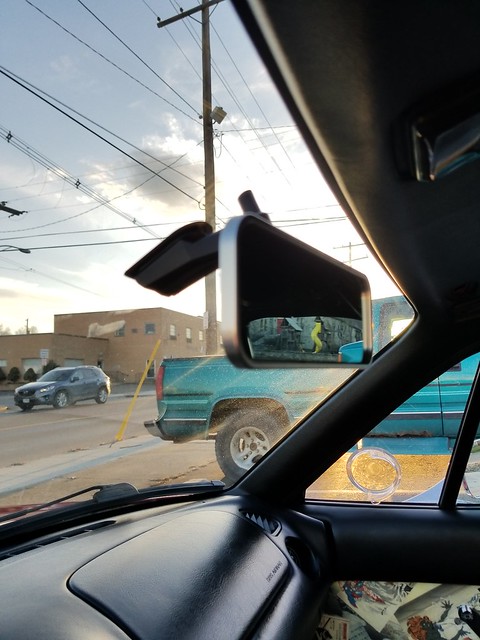
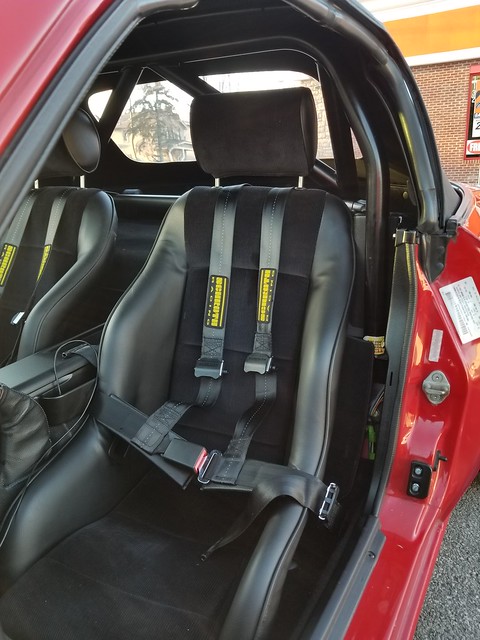
    Doesn't this pic just make you wanna go for a drive? That open door is so inviting.

  2. The Following 5 Users Say Thank You to Brap For This Useful Post:

    Agent☣Orange (09-25-2017),Greasemonkey2000 (09-25-2017),MiataQuest (09-25-2017),Paul B (12-07-2017),Phatmiata (12-07-2017)

  3. #17
    1,000 rpm - releasing the clutch
    Drives
    Red 97' Daily Driver
    Location
    Columbus, OH
    Join Date
    May 2017
    Posts
    79
    Thanks Given
    10
    Thanked 146 Times in 42 Posts
    Hope everyone had a great Thanksgiving!

    It's the last day of break for me and I decided to hustle up and get some mods done on Molly before winter rolls around.

    I found this and laughed for quite a while:


    This was taken by my good friend Matt Mchugh at the last Cars and Coffee of the season. Check him out on Facebook: https://www.facebook.com/McHughPhotography/

    Tell him Alec with the red Miata sent you.

    I was also in the OSU Alumni Parade and I learned that roll bars are quite handy for hanging banners and or T-shirts for parades.


    And I wired her up to wink during the parade ;)

    I did a few little mods just to keep things working.


    The clip for the interior door handle kept popping out, so I just used a die and cut some M4 threads and used a locknut to keep it secured. Now it shouldn't pop off anymore forcing me to roll my window down and open it from the outside.


    Also put in a Garage Star radiator panel. My hood cable ended up breaking and so I ordered the latchless panel. The hood pins work just fine by themselves.

    And for anyone wondering, yes I do have a new Yonaka radiator waiting to go in. My old radiator is looking really crusty and is not long for this world.


    Also got these "Crystal Clear" turn signals from eBay, really cleans up the look of the car. I also took advantage of Black Friday deals and ordered all new exterior LED's to brighten things up and make it safer. Diode Dynamics ran a 20% off Everything sale.


    Also got this sweet plate frame from a friend in Japan. He ended up sending me like 20 for my whole group to rep.

    And he threw in this...


    A proper JDM Suichuuka. I took some 5K grit paper to the shifter stalk to polish it up and it make it look a little nicer because of the gap. Ended up looking really shiny.


    Seeing how good the 5k looked I cut a strip and re-did the indicator and wiper stalks to a higher level of shine. Also got chrome gauge rings to really tie everything together.


    I also found this little $10 speaker amp on Amazon. It's listed as a Kinter 12v amp, and it takes a little 12v banana plug. I had an old 12v speaker power brick around and I just chopped the plug off. I used an wiring harness from the old broken radio and tapped it into 12v, grounded it to the metal frame and connected the speakers to it. The little box on the right is a ground loop isolator that gets rid of the noise and humming. There's a little ring around the volume knob that's lit by an RGB LED while its on. It's not the greatest in terms of quality and power but its quite nice and gets reasonably loud. Took less than an hour to install.

    Thats it for now guys, but there's a massive update coming soon...


    Take a guess as what those are...
    Last edited by Brap; 11-26-2017 at 09:10 PM.

  4. The Following 6 Users Say Thank You to Brap For This Useful Post:

    Agent☣Orange (03-06-2018),Greasemonkey2000 (03-04-2018),MiataQuest (11-26-2017),Paul B (11-26-2017),Phatmiata (12-07-2017),Slampen (11-27-2017)

  5. #18
    1,000 rpm - releasing the clutch
    Drives
    Red 97' Daily Driver
    Location
    Columbus, OH
    Join Date
    May 2017
    Posts
    79
    Thanks Given
    10
    Thanked 146 Times in 42 Posts
    More quick updates!

    I did a full exterior LED conversion for safety. Diode Dynamics was running a Black Friday deal and I had to jump on it.

    It had the usual stuff, LED brake lights, reverse lights, etc.

    But for the front turn signals I decided to go with the Switchback version of the 1157 Bulb:


    Thats a quick YT vid I made showing off the switchback feature. It's awesome for early morning when its light enough you don't need your full headlights but dark enough you want some form of illumination.

    The LED conversion required me to modify the stock flasher relay to prevent the dreaded "Hyberblink" that usually arises with LED conversions.

    You *can* use those load resistors but they add massive amounts of weight and radiate a lot of head and also draw a lot of power. All things you do not want in your little roadster.


    Step 1 was finding the flasher relay under the dash, and its this rather large beige box with the large connector going to it. It's not like the other relays under the dash, it just pulls straight down. I found it easier to take the box off the mounting clip and then pulling the connector off.

    Once you have it off the car and onto a work bench its just 2 clips to take the cover off and pull the circuit board.

    The resistor you're looking for is labeled R1 but the label is hard to see as a coil is in the way.


    That's what you're looking for, and my shots are post-mod. Stock I think its a 6.5ohm?

    You want to replace it with a 1Meg Ohm, or 1 million ohm resistor. 1/4 watt is fine (that what the stock one is rated for), but I used 1/2 watt just to be safe.

    Next up was LED headlights. I originally wanted GE Nighthawks or TruckLites but I wasn't willing to pay $400 for a pair.


    My friend showed me this company on amazon called OPT7, and he installed a set of their bulbs on his 350Z and I quite like how bright and crisp they are.

    So along with them I bought the Hella H4 Conversion and set to replace the stock sealed beams.


    The great thing about the OPT7's is the COB LED is at the correct height, similar to an H4 halogen and so the projector and reflector pattern matches perfectly. They also have a fan on the back that keeps everything cool.

    I left the rubber cover off the back of the Hella housings as the LED's have an o-ring seal on the face and on the tube of the LED


    They come with these ballast/ controllers that really have no space inside the housing without pinching something, so I took an idea from a Ken Auto YT video and mounted them to the outside with some 3M double sided tape.


    But, whatever you do DO NOT MOUNT IT TO THE OUTSIDE OF THE HOUSING!!!!

    Mount it to the side that is inside, closer to the radiator. Ask me how I know. The limiting beams on the interior of the housing are on the outside, and if you mount it to the outer side of the housing, the beam will grab the connector and crush it. I crushed my H4 connector and fought for like an hour trying to figure out why the driver's side light won't move all the way up. Luckily I had a spare connector, and 20 minutes later and I had a new H4 connector on it and it was all fine.

    I have to say, it's bright as floodlights for soccer/ football fields. But its a very good beam pattern, throwing a ton of light down the road but also having a good pattern to the side of the car. I can finally see more than 50 feet in front of me! Its also a nice, cool white hue versus an amber of a normal Halogen.

  6. The Following 5 Users Say Thank You to Brap For This Useful Post:

    Agent☣Orange (03-06-2018),Greasemonkey2000 (03-04-2018),JamieH (12-07-2017),MiataQuest (12-07-2017),Phatmiata (12-07-2017)

  7. #19
    Admin / Pit Boss / Miataholic Phatmiata's Avatar
    Drives
    Kirin the '93LE Roadster #1073
    Location
    NEW Tampa > OLD Tampa
    Join Date
    Apr 1994
    Posts
    33,607
    Thanks Given
    13,679
    Thanked 9,521 Times in 4,642 Posts
    loving all the detailed photos and youtube videos! keep it up! Your Miata is looking great!

  8. The Following User Says Thank You to Phatmiata For This Useful Post:

    Brap (12-07-2017)

  9. #20
    1,000 rpm - releasing the clutch
    Drives
    Red 97' Daily Driver
    Location
    Columbus, OH
    Join Date
    May 2017
    Posts
    79
    Thanks Given
    10
    Thanked 146 Times in 42 Posts
    Thanks man! I do what I can.

    Quick update guys. It's been a while. College takes up most of my time. I've managed to amass a large amount of parts that need to go on but I don't have the time to do much...

    But I got a proper radio to replace my janky 12v amp setup. 10 minutes on the soldering bench and I had a nice patch harness.


    And the finished radio all bolted in. It's a Clarion M508. Super clean looking radio, doesn't look like a Transformers abortion like other radios. Wasn't too bad at $150.


    And since I was in a wiring kind of mood I whipped up the quick "light Minder" mod. "Input" on the dimmer connector goes to the Blue/Yellow wire, with a diode in-between to keep the key-minder functional.


    Also these babies showed up a while ago... Cobra Classic RSR's. I just got the brackets back from powdercoating and hopefully over spring break I can get them in... These seats are so comfortable I nearly fell asleep just sitting in them the day they showed up.

    Until next time.

  10. The Following 9 Users Say Thank You to Brap For This Useful Post:

    Agent☣Orange (03-06-2018),Greasemonkey2000 (03-04-2018),HarryB (03-05-2018),JamieH (03-05-2018),MiataQuest (03-24-2018),Midtenn86 (03-09-2018),Phatmiata (03-06-2018),riefdaddy (03-05-2018),Roadster7 (03-04-2018)

  11. #21
    4,000 rpm - entering the fun zone Roadster7's Avatar
    Drives
    '94 Roadster
    Join Date
    Apr 2014
    Posts
    1,381
    Thanks Given
    1,196
    Thanked 1,289 Times in 402 Posts
    That is a VERY good looking radio, great choice. Can the lighting be adjusted to match OEM or incandescent white?

  12. The Following User Says Thank You to Roadster7 For This Useful Post:

    HarryB (03-05-2018)

  13. #22
    6,000 rpm - mere mortals would shift HarryB's Avatar
    Drives
    '04 Strato Blue NB2
    Location
    Greece
    Join Date
    Jun 2015
    Posts
    5,935
    Thanks Given
    6,672
    Thanked 2,273 Times in 1,330 Posts
    That radio looks proper! Care sharing the model?

  14. #23
    1,000 rpm - releasing the clutch
    Drives
    Red 97' Daily Driver
    Location
    Columbus, OH
    Join Date
    May 2017
    Posts
    79
    Thanks Given
    10
    Thanked 146 Times in 42 Posts
    Quote Originally Posted by Roadster7 View Post
    That is a VERY good looking radio, great choice. Can the lighting be adjusted to match OEM or incandescent white?
    Unfortunately no, its stuck on a kinda soft white glow. If you have white LED's behind your gauges and HVAC panel it will match incredibly well, but if you have a weird color it wont match that well. It matches amber tones very well though.

    But, you can actually turn the LCD screen off while it's in operation if you really wanted to. At night this is especially nice.

    Quote Originally Posted by HarryB View Post
    That radio looks proper! Care sharing the model?
    Yep, its a Clarion M508.

    Linky-Link:

    https://anchorexpress.com/clarion-us...luetooth-m508/

  15. #24
    4,000 rpm - entering the fun zone Roadster7's Avatar
    Drives
    '94 Roadster
    Join Date
    Apr 2014
    Posts
    1,381
    Thanks Given
    1,196
    Thanked 1,289 Times in 402 Posts
    Quote Originally Posted by Brap View Post
    Unfortunately no, its stuck on a kinda soft white glow. If you have white LED's behind your gauges and HVAC panel it will match incredibly well, but if you have a weird color it wont match that well. It matches amber tones very well though.
    Got you. My interior lighting is no longer green, so this might be perfect. For you, it might be possible to get some green transparent film, take the unit apart and overlay it on top of the LCD to match the OEM lighting.

    Anyway, thanks for the sharing. I've spent a while looking for a head unit that looks factory, and this is as close as it gets so far.

  16. #25
    1,000 rpm - releasing the clutch
    Drives
    Red 97' Daily Driver
    Location
    Columbus, OH
    Join Date
    May 2017
    Posts
    79
    Thanks Given
    10
    Thanked 146 Times in 42 Posts
    I really hate the stock slime-green color, I pulled the bulb condoms from the lights but the moderate green hue from the gauges still irks me. RevLimiter gauges are something I want to get very soon...

    The LCD is actually quite bright, putting some tint on it might be a nice idea...

  17. #26
    Admin / Pit Boss / Miataholic Phatmiata's Avatar
    Drives
    Kirin the '93LE Roadster #1073
    Location
    NEW Tampa > OLD Tampa
    Join Date
    Apr 1994
    Posts
    33,607
    Thanks Given
    13,679
    Thanked 9,521 Times in 4,642 Posts
    Great looking seats, and that radio looks super clean in there!! nice choice!

  18. #27
    1,000 rpm - releasing the clutch
    Drives
    Red 97' Daily Driver
    Location
    Columbus, OH
    Join Date
    May 2017
    Posts
    79
    Thanks Given
    10
    Thanked 146 Times in 42 Posts
    MASSIVE UPDATE TIME!!!!

    So over spring break I installed my new seats.

    The brackets I had made up sucked. Way too high, even though they were thin. This is what I get for buying bottom-mount seats...


    So out came all of the seat mounting brackets. A lot of work with an angle grinder, a sanding wheel and a hammer and I made some room.

    I beat the piss out of the drivers side trans tunnel to get the seat to fit decently.

    I also broke a couple drill bits and so I had to run to Ace...


    It was surprisingly comfortable. Until I hit a speedbump.


    Everything all in! Ill get more pics next weekend maybe.


    I also installed the Project G quarter windows.


    Super simple removal of the stock glass, mine was just a bit stuck after 20 years of being together...


    Simple Green and hot water cleans up the old schmoo and really re-freshes the rubber.


    Sliding in the new window is a royal PITA, but using a little wash and wax helps the rubber slide in real easy. If you don't get it in all the way you wont be able to bolt the rail up, and your windows will be super slow from the drag.


    And everything all in. The vent adds a nice fresh air intake. It's really nice on like 40-50 degree days because you can have the top up and the heat on to keep your feet warm but the vent open for some fresh air.

    Also I didn't cover my door speakers when grinding the floorpan metal and I messed up my driver's side speaker... But that's just an excuse to upgrade the audio system right?


    2 Pioneer 4 ways and a couple of subs for the parcel shelf.

    And that's about it for now.

  19. The Following 3 Users Say Thank You to Brap For This Useful Post:

    Agent☣Orange (03-23-2018),Greasemonkey2000 (03-20-2018),MiataQuest (03-24-2018)

  20. #28
    1,000 rpm - releasing the clutch
    Drives
    Red 97' Daily Driver
    Location
    Columbus, OH
    Join Date
    May 2017
    Posts
    79
    Thanks Given
    10
    Thanked 146 Times in 42 Posts
    More goodies!!!!

    HUGE thanks to Greasemokey2000 for helping me source some ZOOM engineering stuff:


    ZOOM "M" size mirror, the mount is part number G03.


    The convex and tinted mirror is SUPERB. I can see so much more, to where I can see the edge of the headrests. And now I don't get blinded by people behind me. Because unfortunately when you have a lowered car all beams are high beams.

    If you want one for your car at a really good price (much cheaper than Rev9): read this thread:

    http://www.clubroadster.net/vb_forum...questions.html

    And now for more beauty shots of the seats:


    It looked too good to not take a pic of while I was on lunch break

  21. The Following 3 Users Say Thank You to Brap For This Useful Post:

    Agent☣Orange (03-23-2018),Greasemonkey2000 (03-23-2018),MiataQuest (03-24-2018)

  22. #29
    5,000 rpm - there be torque here! MiataQuest's Avatar
    Drives
    faster now with the Ecotec 2.4 (1992 white NA)
    Location
    Detroit, Michigan
    Join Date
    Mar 2016
    Posts
    3,076
    Thanks Given
    3,797
    Thanked 1,024 Times in 443 Posts
    I am loving your build!

    Keep it up.

  23. #30
    1,000 rpm - releasing the clutch
    Drives
    Red 97' Daily Driver
    Location
    Columbus, OH
    Join Date
    May 2017
    Posts
    79
    Thanks Given
    10
    Thanked 146 Times in 42 Posts
    Thanks man! Progress is a slow but consistent struggle.


    Decided to cop (hehehe get it?) one of these the other day. I was changing lanes on the freeway and I popped it down to 4th and laid into her a bit and she started to break up, ended up throwing a P0300 as well. Since the plugs and wires are less than a year old, I figured it might be the coil. Pulled it off and sure enough there's a couple of hairline cracks in the epoxy and the plastic housing. I'm borrowing a friends Coil for the moment until the kit comes in.

    Fab9 is using CBR1000 coils (or the RR coils, can't remember which) and I think an AEM or Bosch module on a custom harness. There's a ton of info on MT about it if ya'll want to learn more. I'll share as much as I can when I get the kit.

Page 2 of 4 FirstFirst 1234 LastLast

Posting Permissions

  • You may not post new threads
  • You may not post replies
  • You may not post attachments
  • You may not edit your posts
  •