Page 7 of 9 FirstFirst 123456789 LastLast
Results 91 to 105 of 127

Thread: The wife's new ride

  1. #91
    Nukuler banned! chiefmg's Avatar
    Location
    N KY
    Join Date
    Jan 2012
    Posts
    1,422
    Thanks Given
    184
    Thanked 1,226 Times in 527 Posts
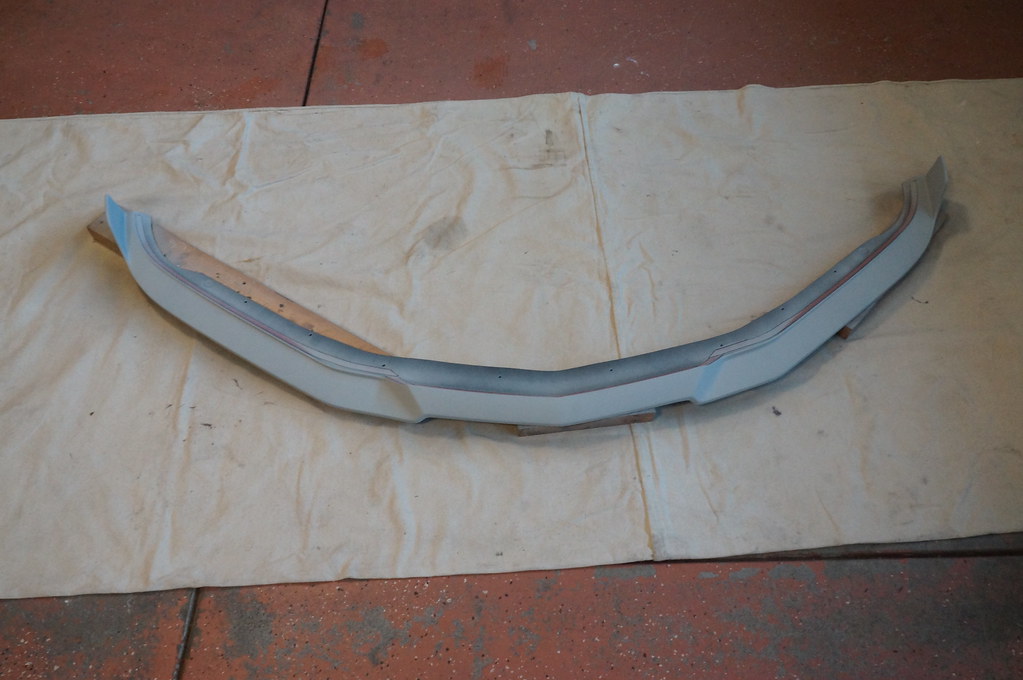
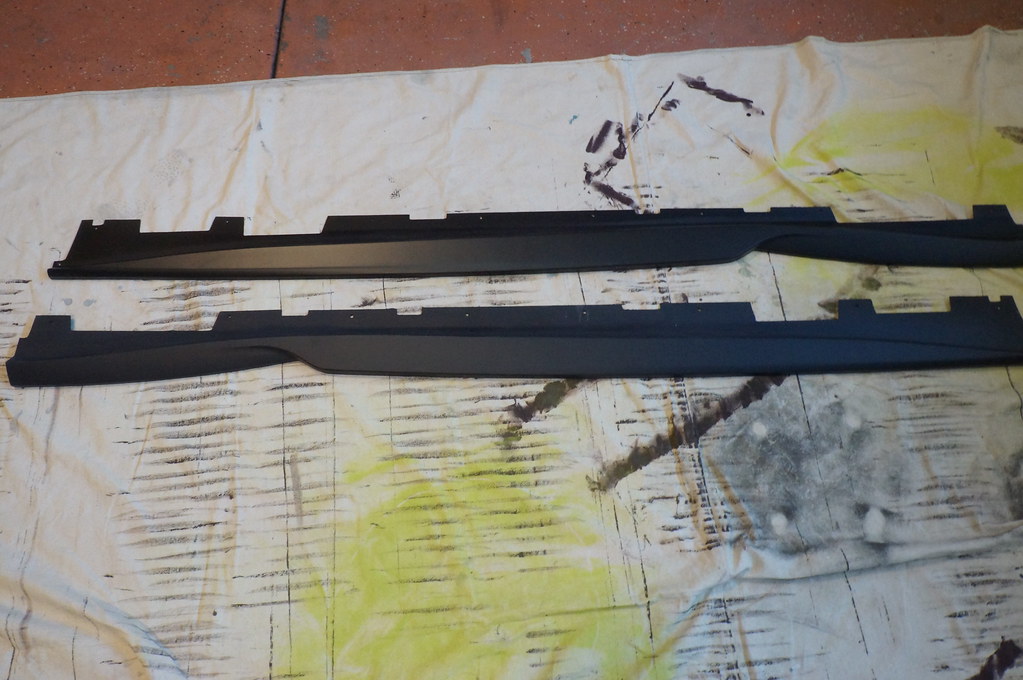
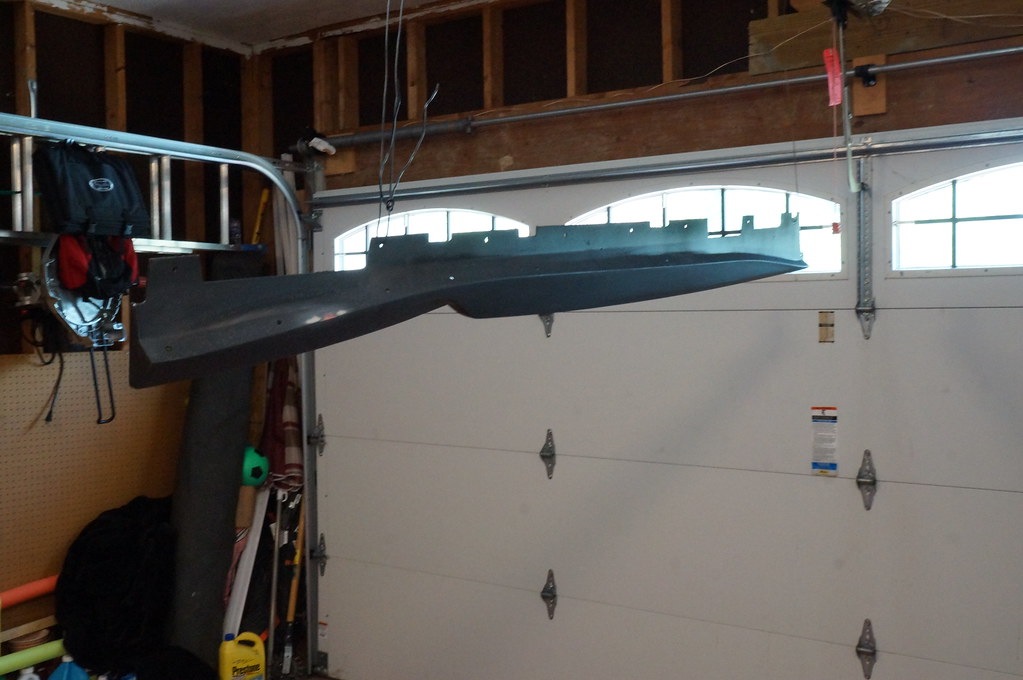
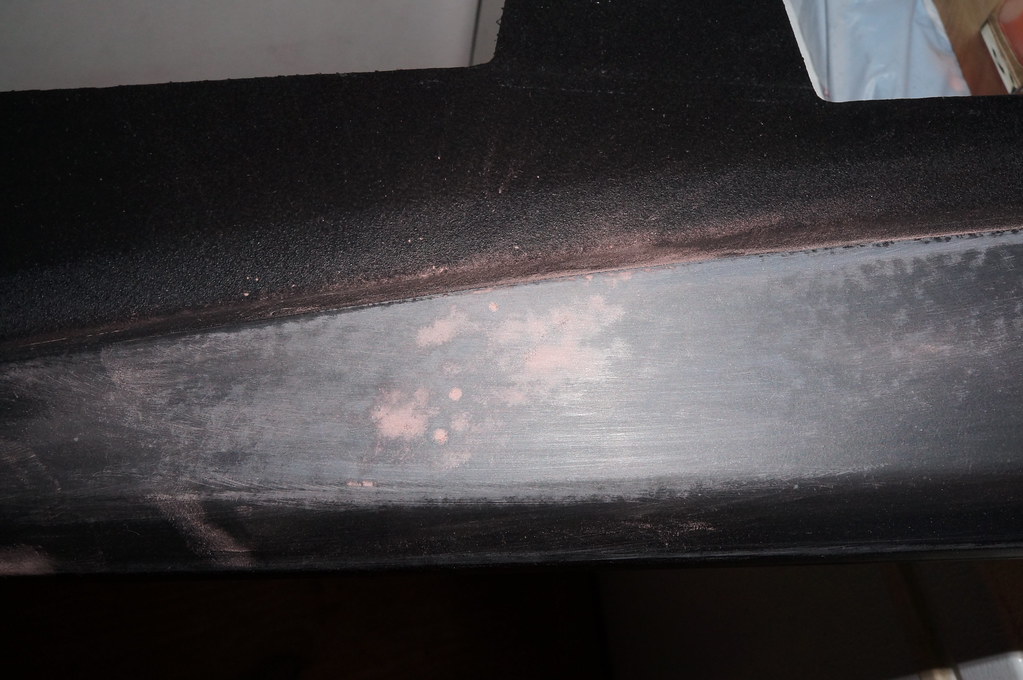
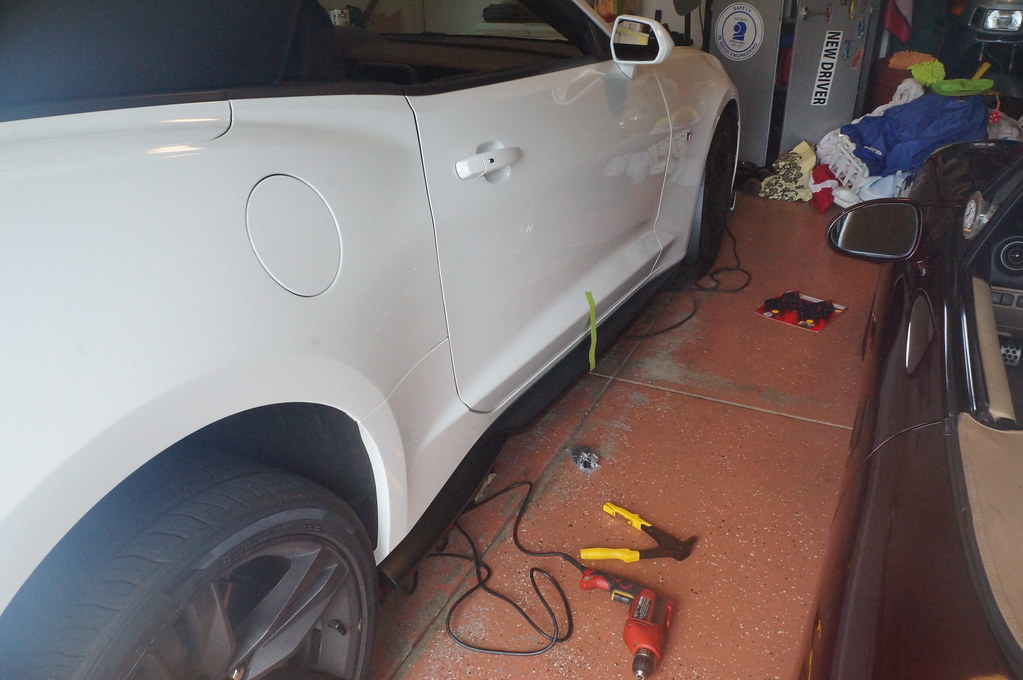
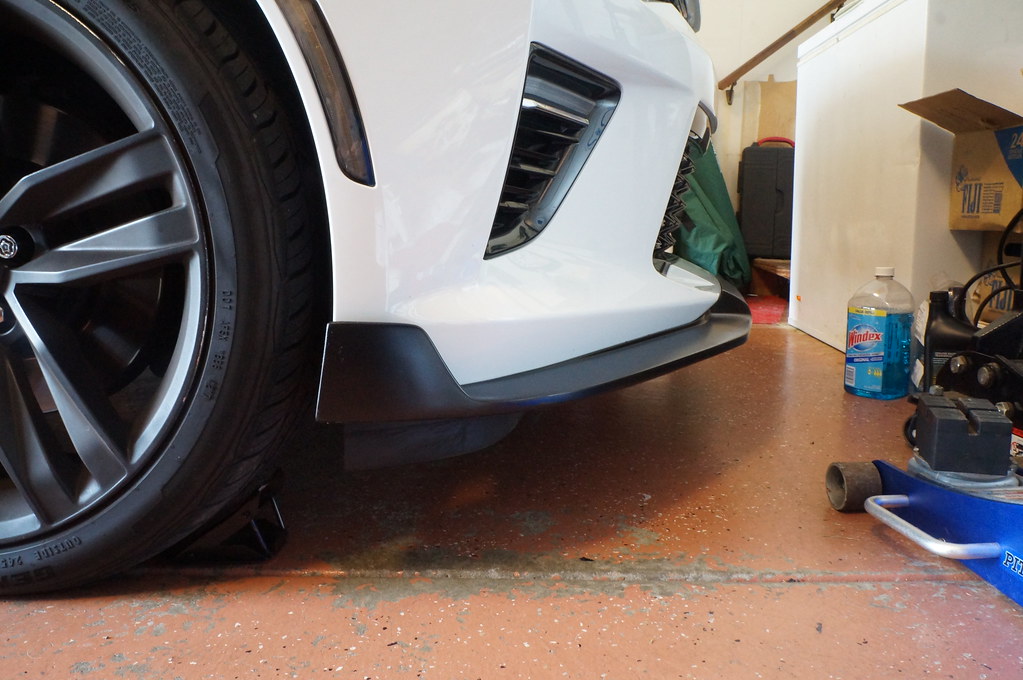
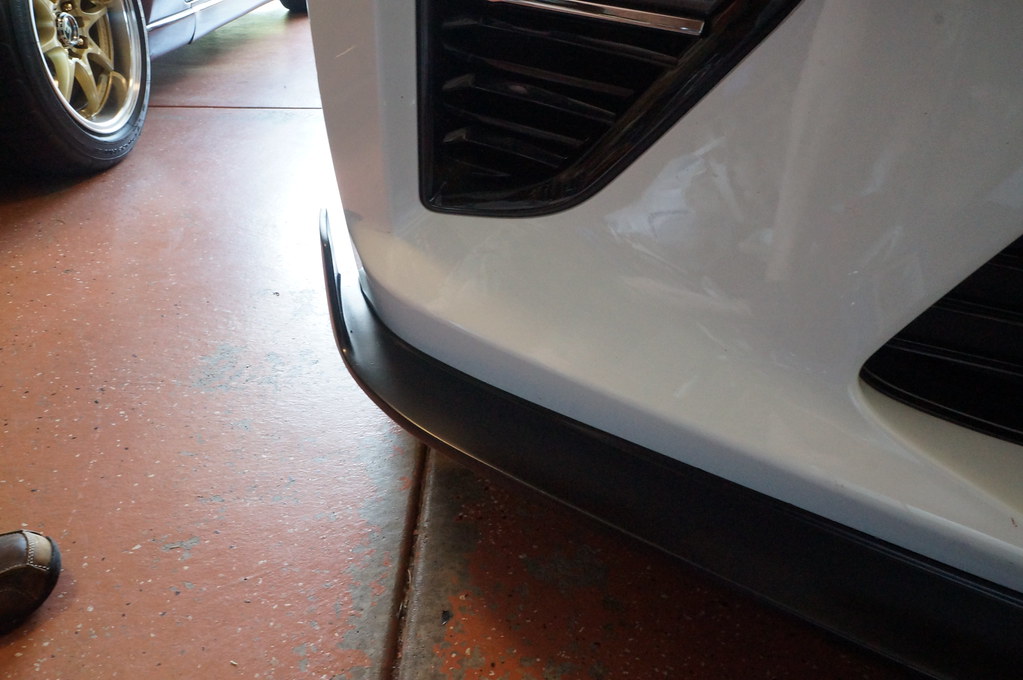
    Made my decision on the side skirts so those are ordered.

    On the way home from dinner a few nights ago with the wife, someone sat at a red light despite right-on-red rules and a clear road. I try to be patient but they sat there for so long I honked two separate times (my wife was urging me to honk more). Finally they remembered where the go pedal was and went. When it was my turn I had some frustration to vent so I started the turn and then punched it. Had a little wheelspin then she just hooked up. My wife was like Holy !!!!! I don't think she had ever launched it hard. I will say the traction control is really good on this car, it takes care of business without being intrusive.
    '00 SE, intercooled BRP MP62, Reverant MS2, Ohlins DFV, Konig Flatout (now X 2)
    __________________________________________________ ____________
    This ain't no build thread!

  2. The Following 2 Users Say Thank You to chiefmg For This Useful Post:

    Agent☣Orange (07-10-2018),tsingson (07-12-2018)

  3. #92
    Nukuler banned! chiefmg's Avatar
    Location
    N KY
    Join Date
    Jan 2012
    Posts
    1,422
    Thanks Given
    184
    Thanked 1,226 Times in 527 Posts
    Front lip came yesterday, along with the paint. I had house duties to take care of today (pressure washing siding) so didn't do anything with it but look at it. Side skirts are supposed to be here tomorrow, but the last time I checked the package was in NY so I doubt it. Tonight I ordered a SEMA grille and a mesh radiator protector (apparently there is a real chance of damage to the radiator on these cars, even if it isn't as bad as people think for $40 I'll take the insurance).

  4. The Following User Says Thank You to chiefmg For This Useful Post:

    tsingson (07-12-2018)

  5. #93
    Nukuler banned! chiefmg's Avatar
    Location
    N KY
    Join Date
    Jan 2012
    Posts
    1,422
    Thanks Given
    184
    Thanked 1,226 Times in 527 Posts
    Prepped/painted the front lip, but the paint I used sucked. I looked on Amazon for some flexible primer, SEM had that and gloss black trim paint so I bought both. I had never used their paint but always read good things about their products. The primer was fine but the paint is far from glossy and I ended up with a lot of crap in the paint (I'm guessing something to do with the spray pattern since I have never had that issue when rattle-canning before). Just went out and bought some Duplicolor trim and bumper paint (like what I used on the Miata's diffuser) in black. I'll give that a go tomorrow.

  6. The Following User Says Thank You to chiefmg For This Useful Post:

    Agent☣Orange (07-12-2018)

  7. #94
    Nukuler banned! chiefmg's Avatar
    Location
    N KY
    Join Date
    Jan 2012
    Posts
    1,422
    Thanks Given
    184
    Thanked 1,226 Times in 527 Posts
    Sanded the lip down this morning to get rid of all the crap. Shot it with the Duplicolor, hung it from the garage door opened track which made life easier. It came out much better, although it still isn't the glossy black I was hoping for.

    Side skirts showed up. The manufacturer is in Canada and the box showed it. Luckily it required a signature and the FedEx guy was understanding so I opened the box and inspected them before he left. All good thankfully. Gave them a light sanding preparatory for paint (they came primed), found a couple of pinholes so have those patched now and waiting on the stuff to dry. Hoping to get them painted tonight, if not then it will be tomorrow. Should be able to get the lip installed in the morning before she heads off for the day.

  8. The Following User Says Thank You to chiefmg For This Useful Post:

    Agent☣Orange (07-14-2018)

  9. #95
    Nukuler banned! chiefmg's Avatar
    Location
    N KY
    Join Date
    Jan 2012
    Posts
    1,422
    Thanks Given
    184
    Thanked 1,226 Times in 527 Posts
    Painted the side skirts today. I had to put multiple coats of the patching compound on a hole on one side, the three holes on the other one seemed to be good with one application. Naturally enough when I was done painting the damn thing I found that was not the case, so I'll be sanding those back down and reshooting tomorrow. Had a couple of small runs on the front lip so I sanded those and reshot them to satisfy my inner CDO.

  10. The Following 2 Users Say Thank You to chiefmg For This Useful Post:

    HarryB (07-18-2018),tsingson (07-23-2018)

  11. #96
    Nukuler banned! chiefmg's Avatar
    Location
    N KY
    Join Date
    Jan 2012
    Posts
    1,422
    Thanks Given
    184
    Thanked 1,226 Times in 527 Posts
    Picture time. Here is the front lip, shot with the primer and then the SEM (junk) paint.


    Side skirts as received (they were already primed):


    One of the spots I had to patch:


    How I hung the side skirts to paint:


    Spots on the one I had to redo (small but annoying):


    This morning I installed the front lip, it was relatively easy as it reuses 8 fasteners on the front bumper and adds four self-tapping screws. Then I moved on to the passenger side skirt. I used some tape to hold it in position while I drilled the holes (you can't see the two pieces of tape on the underneath side):


    After putting in the first pop-rivet my aged tool decided to stop working so it was off to Ace for a replacement. I decided to buy a set of spring clamps to do the other side skirt (since I didn't have any):


    In this next picture you can see one of the upper rivets installed, and two of the holes for the bottom rivets:


    Note these attach to the plastic lower rocker piece.

  12. The Following User Says Thank You to chiefmg For This Useful Post:

    tsingson (07-23-2018)

  13. #97
    Nukuler banned! chiefmg's Avatar
    Location
    N KY
    Join Date
    Jan 2012
    Posts
    1,422
    Thanks Given
    184
    Thanked 1,226 Times in 527 Posts
    How does it all look? Only some garage pictures for now due to rain, but here you go:


    The front lip is from Street Scene. I picked this one for the vertical winglets on it that I felt completed the look compared to the ones without. I repainted the other skirt today so it will go on tomorrow. I'll get some distance pictures after I install the other skirt.

  14. The Following 3 Users Say Thank You to chiefmg For This Useful Post:

    HarryB (07-18-2018),MiataQuest (07-17-2018),tsingson (07-23-2018)

  15. #98
    Nukuler banned! chiefmg's Avatar
    Location
    N KY
    Join Date
    Jan 2012
    Posts
    1,422
    Thanks Given
    184
    Thanked 1,226 Times in 527 Posts
    As promised, an outside picture. Kind of hard to see the side skirt detail, I'll have to get a shot earlier or later in the day with the sun lower. You can see how it serves to visually lower the car though.


  16. The Following 4 Users Say Thank You to chiefmg For This Useful Post:

    Demon I Am (07-24-2018),HarryB (07-18-2018),MiataQuest (07-18-2018),tsingson (07-23-2018)

  17. #99
    Nukuler banned! chiefmg's Avatar
    Location
    N KY
    Join Date
    Jan 2012
    Posts
    1,422
    Thanks Given
    184
    Thanked 1,226 Times in 527 Posts
    And, the first performance part has been bought. A stock ported throttle body. I am planning on getting the stock intake manifold ported to match, along with some sort of CAI. Beyond that, maybe some headers but that will do it.

  18. The Following 2 Users Say Thank You to chiefmg For This Useful Post:

    MiataQuest (07-24-2018),tsingson (07-23-2018)

  19. #100
    Nukuler banned! chiefmg's Avatar
    Location
    N KY
    Join Date
    Jan 2012
    Posts
    1,422
    Thanks Given
    184
    Thanked 1,226 Times in 527 Posts
    Received the radiator screen today a day early. Backed the car into the garage so I can do the install of this and the SEMA grille first thing tomorrow. Pictures to come...

  20. #101
    4,000 rpm - entering the fun zone Slampen's Avatar
    Drives
    '95 BRG 1.8
    Location
    Ski, Norway
    Join Date
    Jan 2012
    Posts
    1,135
    Thanks Given
    1,287
    Thanked 441 Times in 237 Posts
    Quote Originally Posted by chiefmg View Post
    And, the first performance part has been bought.
    Aaaj-aaaj-Aj.
    Sounds like a expensive route to follow.

  21. #102
    Nukuler banned! chiefmg's Avatar
    Location
    N KY
    Join Date
    Jan 2012
    Posts
    1,422
    Thanks Given
    184
    Thanked 1,226 Times in 527 Posts
    Quote Originally Posted by Slampen View Post
    Aaaj-aaaj-Aj.
    Sounds like a expensive route to follow.
    Yeah, parts are a LOT more expensive for this car compared to my Miata. I won't be doing too many performance mods though (famous last words!).

    Got into things first thing this morning. Here is how the grille looks stock:


    Removing the bumper cover is about the same as it is with any modern car, a royal PITA. I had printed out some instructions from a vendor site to make sure I didn't miss any fasteners. Got that all apart with minor frustration. Removed the factory grille without much trouble, except for the fasteners holding a wiring harness across the bottom. GM uses a lot of fasteners that have those multiple ribs on them. You can get them out eventually but some times they are ruined for reuse. Here is what I am talking about:


    Finally for them off and then installed the SEMA grille. Since her car doesn't have brake cooling I had to install blanks on the two outboard openings (where the white accent is). While drilling some holes I managed to punch the bit into my thumb. Not a major injury but it hurt and did bleed a lot. I'll spare everyone a picture of that!

    With the bumper off I also installed the radiator rock screen. It came without any instructions, after some head-scratching I went to the Internet for some pictorial help. Discovered I was looking at it upside-down. This meant I had to drill some holes in a plastic guard for what I think is the transmission cooler.


    Since I was not willing to test my ability to keep the drill bit from punching through the cooler (see my previous thumb injury) I just removed the guard. It was relatively easy. Before I pulled it I put the radiator screen roughly in place and marked for the holes. Then pulled the cooler guard and drilled the holes like so:


    Installed the cooler guard and put the rock screen in place like so:


    They included a couple of screws to hold the top of the screen but there was no way I was getting a drill into the small space to put some holes in the bumper reinforcement. After looking at things I realized I could use a couple of zip ties to hold the top where it needed to be. So I did that.


    Here is the end result of all that effort:


    Note that afterwards I realized I had left out a bumper energy absorber so once the wife got back from her errands I had to pull to cover off again. Got it all back together and found the right front marker light is now out. Looks like I'll be doing some electrical checks in the morning.

  22. The Following 4 Users Say Thank You to chiefmg For This Useful Post:

    Agent☣Orange (07-27-2018),Bryan (07-25-2018),Slampen (07-25-2018),tsingson (07-26-2018)

  23. #103
    Nukuler banned! chiefmg's Avatar
    Location
    N KY
    Join Date
    Jan 2012
    Posts
    1,422
    Thanks Given
    184
    Thanked 1,226 Times in 527 Posts
    Gave it a bath yesterday, once that was done I took some more pictures to hopefully better show the side skirts:


    This one shows the front grille after I installed the piece I missed the first time, you can no longer see the white bumper reinforcing bar:


    Tested the front side marker socket for voltage and it was showing a full 12 volts. The place I bought them from has a one year warranty so I sent them a message to see how to handle it. Unfortunately their new lights have a darker smoked finish. I liked the ones we have now as they match the rear lights very well. Nothing I can do about it though.

    We drove it to dinner last night with a friend. As we were leaving from dropping her off a few raindrops hit the windshield. Put the top up at a stoplight and it was a good thing we did, as the rain poured down until just before arriving home. So much for a clean car.
    '00 SE, intercooled BRP MP62, Reverant MS2, Ohlins DFV, Konig Flatout (now X 2)
    __________________________________________________ ____________
    This ain't no build thread!

  24. The Following 3 Users Say Thank You to chiefmg For This Useful Post:

    Agent☣Orange (07-27-2018),Bryan (07-28-2018),tsingson (08-01-2018)

  25. #104
    6,000 rpm - mere mortals would shift Demon I Am's Avatar
    Drives
    No-ata
    Location
    Raleigh, NC
    Join Date
    Jan 2012
    Posts
    7,331
    Thanks Given
    2,203
    Thanked 1,396 Times in 850 Posts
    can you disassemble the lights, and just swap the guts into the preferred housing?

  26. The Following User Says Thank You to Demon I Am For This Useful Post:

    chiefmg (07-27-2018)

  27. #105
    Nukuler banned! chiefmg's Avatar
    Location
    N KY
    Join Date
    Jan 2012
    Posts
    1,422
    Thanks Given
    184
    Thanked 1,226 Times in 527 Posts
    That's a possibility. I'll have to wait and see what their warranty policy is. I might have to send the old ones back, in which case doing that would send up a red flag.

Page 7 of 9 FirstFirst 123456789 LastLast

Posting Permissions

  • You may not post new threads
  • You may not post replies
  • You may not post attachments
  • You may not edit your posts
  •