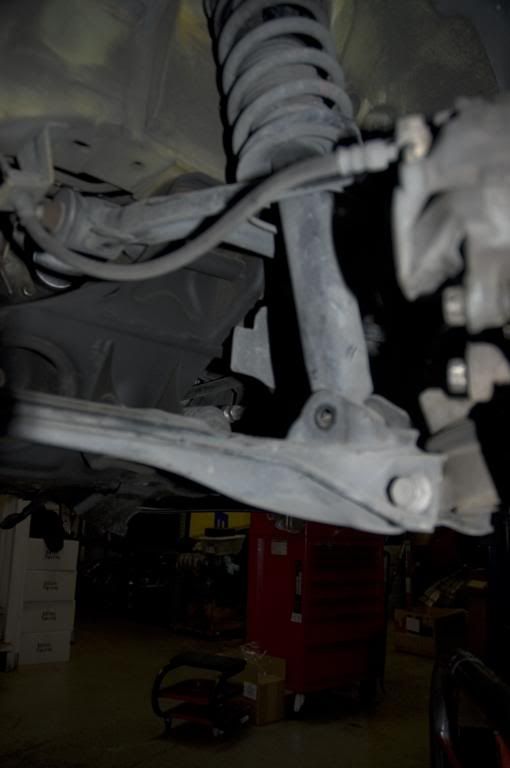
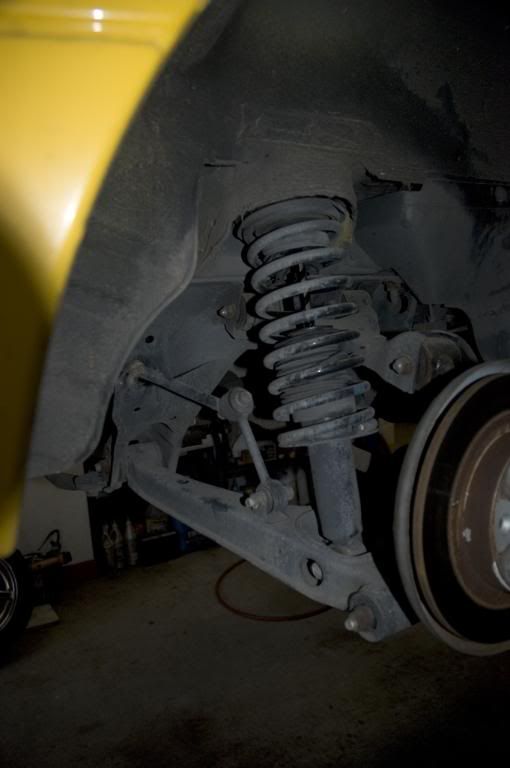
Now grab your 17mm socket and spanner and take off the bolt on the lower shock mount. This bolt is a bit stubborn so get your hammer and phillips screwdriver and tap it out. If it doesn't want to come all the way out, STOP! Get your ratchet or air gun and slowy unscrew it from the hole. The tension on the bolt will let the threads unscrew it out of the hole and not screw anything up.
Now, this is where my technique departs from the "conventional" method. Most people say to remove the upper control arm bolt but I think it's only good for wasting 45 minutes of your time. You have to take off the undertray, wrestle this six mile long bolt out, and well, you get the picture. This way you're removing two small bolts and only taking about 10 minutes per side to do it.
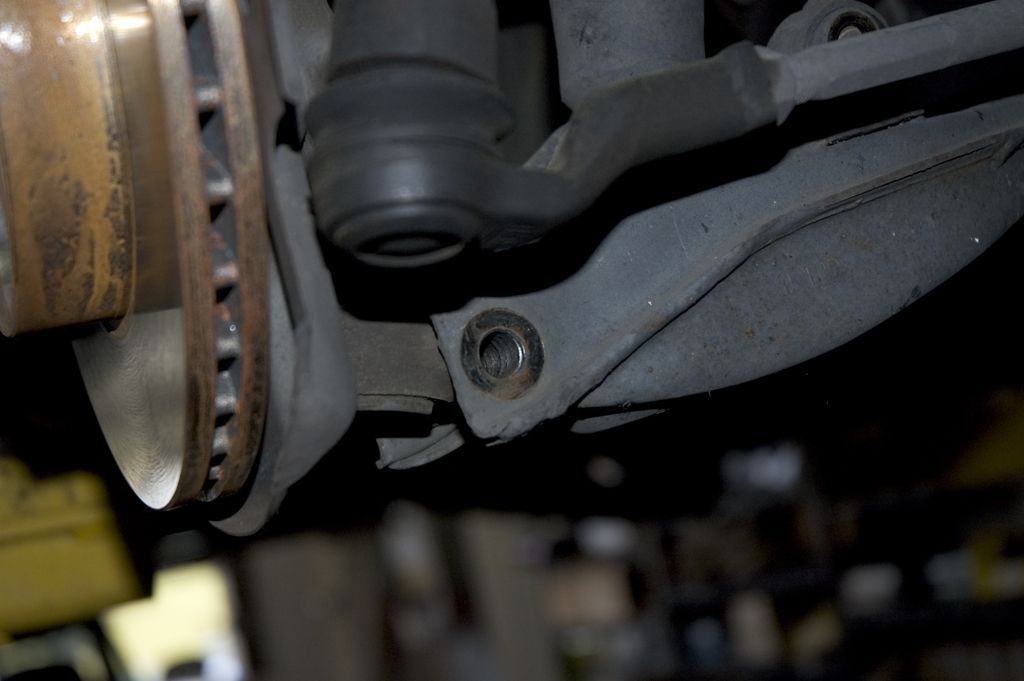
Again with your 17mm gear, remove the bolt holding the lower knuckle in place. But don't start pulling yet! There one more bolt hidden inside...
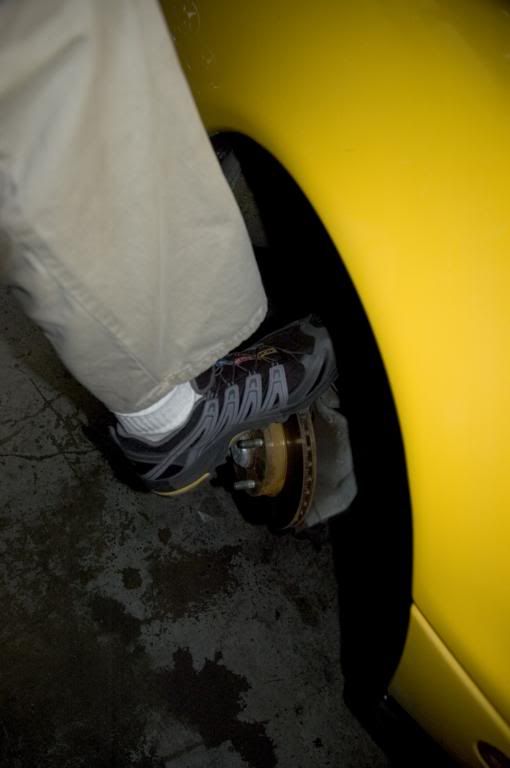
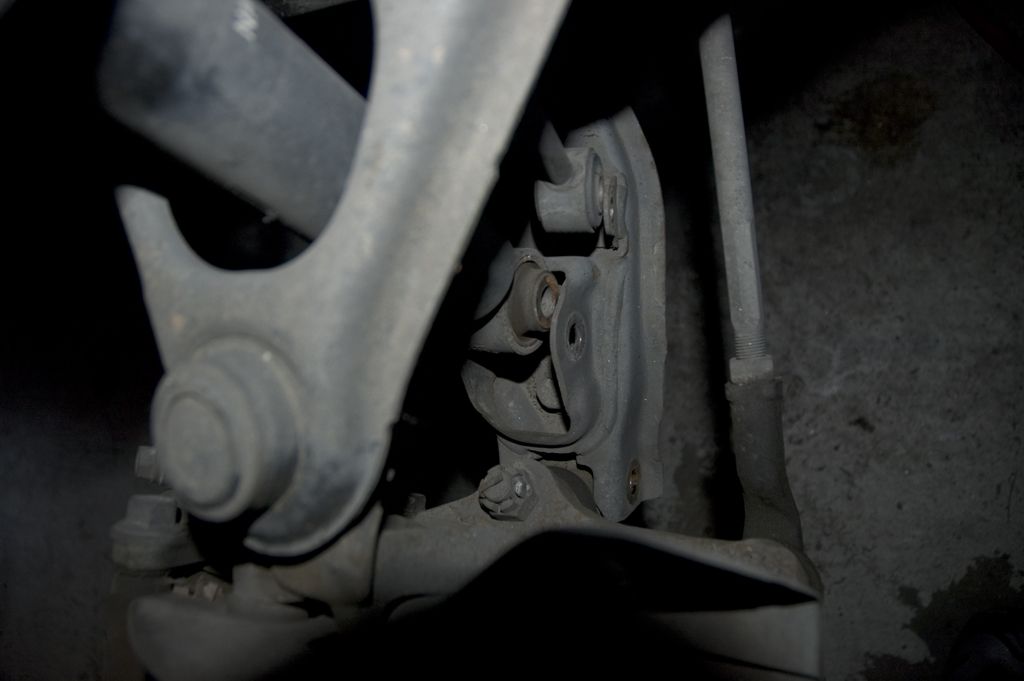
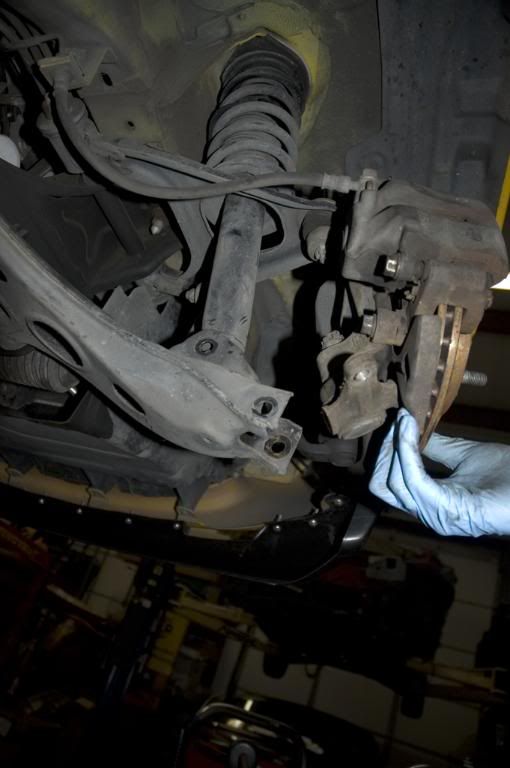
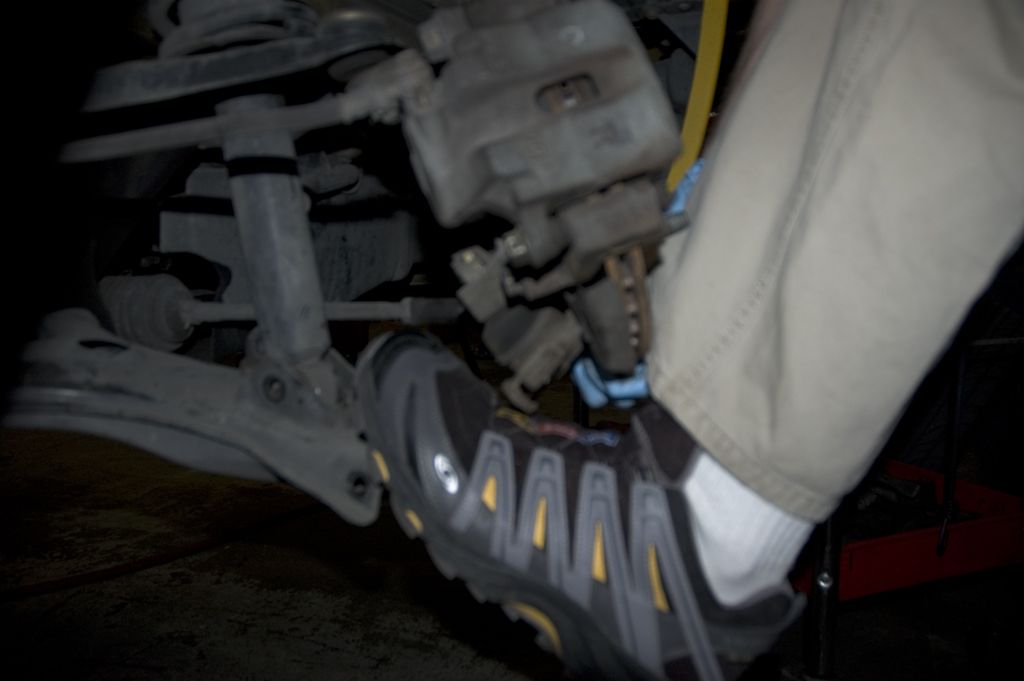
Using your good ol' size 12 (or in my case 11) push down on the brake so that the shock pops free of its hole. When it does that reach under and prop it up on the back side of the hole it used to sit in like so:
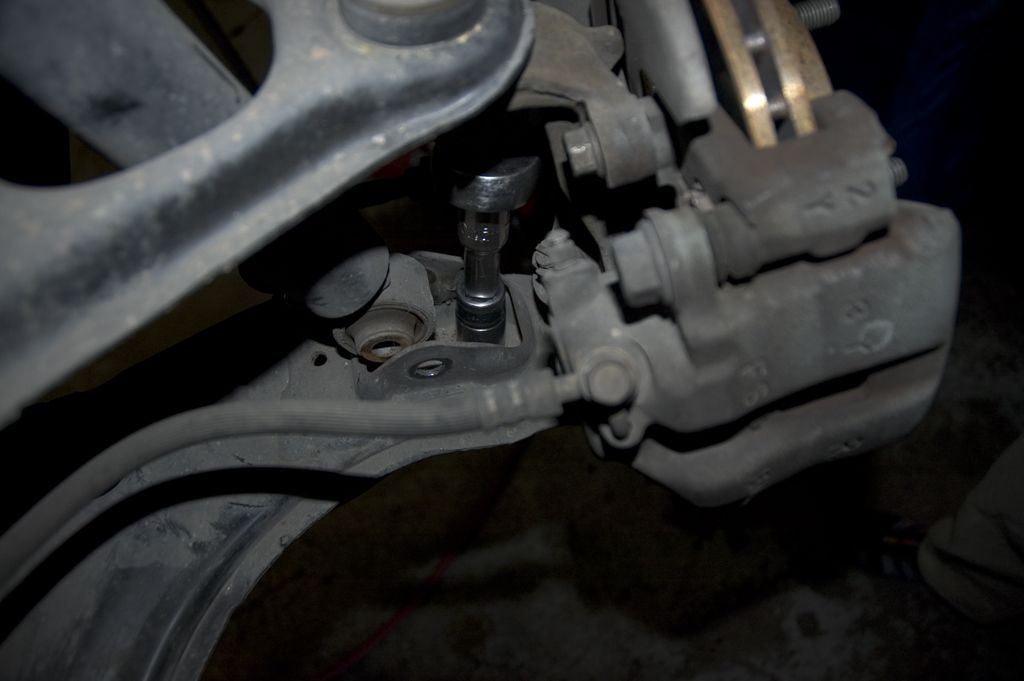
Now get in there with your 17mm socket and remove that last bolt. Once you break it free, take your flathead screwdriver and pry up underneath the bolt to lift up the tongue. This will make it easier to unscrew.
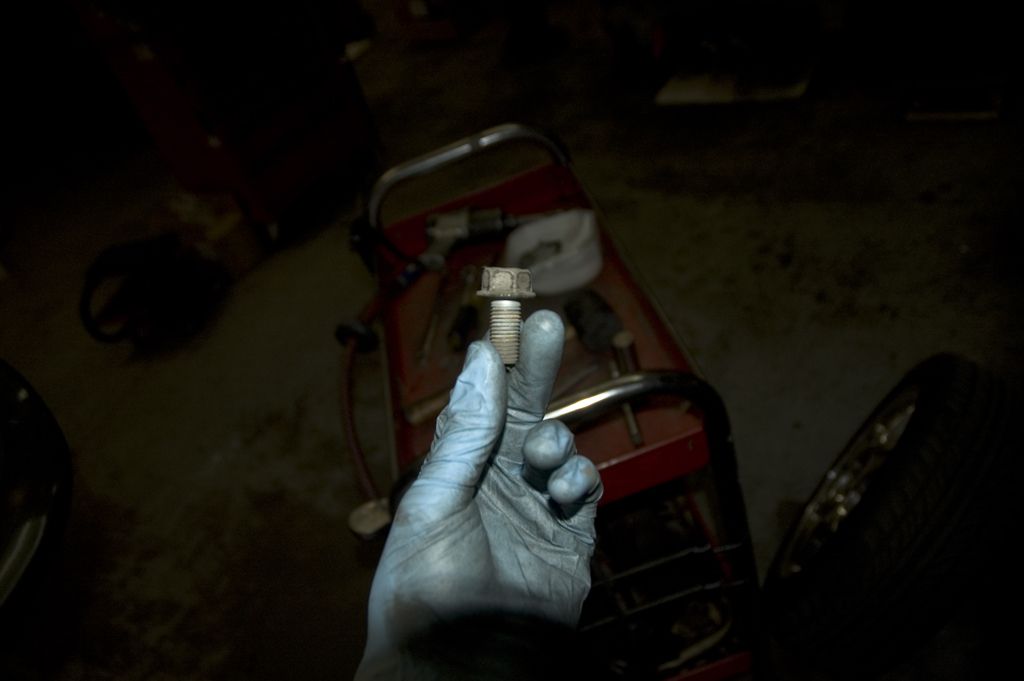
She's free! To the milk jug with you!
Now grab the bottom of hte knuckle assembly and give it a few good tugs. The whole piece should pull free and swing up.
Time to move topside!
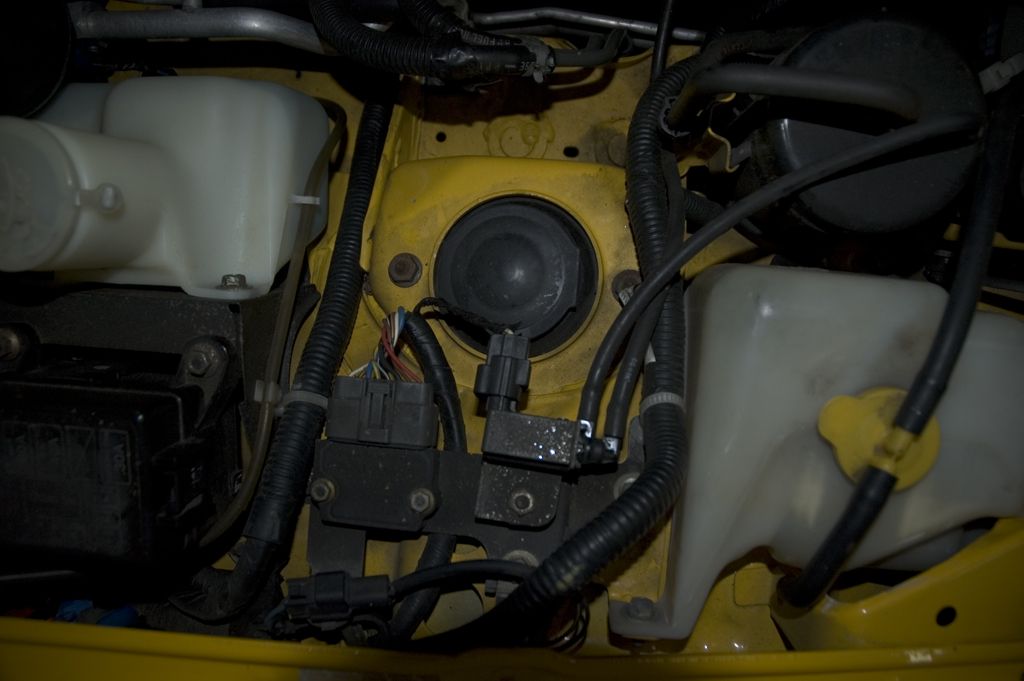
Grab your 3/8" drive and 14mm socket and remove the two bolts holdting the upper shock mount in place.
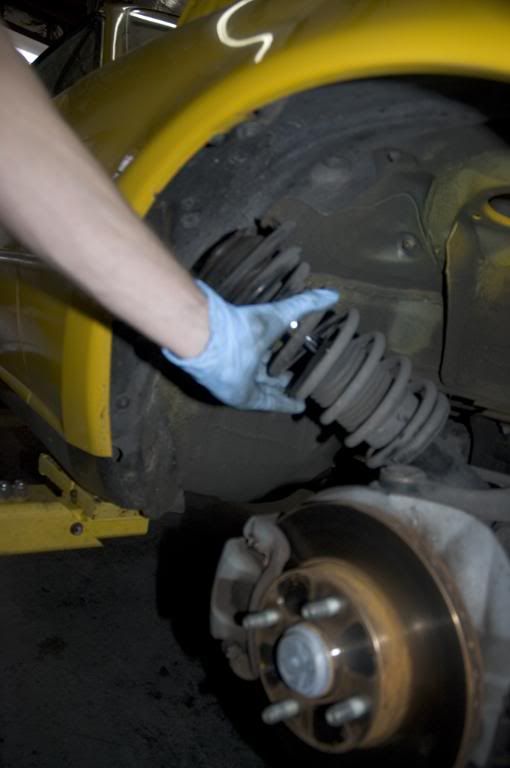
Grab your size 12 again and this time push down on the lower control arm. This will get everything out of the way below the shock. Now with one hand grab the shock and with the other push down on the upper control arm. It shouldn't take too much and then the shock will...
Be free!
The process is the same for the driver and passenger side, just flipped.
Tomorrow we'll talk about rear shock removal and assembly of shocks and springs.
Stay tuned!
Sorry for the delay in updates, I had a few other higher priority cars that I needed to take care of.
Anywho, here's the rest of the bid'ness:
When we last left off, I had gone over removing the front shocks. I'll briefly go over putting them back in. No pictures for this since all the ones above illustrate what i'm talking about and if you've taken them out you'll probably figure out how to get them back in ;)
First, put the new shock back in place. If you're putting in coilovers chances are it will just go right in without having to move anything out of the way. If you're using standard shocks and springs you'll probably have to do a similar jig like when you removed them. Once they're in place, thread on the nuts to the upper mounts but don't tighten them.
When reinstalling the front shocks there's only one little area that causes trouble and that's putting the lower knuckle mount back into the lower control arm. Sometimes it slides right in, but on some older cars a little more persuasion is necessary. I find that using a screwdriver through the bolt hole helps me keep it straight while inserting it into the LCA and also helps me hold it if I need to tap it in with a hammer, which is often the case. Once you get it going you can either tap it in with your mallet or just shove with your hands. Re-install the long sideways bolt that holds it in place but don't tighten it yet! You still have to put the smaller inner bolt back in place as well. Pop the shock back on the little "perch" above the little hole it sits in so you can get to it.
Getting this back in may take a couple tries. This is where your flathead screwdriver comes in real handy. Get under the tongue and pry up on it until it sits flush. Two screwdrivers soemtimes makes this easier. Once you do that, start threading the bolt back in and tighten it. Word of warning here, I like to use the socket combined with the short extension to thread it because i've had the shock pop out off of its little perch several times while doing this. You don't want to have your fingers down in there if it pops free.
Once you get the inner bolt tightened, go ahead and tighten the long one. Pop the lower shock mount into it's hole and get the bolt through. If it doesn't want to go in, use a screwdriver to move it around until the holes line up. If you get it started going but it's still stuck lightly tap it. If it stops moving, stop tapping. Get your ratchet/impact gun and thread it through, then tighten it down. Be sure to use the lock washer.
Now you can tighten the upper mount in the engine bay. Be sure not to overtighten these. They CAN and WILL strip/shear if you make them too tight. I believe the torque spec is something like 20-30 ft/lbs but I just get them "tight." "Tight" for me is basically a quick tug past when the nut snugs up.
Now re-install the sway bar end links and you'll be mostly done in the front. Now comes your proofreading. In the racing world there's a process known as "nut & bolting." This is where they go over every inch of the car and physically touch and double-torque every nut and bolt on it. You're going to do the same thing, but not with every nut and bolt on the car.Remember that list I had you make? Go over it again and double check everything on there that you loosened or touched. check any other vital components around there as well like brake lines or the rotors, etc. Be sure everything is in ship shape before you put a "done" stamp on it.



 Reply With Quote