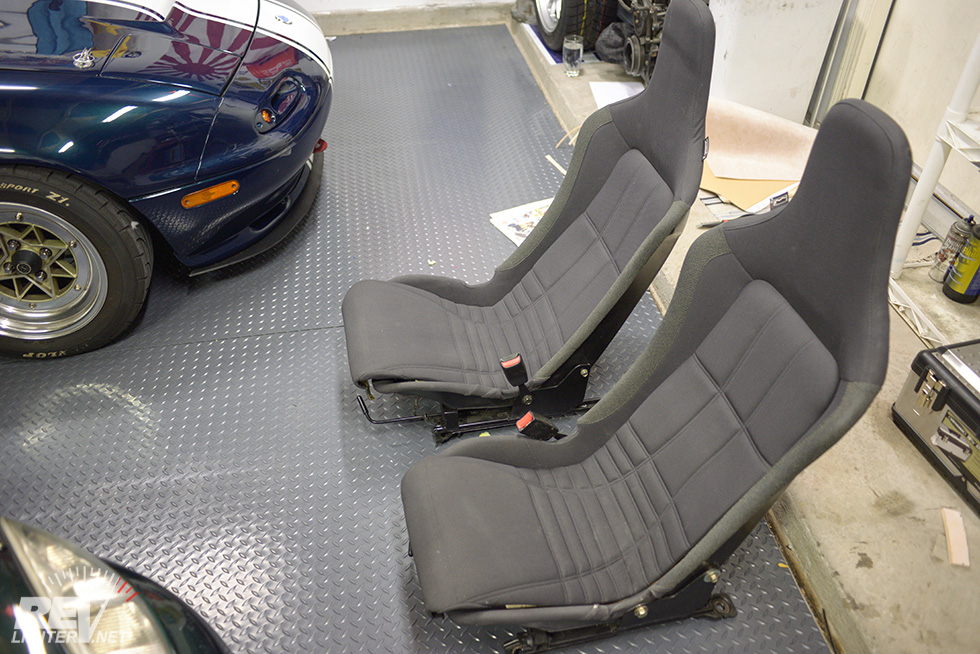
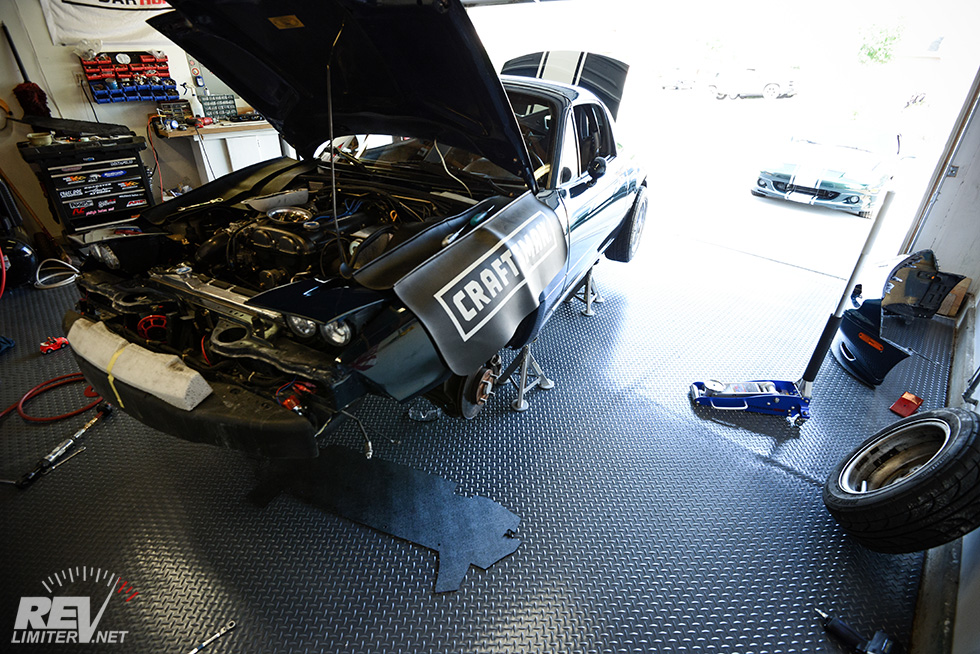
I got to this point and took a step back. Sharka was disassembled again. The car was only together for a day. A day. That’s all. I couldn’t even go 24 hours.
I have a problem.
Hi, my name is Adam. I’m addicted to Miata projects.
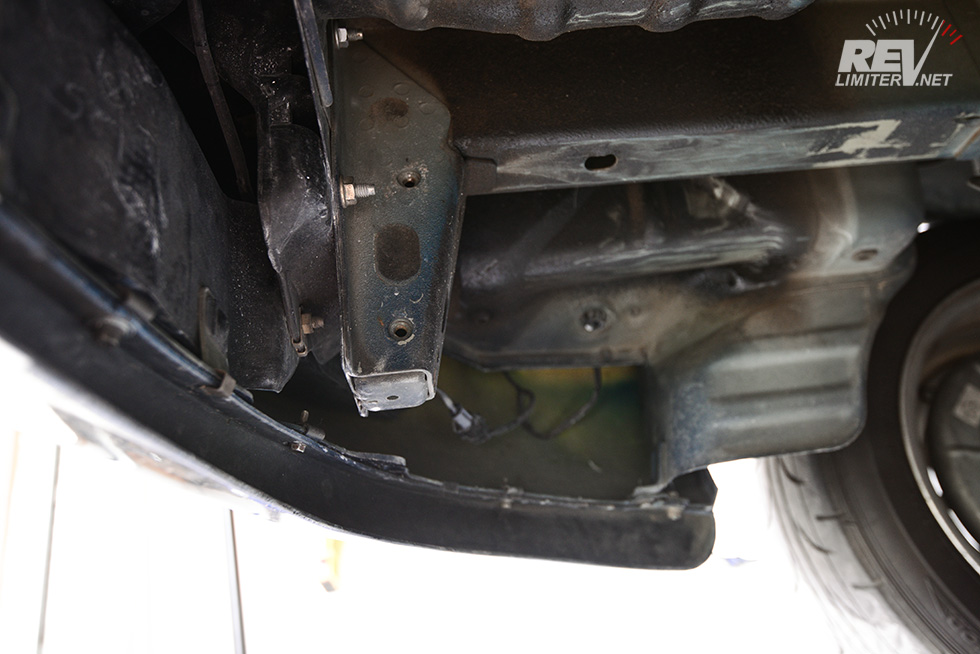
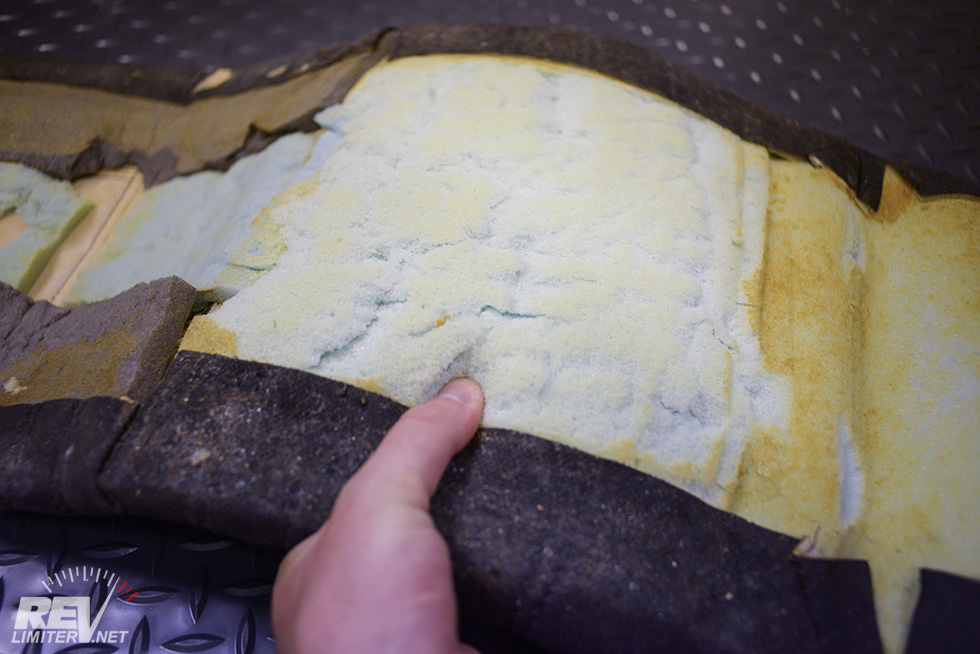
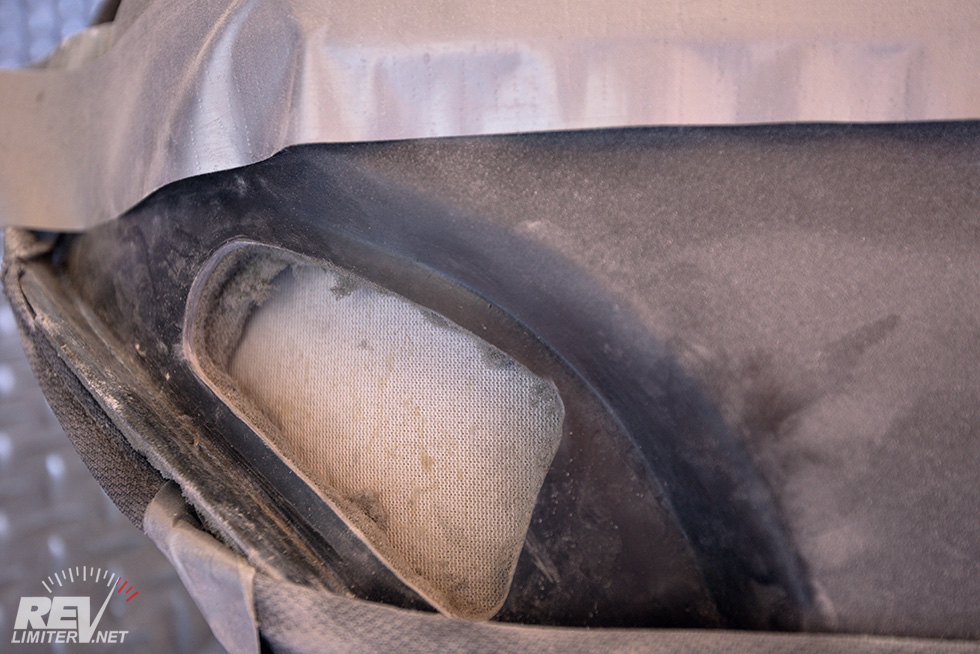
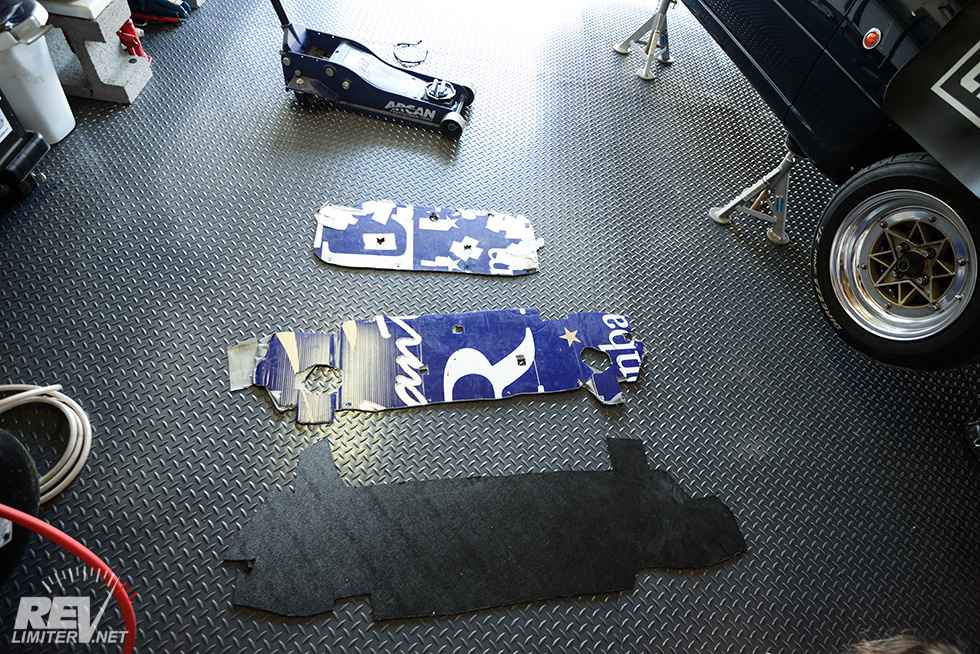
When I took Sharka’s bumper off for paint, the radiator shroud I’d cobbled together kinda… self destructed. Years ago, I did a blog post about a temporary side shroud for the rad. You know how temporary things turn into permanent? Yeah. These sad plastic panels have been on Sharka for 5 years.
I tore out the OEM tray and made a better sealing one out of Coroplast. That’s what you see at the top of the pic. It bolted in on the front, zip tied on the back, and the edges were sealed with aluminum tape. It was super ghetto, but it worked really well.
The only problem, aside from being super ghetto, was that this rad shroud would pretty much come apart every time I needed to get access to the bottom.
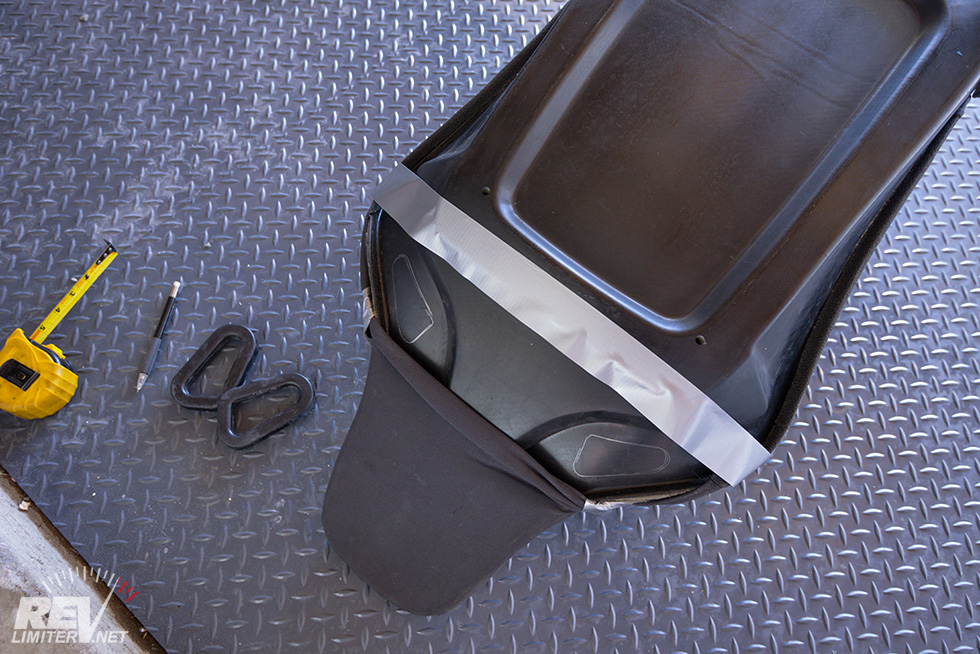
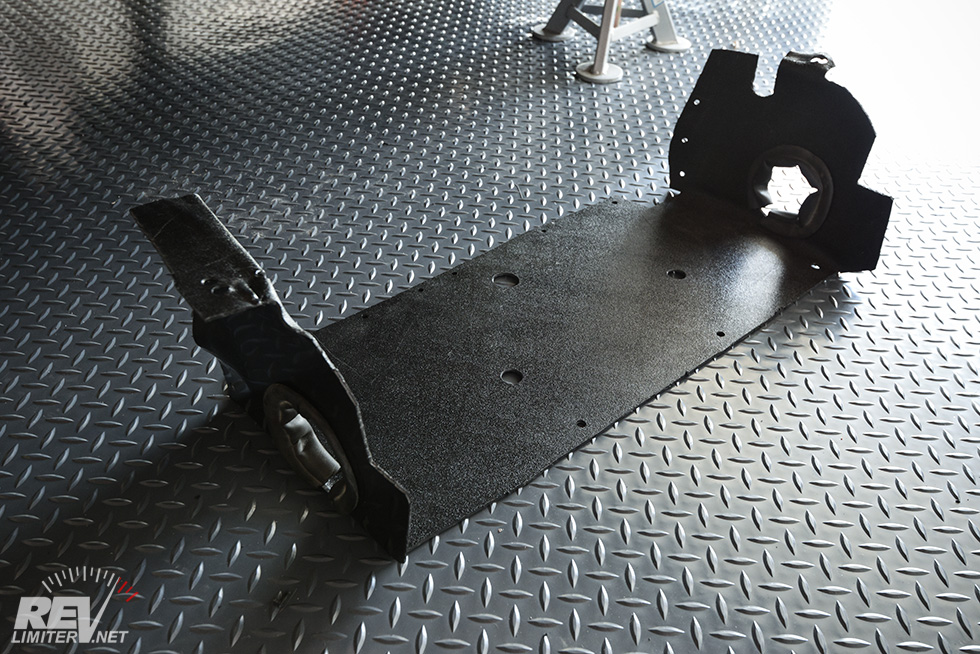
When I got the car apart for paint, I spent an hour making a new prototype coroplast undertray. I wanted a one piece duct that would seal well on the front, top, and bottom. I wanted a nice seal around the intercooler hoses. I wanted something that wouldn’t self destruct when it needed to be removed.
I had just enough spare 1/8″ ABS to do it.
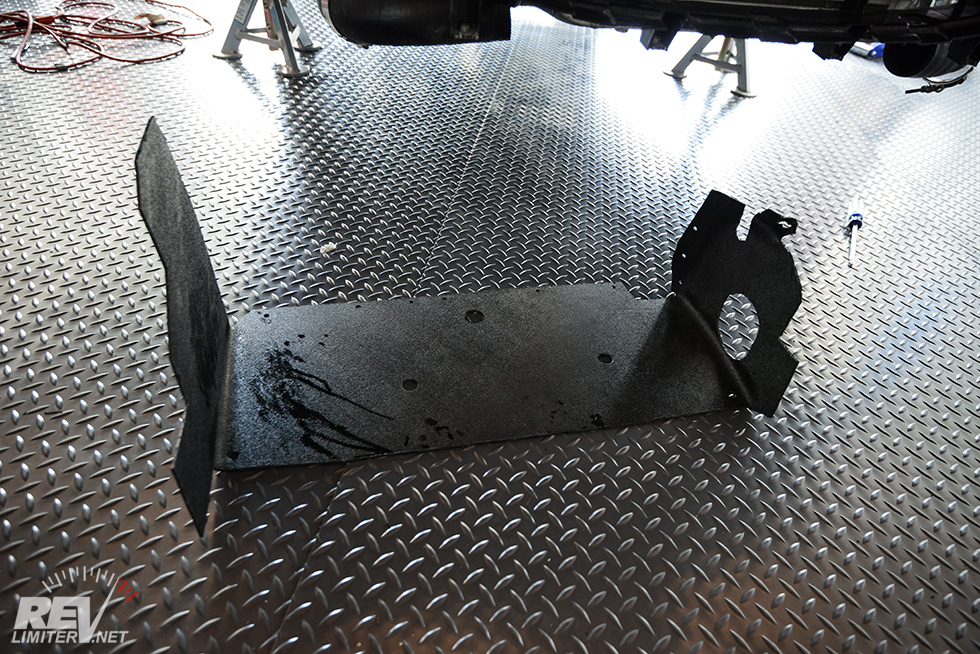
First, I got the holes in the right spots. That was not as easy as expected. The ABS is a bit harder to work with and force into place than coroplast.
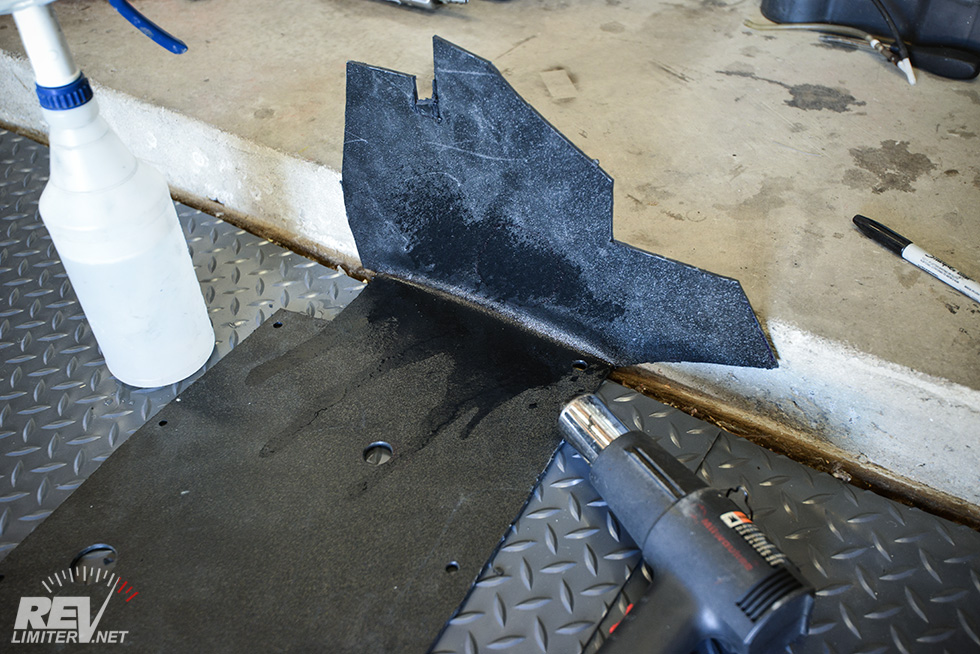
How to do the bends? A heat gun makes ABS nice and pliable. It’s a little tricky to get it flexible without bubbling the plastic, but not too difficult. Plus, this is just an undertray. It won’t be seen too often.
I used the little step in my garage to get the 90 degree bend. Once I was happy with the angle, I cooled the plastic with a quick water bottle spray. A minute later and it was ready for test fitting.
Driver's side done.
Bending the passenger side.
Finished!
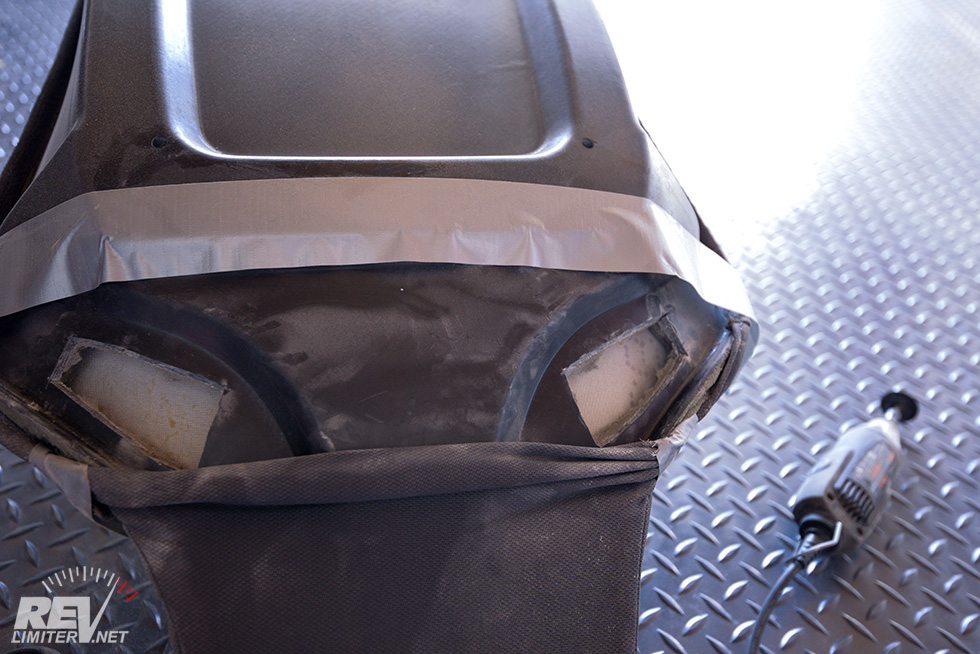
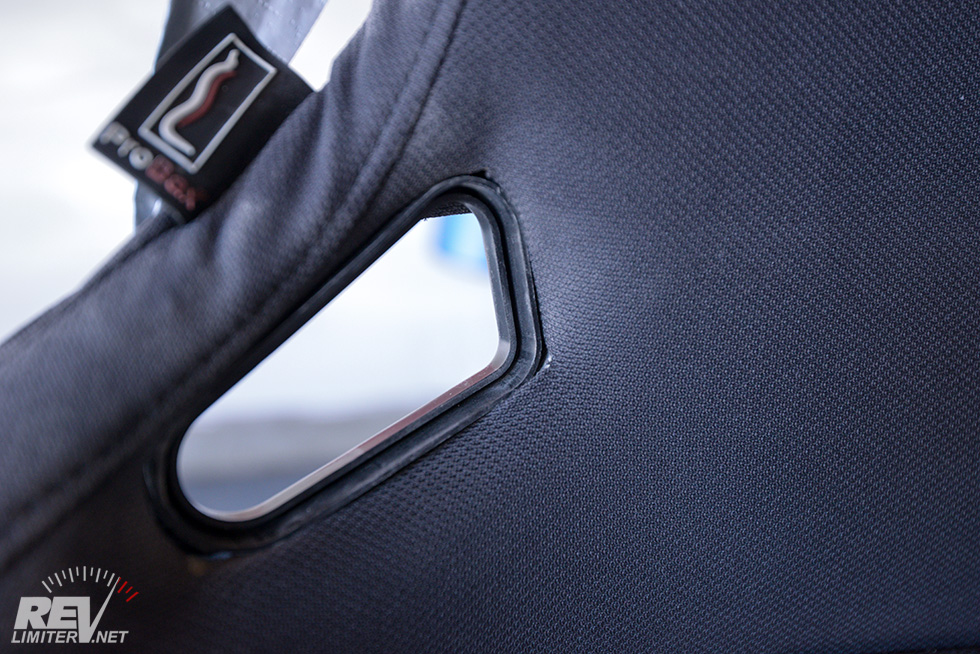
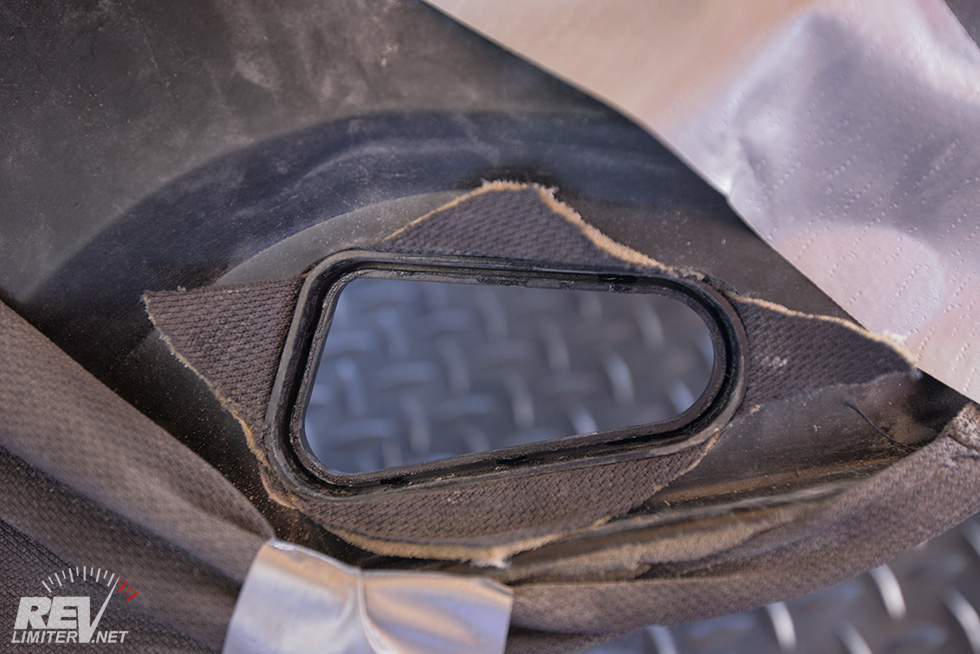
Intercooler hole.
It’s not extremely glamorous. I’ve definitely seen nicer ones on Miataturbo. But this shroud? It’s a hell of a lot nicer than what I had. I was embarrassed by what I had.
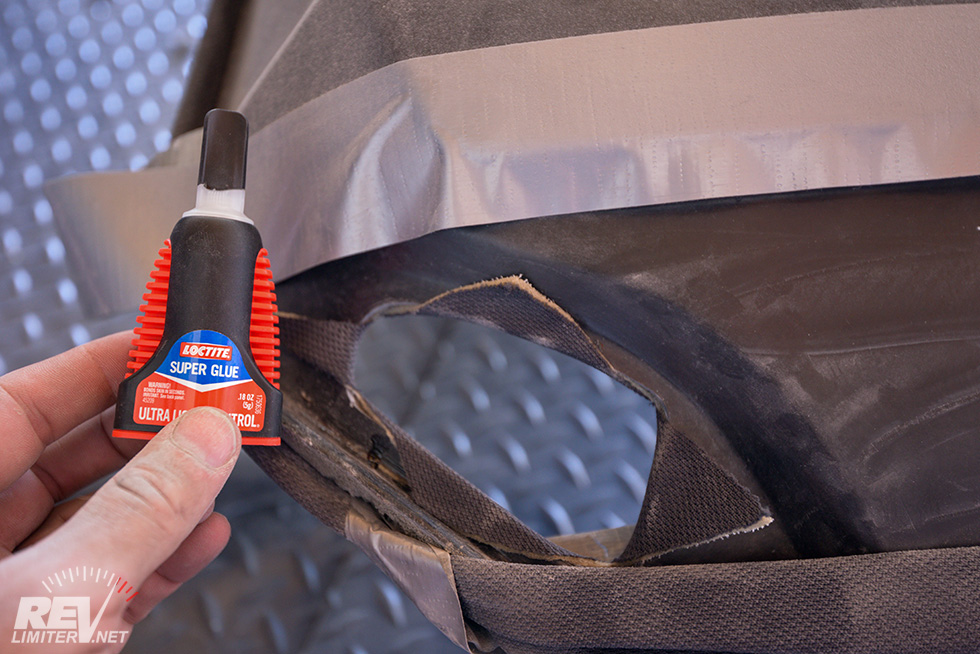
I cut the intercooler holes big on purpose. I didn’t want the ABS sawing through FM’s nice silicone hoses. A little edge guard makes for a nice fit. The driver’s side fits tighter than the passenger, but both are a lot nicer than the previous versions.
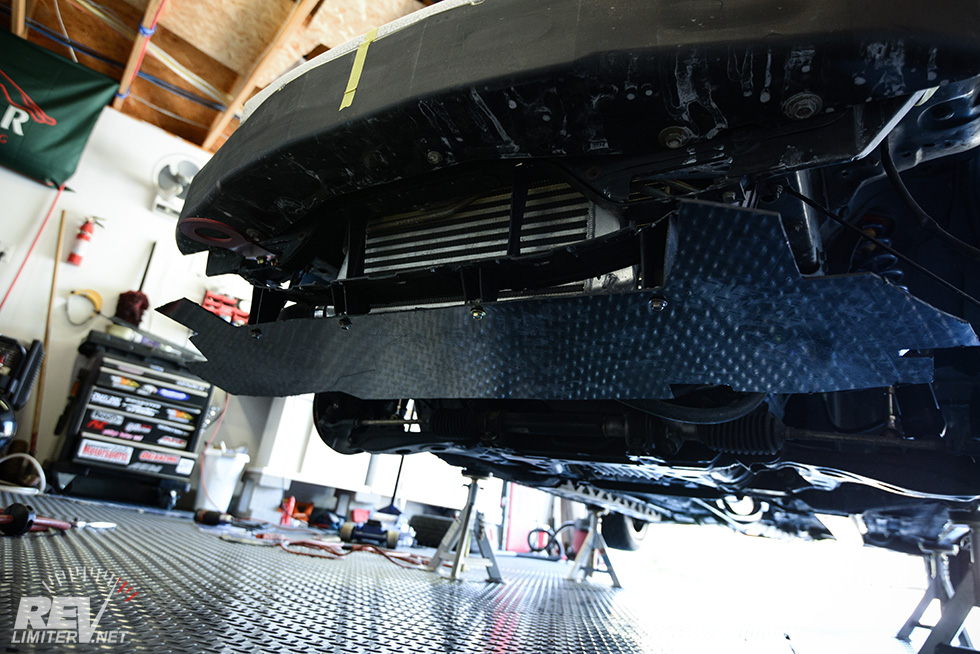
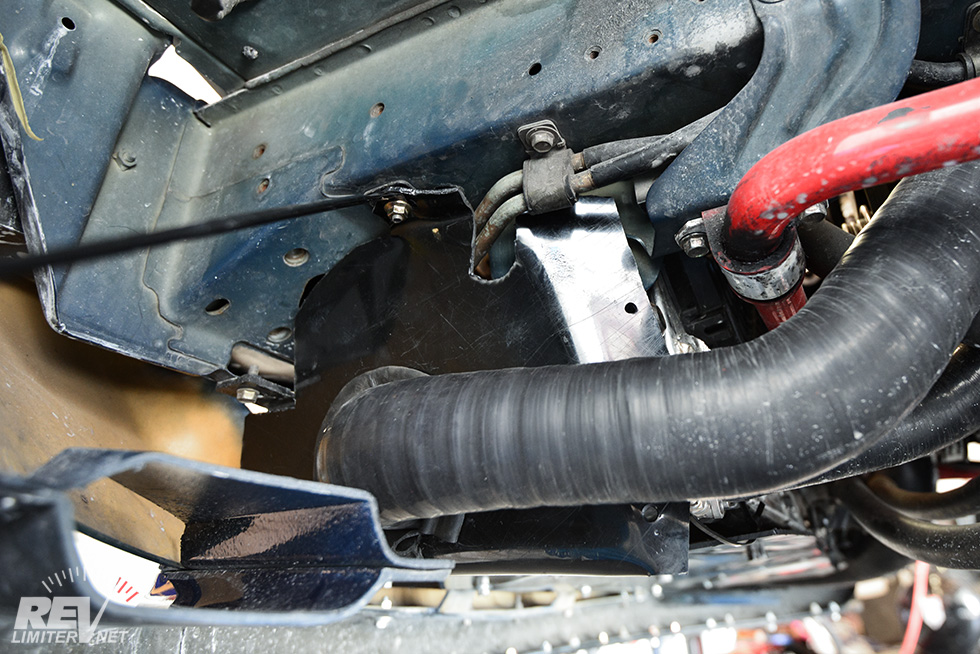
DONE! It mounts up with the nose in place and fits pretty well (miles better than the OEM piece). This is a huge improvement.
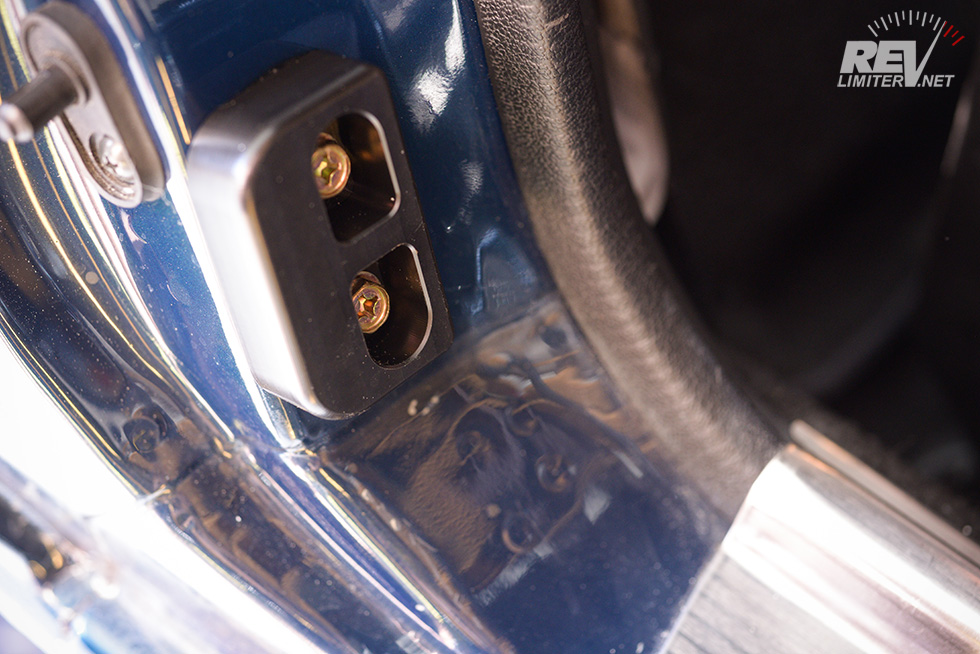
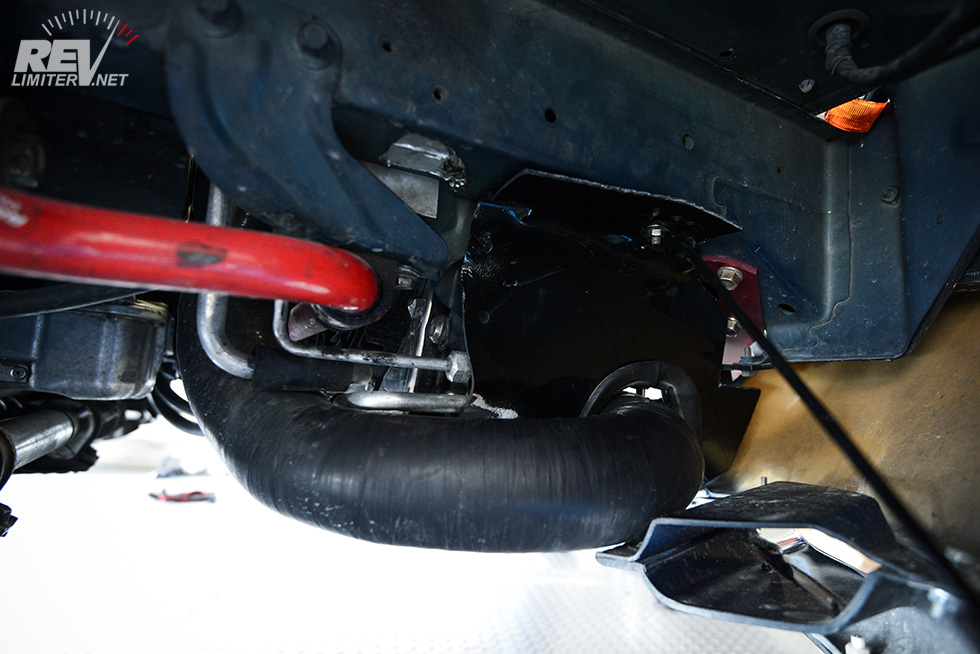
I have to unbolt the intercooler hoses to take it on and off. There’s enough room in the mouth to do this, but it’s pretty tight. And I used some longer bolts on the front to make mounting easier.
And I used zip ties on the back. Don’t judge! They work really well back there. I might seal up the back edge with some aluminum tape… not sure yet. It’s not bad to peel off each time. I just didn’t want to ghetto it up for blog photos.
Another item off the list! Now Sharka can drive around in the summer heat.
I need to seal up the back of the hood next. That cowl induction thing is harshing my mellow.


 Reply With Quote