Originally Posted by
chiefmg

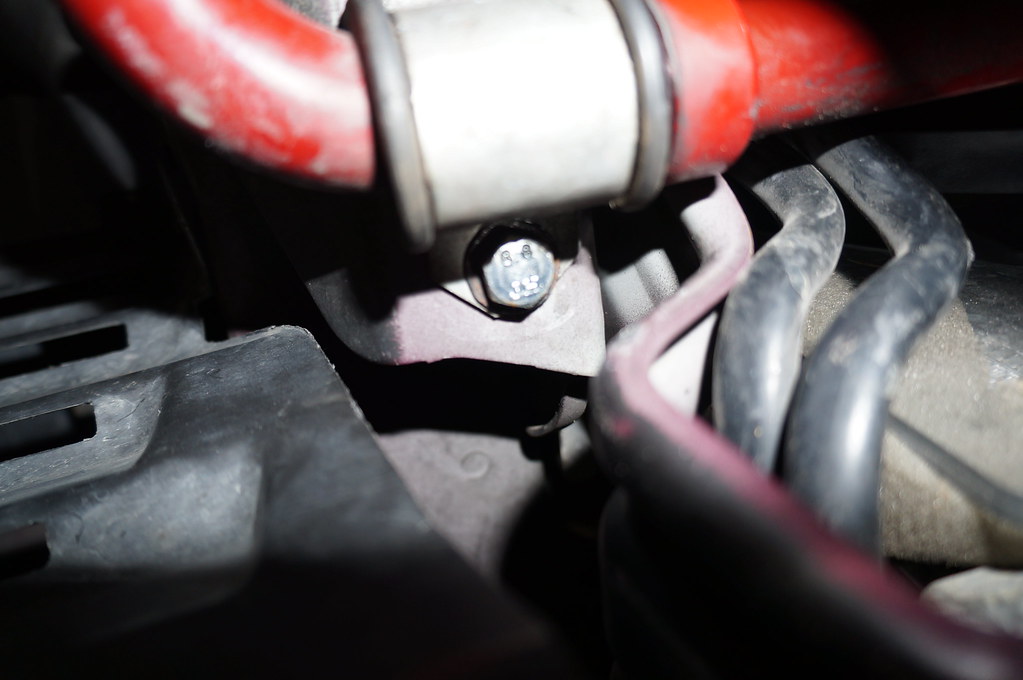
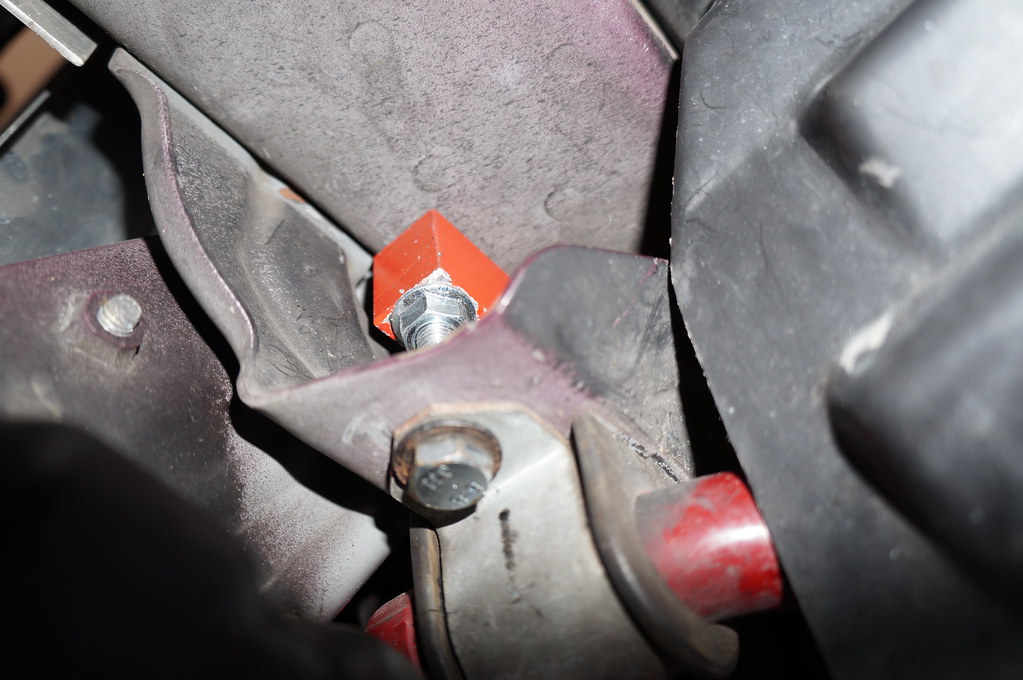
Since I am supposed to be getting some help with my tune at MATG, I decided I would go ahead and calibrate the O2 sensor. Got that done, then since I was already under there figured I might as well finally install the RB front sway blocks I bought from some shyster named YellowYata. Found out the bolts were wrong so measured the length I would need and paid a visit to Ace. Got what I thought were the correct bolts (M8 X 1.25) based on the stock bolt and some nuts to lock the blocks down. Unfortunately the bolts were jamming when I tried putting them through the factory sway bushings blocks. Going to have to go to a local hardware store, they usually have a wider selection of fasteners to see if I can find what is correct.


 Reply With Quote