


Ok there was no how to on replacing the miata bushings so I thought I would make a how to.
Parts needed
1. Replacement Bushings
2. A really good wrench set and socket
3. Mics bolts and nuts from home depot. (I went to the create a bolt section).
4. Small metal piece taking the shape of a small pvc tube.
5. Floor jack and jack stands.
6. Copious amounts of PB Blaster.
7. New cotton pins and castle nuts
8. 3 jaw puller
Tips: Make sure to spray penetrating fluid when necessary, label everything and use little plastic bags to sort the nuts and bolts and washers, the control arm bolts are not like a normal bolt and washer.
What to do
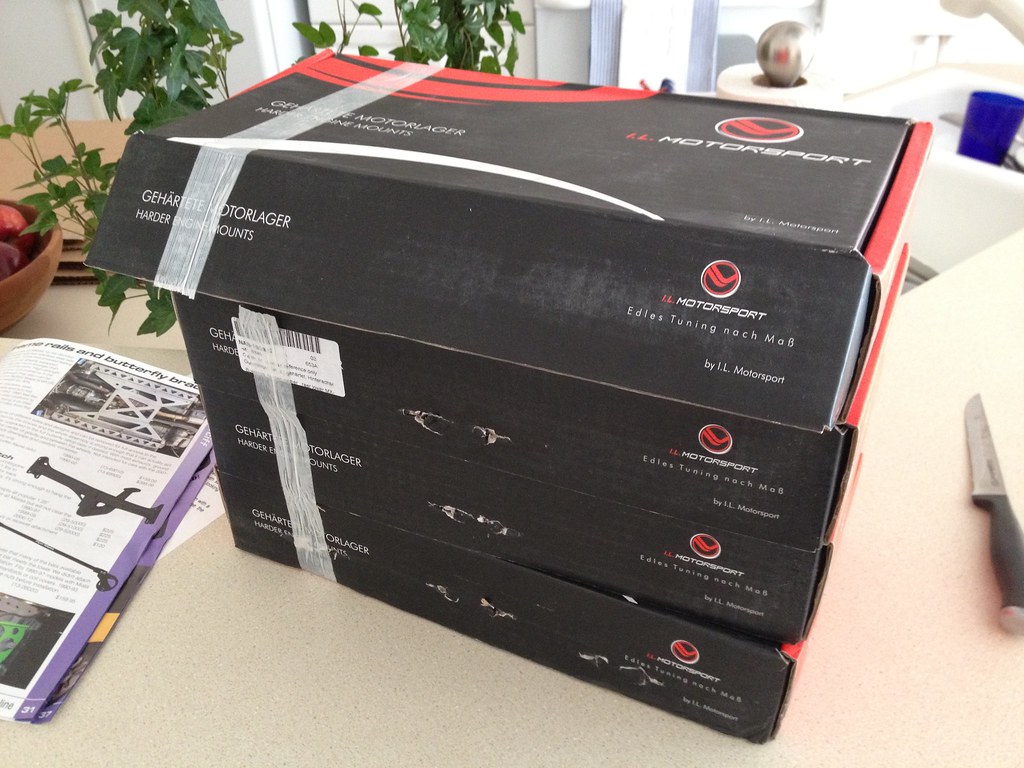
1. First step: The first thing you will want to do is to position the car in a location that is easy to work with and gather all of your parts and tools. For the install I chose to go with the IL-Motorsport rubber bushings.
Untitled by xbeatles4x, on Flickr
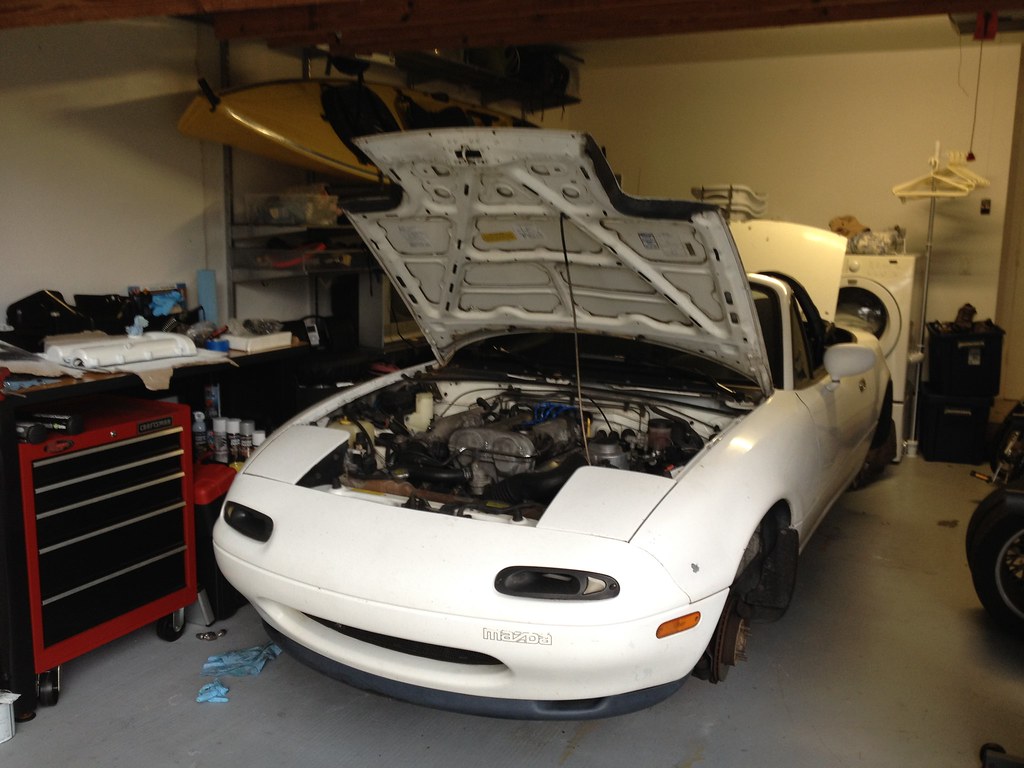
2. You will want to loosen the lug nuts, and the place the car up on jack stands.
Untitled by xbeatles4x, on Flickr
3. You will need to remove the under tray to gain access everything, and remove the sway bar end links from the control arms.
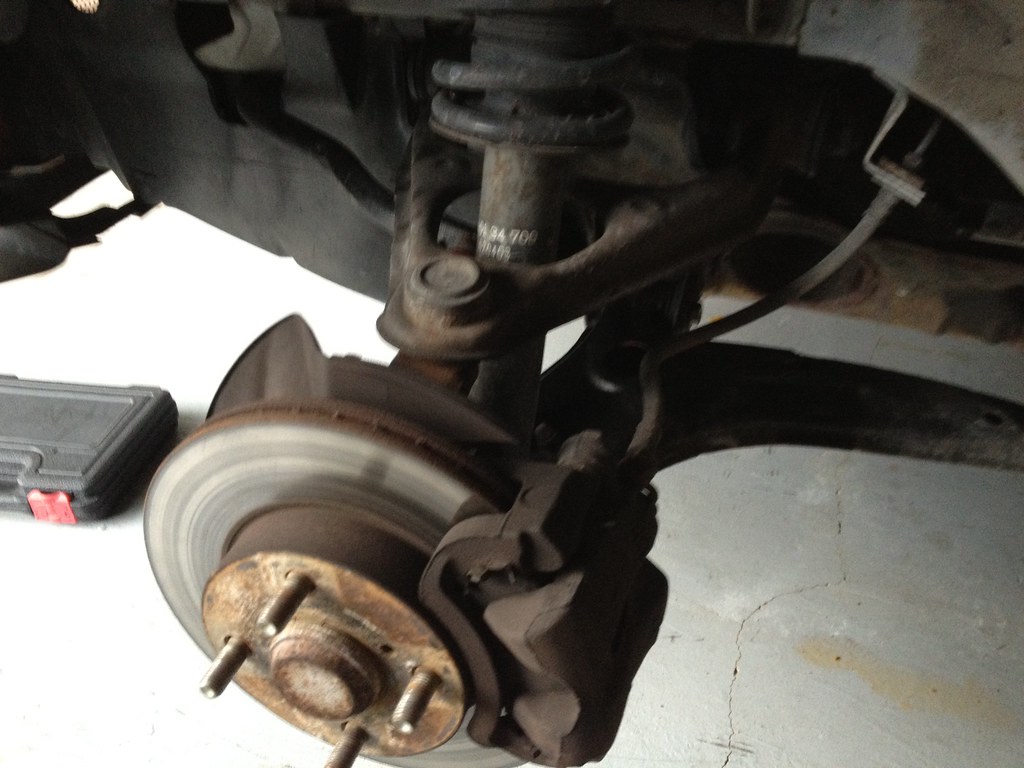
4. Take off the rims and have access to everything suspension related.
Untitled by xbeatles4x, on Flickr
5. With the rim off you will want to disconnect the brake caliper brackets from the hub and place the brake caliper in the sub frame so as to not put stress on the brake line.
6. You will want to remove the sway bar front bracket bolts because the bolts interfere with a later step.
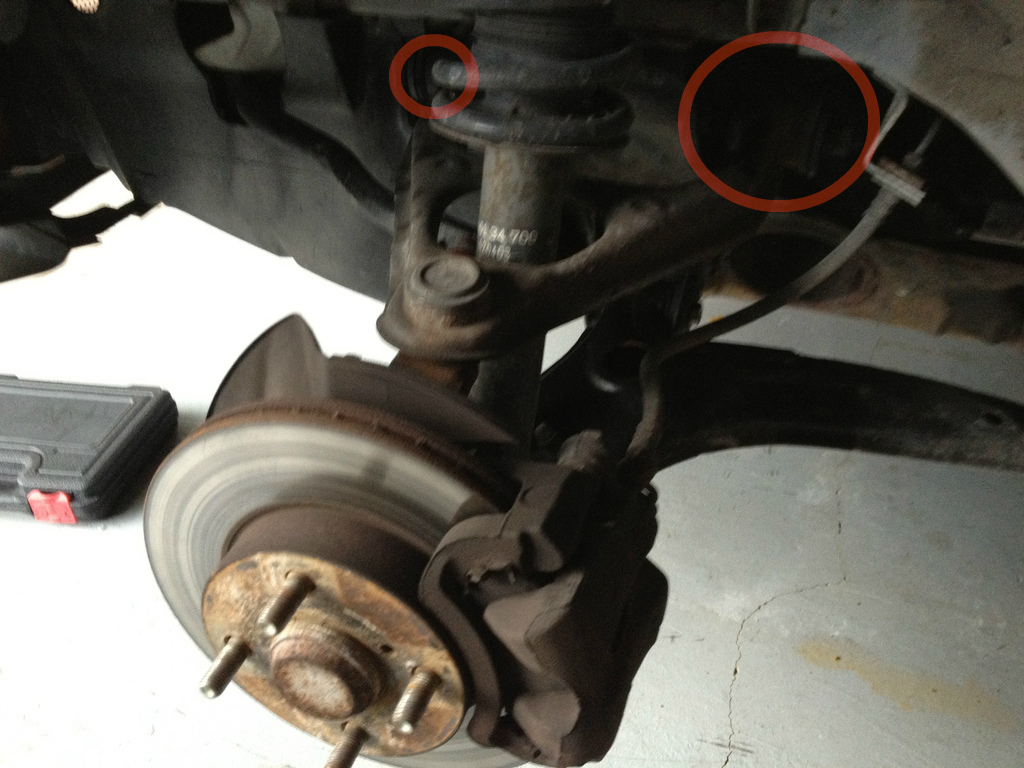
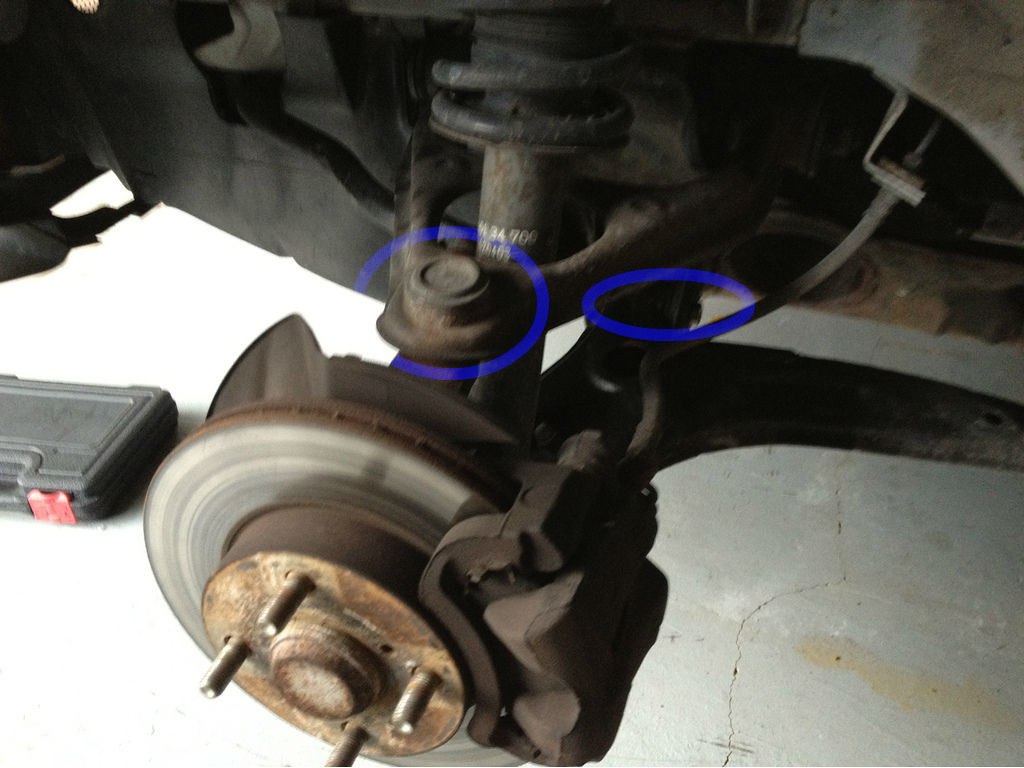
7. With the sway bar bolts removed you can start to remove the long bolt on the suspension. It is marked in the red circles in the photo.
long bolt by xbeatles4x, on Flickr
8. Now remove the lower bolt for the shock, then open the hood of the car and remove the two top hat bolts on the shock. Do not remove the Middle Bolt.
Pic to come
9. With the top hat bolts removed the Shocks should come down but not out yet.
10. Remove the bolts that are circled in blue in the picture. You will want to remove the ball joint from the upper control arm on the hub, the tie rod end hidden in picture, and the lower control arm. (To remove the castle nuts you will need to bend back the cotton pin and slide it out. Then you will need a 21mm wrench to remove the big one and I forget the other size for the other one).
long bolt blue circle by xbeatles4x, on Flickr
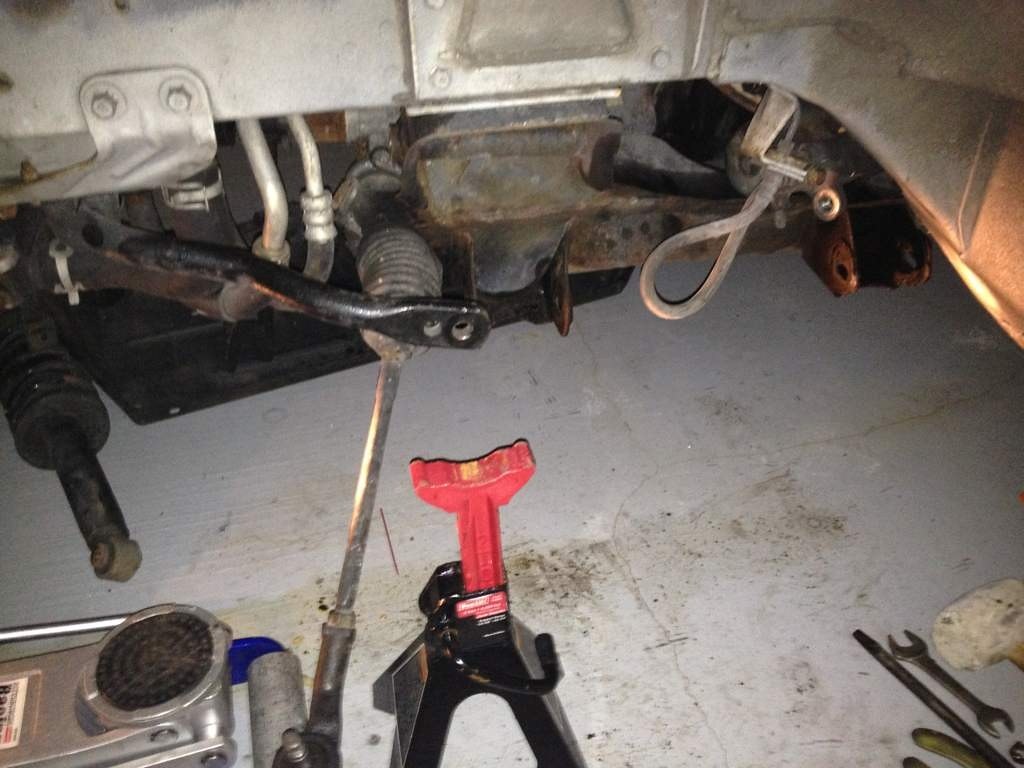
11. Now the brake caliper is off to the side, the lower control arm is removed, the shock should easily come out and the tie rod is disconnected from the hub, the hub comes out. You should have something that looks like this now.
Untitled by xbeatles4x, on Flickr
12. The same process is done on the other side of the car.
13. Now lets move to the back side of the car. First open the trunk and remove the two bolts that attach the top hat to the trunk. Do not remove the middle bolt.
14. In the back you do not need to touch the brakes. I recommend supporting the rear hubs with jack stands. Start by removing the upper control arm from the sub frame. There should be 2 separate bolts that attach it to the sub frame and one bolt that attached it to the hub. Make sure to apply copious amounts of penetrating fluid to everything that needs it.
15. Start loosening the lower control arm bolts. Make sure to be careful removing the lower shock bolt because it has been known to break. The nut is welded to the control arm.
16. With the lower shock bolt removed at this point the shocks should be able to be taken out easily.
17. With the shock taken out simply remove the lower control arm and everything else remaining. We will keep the rear hubs attached to the car.
18. With all of the control arms off of the car the first thing we will do is remove the rear bushings off of the rear wheel hubs. That is the only bushing that is still attached to the car. You will need the 3 jaw puller. What you do is mount the teeth on one side of the mount and screw down the middle of the puller to force the bushing out of its place.
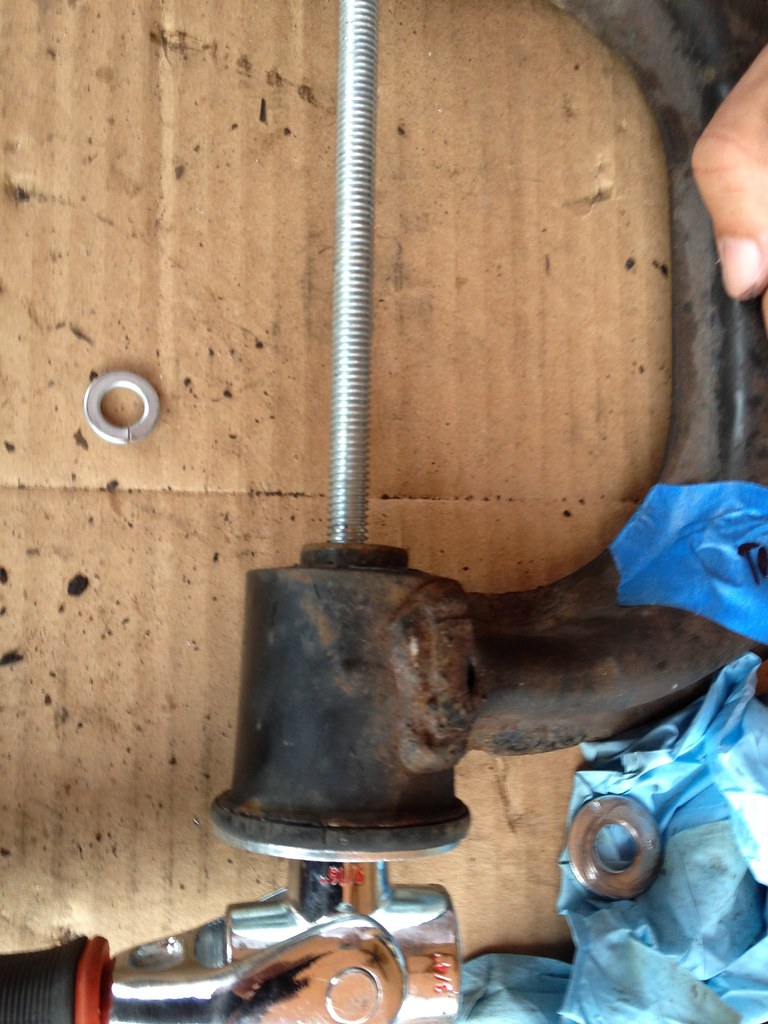
19. With the rear hub bushings removed you will want to clean the area and the put the new bushing in place. My method for putting them in is to get a hollow cylindrical piece of metal and place it on the outside of the mount and place a large washer and nut. Then put a large washer and nut on the other end and start to tighten the nuts and bolts. The force of the nuts spinning will push the bushing into place.
Pic borrowed from the internet. It is not the same place but the principle is the same.
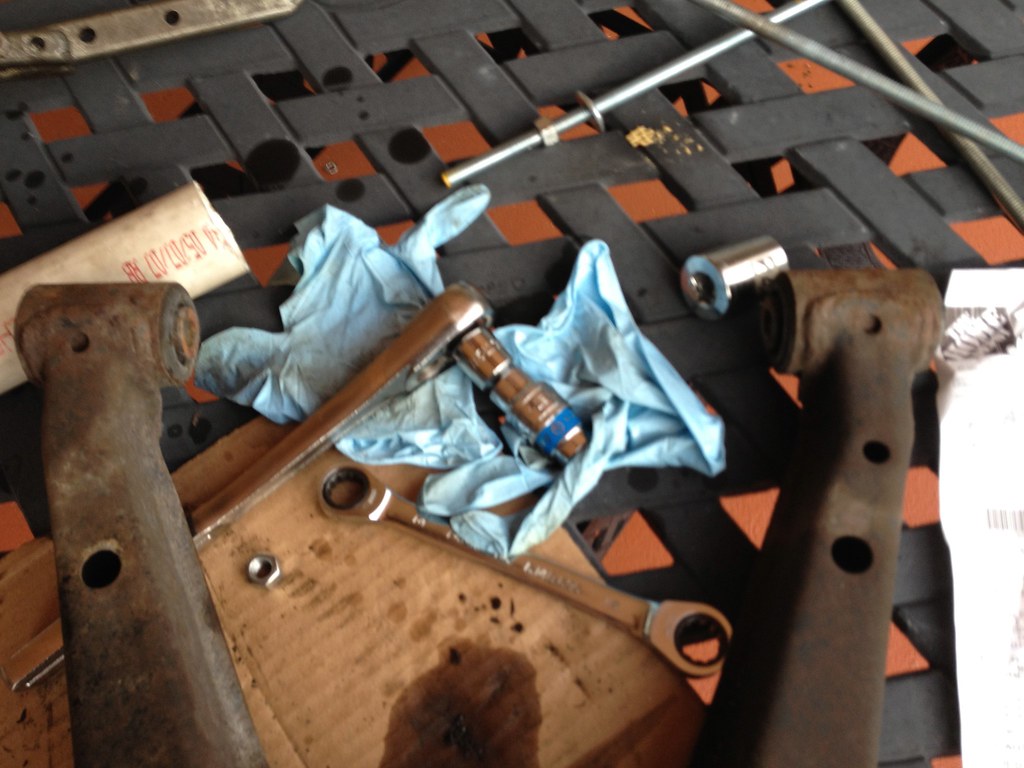
20. To remove the rest of the bushings I had to use the hollow metal cylinder on the outside of the bushings and have the washer and nut pull the bushings through.
Untitled by xbeatles4x, on Flickr
Untitled by xbeatles4x, on Flickr
21. After all the bushings were removed I sanded down all of the control arms with a metal brush attachment on a drill. That cleaned the up nicely.
22. After the metal brush I gave them a nice coat of paint.
23. Again make sure the inside area where the bushing will be seated is clean. Then start pushing in the bushings with the washers and bolts and metal cylinder. (The purpose of the metal cylinder is to allow the bushing to come out slightly of the hole it is in to line up perfectly where it needs to be placed).
24. Once all of the bushings are pushed in, the process of putting everything back together is the reverse of taking everything out. Refer to step 4-18 again but in reverse order.
25. Once the car is all back together make sure to go get an alignment.
Pm me or email me if you have any questions that were not clear.
By the way the bushings have been in the car for about a year and they have been great.


 Reply With Quote


