-
Review: Sebring Supercharger on NA6 Miata MX-5 Mazda
REVIEW: Sebring Supercharger on Miata MX-5 Mazda

Seeing as these kits are now pretty hard to come by, and some folks buy them on the used market I thought it would be helpful if we had a "brief" review and how to install these kits for future owners. Seeing as my kit was installed a long time ago, I do not have install pics however I have some photos from when I removed it that should help out. (shown below)
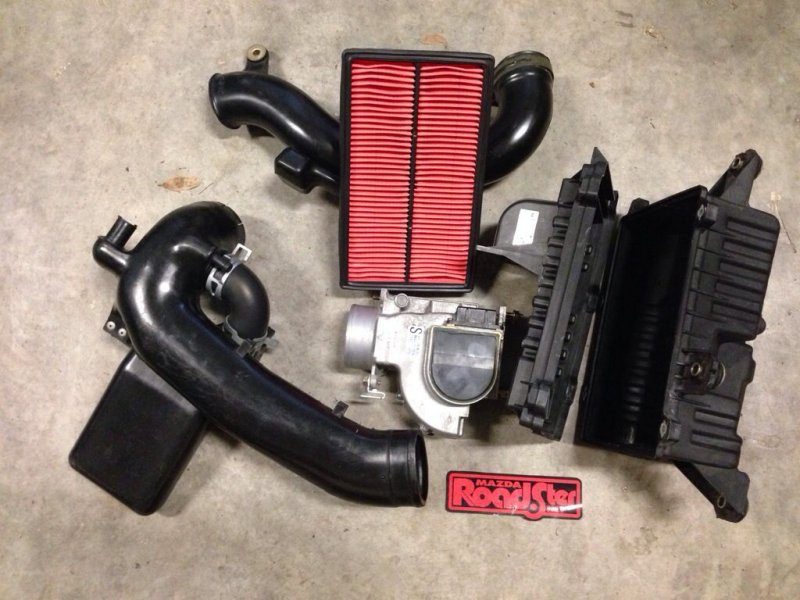
1. The first step is to remove the stock Miata air filter box, air flow meter, and plastic intake tube. The engine bay looks very open when these parts are removed, it really shows you how much extra space is in there.
2. The stock throttle body is removed. To speed things up, the stock Idle Control Solenoid (ICS) can be left connected and the throttle separated from it by removing three Phillips screws from the underside.
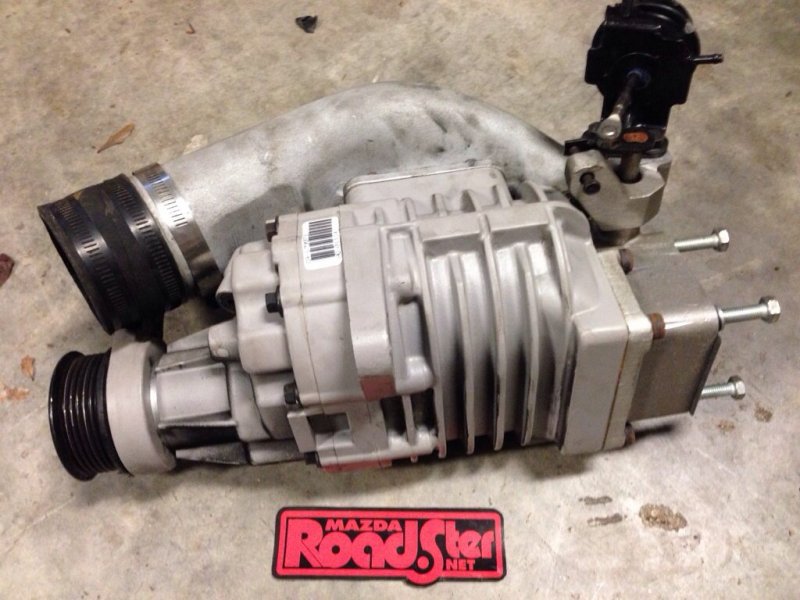
3. The throttle body is relocated to the rear of the supercharger's bypass manifold. This is a device that cuts the supercharger off under part throttle (highway cruise) or idling conditions, giving better fuel milage and a reduction in noise. A blanking plate covers the holes left when the ICS is removed.
4. The Mazda ICS Valve is mounted to the new dummy throttle body from the kit. This maintains the stock idle control features for good drivability and emissions performance. The assembly is mounted to the stock intake monifold in the same position as the stock throttle body.
5. The power steering pump adjustment mechanism is removed and the parts shuffled to allow for the placement of an idler pulley bracket. This bracket holds two high speed idler pulleys that route the drive belt up to the supercharger. Some eariler kits used an extra pulley that is mounted to the crankshaft nose. Some of the redesigned kits us a design that allows use with the stock Mazda crank pulley. The stock power steering pulley and air conditioning pulley are used as-is with this kit.

6. The supercharger is mounted to the engine using existing bosses on the cylinder head. A strap bracket runs from under the supercharger to the back of the power steering mount. The throttle cable bracket gets mounted there as well. The throttle cable is re-routed to the new position and attached to the body.
7. The new belt is mounted over the pulleys and the supercharger pulley gently turned until the belt is fully seated.
8. The new aluminum intake elbow is set in place and a rubber hump hose used to attach it to the relocated throttle body.
9. The airflow meter is mounted to the air filter base and set in place. A rubber reducer connector mates the airflow meter to the aluminum intake elbow.
10. The cam cover vent line is replaced with a longer line that connects to a nipple on the intake elbow. A small plastic restrictor is moved from the stock tube to the new tube to maintain idle quality.
11. The idle air line is connected to the large port on the intake elbow with clamps. The other end connects to the ICS valve mounted in its original positiion to the Dummy Throttle Body. This line feeds air to the idle control solenoid, so it is important that it not become kinked or pinched.
12. A new harness is used to connect the relocated throttle body to the original Mazda connector.
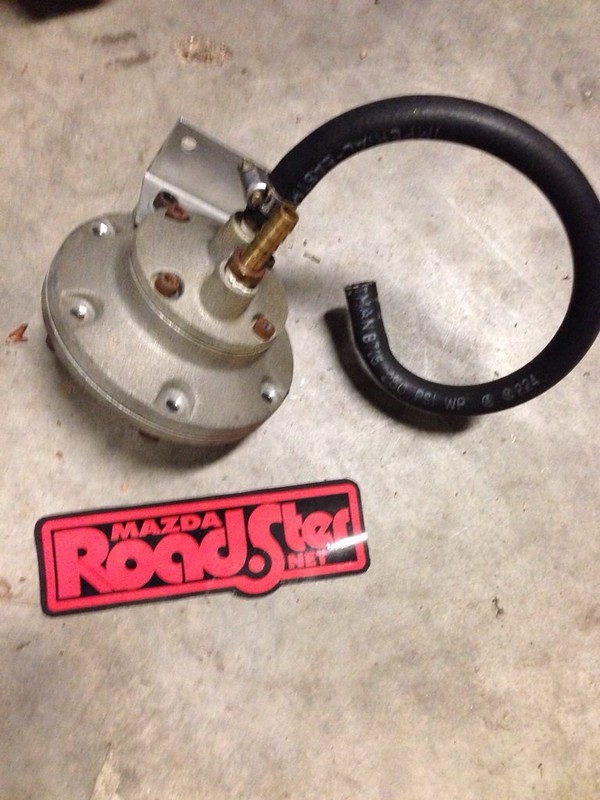
13. The return fuel line is pulled off and an Auxiliary Fuel Pressure Regulator (AFPR) is installed. As the engine receives boost from the supercharger, the AFPR restricts the fuel return, raising the fuel pressure seen by the fuel injectors. This proportional increase of fuel pressure insures that the engine receives more fuel as the boost level calls for it.
14. The ignition timing is set to 8 degrees Before Top Dead Center (BTDC) which worked well with 93 octane fuel.
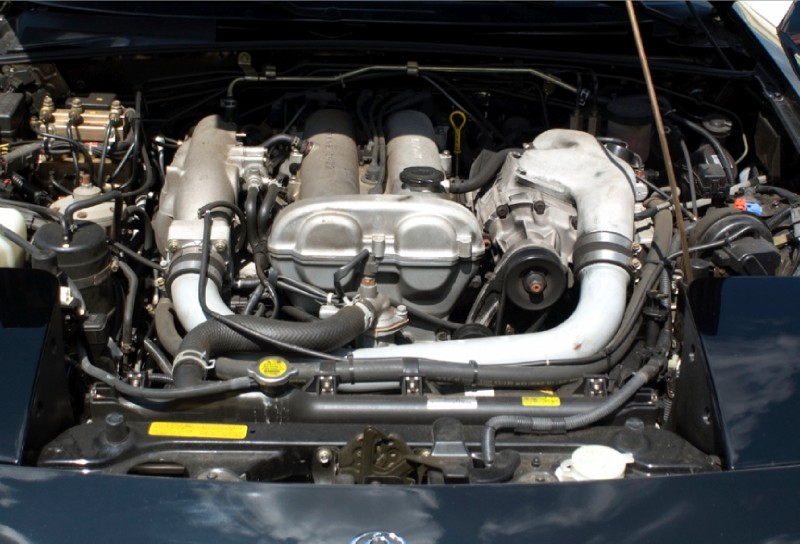
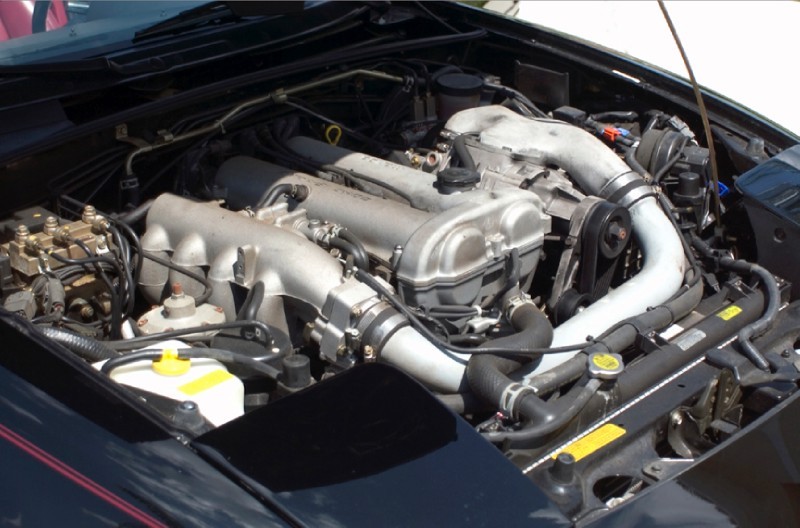
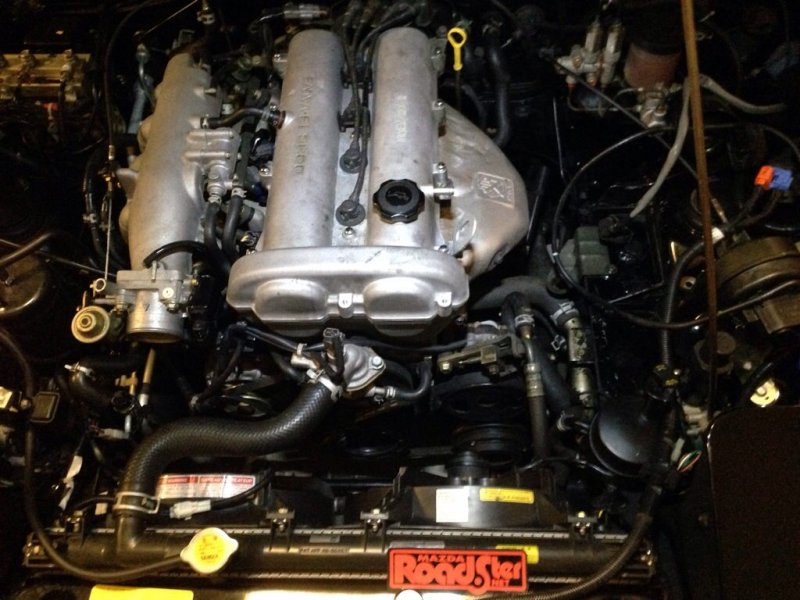
Here is a photo of it installed and ready to drive!!! 
The kit installs as expected without any surprises. The final look is very "factory" - some passers-by couldn't find any changes that were made. All of the hardware is either powder coated or zinc plated for long term durability, and the supercharger unit needs no maintenace for at least 125,000 miles according to Eaton Superchargers. All buttoned down and ready to roll, the installation is complete in about one afternoon, this may vary depending on your mechanically skill level.
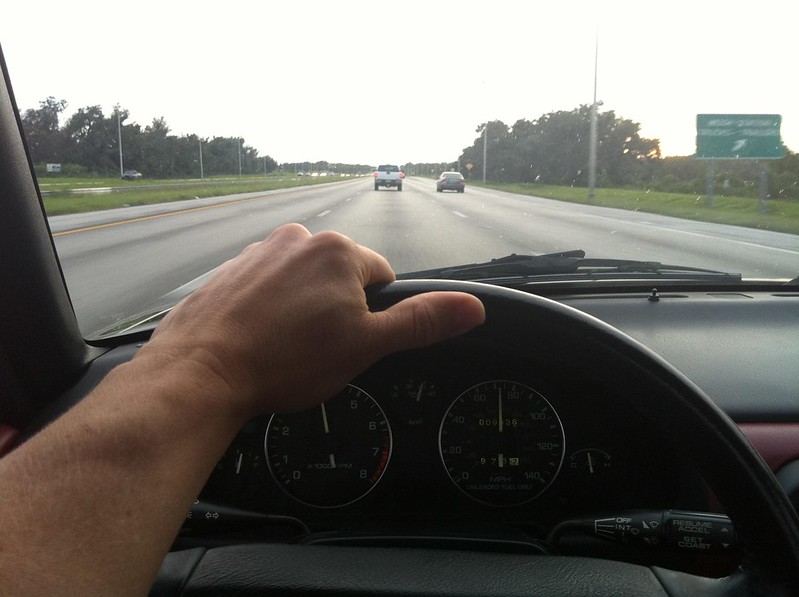
Once you start up the engine you immediately feel a low boost in the engine, almost like how a V6 would feel. This is because there is about 2psi of boost available even at a low 800RPMs if you open the throttle fully. Peak boost comes in by 3600 RPMS at 6 to 6.5psi. And there is no waiting for spool up, the power is just there, ready to go when you hit the gas.
Drivability and Performance
On the road, the 0-60 times were well below 7 seconds with aggressive starts, average was about 6.8 seconds.
The 50-70 MPH third and fifth gear times were reduced as follows;
In third gear, stock time = 6.6 seconds
In third gear, Sebring Supercharged = 4.6 seconds
In fifth gear, stock time = 12.2 seconds
In fifth gear, Sebring Supercharged = 7.7 seconds
The biggest kick comes from stomping the accelerator at 4000 RPM in any gear. This throws your head back into the headrest every time, particularly in 2nd and 3rd gear - just loads of fun. True to the supercharger, the power is very linear and does not ruin the basic fun nature of the Miata engine. No need to downshift, just step on the gas and listen to the sweet whine of the supercharger. The sweet spot on the 1.6L engine is the 4000 - 5500 rpm range, and this supercharger takes advantage of that for sure.
More power is available through exhaust changes and auxiliary computers sold from various vendors, but with a few tweaks you can easily get the 0-60 times of dip into the 5.5 second range.
I am sure that they had this kit for most NA & NB Miatas, its EPA legal in 49 states. California: EO #D-341-1
Retail when new was $2,395 , not bad for 165hp on a 1.6L
Here is something cool I found the other night, you can read up on the specs of the kit here. 
http://mazdaroadster.net/showthread....ystem-Miata-ad
ImageUploadedByTapatalk1403659439.781569.jpg ImageUploadedByTapatalk1403659296.782473.jpg ImageUploadedByTapatalk1403659704.464353.jpg ImageUploadedByTapatalk1403660098.448456.jpg ImageUploadedByTapatalk1403659399.998196.jpg
source: MM Fall 1994 + cool color photos of my engine bay.
-
The Following 3 Users Say Thank You to Phatmiata For This Useful Post:
Agent☣Orange (06-24-2014),BoBo (06-24-2014),Greasemonkey2000 (07-14-2018)
Tags for this Thread
 Posting Permissions
- You may not post new threads
- You may not post replies
- You may not post attachments
- You may not edit your posts
-
Forum Rules


 Reply With Quote