-
2,000 rpm - light wheelspin, no bog here!


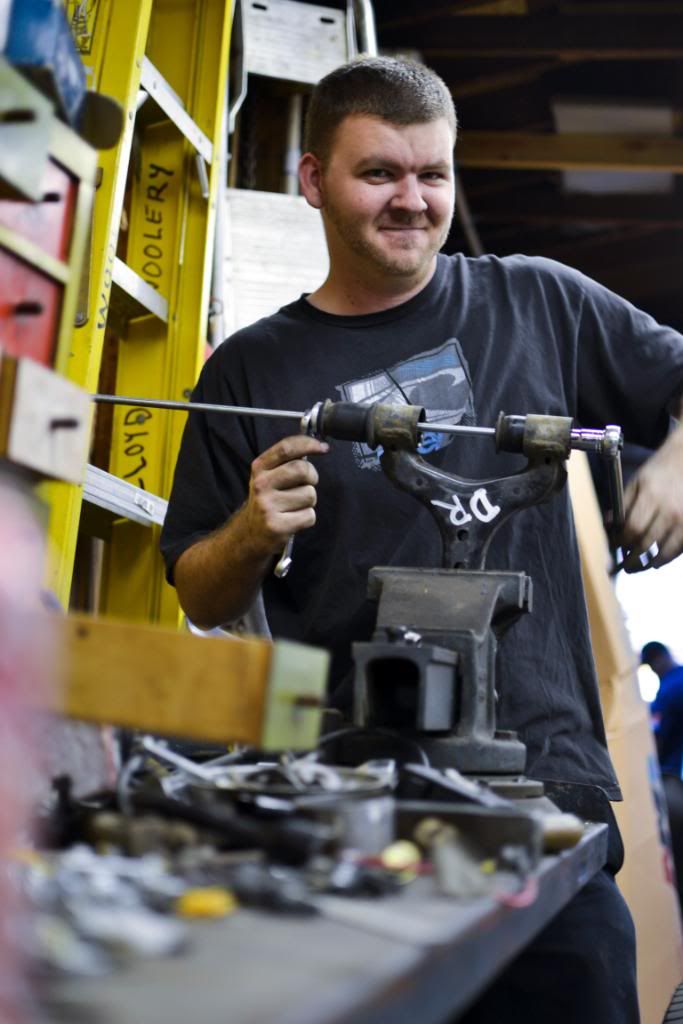
Howto: Bushing swap. DIY tool for $5
This is an old ass press tool concept, after doing this on a whim at Garage Woolery and I was surprised to find that no one has ever seen this redneck engineered tool before.
Gonna need a few things from the Home Depot hardware section:
One 3/8"-16x24" threaded rod (I call it all thread)
Four 3/8" x 1-1/2" Fender washers
Four 5/16" or 3/8" flat washers
Four 3/8" hex nuts.
All of this came to $4.17 for me
Optional;
A single 36mm socket will work well too. This will come in handy later, worth having anyway.
Might try using autozones free rental and get their ball joint kit as well.
OR Two 2" (or larger) diameter fender washers, though if you
pull the front lower control arm bushings first, you likely won't
need these.
A couple of 14mm wrenches/sockets. If you have an impact gun, get a socket to fit it that fits these nuts and this job will go retarded fast and easy.
The tool is assembled like so:
You thread on a single nut, well down on the piece of all thread, you want to get enough thread to go through both ends of both bushings and room for a couple of nuts and washers,
Drop on two of those flat washers,
then a fender washer,
then a random deep socket or small piece of pipe. Something to act as a spacer so the nut doesn't get forced down the whole created as the bushing comes out,
thread this through the bushings

Next you'll put on another fender washer (or 2 for added strength, they like to flex),
A flat washer (or 2, same thing),
and TWO nuts tightened together.
Should look like this on the other end:

now start wrenching on it:

As you start on it, both ends will start to come in, eventually one will give more than the other and it'll pop out.
One thing I found helps is tapping the bushing with a hammer while compressing the assembly helps the bushing pop out easier and quicker.


Once the first bushings comes out, remove your jam nuts. Pull out the assembly and now replace the "random deep socket" with the 36mm socket (or 2"+ washers or pipe or something to big to go in the hole) and reassemble
You might note earlier I said these were "optional". Reason why I say that is, if you start with the front lower control arm and get lucky enough to remove the bushing with the large lip, you can flip it backwards and use it instead. The very top pic of me doing this job shows said reverse bushing doing its thing.


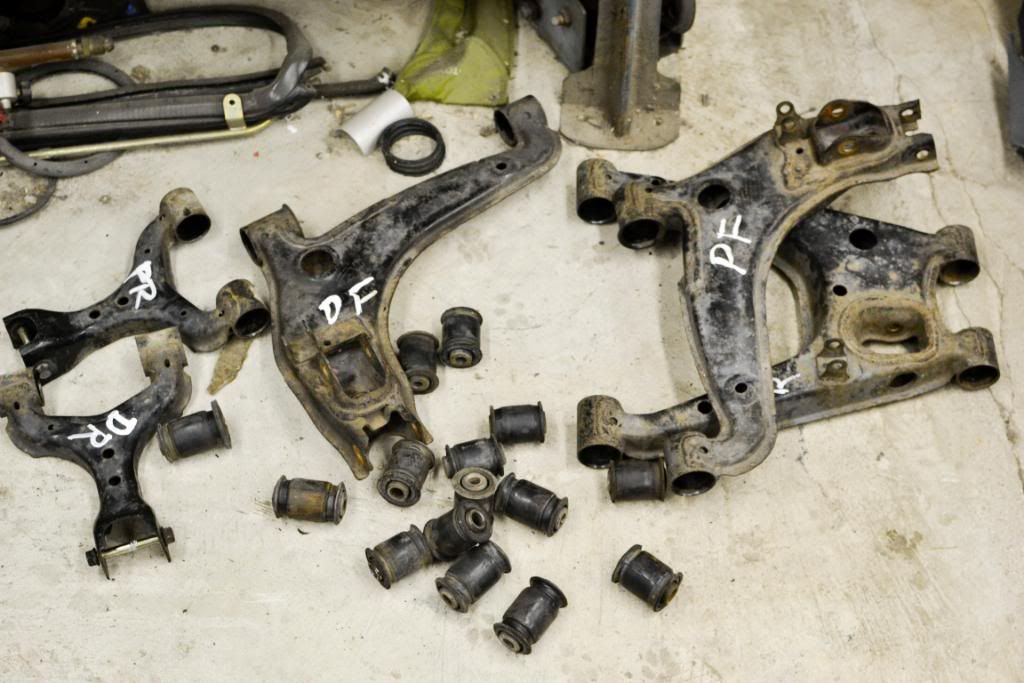
Now spend the next hour or 2 (depending on using power tools or a ratchet) on the rest of your arms and you'll be done.
Bushings in the rear upright:
Remember how I said the 36mm socket will come in handy later? Yeah this is the spot.
Assemble the tool again, with the 36mm socket as the spacer and wrench it down. Once the bushing comes half way out, you can wiggle it out by hand pretty easily.
Here's it assembled on my upright with the ES poly bushings in place (so ignore the fact that it's obviously the wrong size).

Once done you end up with this
Nice thing about this technique is you can sit in front of the TV and watch a movie while doing it. It doesn't leave any residue behind like burning the old ones out and doesn't heat stress the metal either.
My ES poly bushings went in with no more effort than pushing them in with my hands on all the arms I had done with this tool. I had 2 arms that had them burned out and those were a fight.
Last edited by Agent☣Orange; 03-19-2012 at 10:00 PM.
-
The Following User Says Thank You to thedguy For This Useful Post:
 Posting Permissions
- You may not post new threads
- You may not post replies
- You may not post attachments
- You may not edit your posts
-
Forum Rules


 Reply With Quote