KG Works panel and Revlimiter Warbird gauges look fantastic Grumpy! The ATC dcut with the custom Revlimiter horn button REALLY works with the theme!


KG Works panel and Revlimiter Warbird gauges look fantastic Grumpy! The ATC dcut with the custom Revlimiter horn button REALLY works with the theme!
'01 NB2 aka MisF1re: http://mazdaroadster.net/showthread....218#post207218
'97 M aka Warbird, gone but not forgotten: http://mazdaroadster.net/showthread....B&goto=newpost
Instagram: @greasemonkey2000

Thanks! Having spent so much time on the forums, i've discovered that just throwing parts on just because you like them, isn't usually a good idea. A cohesive theme, is needed. my top 2, are Mr. Woolery's Pitcrew, and Adam's Sharka. You've got a great looking one too! I"m seeing parts on yours that would definitely work well with mine. LOL
HarryB (03-14-2016)

Looks Awesome! If you have, or can borrow one, using a scantool really helps with getting those needles in the right place. I have the OBDLink LX, and it works very well. Depending on the features of the model you use, you can get the water temp, revs, mph all set up easily.
Grumpy (03-14-2016)

Your interior is looking the business!!! Thanks for letting me contribute to your build in a small way.
And the horn and steering wheel really are perfect together.
Was planning on installing the Tein SA today, but ran into a bit of a setback. I need to get replacement tophats as mine appear to be collapsed. Yay! In addition, I'm also going to need to replace pads and rotors, and to top it off, I discovered my tires, although they appear decent with lots of tread, are 8 years old (and to think I auto-xed on them last year!) So all other mods including paint are on hold. Looks like paint won't get done this year unless I win the lottery, or get a much better paying job.
tsingson (03-27-2016)
Thanks for the kind words guys! Demon, aren't the readers for obdII? I've got a 92, so no help there! Thanks though. I do have a scan gauge II that I used in my NC.
tsingson (03-27-2016)
upon review of the upper mounts, it looks like they are actually ok... at least the 3 I could access without removing anything.
st
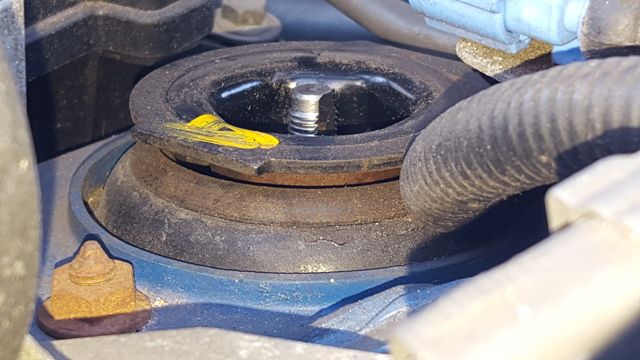
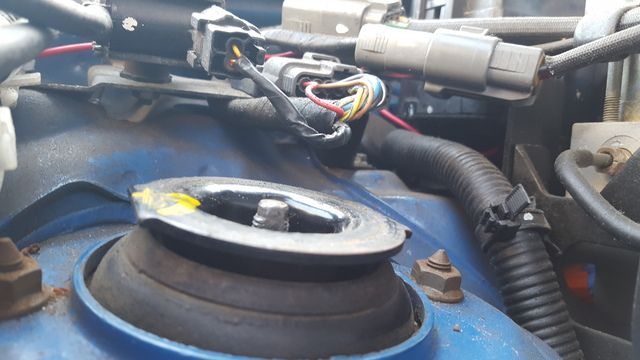
Also got shots of the steering wheel hub. I thought it was strange having a gap like this, is it normal for those of you with a Works Bell hub?
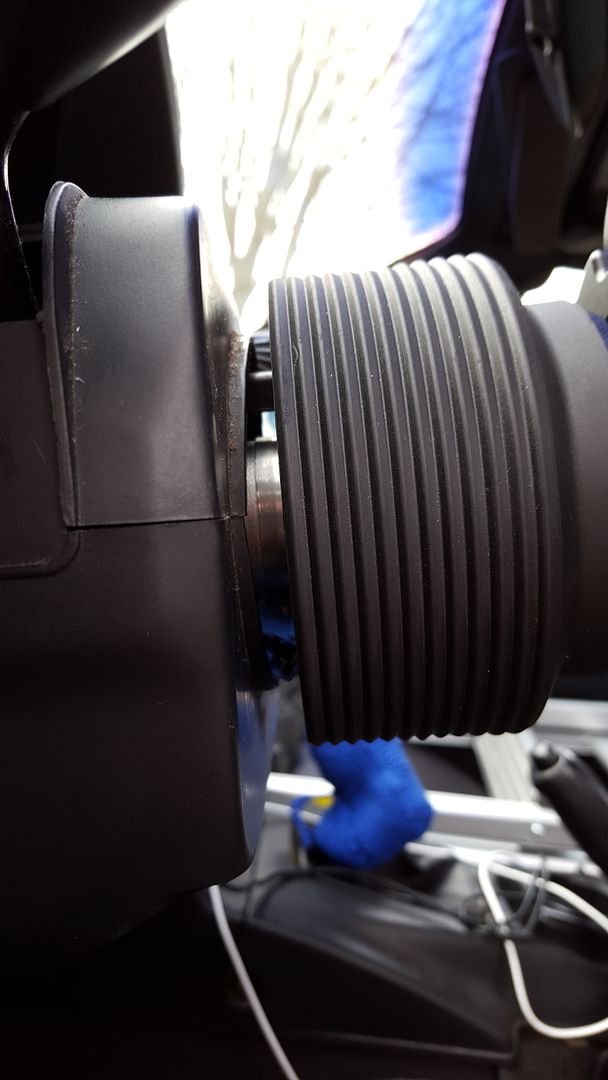
and to show just how far from the wiper/turn switches the wheel was with the regular hub, and NRG quick release...
Hammerhead (05-02-2016),kung fu jesus (03-31-2016),tsingson (03-31-2016)


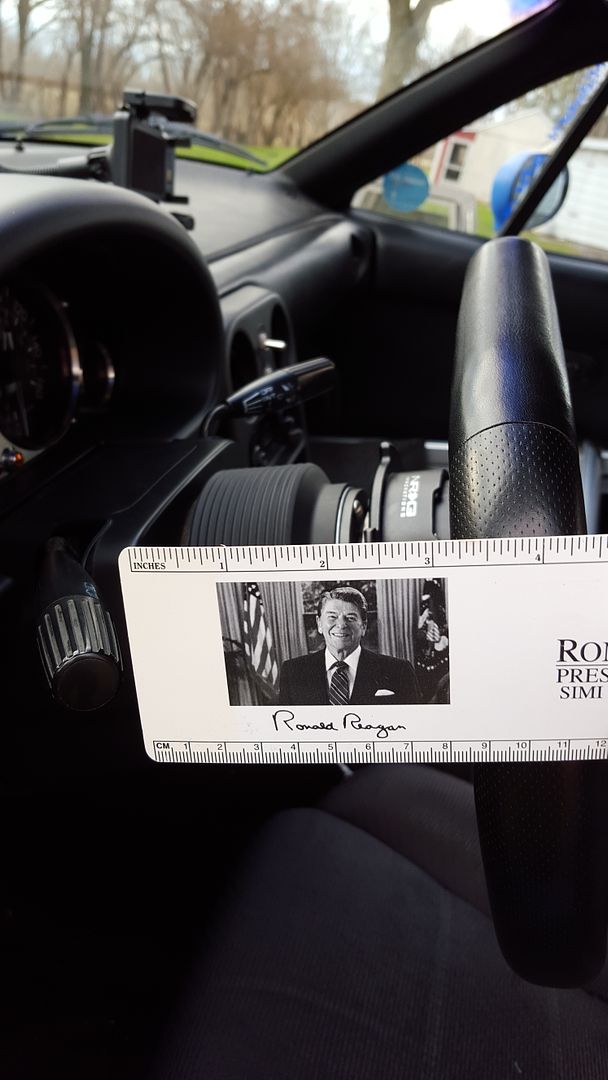
The Gipper ruler made me chuckle.
Hammerhead (05-02-2016)
Finally made up my mind to get the RoadsterTech blanking plate, and mounting rails, emailed him, then came on here to discover he's no longer doing things.anyone know of anyone else doing blanking plates? I just ordered a dual usb outlet to mount one one, since i've got the space, and it'll be better than having something in the lighter socket. also just got the replacement NA upper shock mounts in the mail today. The downside? I don't think I have a day off in the next 12 days.
Looking for this blanking plate?

Assuming that's the one for the na6, yup. That's the one! I haven't found any company who has picked up the ball since he's no longer doing them.Originally Posted by Martin

The injoy plate was so well-made. I think you might be able to get one through Moss or GoMiata
http://www.gomiata.com/ncamamirablp2.html
I have an injoy plate, too
Grumpy (05-03-2016)
So today I feel accomplished... and yet i need help. I finally got my Tein Street Advance installed today ( ok over the course of 3 days due to my being slow, and work. LOL) i thought I was supposed to preload them by jacking up under the lower CA, and then tightening things up. I then adjusted the lower spring perch to the .8 inch as recommended in the instructions. put the wheels on, drove around a few miles, then measured center of center cap to fender. 12.5 front drivers side, right where I wanted it. all others are 13 to 13.5. If I had a lift,or perhaps ramps I suppose i could loosen things, and then retighten them while car is sitting on wheels. but since I don't, what are my options? I'd like to get the ride height dialed in so it's about 12.5 front, 12.75 rear or perhaps 12.25 front, 12.5 rear...
This is the PITA on first installation for coilovers. Not verbatim, but here are some tips that might help:
Use painters tape, a measuring tape, a pen, and sometimes a cheap vernier caliper. Prepare to remove the wheels a few times, so I usually only put two lug its on each wheel, barely more than hand tight.
I work on the ends, rather than the sides.
Put a piece of tape of each fender and measure the heights. Write the measurements on the tape.
Start with the rears because they will be higher. When you are are making adjustments, count the number of turns you make on the collars. Mark one of the notches on the collars to help you keep track.
Keep in mind that the amount you lower the collar isn't necessarily linear to the amount you want to lower the car.
Every time you adjust and lower the car to the ground, bounce the car; pop the trunk and sit on the edge of it a few times, or the fenders, to compress the suspension for a more accurate height measurement.
If you raise a corner, wrap a piece of tape around the threads on the shock, flush to the collar so you have a reference point to measure from so you can repeat on the other side, if necessary. Sometimes the calipers are easier to measure the amount you adjusted them because the fit into tight spaces a little more.
Try to adjust corners evenly. Too much can cause you to chase measurements on individual corners.
It's OK if the driver's side is a *little* higher, you will be sitting on that side while driving.
Be patient, one corner too high or low can throw off the other corners and cause some frustration, so be prepared to raise and lower the car a few times, and your wheels, to get it smoothed out.
Don't try to make adjustments while the car is one the ground, you are going to work harder to make an adjustment and you can damage the collars and/or threads.
 Posting Permissions

 Reply With Quote