-
3,000 rpm - starting to feel the power


I have a few updates
The Mk6 Colt suffers from a stiff gear stick where it struggles to spring back to neutral, it also makes selecting gears difficult. The BMW Mini R50 shares the same part of the getrag gearbox and luckily they have a repair pin which resolves the issues. I helped replace the gear selector pin on a friend's CZT and the results are night and day.


I had a few days off which was a great opportunity to get some jobs done.
The first on the agenda was to change the drive belts. I hadn't replaced them since I bought the car and you can't inspect the true condition without removing them.

As you may know by now, cosmetic parts for the Colt are few and far between so some imagination is required. I wanted a front splitter, a universal Seat Leon Cupra R style splitter happen to land on my door step. After a failed attempt I turned my attention to the sideskirts. I made my own extensions using a sheet of aluminium composite aka dibond and some rubber U channel


Another small job was to add some 'bling' to the engine bay. I contacted Jass Performance who specialise in MX5 parts about their oil dipstick handle. I had one of these on my purple MX5 and really liked the look. I gave them the dimensions and it wasn't too far out, nothing a file couldn't sort
The depth on the new handle is 7mm so most of the OE dipstick was cut off
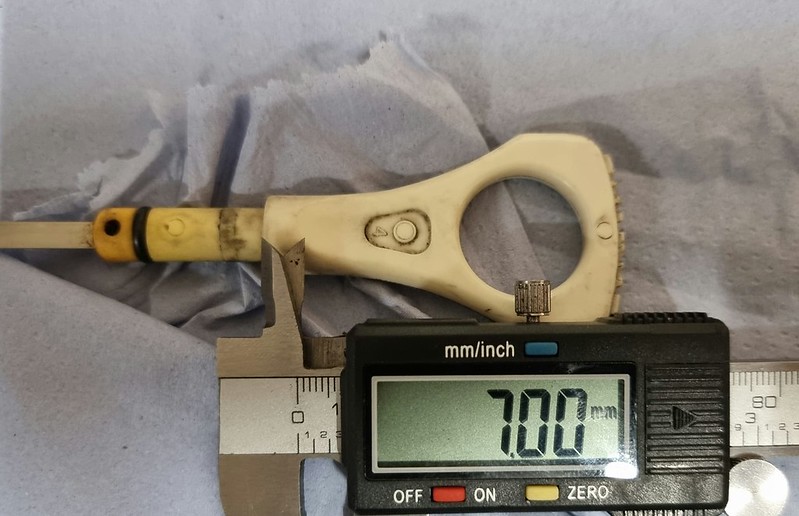
Once filed down it should be ready to slide in...thats until I tried pushing the handle on and ended up cracking it in half *facepalm*

It sits on a slight angle but its barely noticable in person. If I get another dipstick spare I'll re-do it

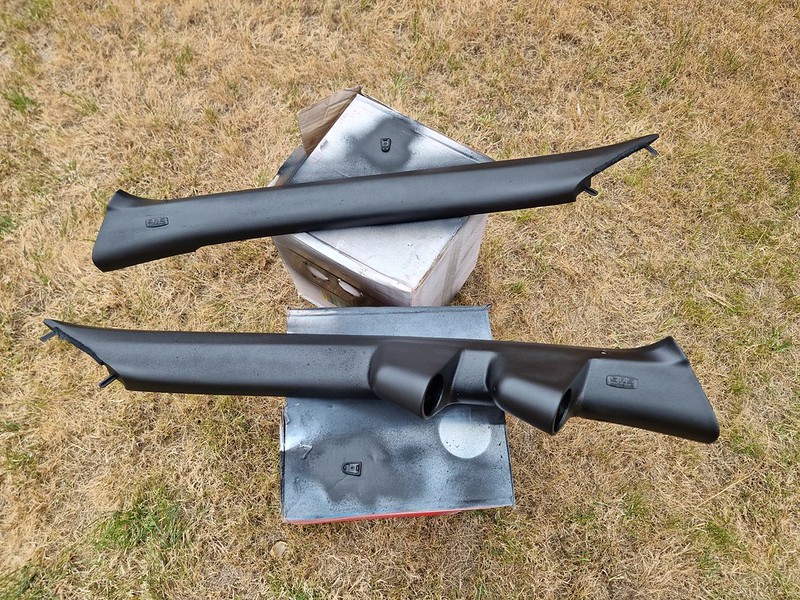
The last job was the next mini project. I wanted pillar gauges but a universal gauge pod wouldn't fit due to the shape. I purchased a universal triple pod from Facebook marketplace and cut 2 out.
I started off by using JB weld to glue them down followed by bridging the gap with P40. While doing so I ended up flexing the trim and the pods broke off. I gave plastic welding a go for the first time and it's seemed to have held no problem.
After many layers of P38 and lots of sanding (lots and lots of sanding) it was ready for paint. I go into abit more detail in the video.
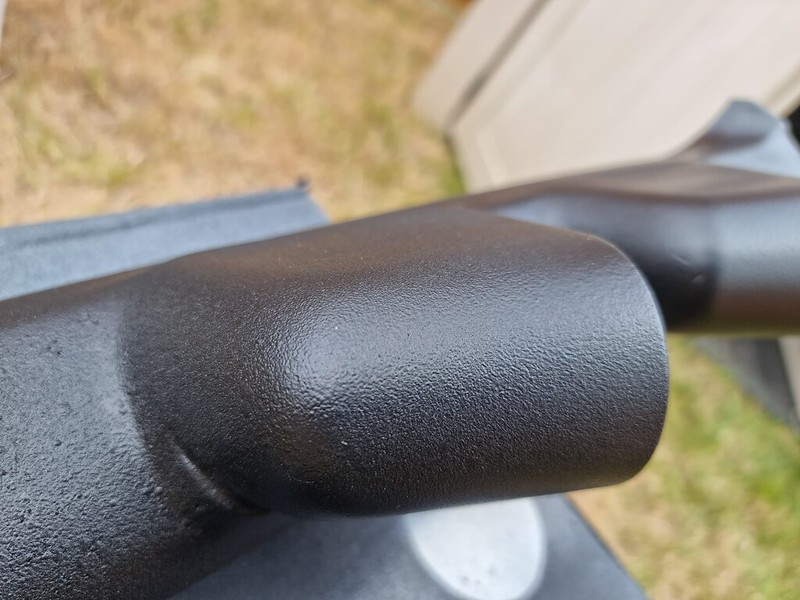
I found a company called K2 who make a black textured paint which gives the finish of plastic. It's turned out really well IMO! (Just be careful with this paint, the nozzle blocks really quickly so make sure you have some spare)


I decided to buy some LED back lit gauges from AliExpress which promptly arrived after approx 10 days. The wiring was pretty straight forward, live and earth and a signal wire. I routed a single core cable through the bulk head along with a vacuum hose.
The single core cable was then tucked against the chassis and ran down along side the drive belts.
Theres a few ways to fit an oil temp sensor. The most common way is to remove the oil filter and fit a sandwich plate. Unfortunately the Colt already uses a stubby filter, any larger combined with the OEM heater exchange unit the filter sits too low and will be the first point of contact. Another option is to fit a sump plug adaptor, the downside with this is the reading will be approx 10 degrees cooler.
I found a blog of a Colt owner who happens to have done most things to the car, one being fitting an oil temp/pressure gauge. He points out a bung on the side of the heater exchange, with that removed and an adaptor fitted, you can fit the sensor there.
The adaptor is 3/8 BSP to 1/8 NPT, I used some liquid teflon to seal it in including the sensor.

With everything now wired and plumbed in, it was time to swap the trims and test it. Thats when I realised the wiring to the gauges were too short, so out came the soldering iron again.

This photo is with my phone infront of my face, to show you a POV from the drivers seat. The pods sit level with the trim and doesn't block any view.

I let the car idle for 10-15 minutes, no oil leaks and the gauges turn on and work, woohoo!
-
The Following 2 Users Say Thank You to hoodedreeper For This Useful Post:
Agent☣Orange (08-17-2022),MaRcOp01o (08-10-2022)
 Posting Permissions
- You may not post new threads
- You may not post replies
- You may not post attachments
- You may not edit your posts
-
Forum Rules


 Reply With Quote