Let's preface this 'How to' by saying this is my first attempt at such a write up but this process is simple enough and why I decided to make one.
I decided to refinish my OEM soft top latches after seeing the results of fellow enthusiast smy003 who polished just the actual latch cover but I wanted to take it one step further and do the whole assembly and replace the soft top latch lock mechanism as it commonly wears to the point that it won't lock.
The custom stainless steel locking mechanism's are made by fellow enthusiast Ryan aka gdnimr0d. I saw these on this thread, http://www.miataturbo.net/miata-part...h-locks-82186/ , back in 2014 and wanted to get a set but just kind of forgot about them until smy003 posted his soft top latch project. Then I recalled the ss soft top latch locks and literally went thru 150 pages of the for sale section on mt.net but I started my search a few pages shy. So y'all don't have to go thru all that to find them.
Something else to check before getting started is if the soft top latch plastic nipple/guide(s) are present and in good shape, if not get some. I picked up a set from the now closed Rosenthal Mazda but since Tom got another parts business going, you can get a set from him:
http://prioritymazdaparts.com/soft-t...e-na01-r1-311/
..these are for 1990-2003.5, don't ask me the other 2.5yr models.
So let's get started with what you will need:
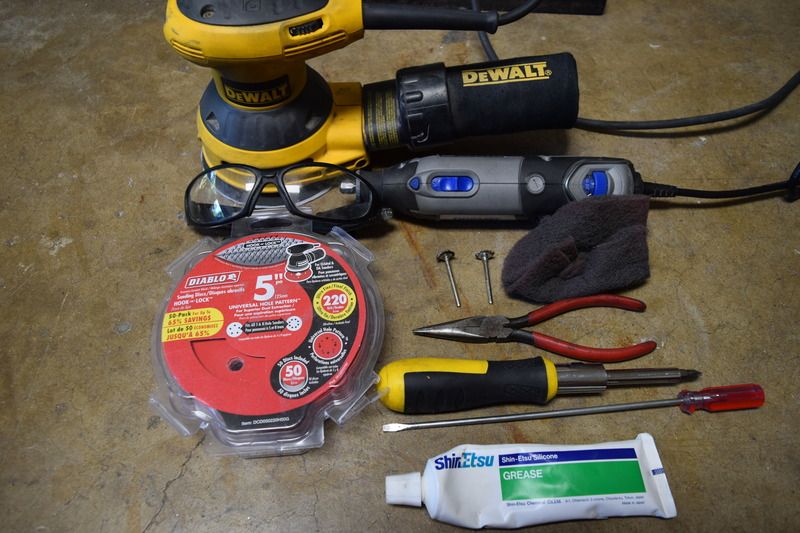
-safety glasses
-sand paper(grit depending on finish, the more of a polish finish you want the more grits and the finer grits you will need)
-sanding block or electric sander(I used a 5'' DeWalt orbital sander)
-pliers
-flat head screw driver
-Philips head screw driver
-Rotary tool(Dremel, etc. for tight areas) w/ wire wheel attachments(2-4 of them)
-Honda Shin Etsu silicone grease (or similar to grease all pivot points, this is also GREAT for the window tracks/guides)
Here is everything I used:
First you need to remove your OEM soft top latches....
...use a Philips head screw driver to remove the three bolts holding the latches on, the outer bolt requires the latch to be open to get access to and remove.
Now you have them off, like so....
....you want to start by removing the soft top latch cover.
Do this by first having it open(as it would be with the top in the down/open position) and locating the two pins located on the under side of the latch cover, they have a c clip on the outside of them, like so....
....use a small flat head screw driver to remove the c slip and then remove the pin. Make sure to set the hardware in SAFE place so that you do not misplace them!
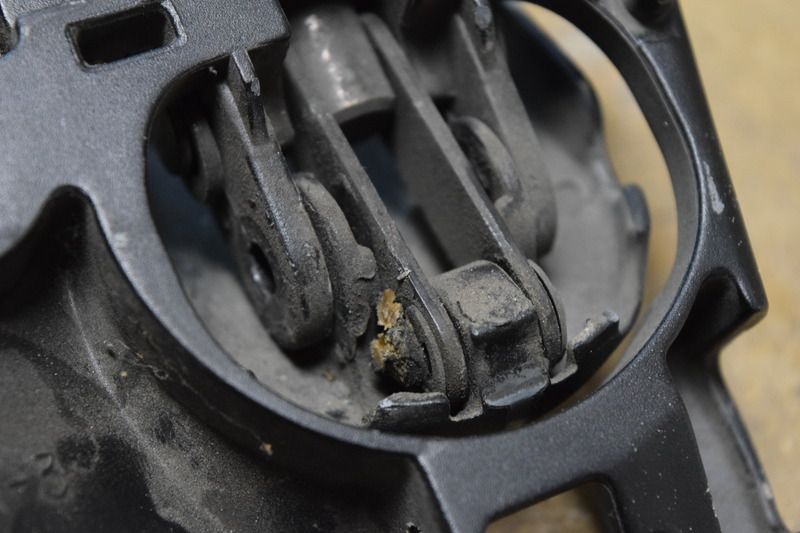
Next open the latch to gain access to the lower single pin that has a clip on each side of it, like so.....
...once again use the flat head screw driver to remove the c clip on each side of the pin.
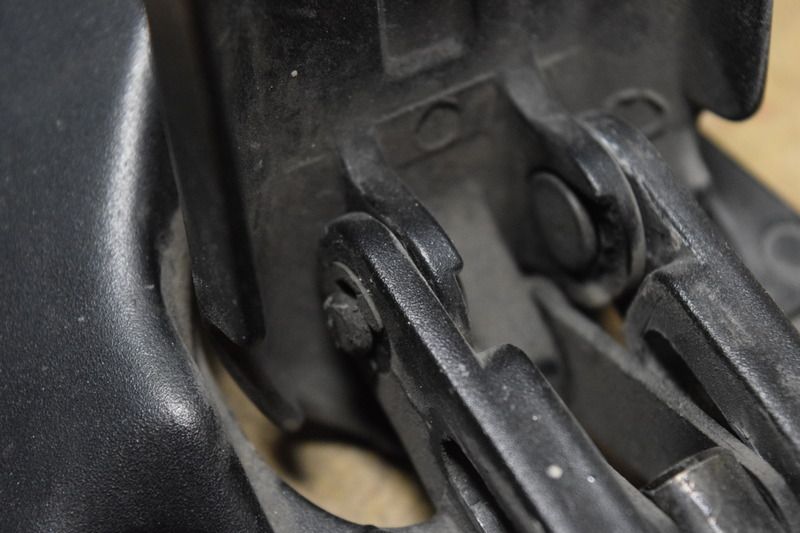
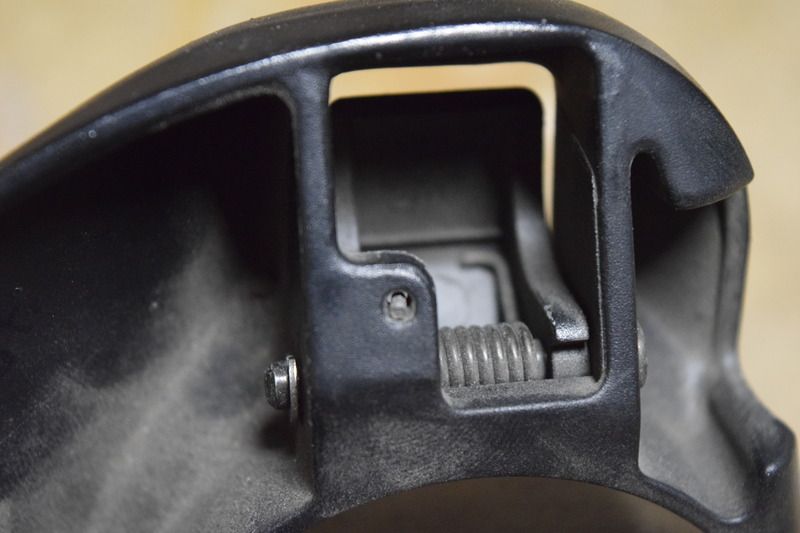
Then you want to turn it over and locate the pin and clip that holds the spring and locking mechanism, like so....
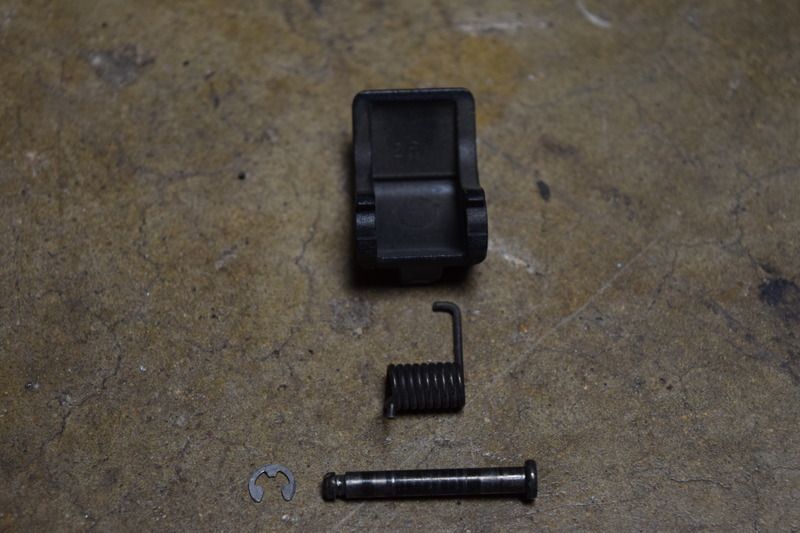
....remove the c clip with the flat head screw driver and the pin and be careful when removing that small c clip! Regardless if you are replacing the lock you would want to remove it if wanting to refinish the whole latch assembly. Here is the locking mechanism, pin, c clip and spring once removed:
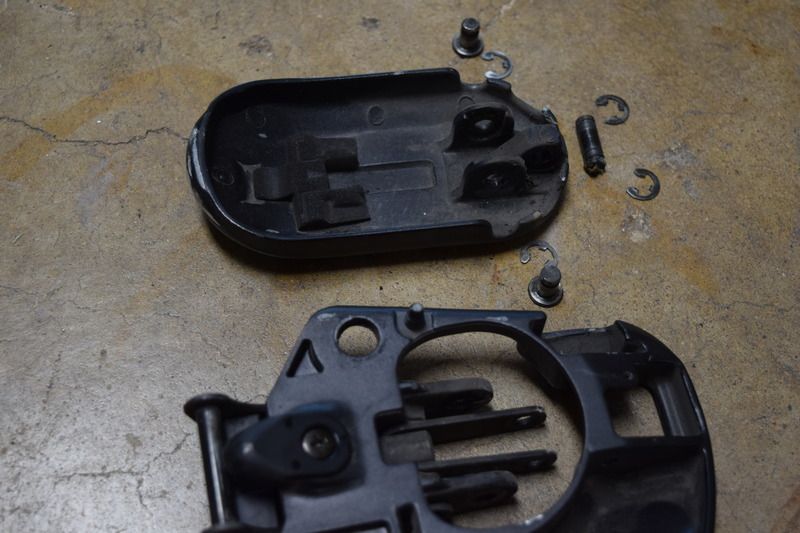
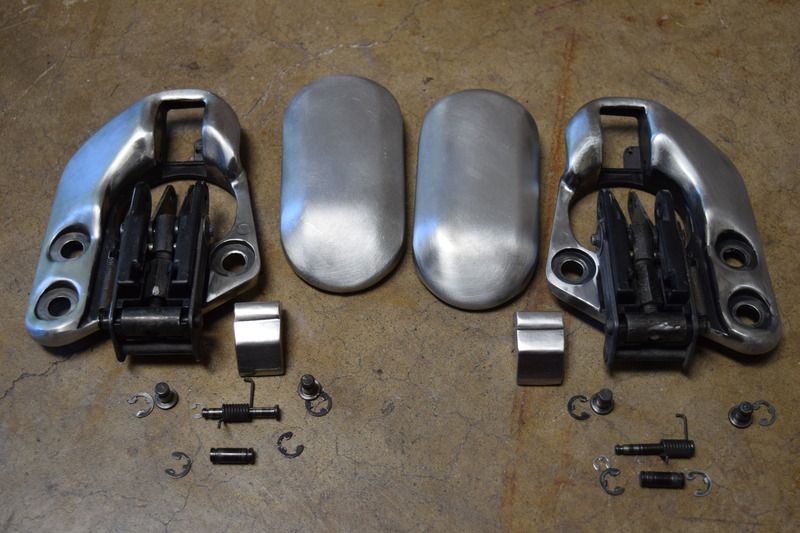
Now you should have what you need disassembled to refinish the soft top assembly, here it is:
I started of with 220 grit on a 5'' orbital sander, which made quick work of the soft top latch cover, assembly and most of the sanding required. To get into the tighter areas I used a Dremel rotary tool with wire wheel attachments. I went thru two of the wire wheel attachments and could have used a third but I didn't have another one. Finally I used a red scotch brite pad to get the brushed finish I wanted.
If you want more of a polished/mirror finish then you would want to continue sanding with finer grits(500, 800, 1000, 1200, 1500, 2000, etc depending on how shiny you want it) and probably wet sanding with the final grits. A polishing compound(like Mag polish for aluminum) would also need to be used for a nice polished/mirror finish.
Once you get the finish you desire it would be a good idea to clean everything up, including the backside, assembly, pins and c clips. Next get the grease(Honda Shin Etsu grease in my case) and grease all pivot points and pins.
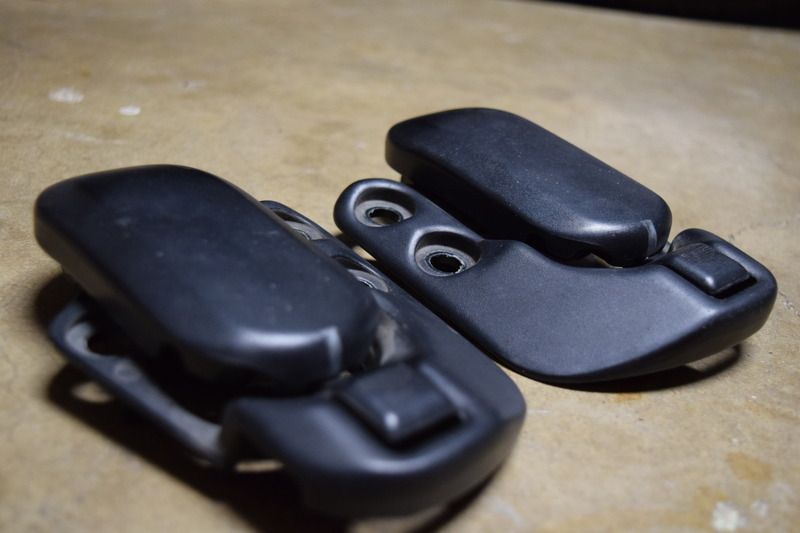
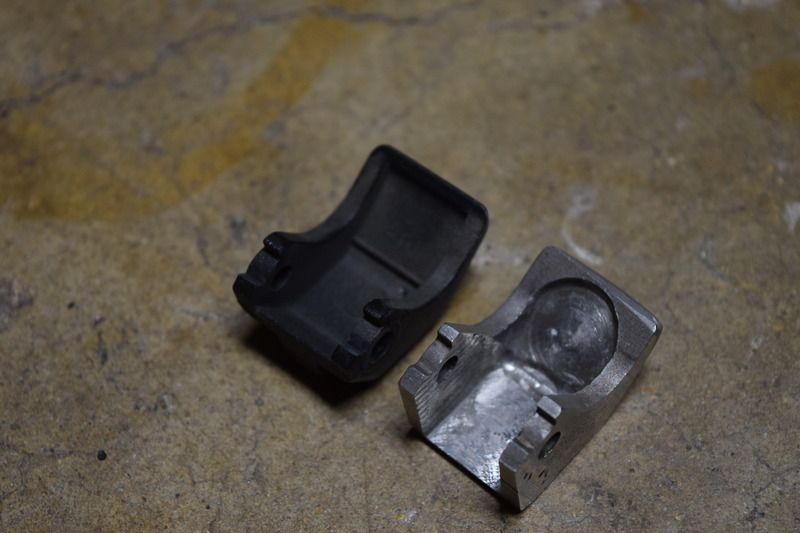
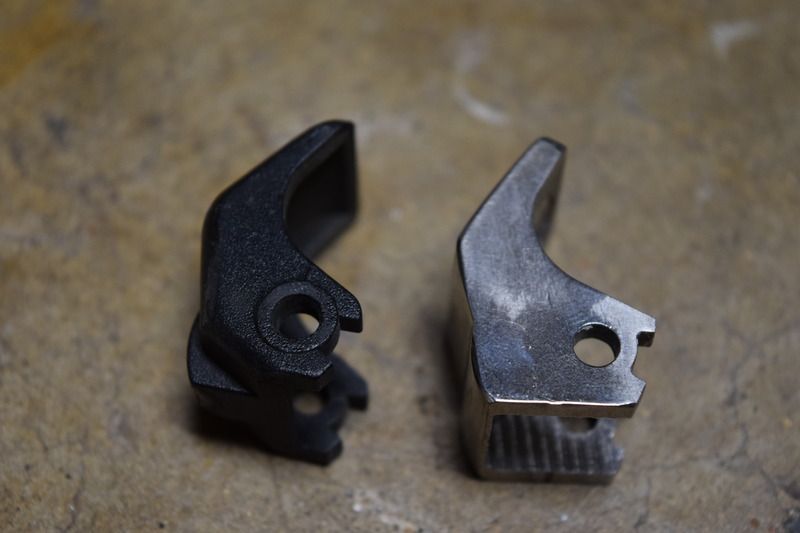
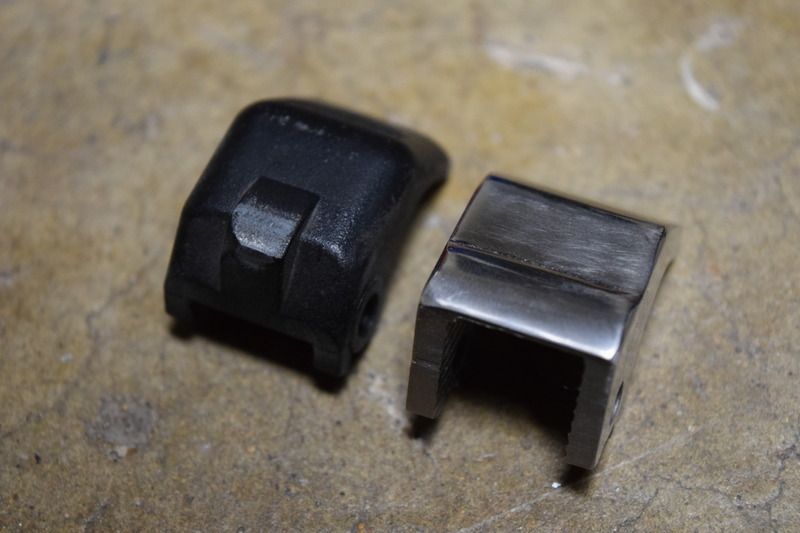
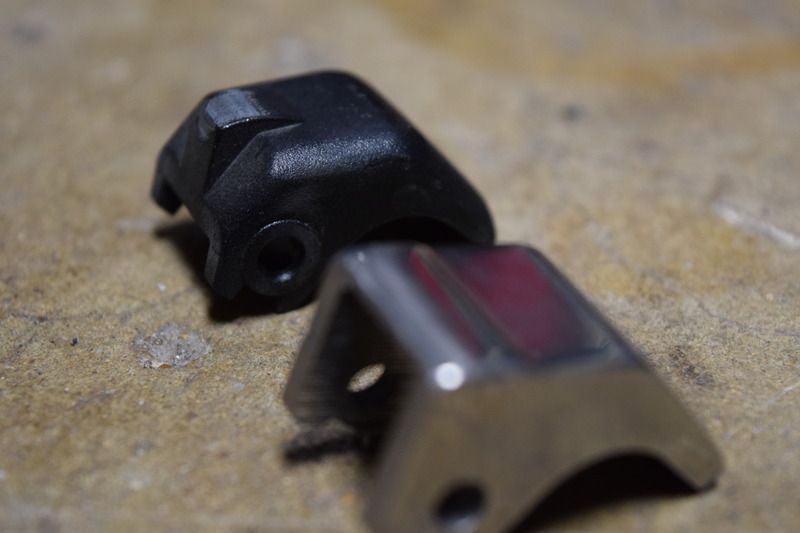
Before getting back into the reassembly I want to show some comparison pics of the OEM soft top latch locking mechanism(the black one on the left) and the custom stainless steel locking mechanism(shiny one on the right).
You will notice the already noticeable wear on the OEM locking mechanism that has been used for the past 19 years, presumably the original, and still locks well. Also you can see the custom stainless steel locking mechanism has a raised portion all the way across the lock, while the OEM lock only has a raised portion in the center.
I opted to get one so that the common issue of the OEM locking mechanism wearing to the point of no longer locking would never be an issue but not everyone wants to spend around $100 on a set of the custom stainless steel locking mechanism(which are available in polished, gold(ish) or blue(ish)).
Now you can reassemble in the reverse BUT I did reassemble the latch first before the locking mechanism. I don't se why you couldn't do it either way though. Here is everything laid out ready to assemble:
Reassembling the locking mechanism can be tricky but just make sure to locate the spring alignment hole and make sure the 'L' portion of the opposite of the spring is resting against the shoulder of the locking mechanism, which is well defined on the OEM lock.
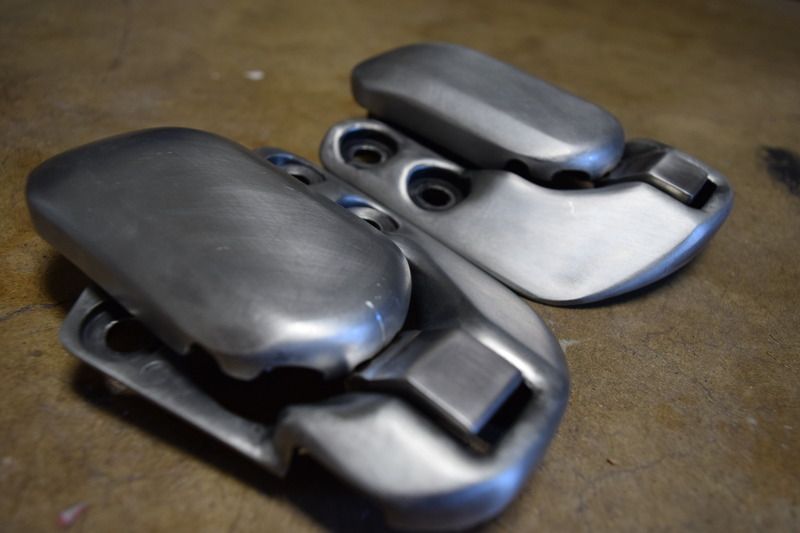
Once everything is assembled you will have something similar to this:
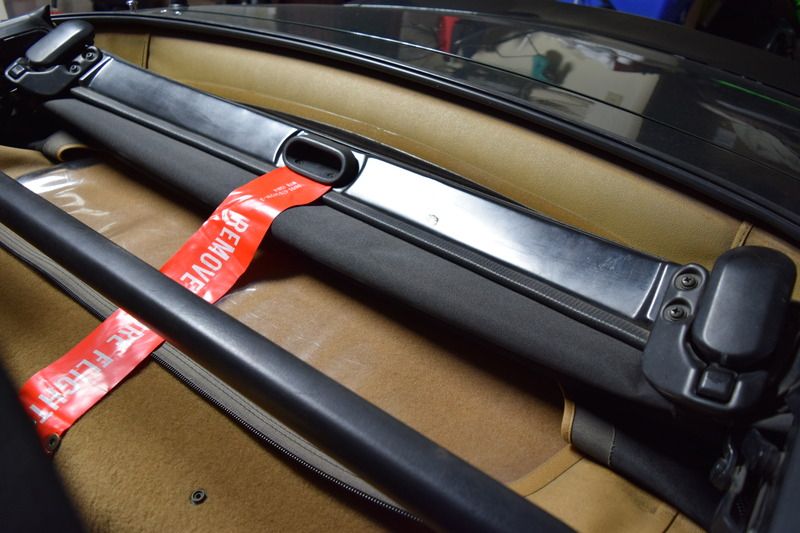
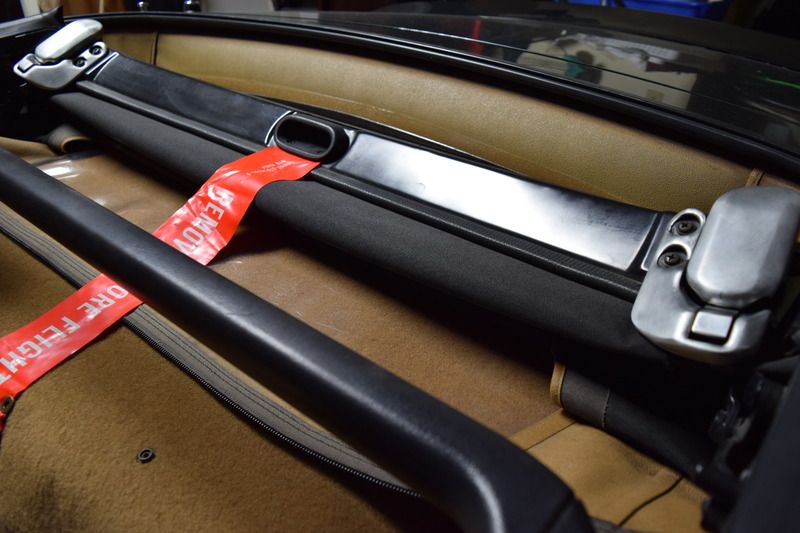
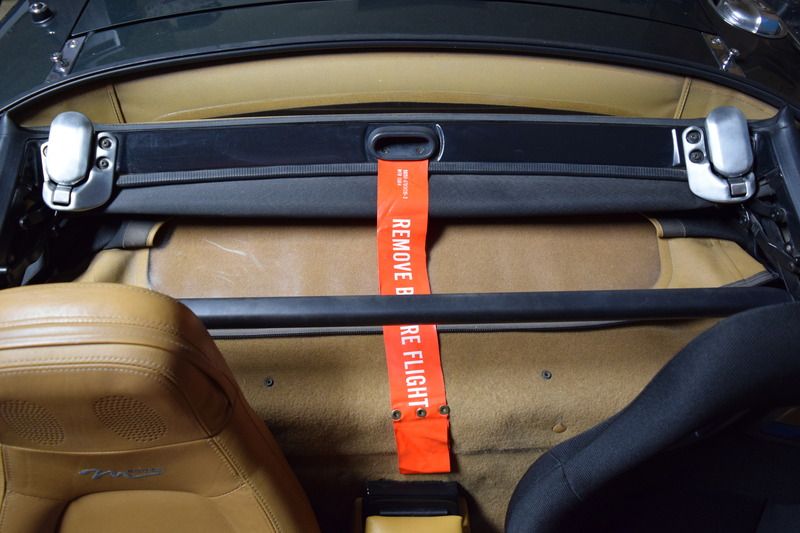
Reinstall them on the soft top with the three Philips head bolts on each latch like so:
The whole process took me between 2.5-3hrs which included taking pics for this write up but that time will vary depending on the desired finish. Next you just have to enjoy the beautifully refinished latches that operate smoother than ever thanks to the cleaned and greased pivot points!
P.S.-It is worth noting that I was going to have the assemblies media blasted(using a 'soda' media) but the gentleman was worried about damaging the moving parts, so if you choose that route consult the business before hand. Also there is at least one plastic piece that is below the adjuster that would have to be removed if you wanted to powder coat the assembly because I am fairly positive it wouldn't survive 400+F.




 Reply With Quote