Very nice build, and quite a few Roadsters you have had!! I really love the red seats and BBS wheels!


Very nice build, and quite a few Roadsters you have had!! I really love the red seats and BBS wheels!
"My For Sale Items"
"My 2014 Club"
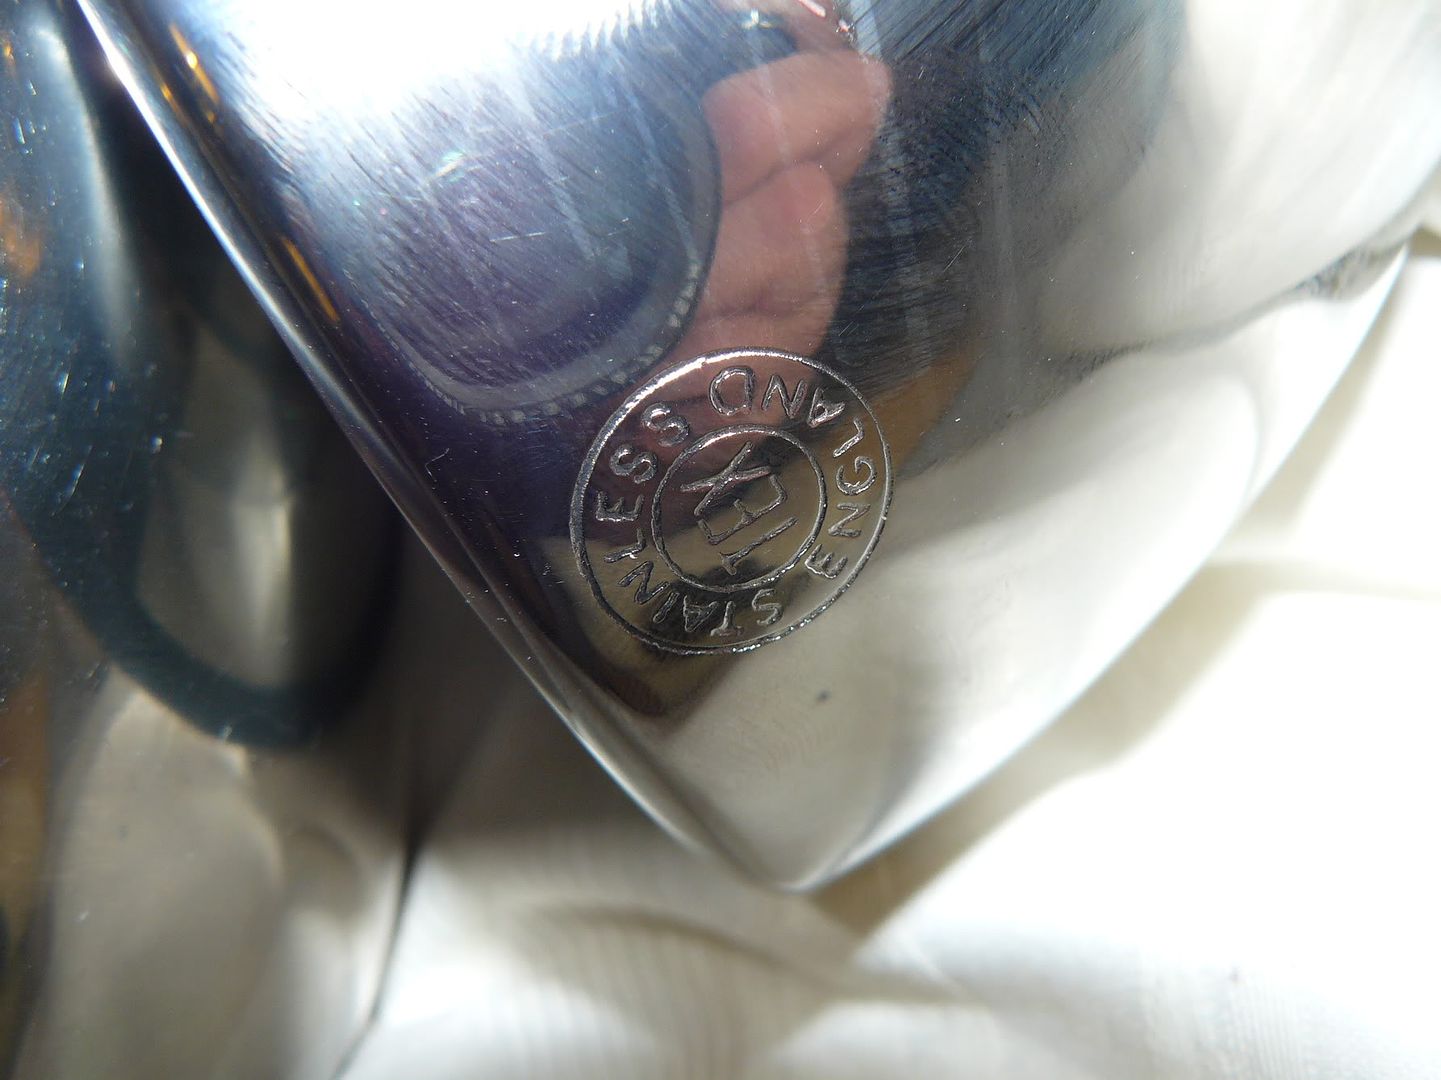
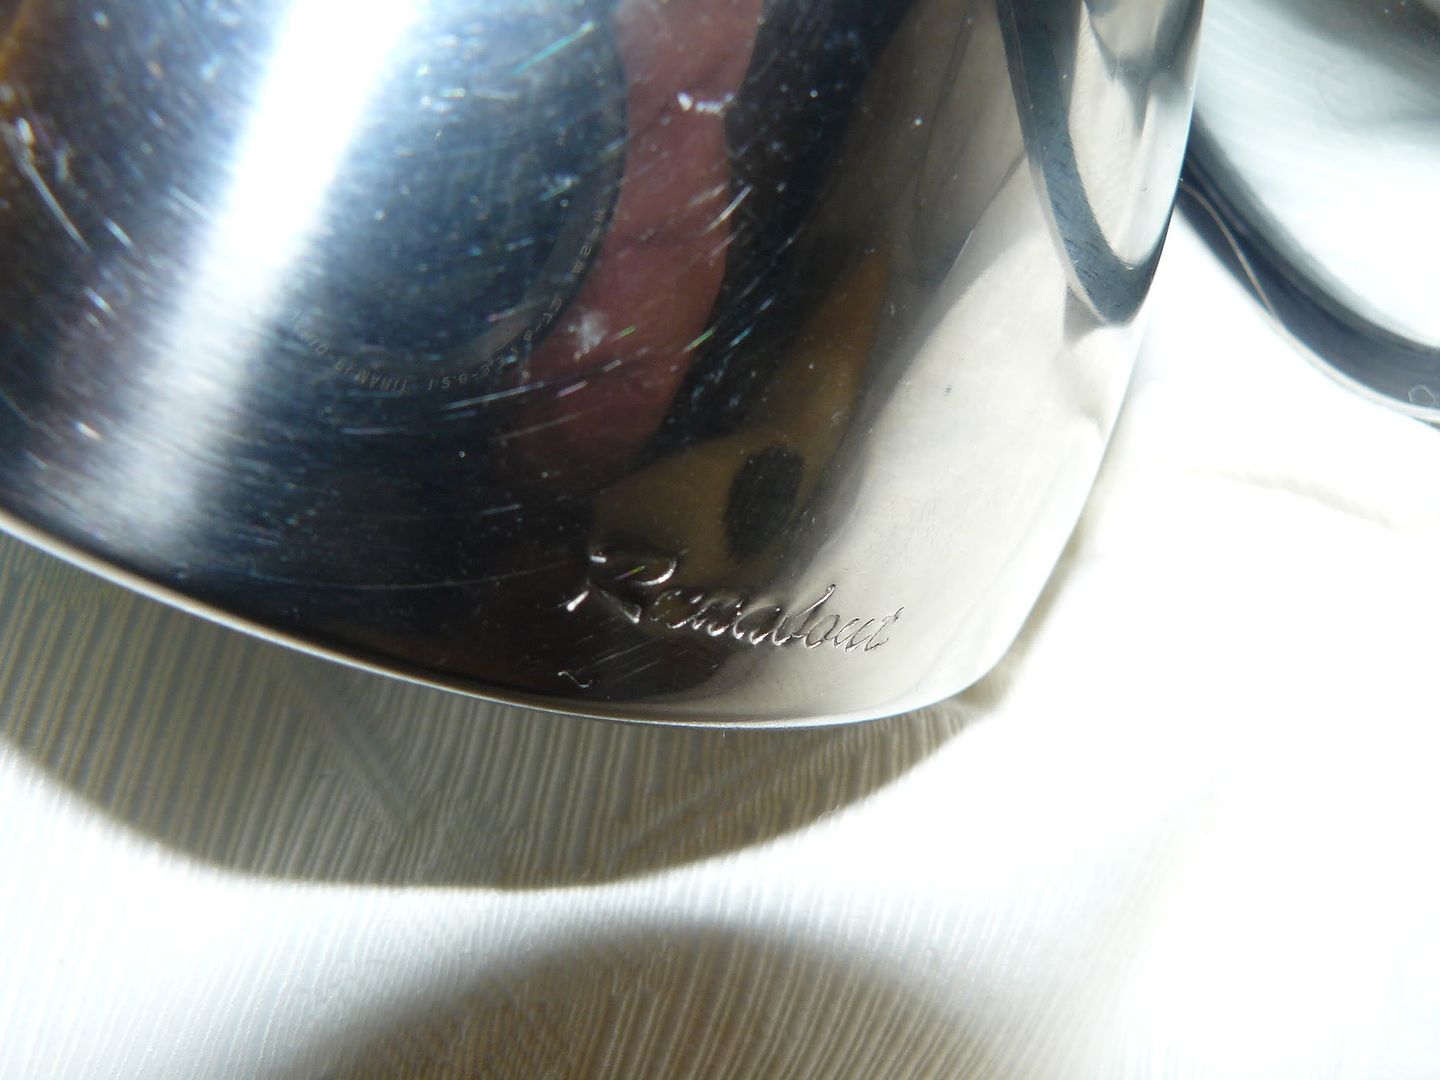
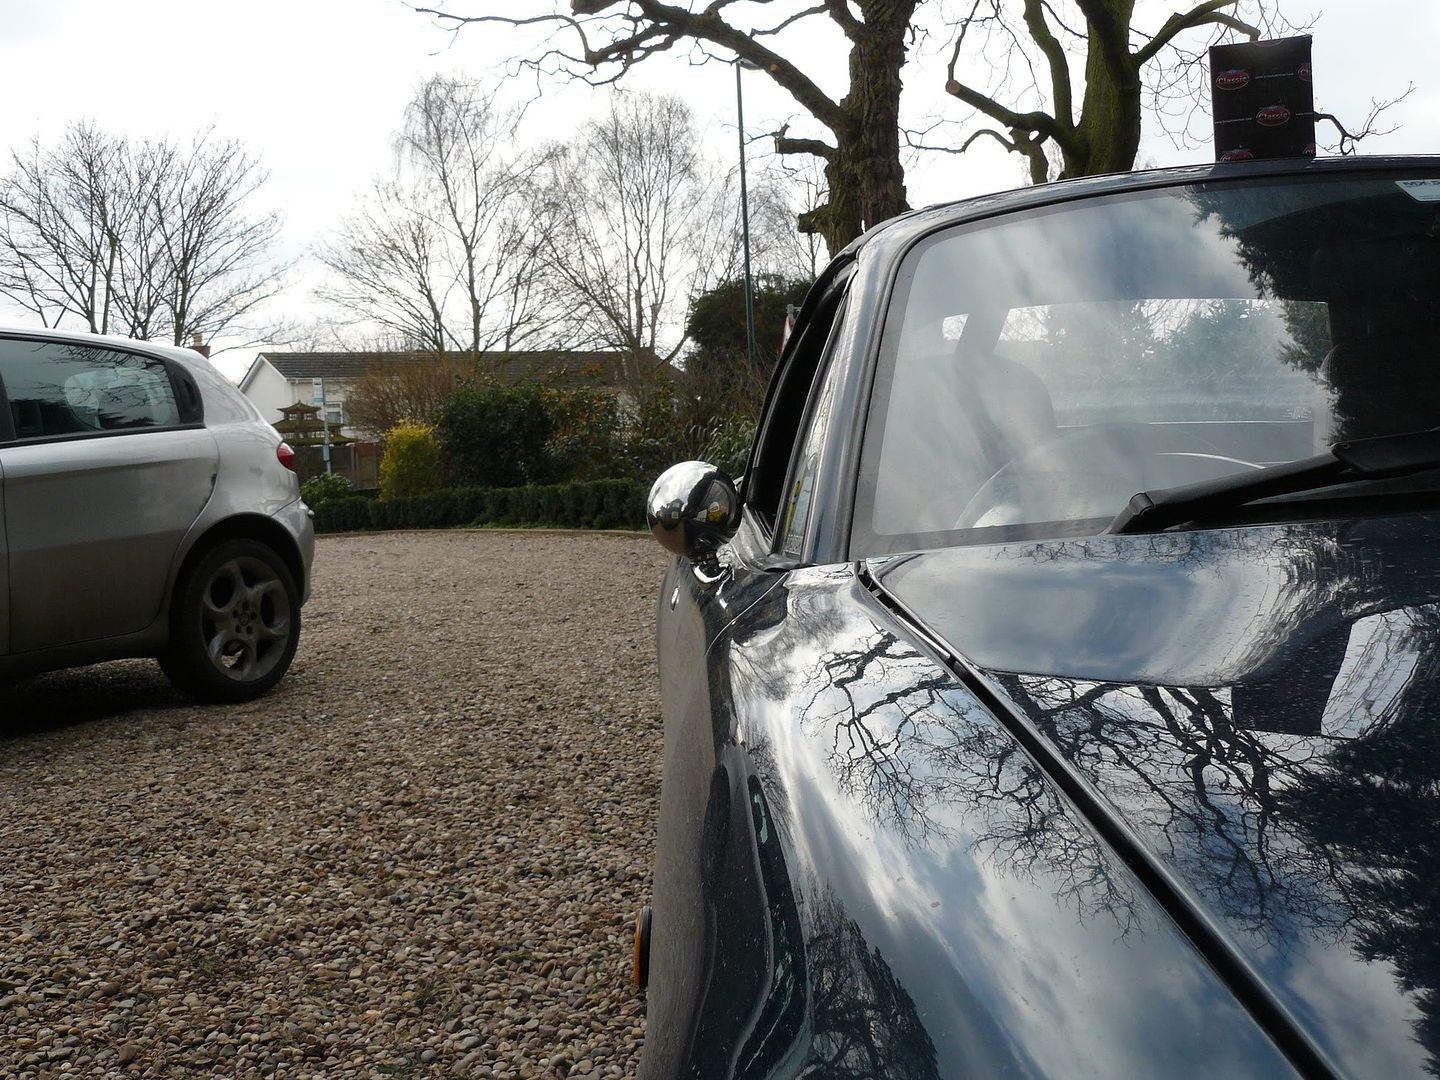
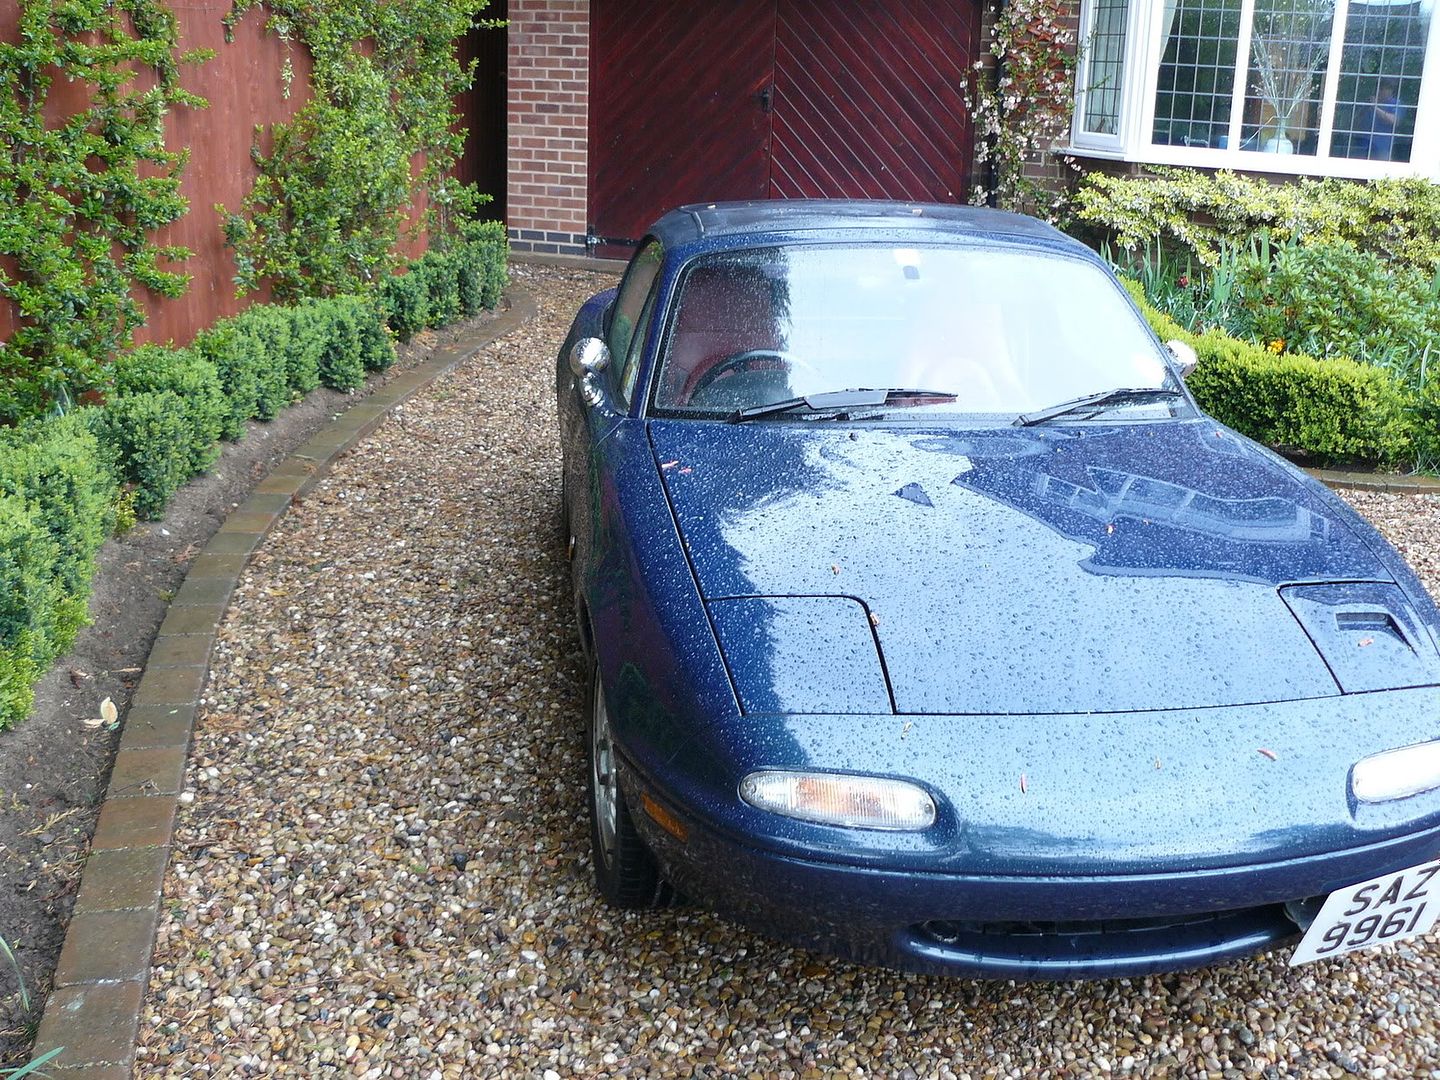
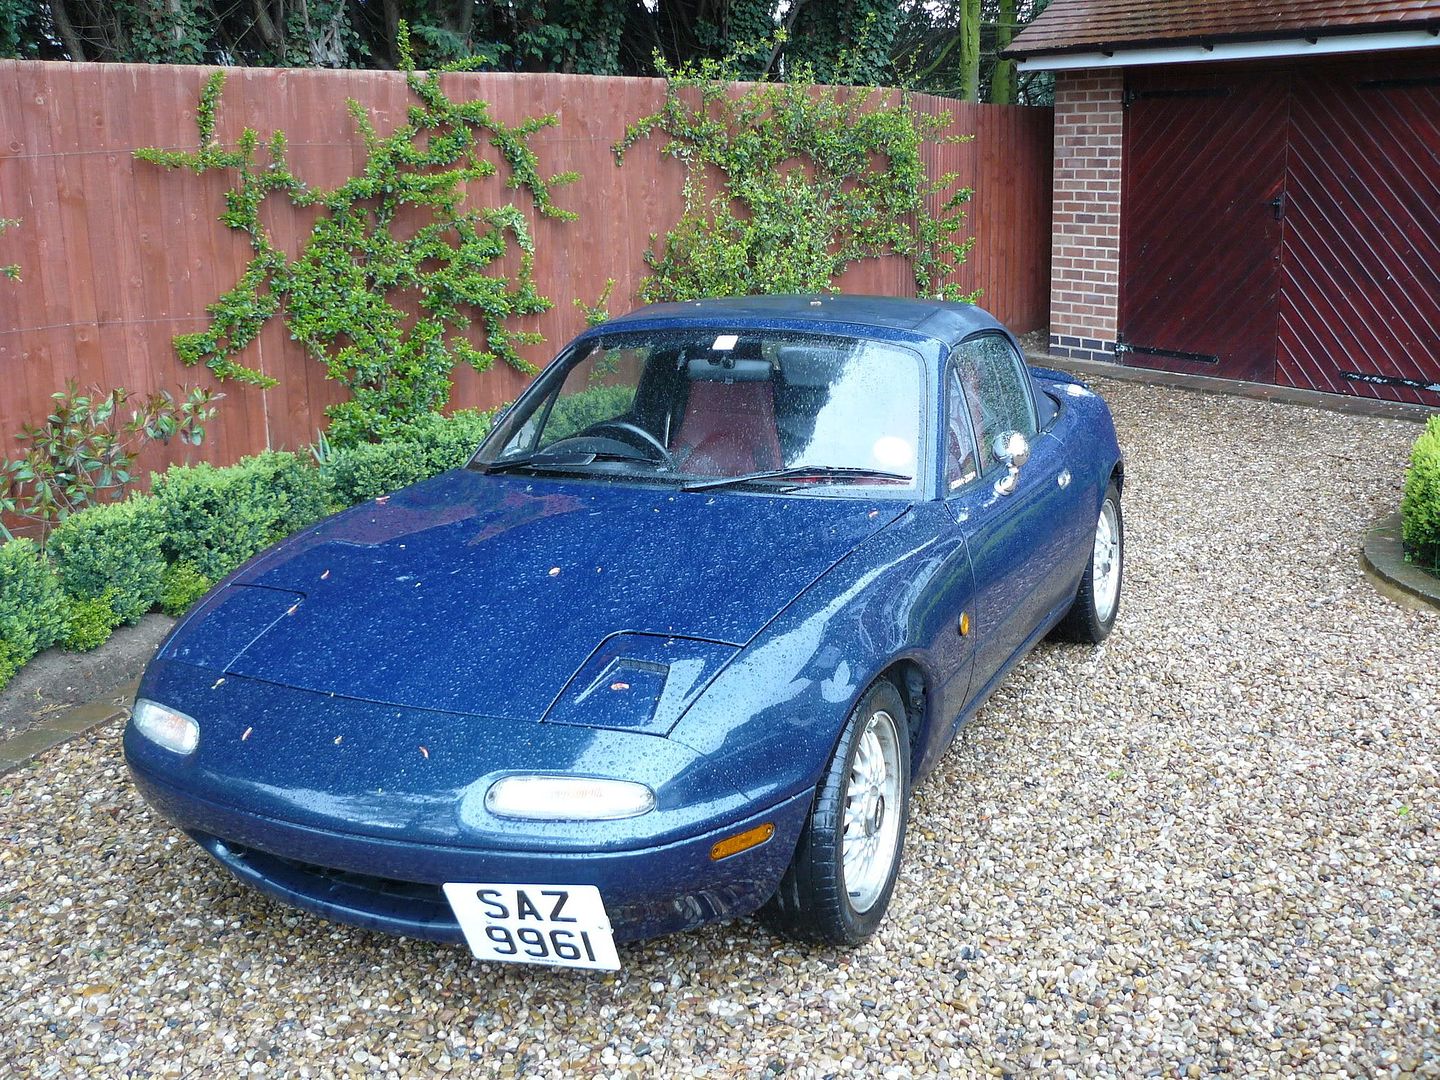
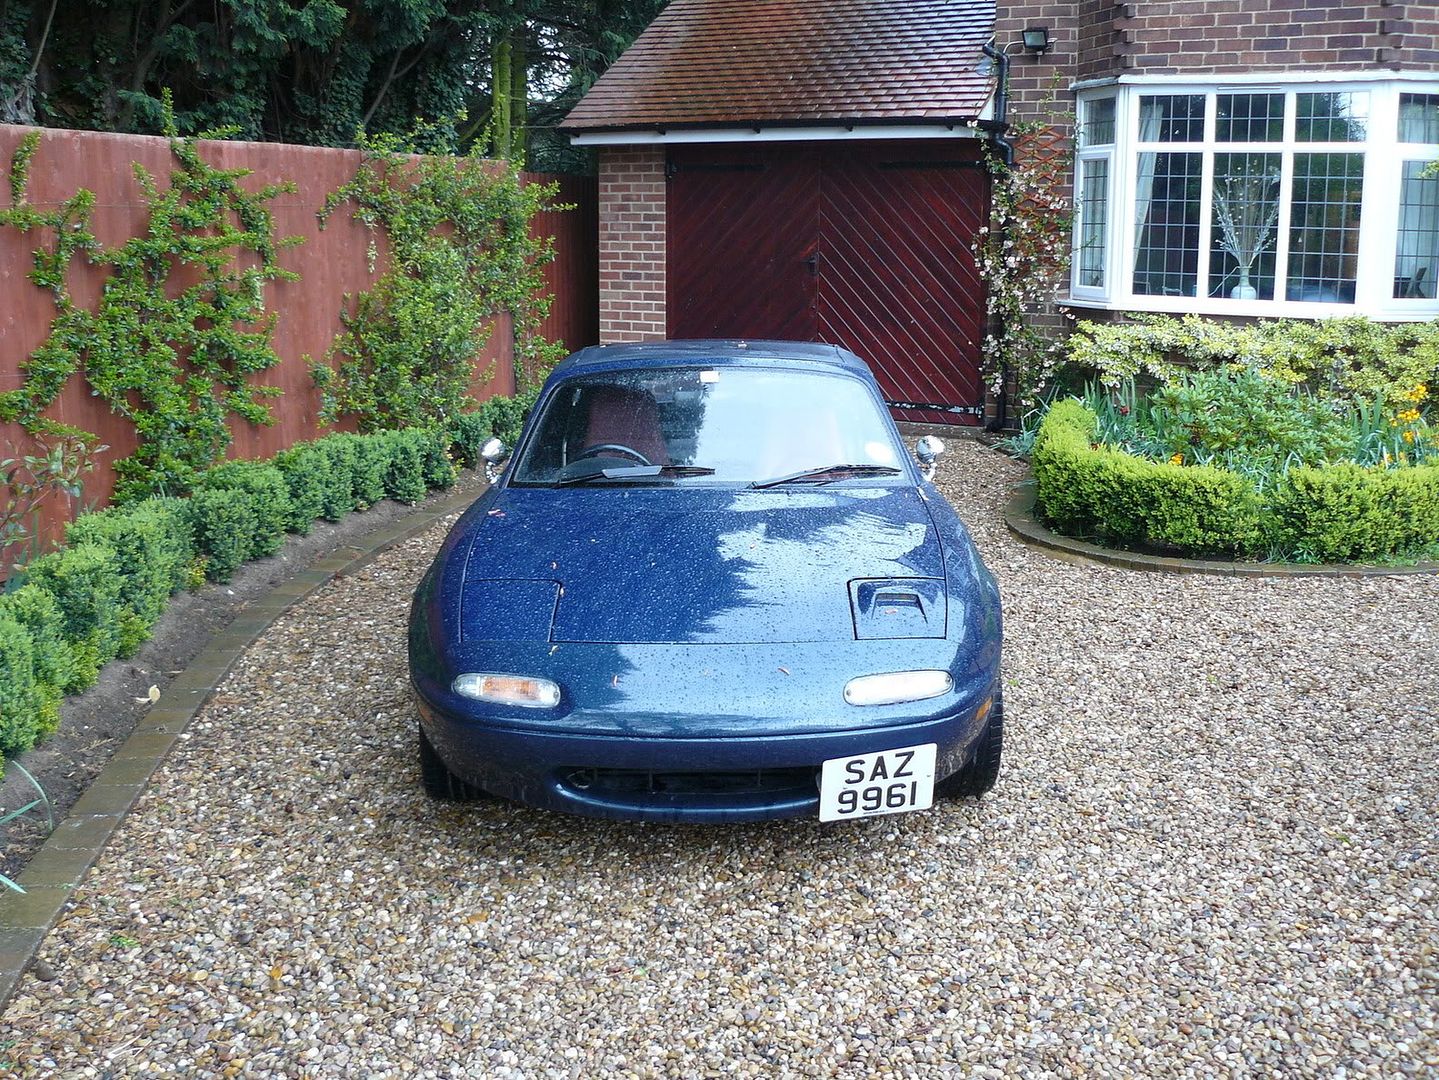
1994 Laguna Blue - (Runabout)
2005 BM MSM #751 of 1428 - someone else is playing with her now
"Nardi Steering Wheel Restore"
91 SD Italia

I love this. Every update. So awesome.
I miss the 2000-era of Miata parts....

pretty sick
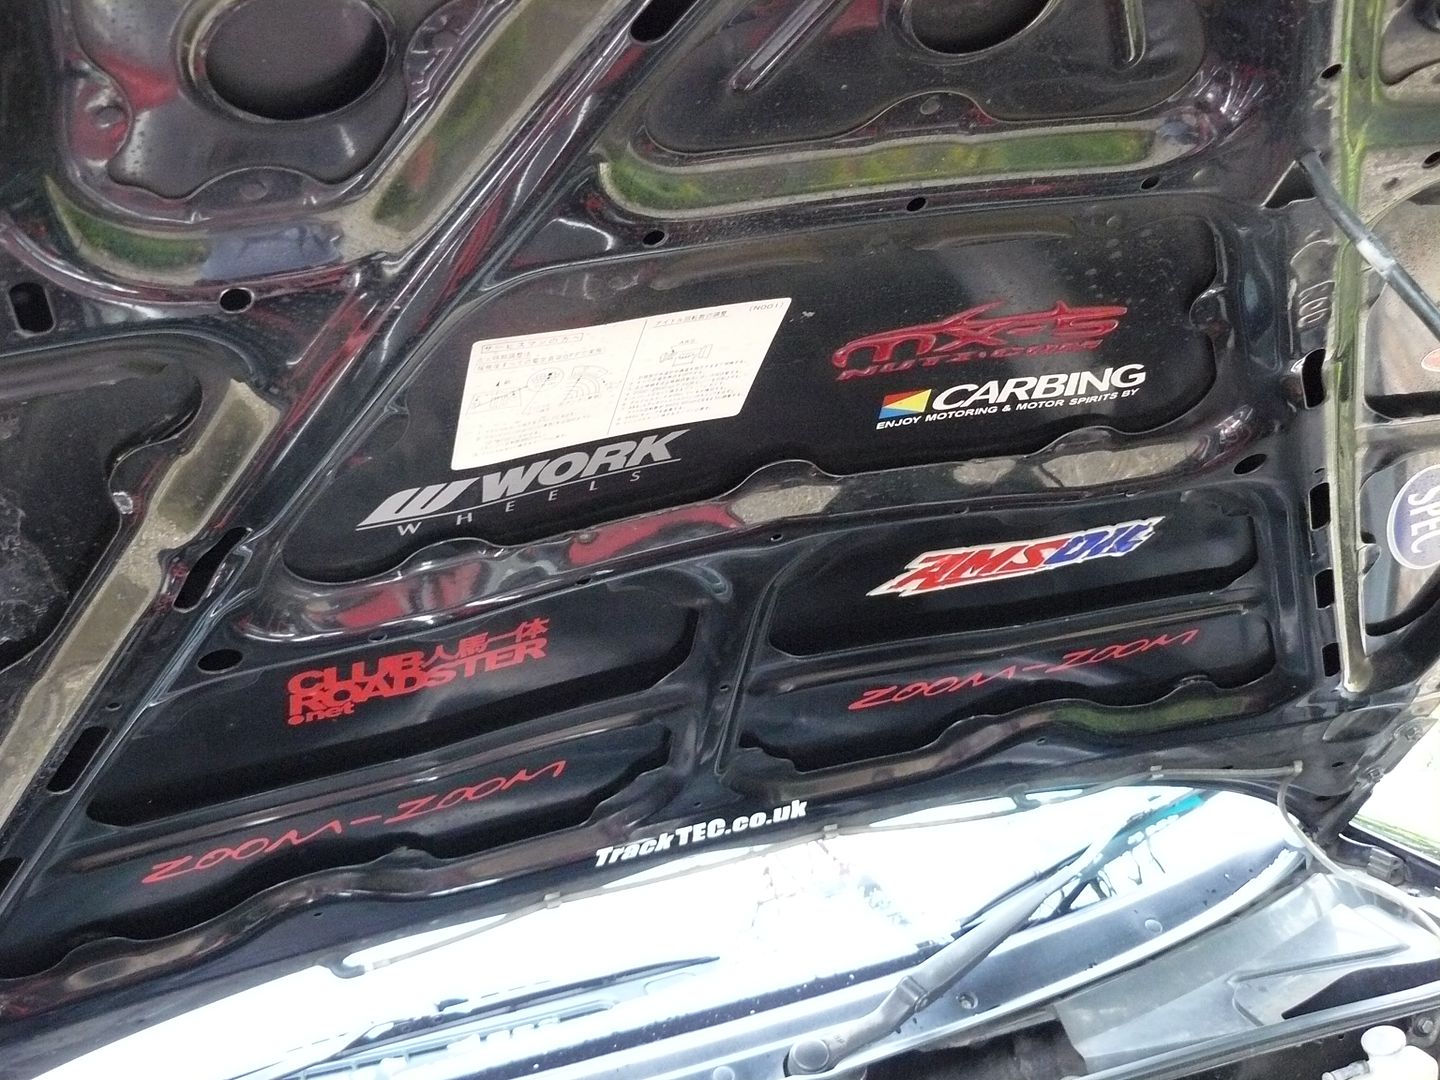
Xida CS | Hard Dog | Corn*s | Bride | Joyfast | Carbing | Beatrush | 6UL | KG Works | Square-Top Manifold | BP5A Cam | Daily/CSP build
A quick note on steering wheel restoration. The leather of my Nardi was full of nicks, and scratches, and very worn looking. When I started polishing the spokes, it was plain the leather was going to take a beating. No problem; sand the leather with 800 grit wet n dry, to a flat finish. Then get a leather dye (mix in some gloss it you want); I used a small bottle from Furniture Clinic (£10, this lasts a long time); this is an actual dye, rather than a paint. Dab it on using a sponge; even though it is a dye, some of it will sit on the surface. Using a sponge gives a nice even OE finish, Allow it to dry over night.
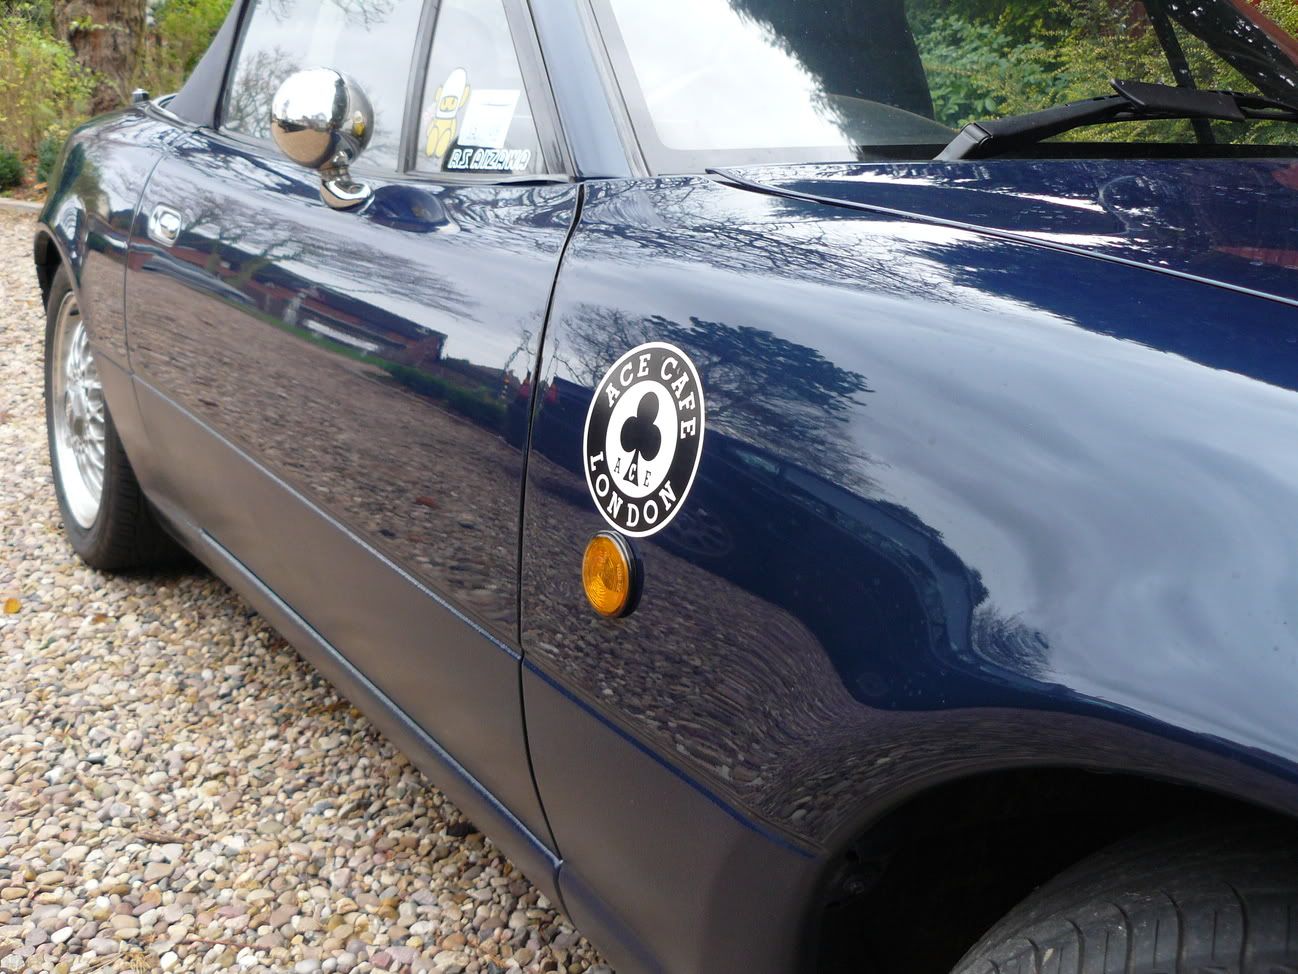
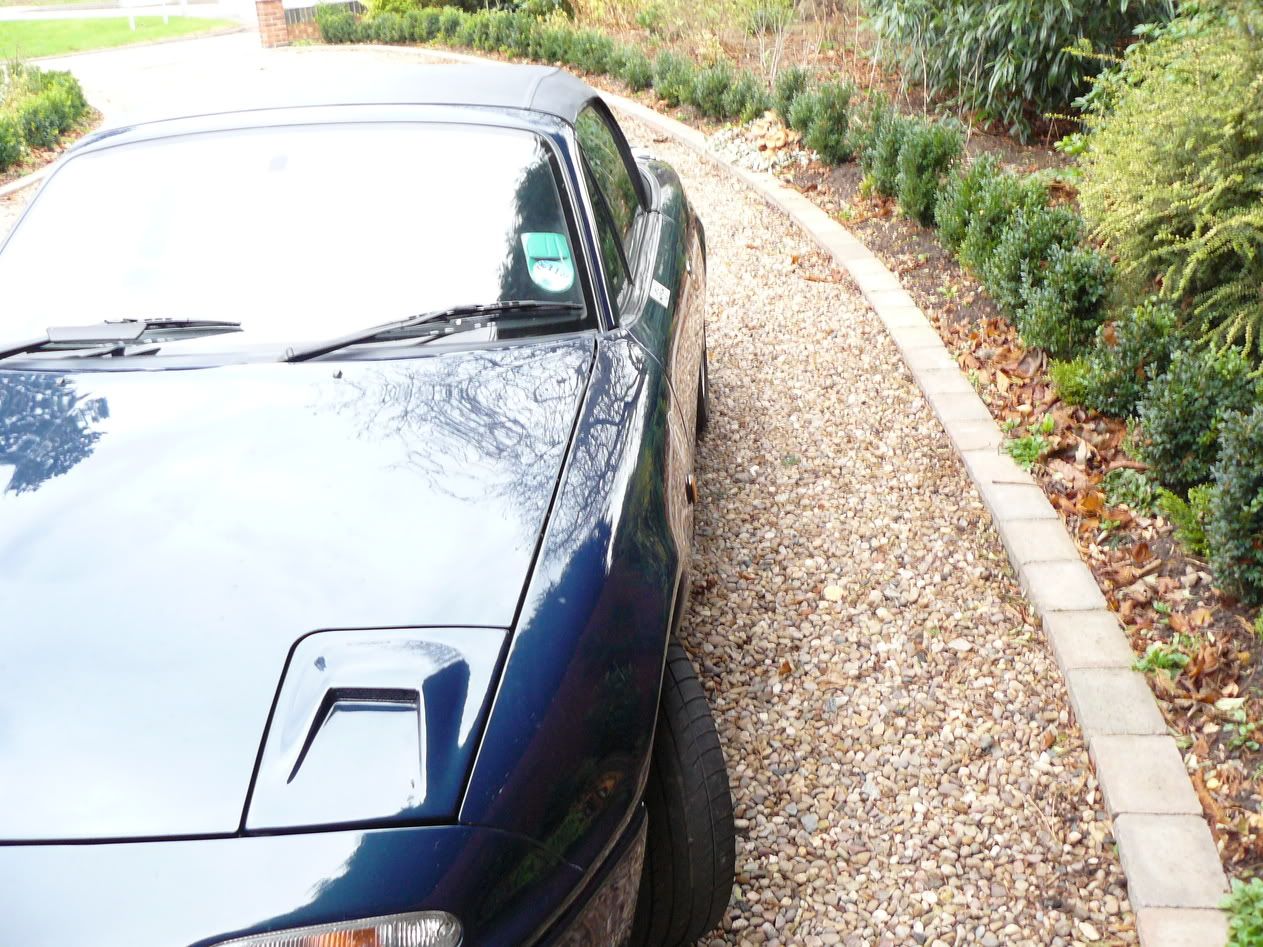
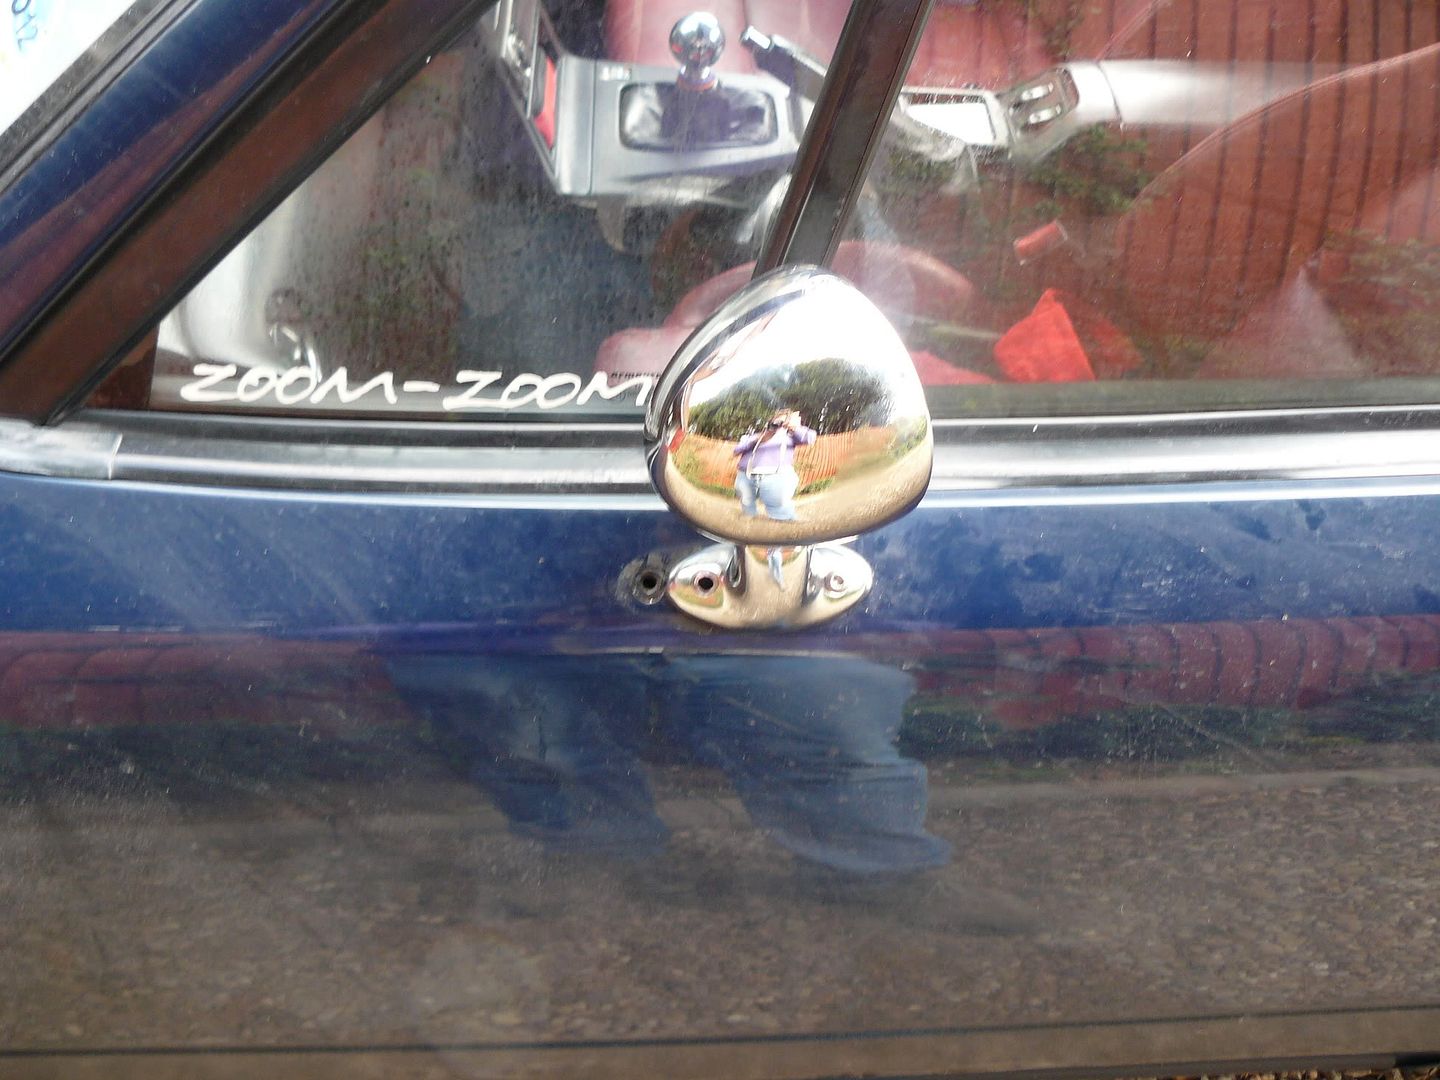
Continuing my theme of being cheap; I wanted Runabout M2s (a car I had previously, but haven't mentioned, was a Eunos Roadster M2-1002, but thats another story). Found a later type, in as new condition, being sold by Sam Goodwin. It was cheap, because he only had one of them. I brought, with the expectation of finding one to match. I never did; I ran the car with a single mirror, and an aluminium blanking plate. That was ok; the passenger Runabout mirror is utterly useless anyhow.
But it didn't look balanced. I needed a second mirror, but not at Runabout prices. I did a little research, and it became clear Runabout do not make their own products; they source items from various suppliers. So who was supplying their M2 mirrors. The answer was close to home. Tex Automotive are a long term British car parts manufacturer; best known for the Tex mirror, which was a standard mirror for British Leyland in the 1970s; it used a unique rail mounting system, that I suppose provided for some pedestrian protection (it broke off cleanly if hit), but allowed a smooth exterior, while being easy to fit (on an assembly line). I came across the Tex Evolution mirror; a stainless steel mirror intended as an after market fitment for the Austin Mini. It looked very similar to the Runabout mirror, but was a fraction of the cost. Then I found a set at a car show, and seeing them in the flesh convinced me they were made by the same manufacturer as supplying Runabout. The bases were a little different, but I took the plunge and brought a set (under £50 for two, boxed and brand new).
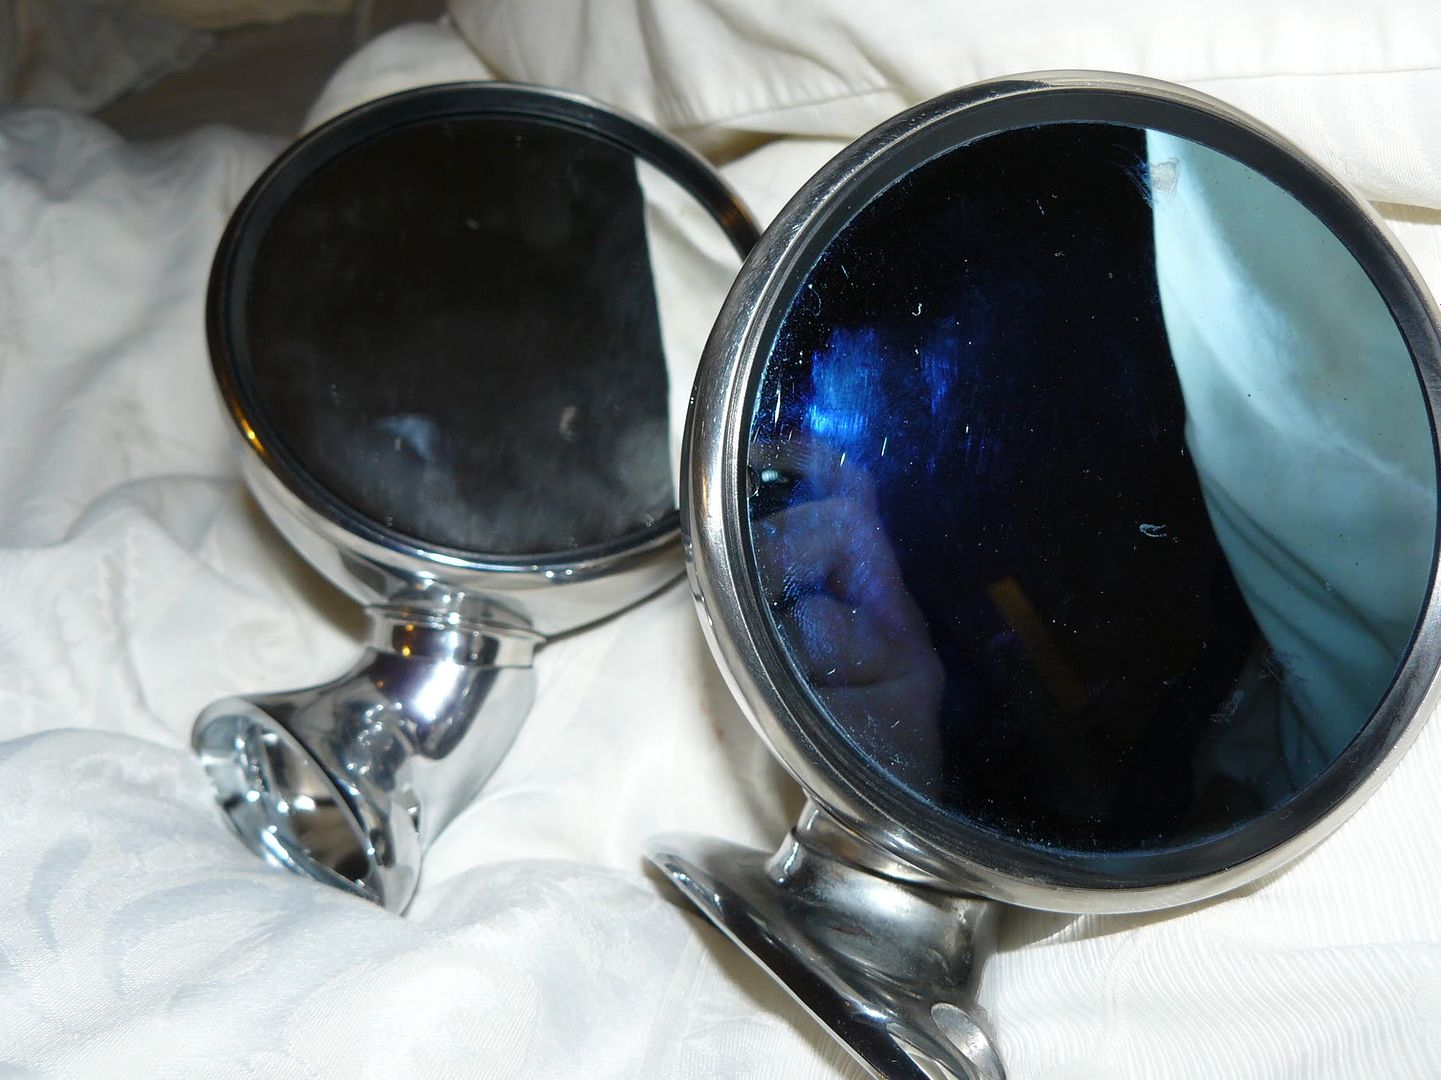
Here's how they compared to the late style Runabout I had:
Tex on the left, Runabout on the right.
Runabout has their logo stamped, but Tex have theirs inscribed.
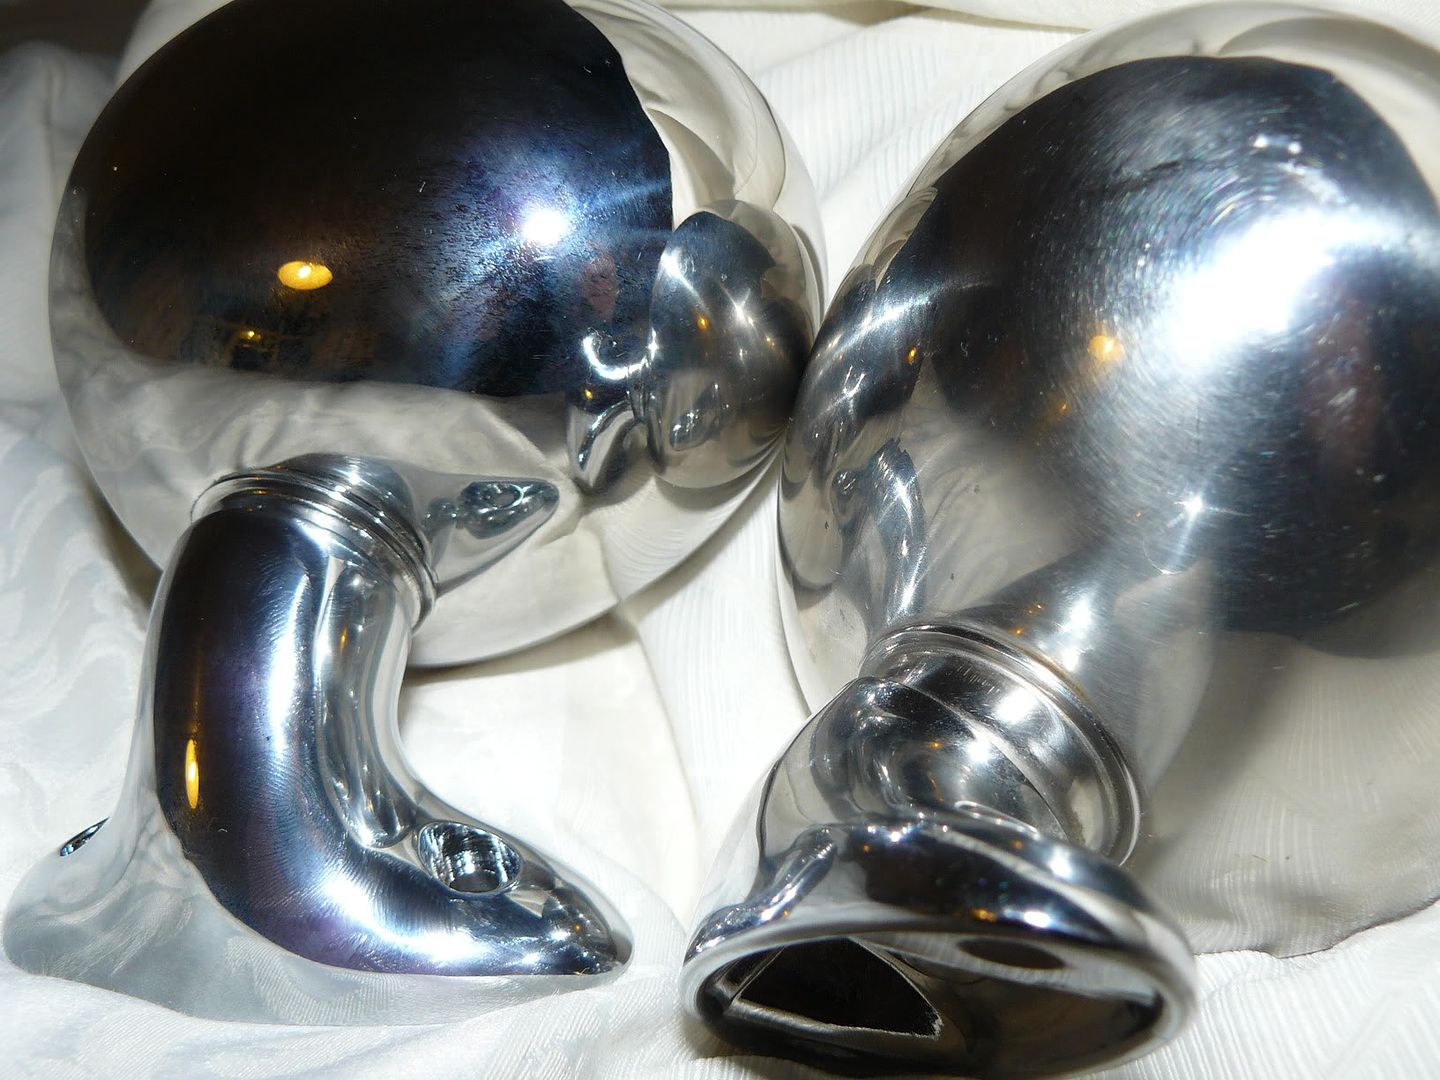
It would be too much to hope that the Evolutions would be a straight fit.
The base was too small, plus the angle of the arm was wrong.
Runabout:
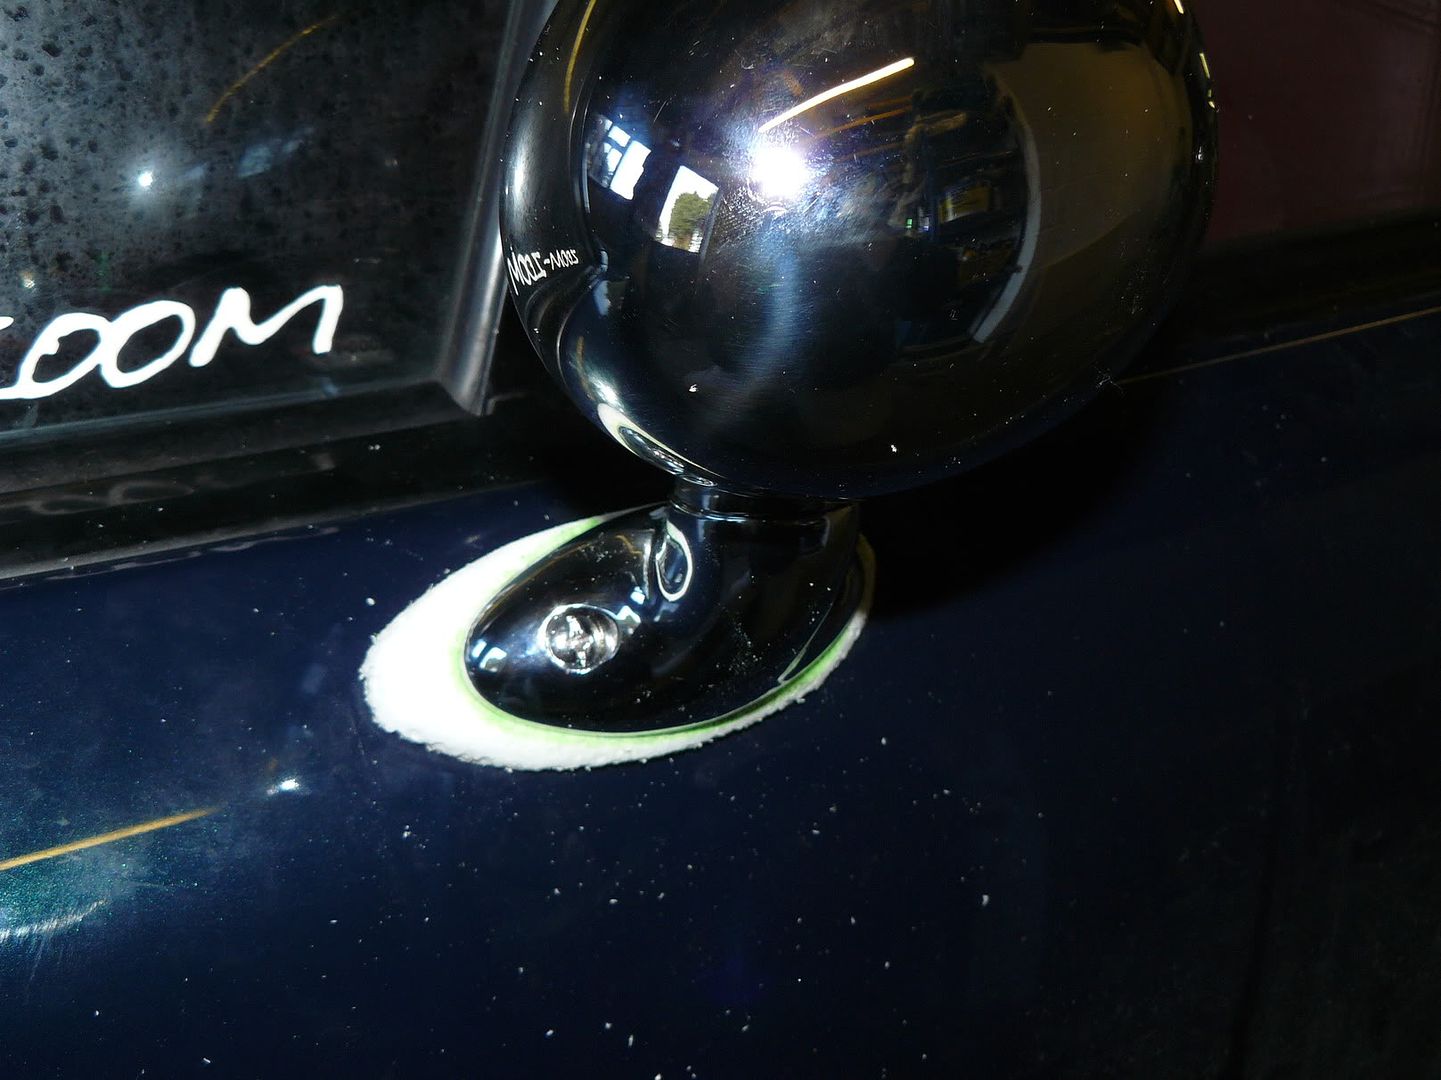
It was wrong, but not that wrong. The Evolution mirror includes a plastic block, that the users screws to the Mini door, using the original tapped mirror mounts. The mirror then attached to and covered the plastic block. I had a plan.
I wanted to create an adapter to enable fitment of the mirror, without physically changing the mirror nor the door, but at the same time, correct the angle of the arm, both for the aesthetics, but also to improve the field of view.
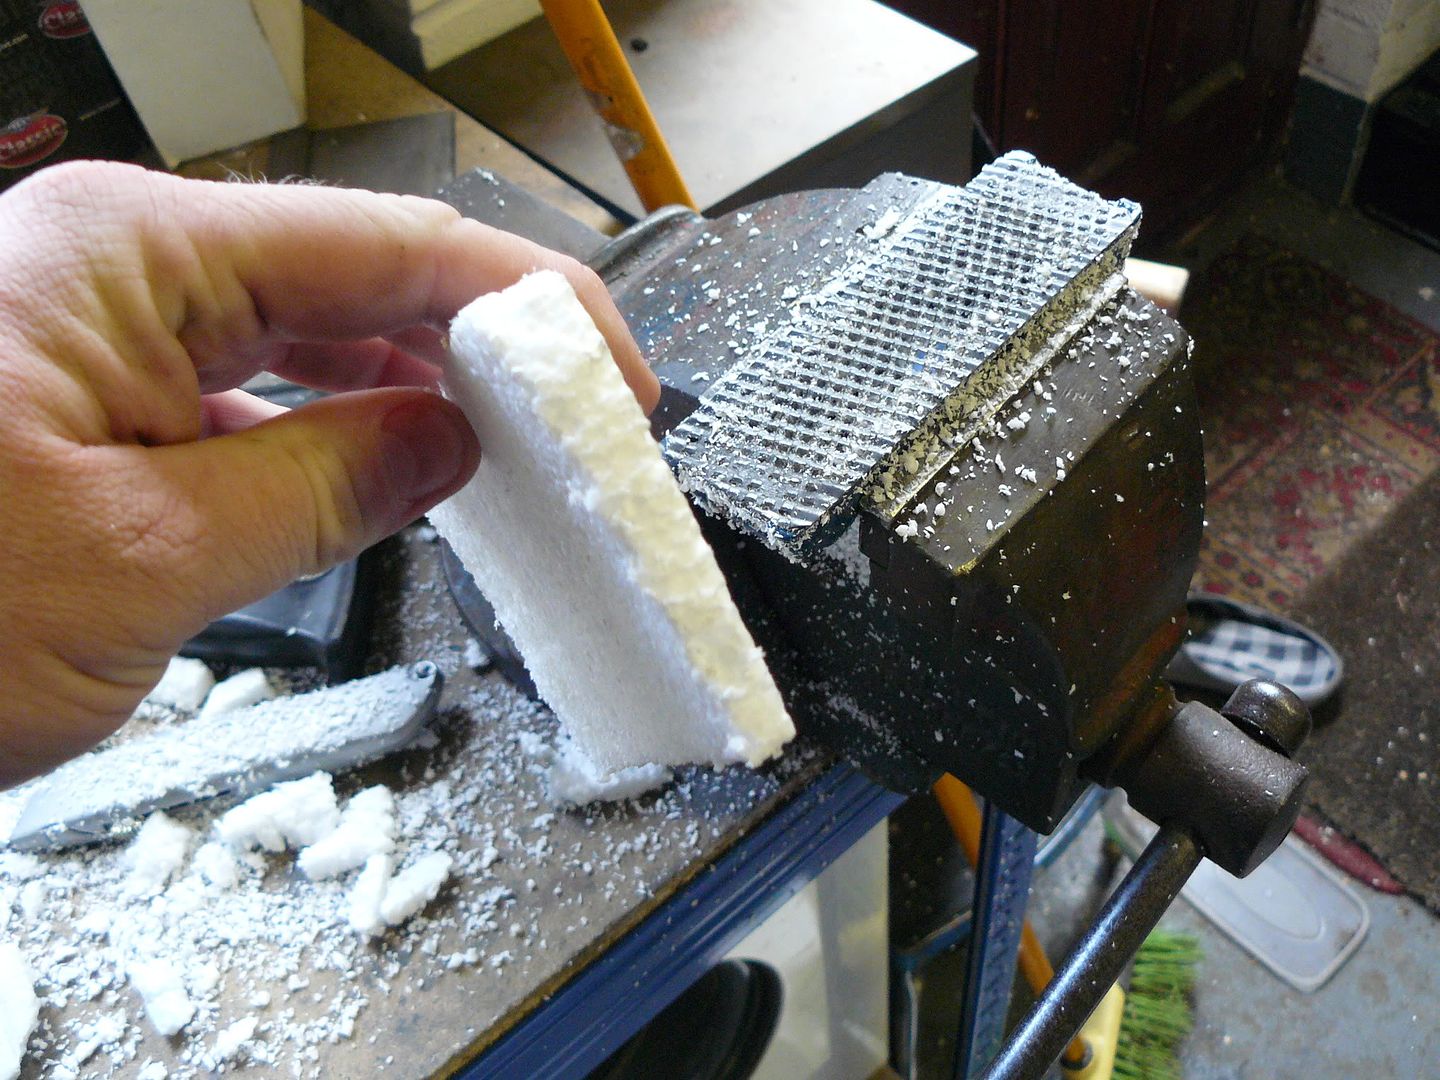
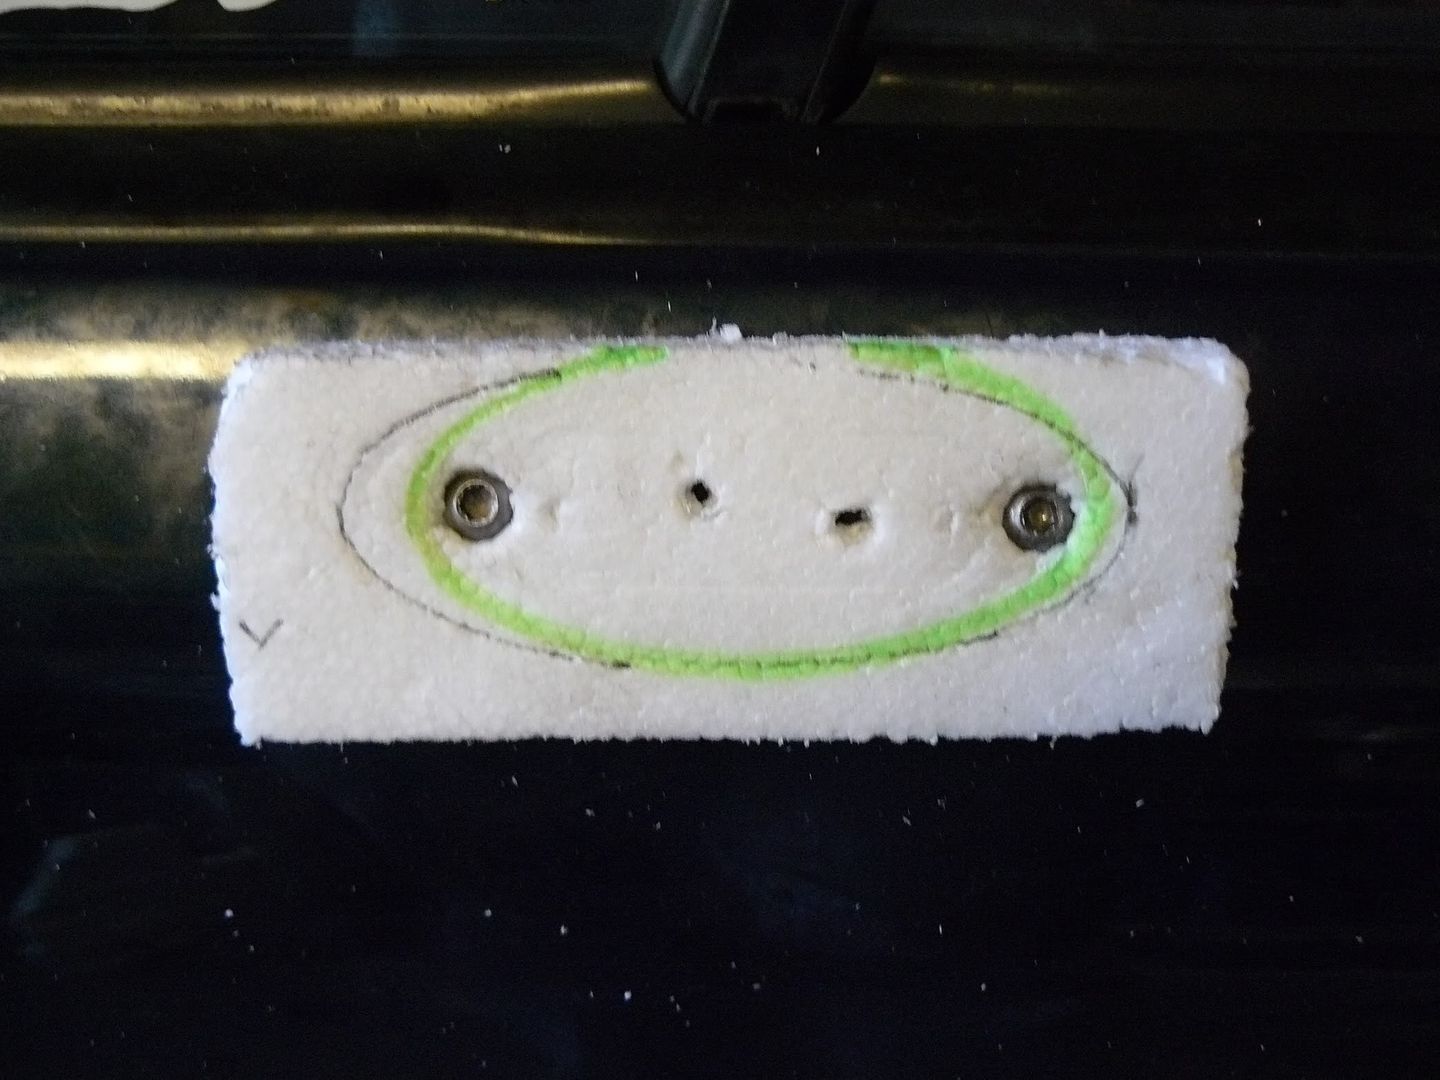
So I made up a mock-up, in polystyrene, to see if there was any traction in the idea, and also to work out the shape of the block needed.
First I carved a block to a rough wedge shape, to achieve the correction in the angle.
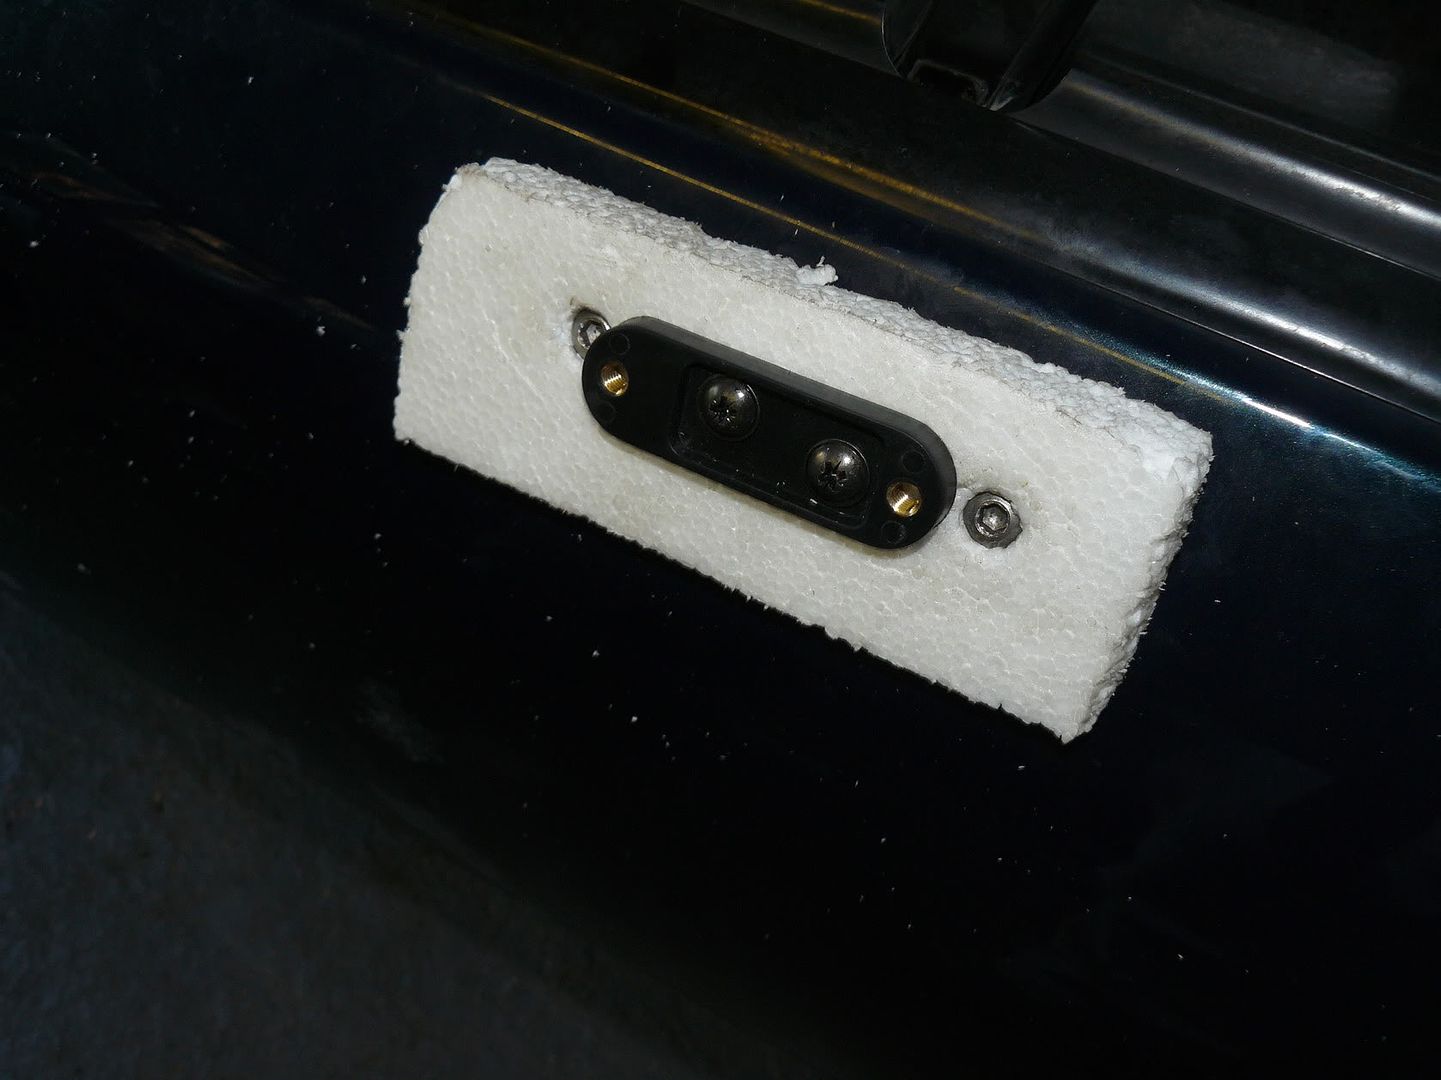
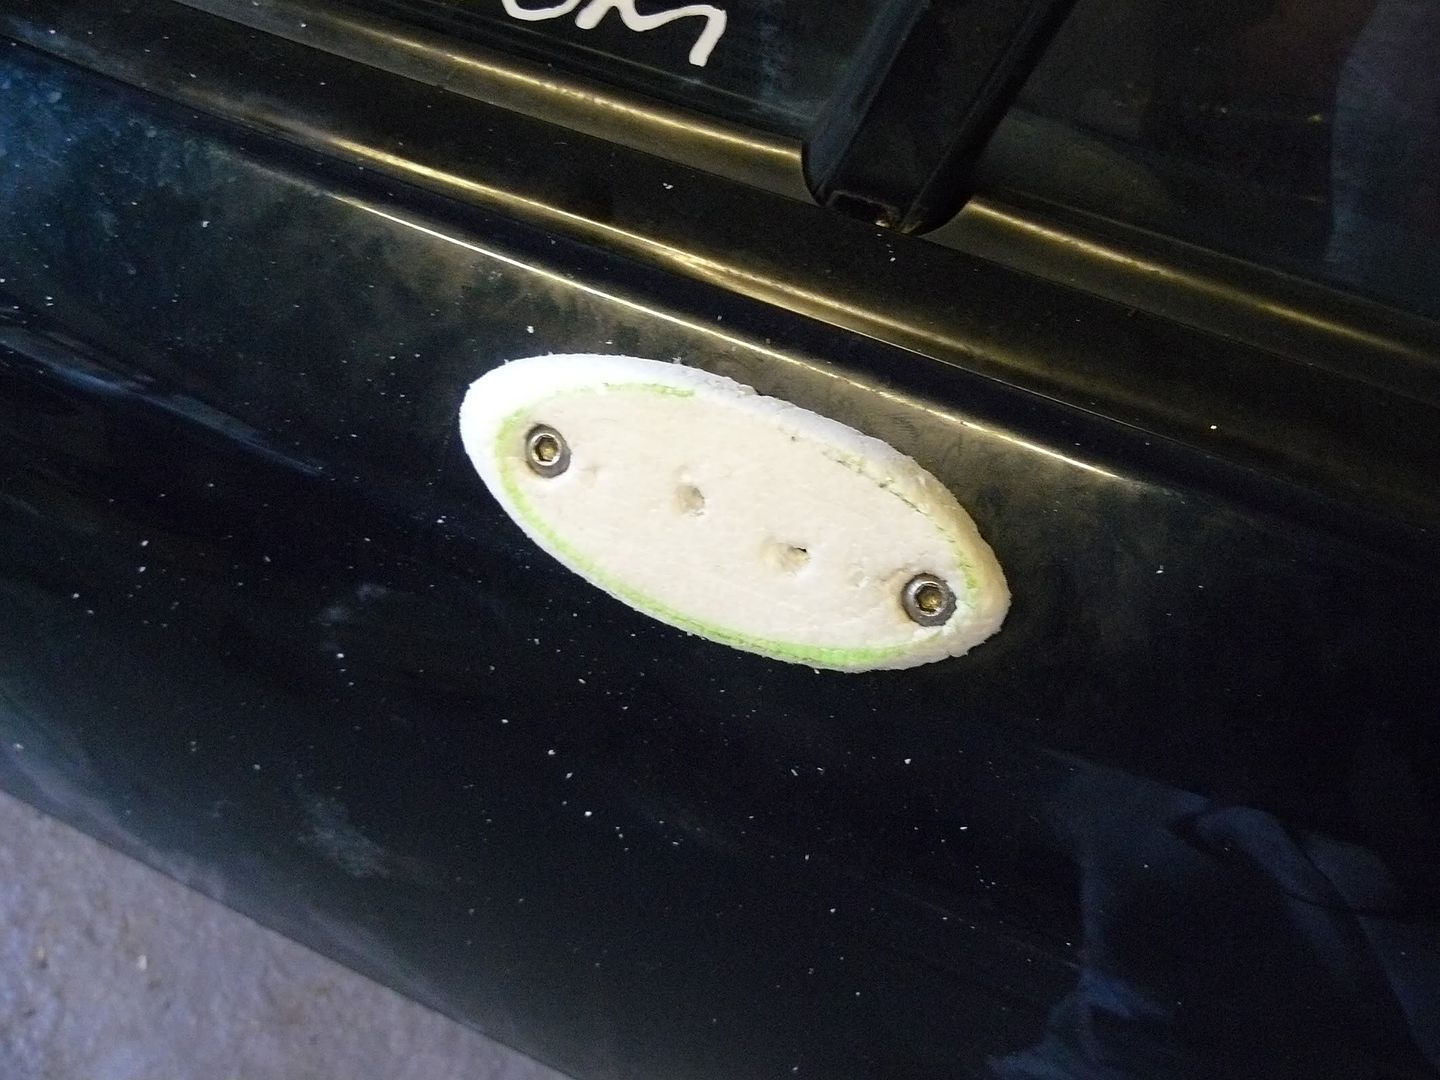
Plastic mounting block "fitted".
Polystyrene fitted to the door.
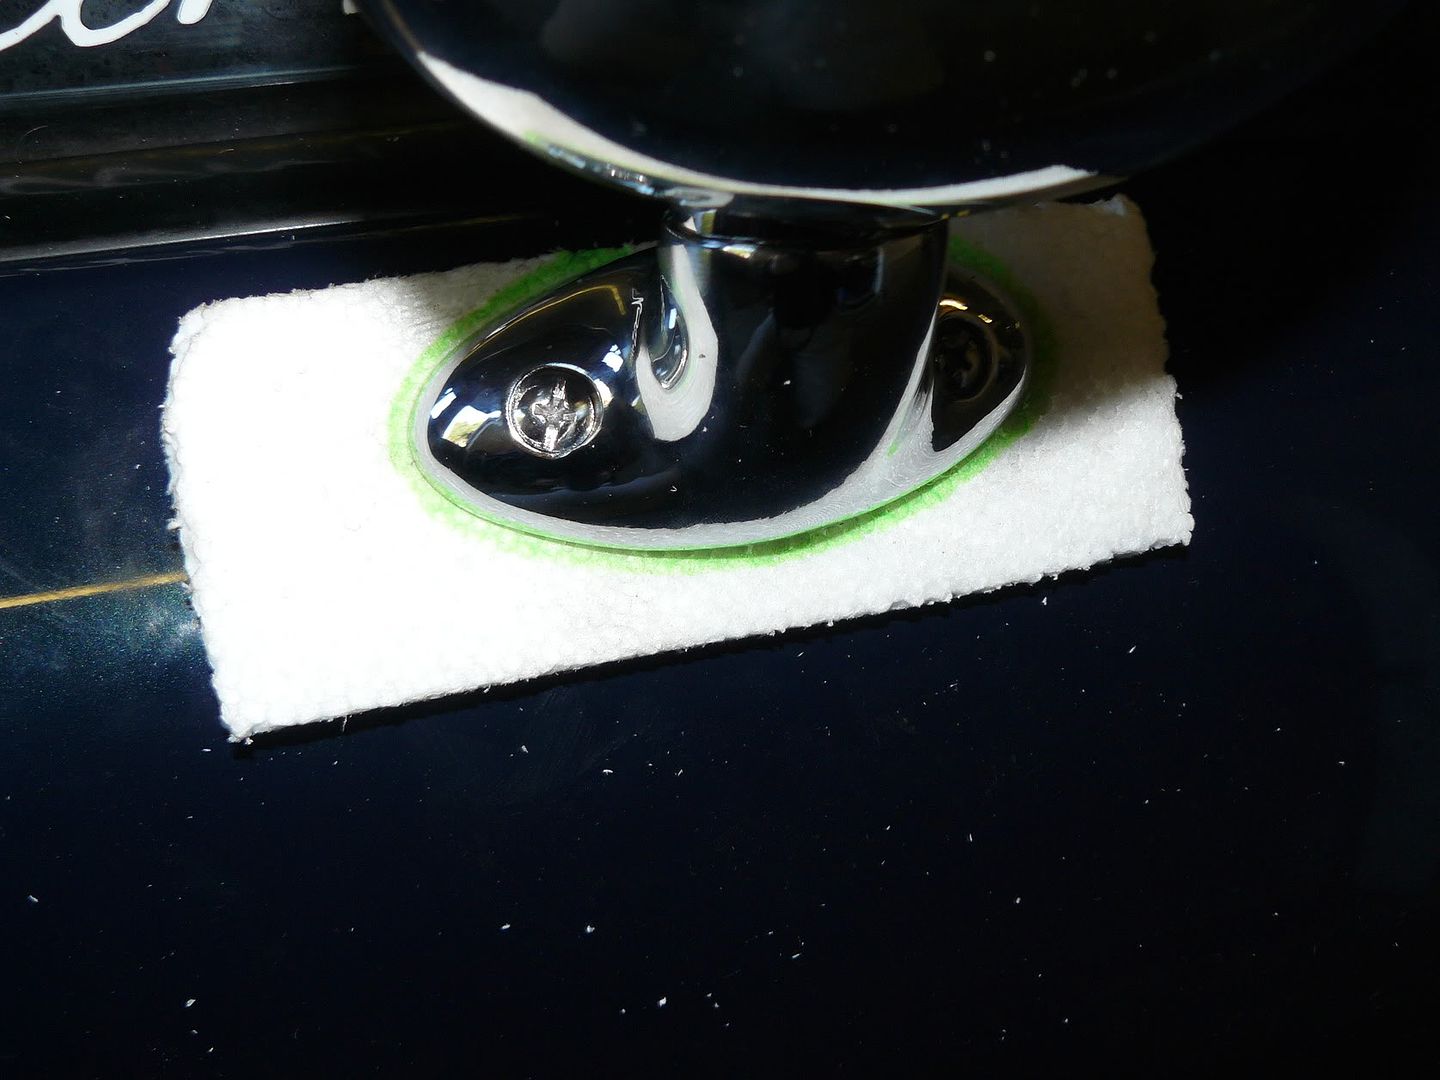
Fit the mirror to the block, and mark out its outline.
Two outlines marked out:
The larger outline is the footprint of the Runabout. The idea was to carve the block to fit the footprint of the runabout, and blend that in to the footprint of the Evolution mirror.
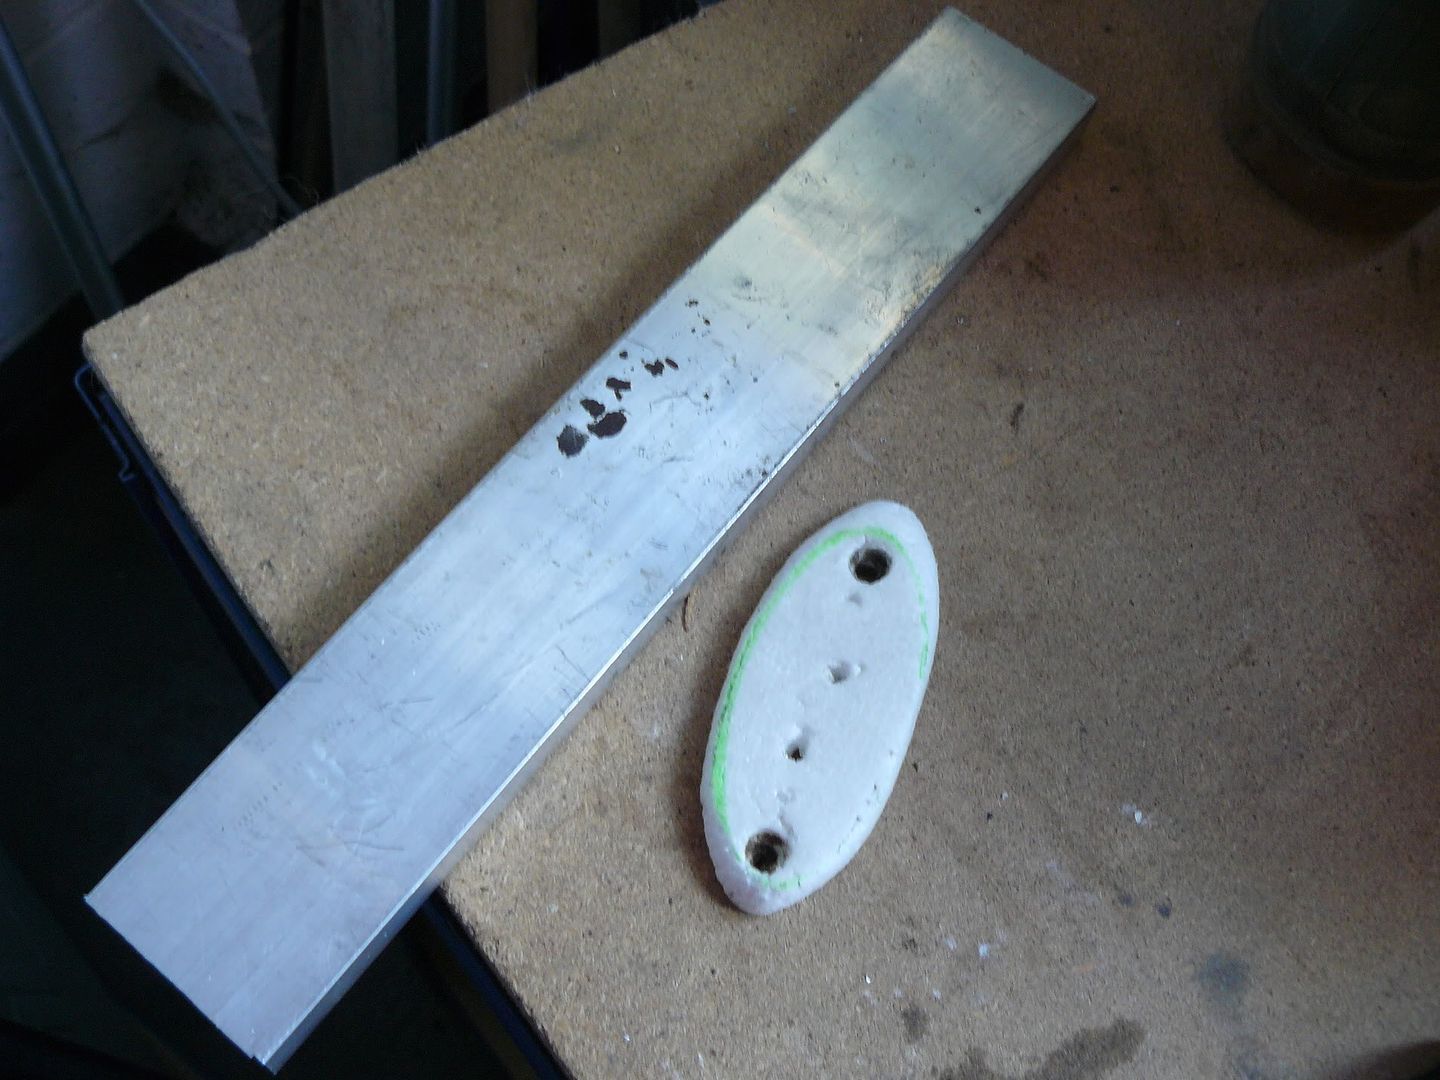
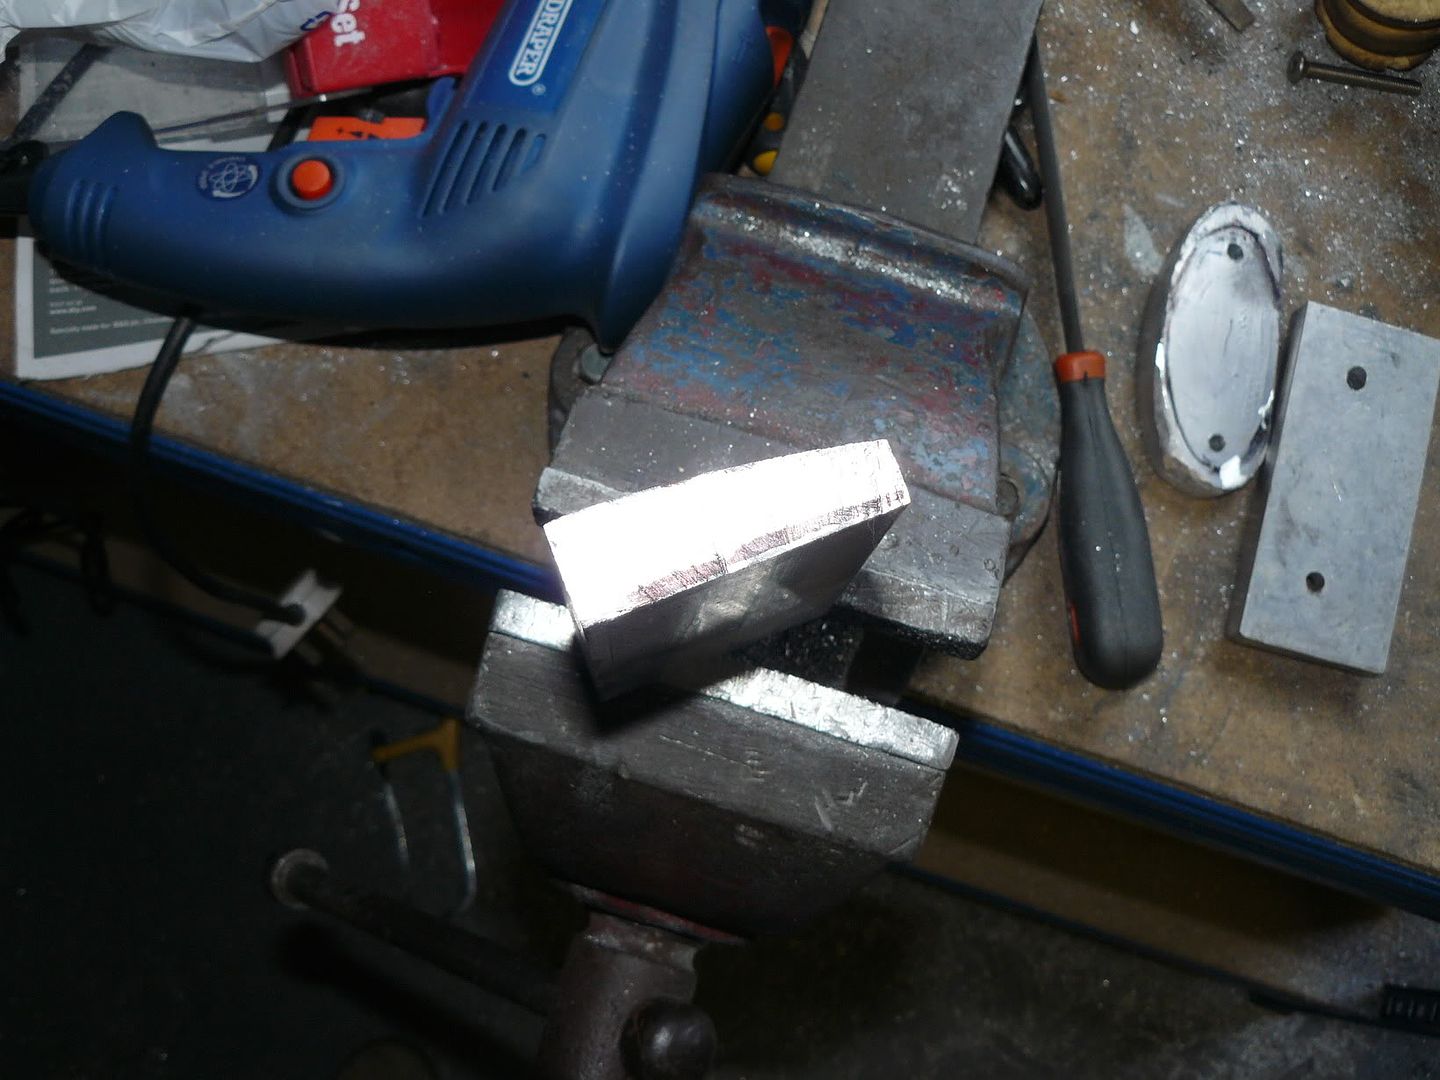
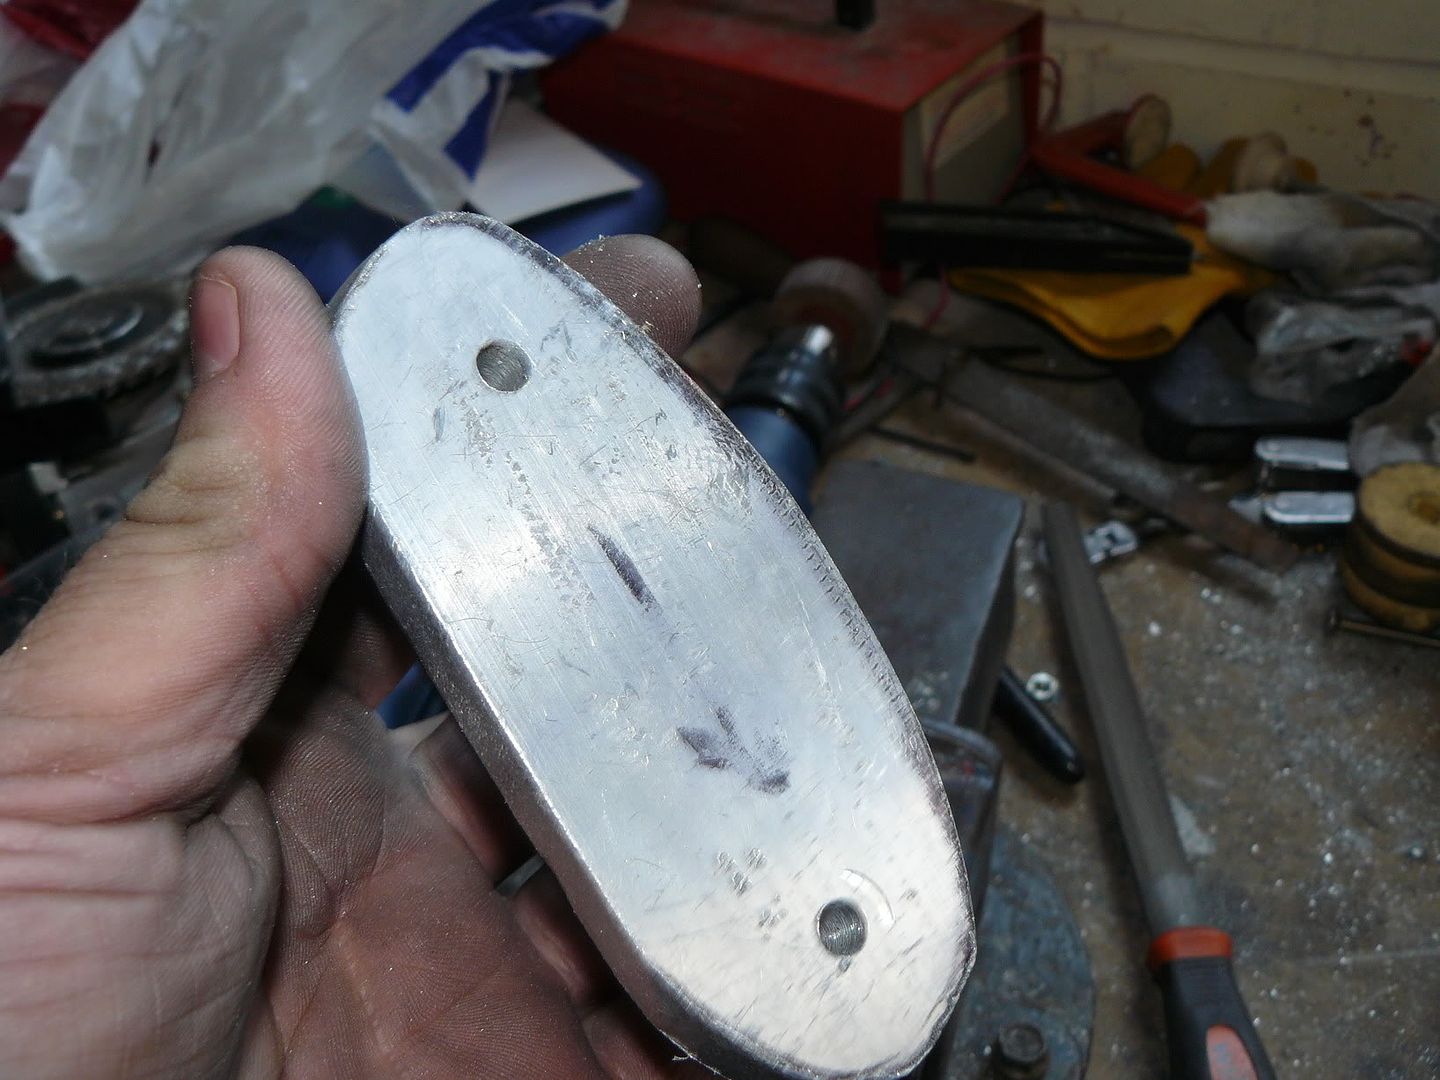
It looked like this idea could work. Now the hard work started. I took a block of aluminium, and proceeded to basically carve this into a mirror mount.
Using a combination of an angle grinder, a steel rasp (aluminium is very soft), and some files, this block was worked into a wedge; it only needed to be a rough shape; the flat, unworked side would fit against the door skin.
Then mark up the footprint of the plate as it sits against the door (I used a Runabout as a template, but any ovoid shape can be used). Drill the holes for the main screws-to-door. These must be drill perpendicular to the mounting face.
Start working the aluminium.
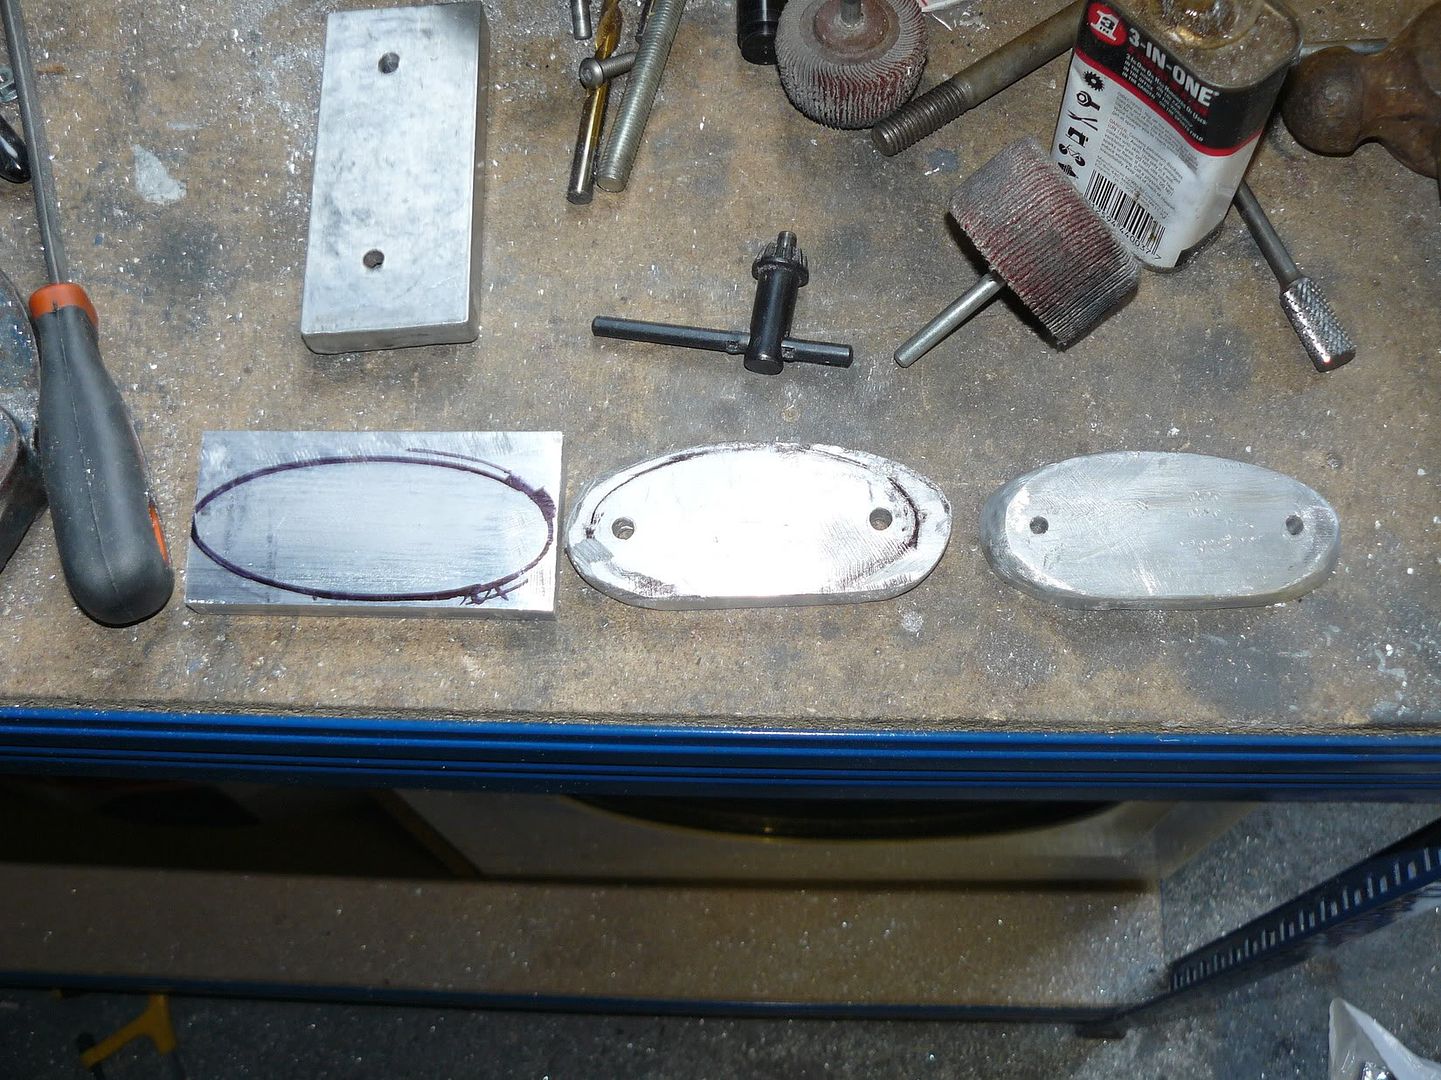
I became quite expert at producing nice curves with an angle grinder. Cylindrical drill grinding bits are great as roughly smoothing a face.
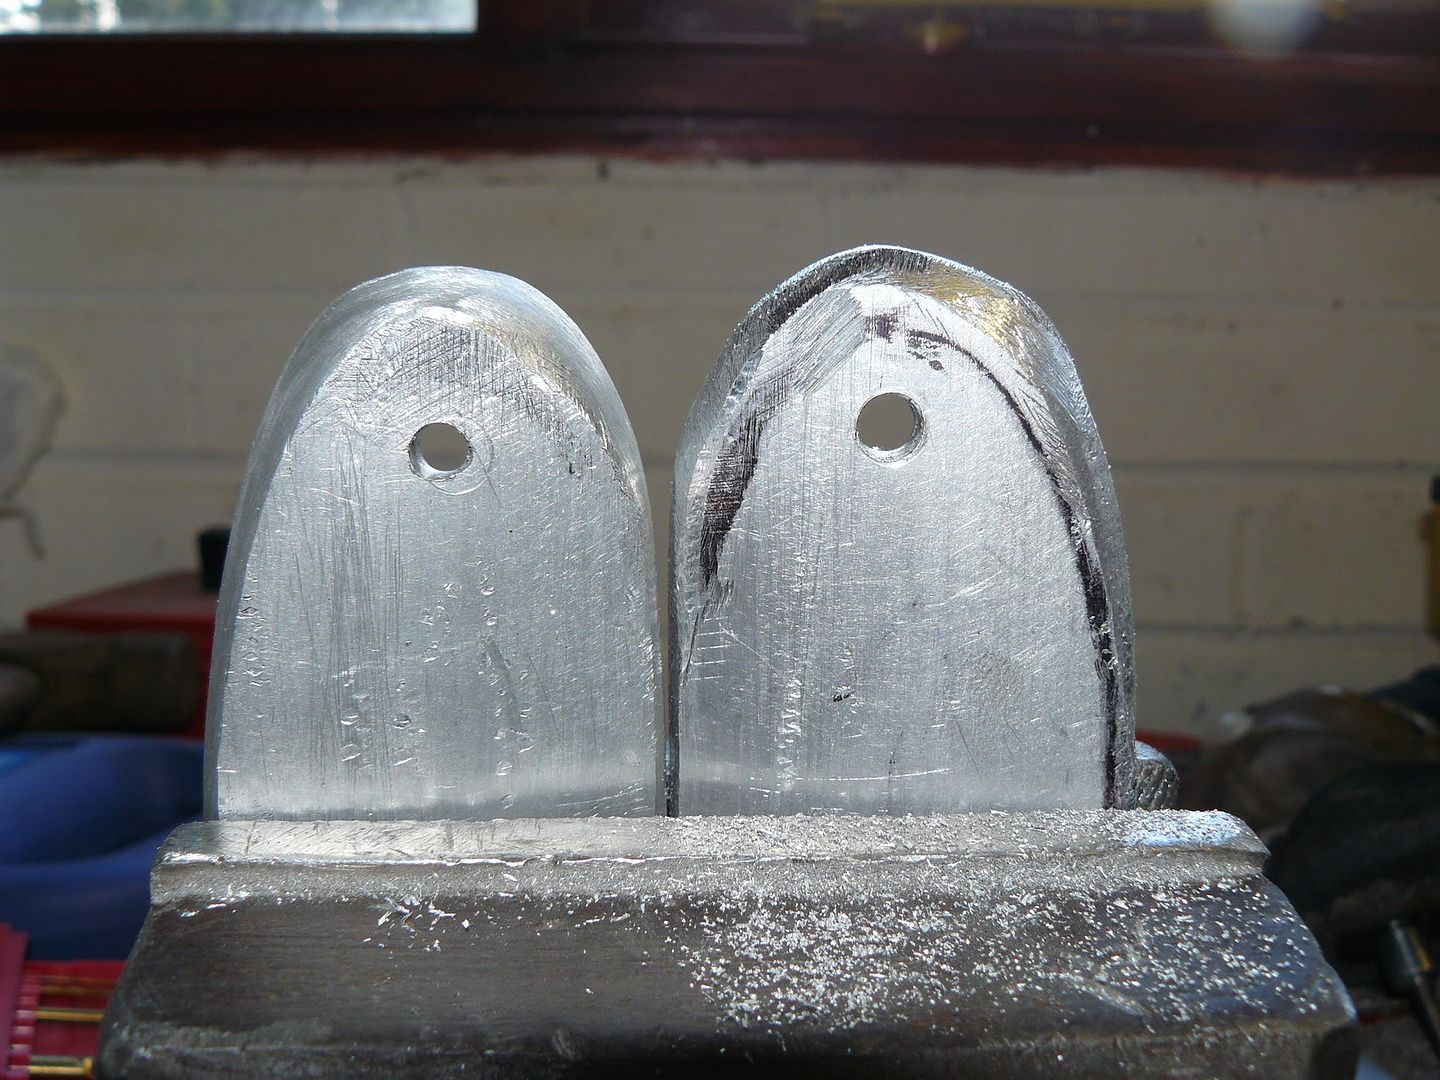
Once the shape is roughly done, you want to mark it up for the Evolution mirror base, on the face thats been worked into the wedge. I had originally intended to make both bases identical, but in the end, figured a mirror image was the way to go. This process was more fun, as I attempted to produce complex curves.
Roughly finished test fit.
Eyeballing to make sure the two mounts were roughly mirror images; its not that important to get them both identical, to the mm.
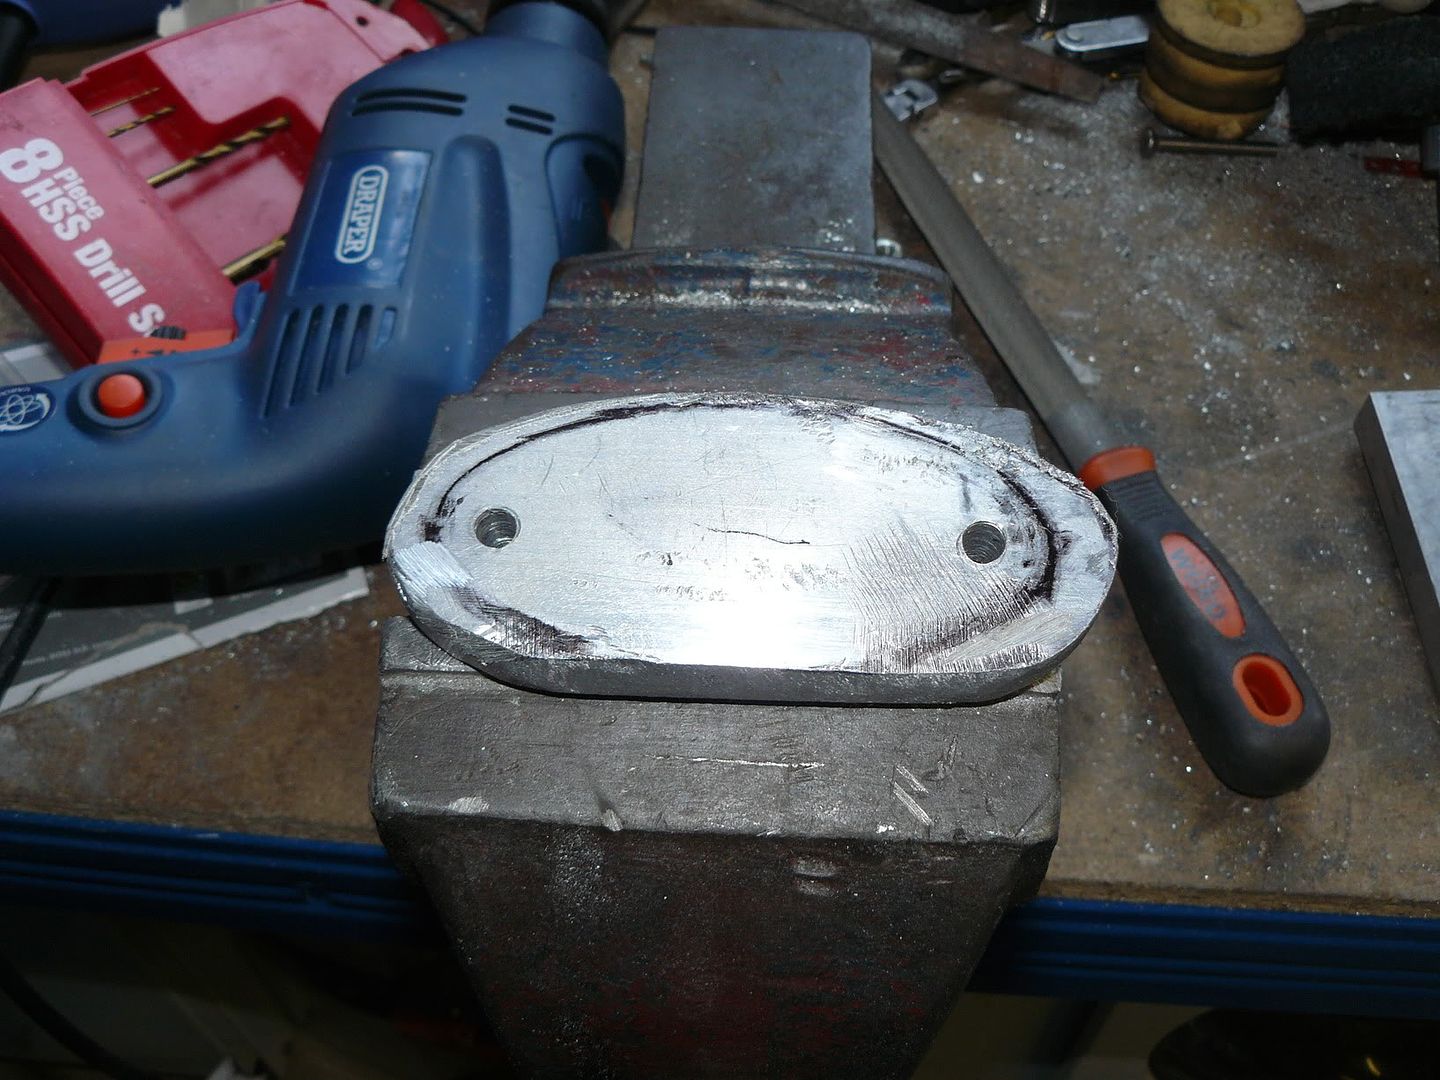
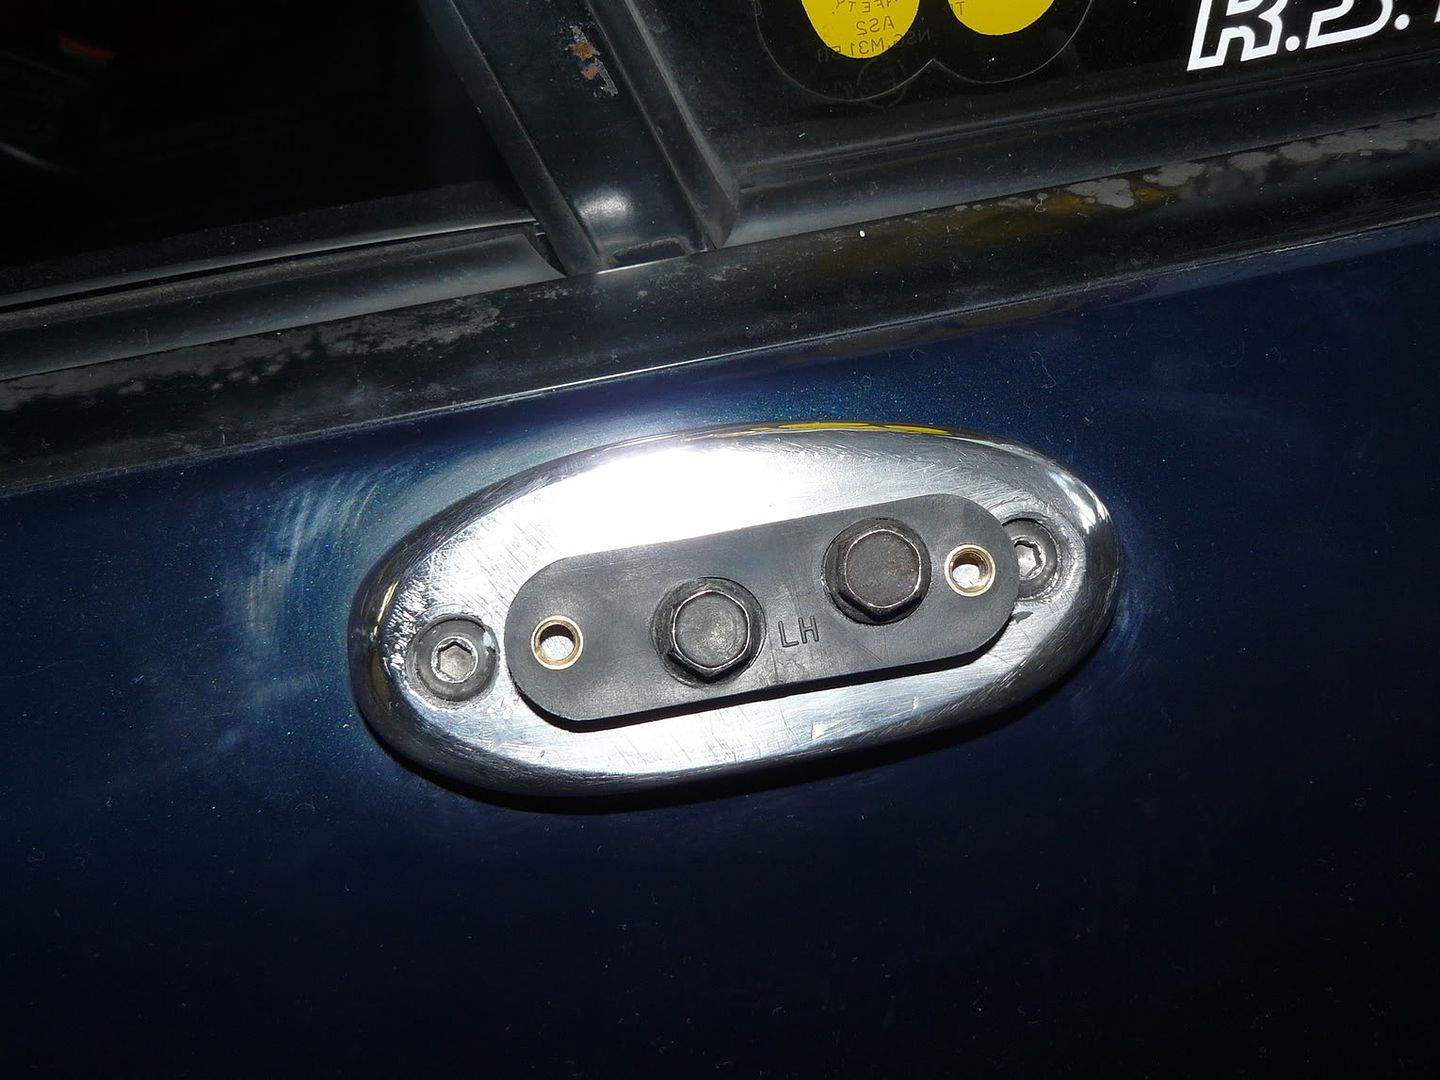
Fitting the plastic block; tap the aluminium block for M6 bolts.
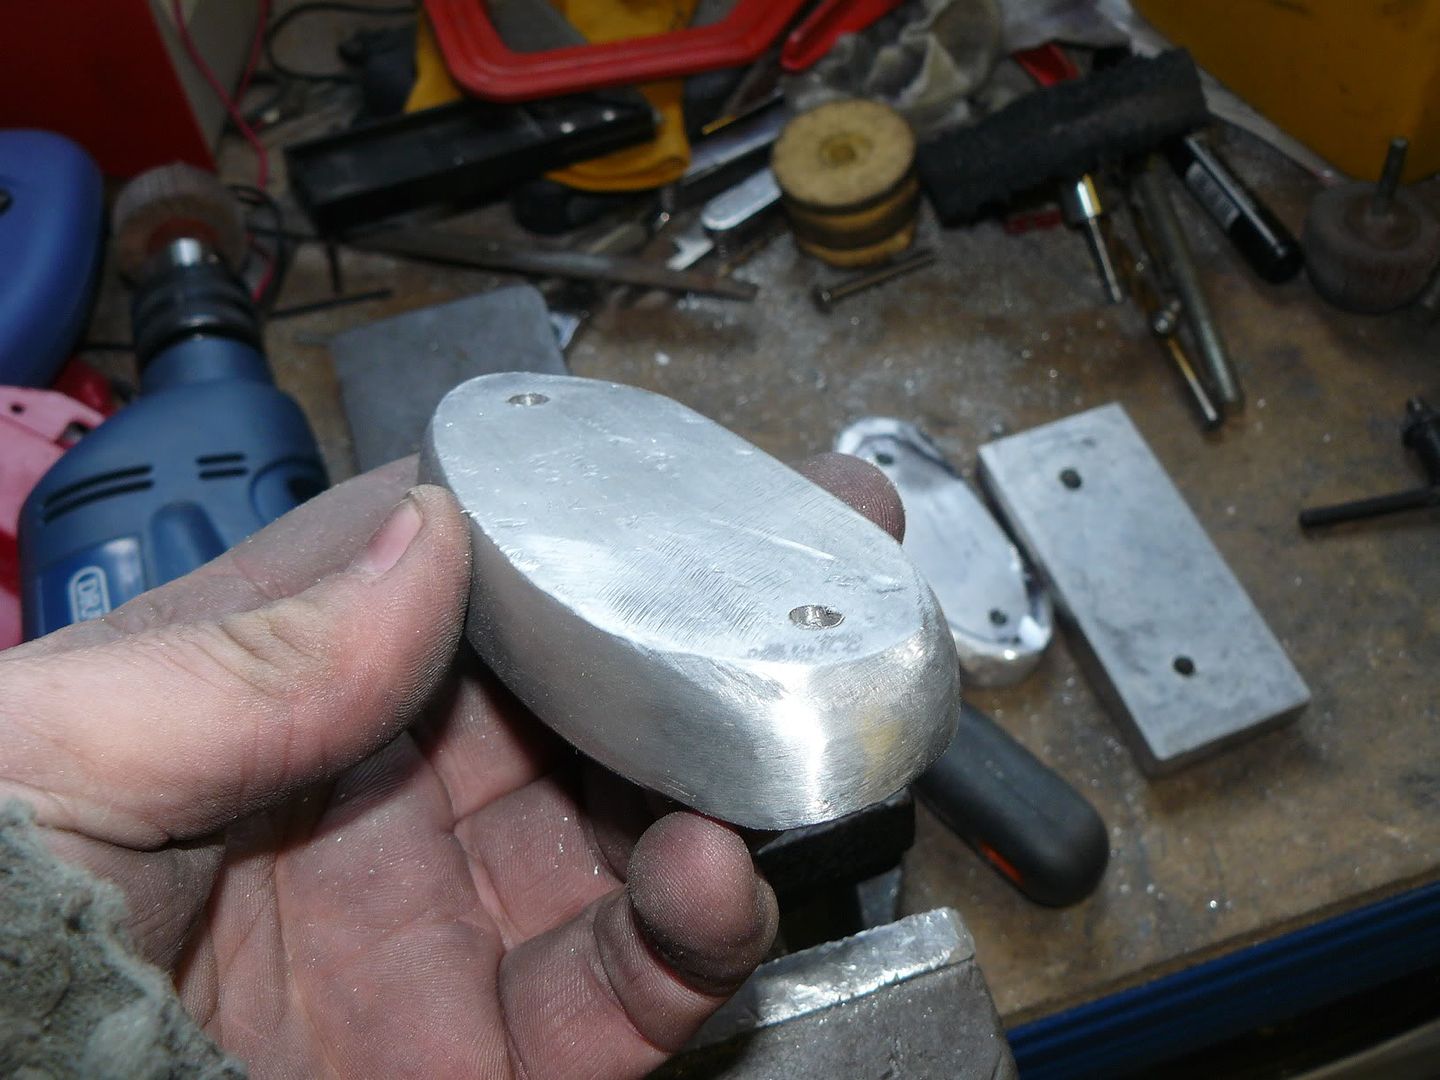
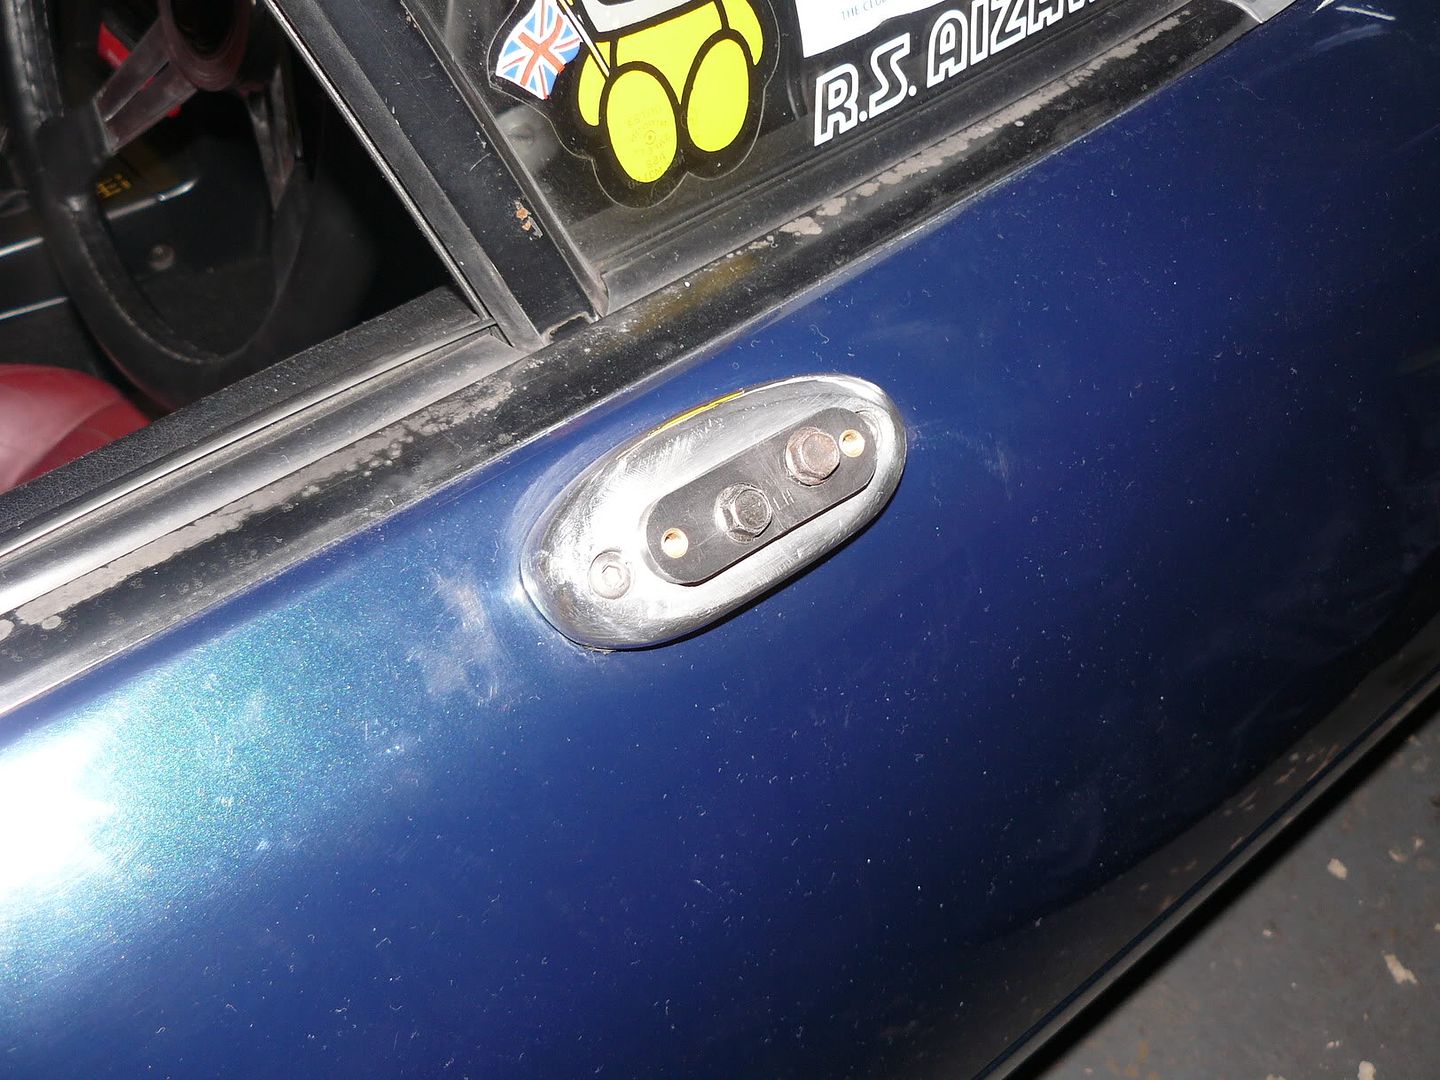
Then just polish the aluminium to a mirror finish, using a wheel and polishing pastes.
Overall, I'm happy with the outcome; maybe tweak the angles a little. Passenger mirror is still bloody useless.
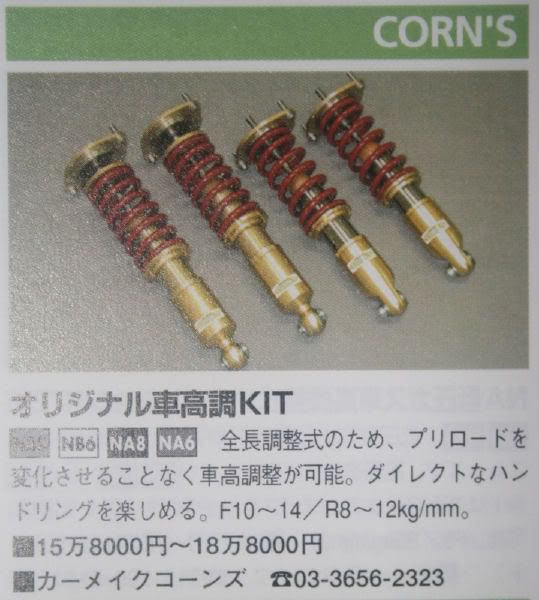
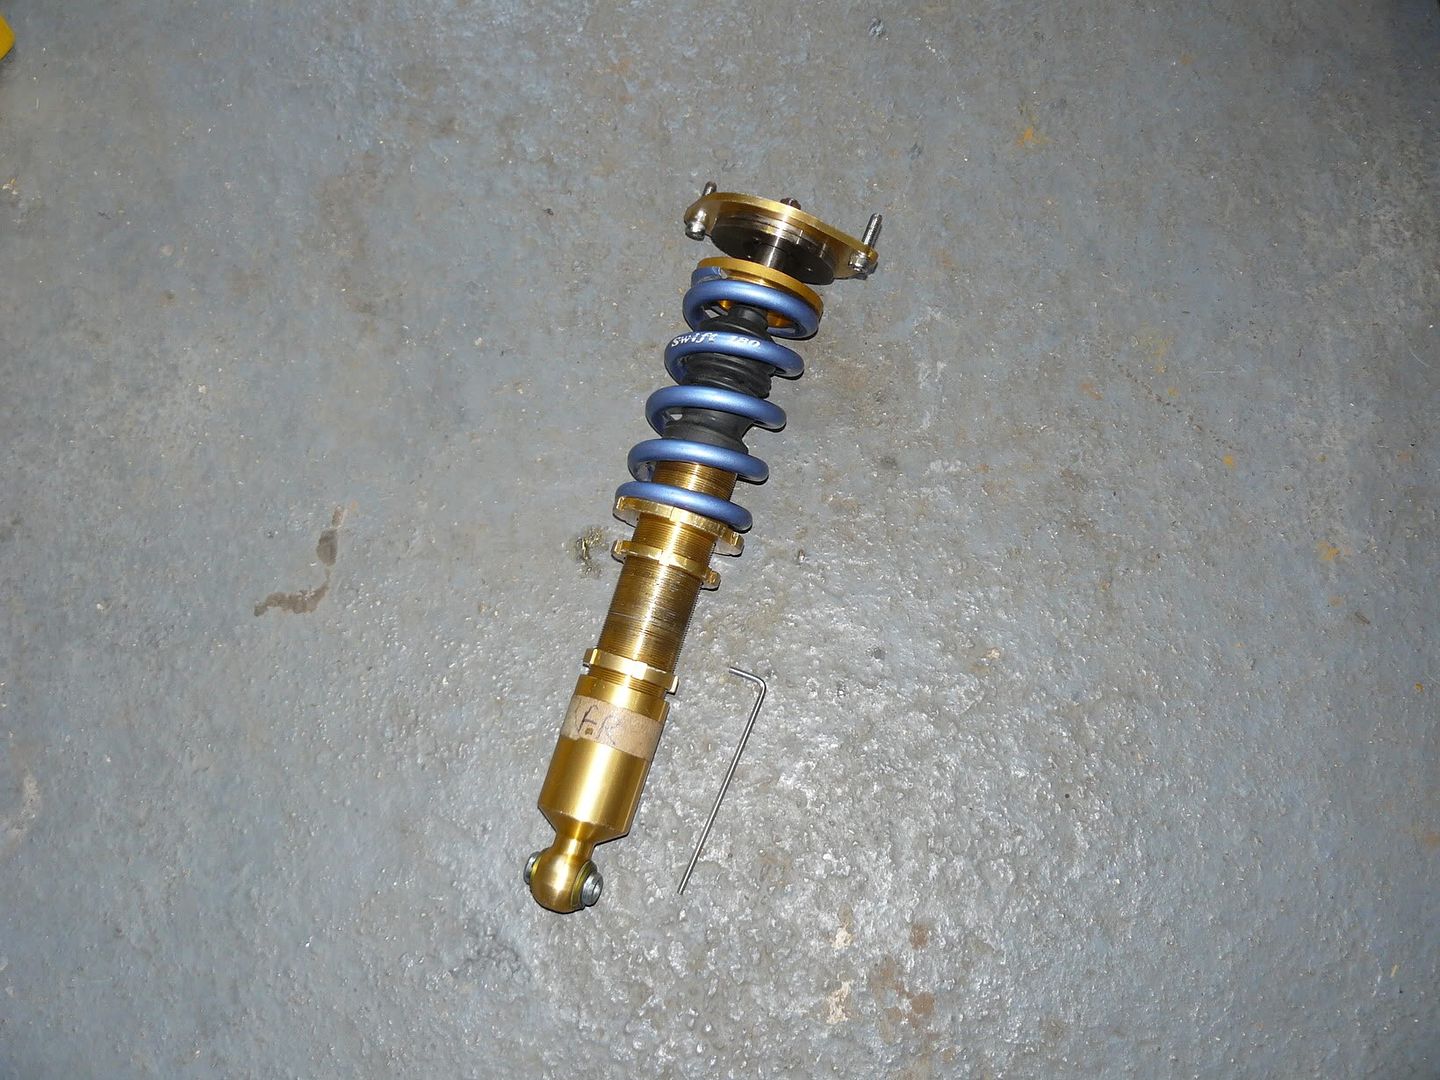
Next up is installing a Corn's Racing Gear coilover kit; I have a 3 week window to do lots of jobs, before I take on a new role in the City of London.
Corn*s Coilover? That' definitely different. Why that route? I've never heard of anyone going with their setup. Pretty cool
Originally Posted by atlnb

WASABI (12-09-2014)
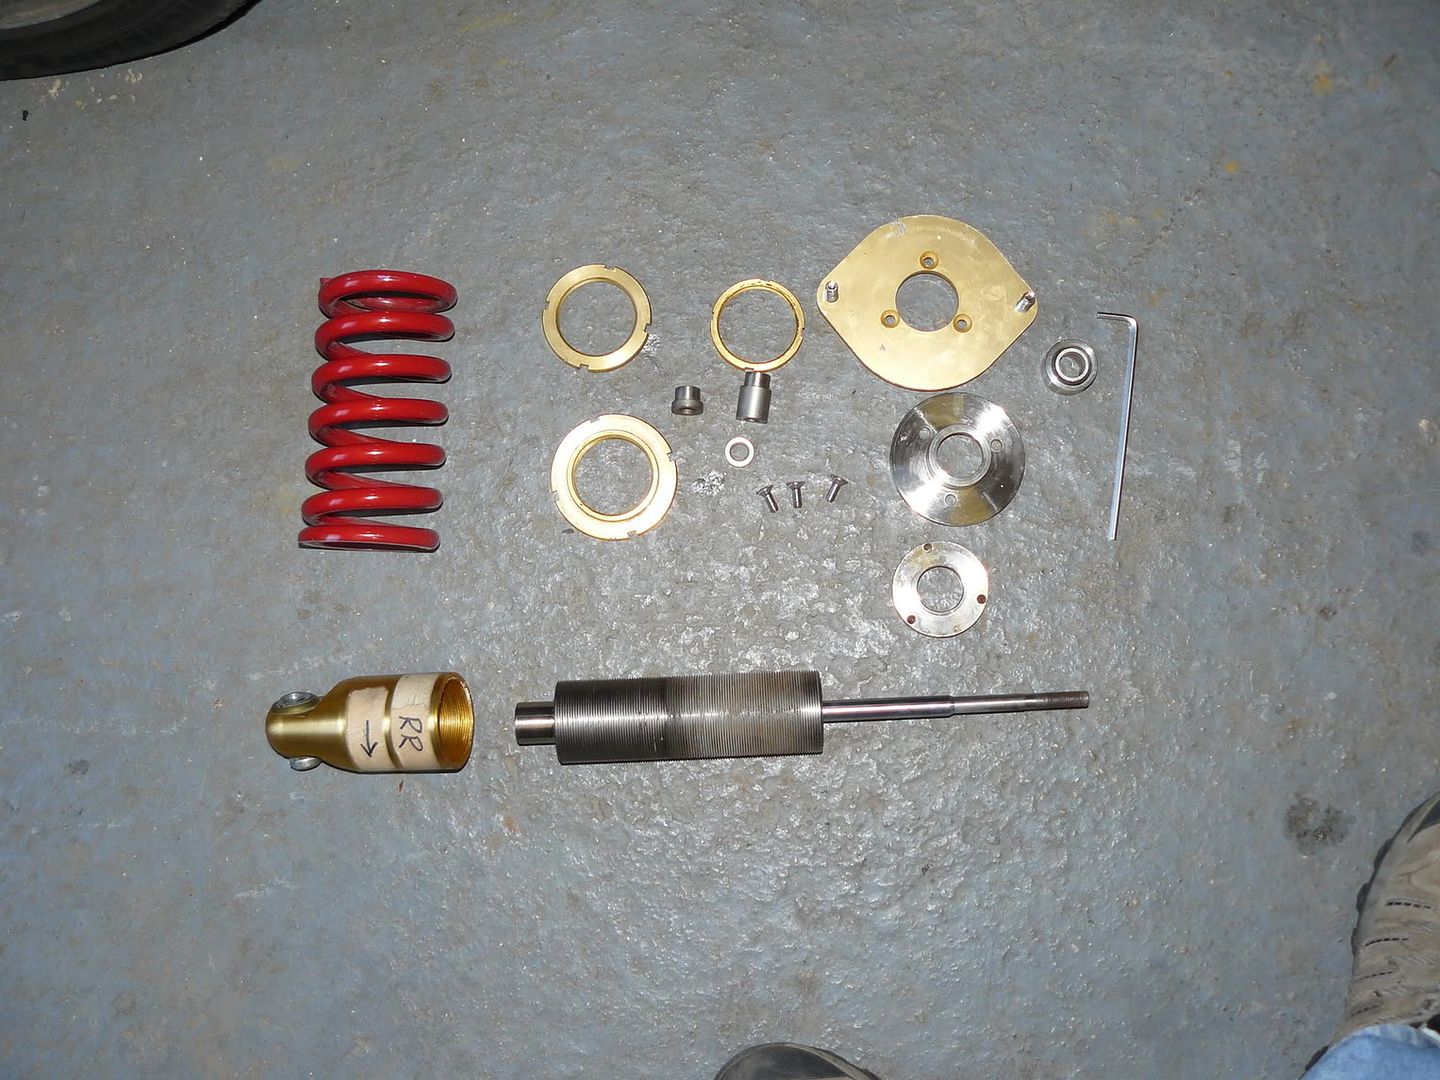
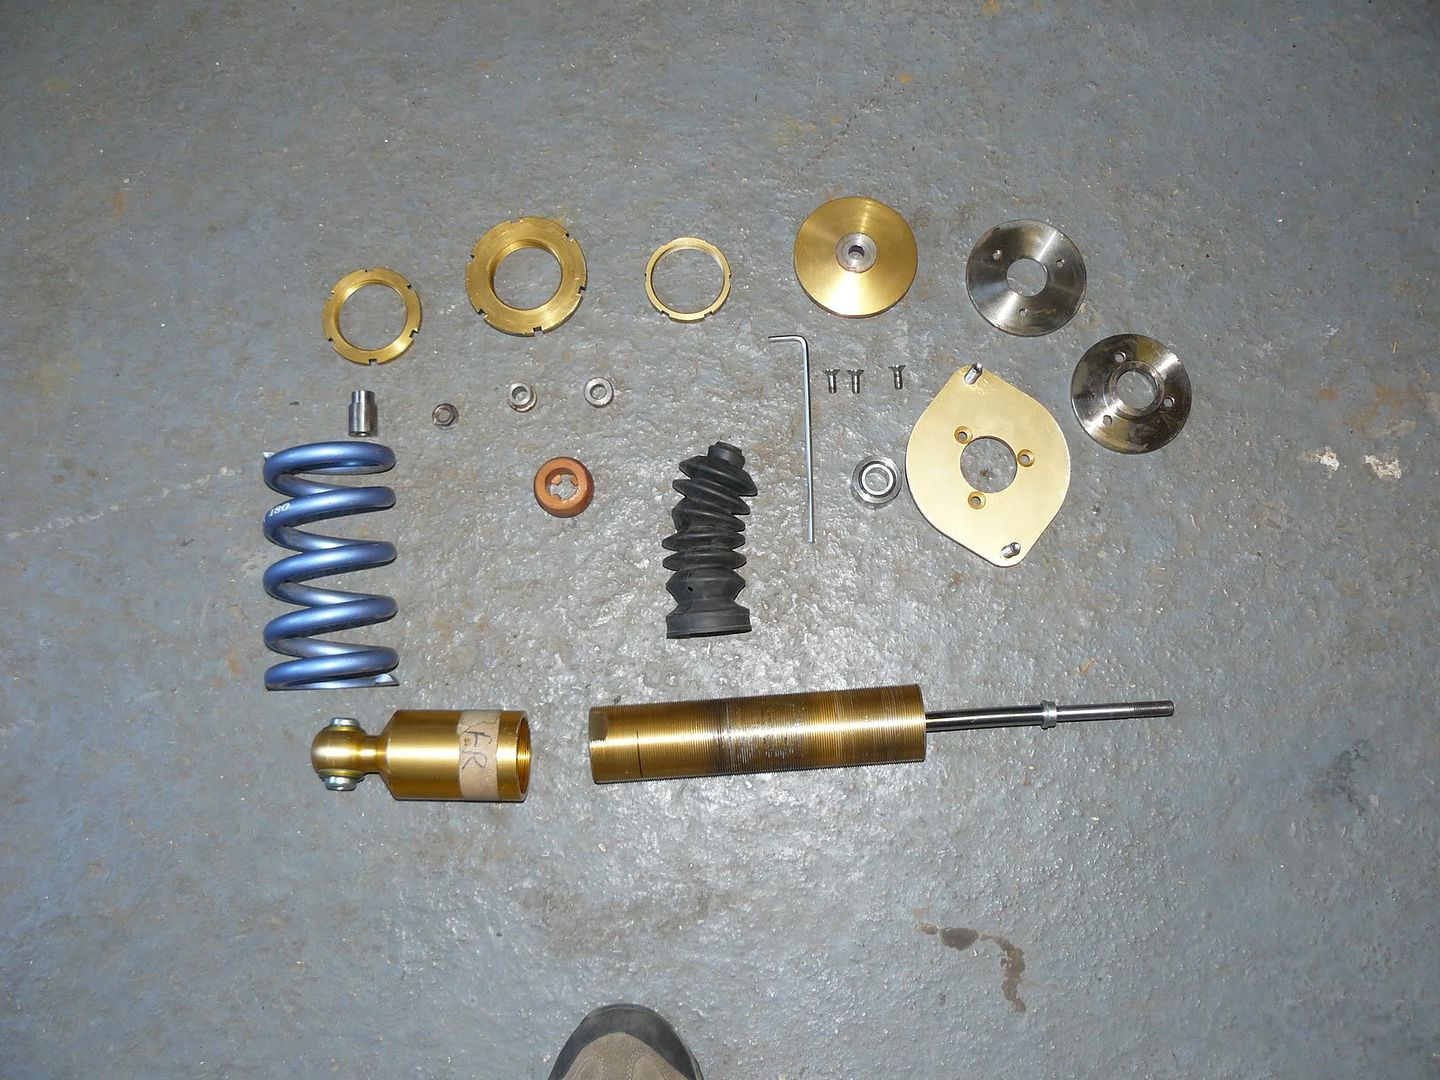
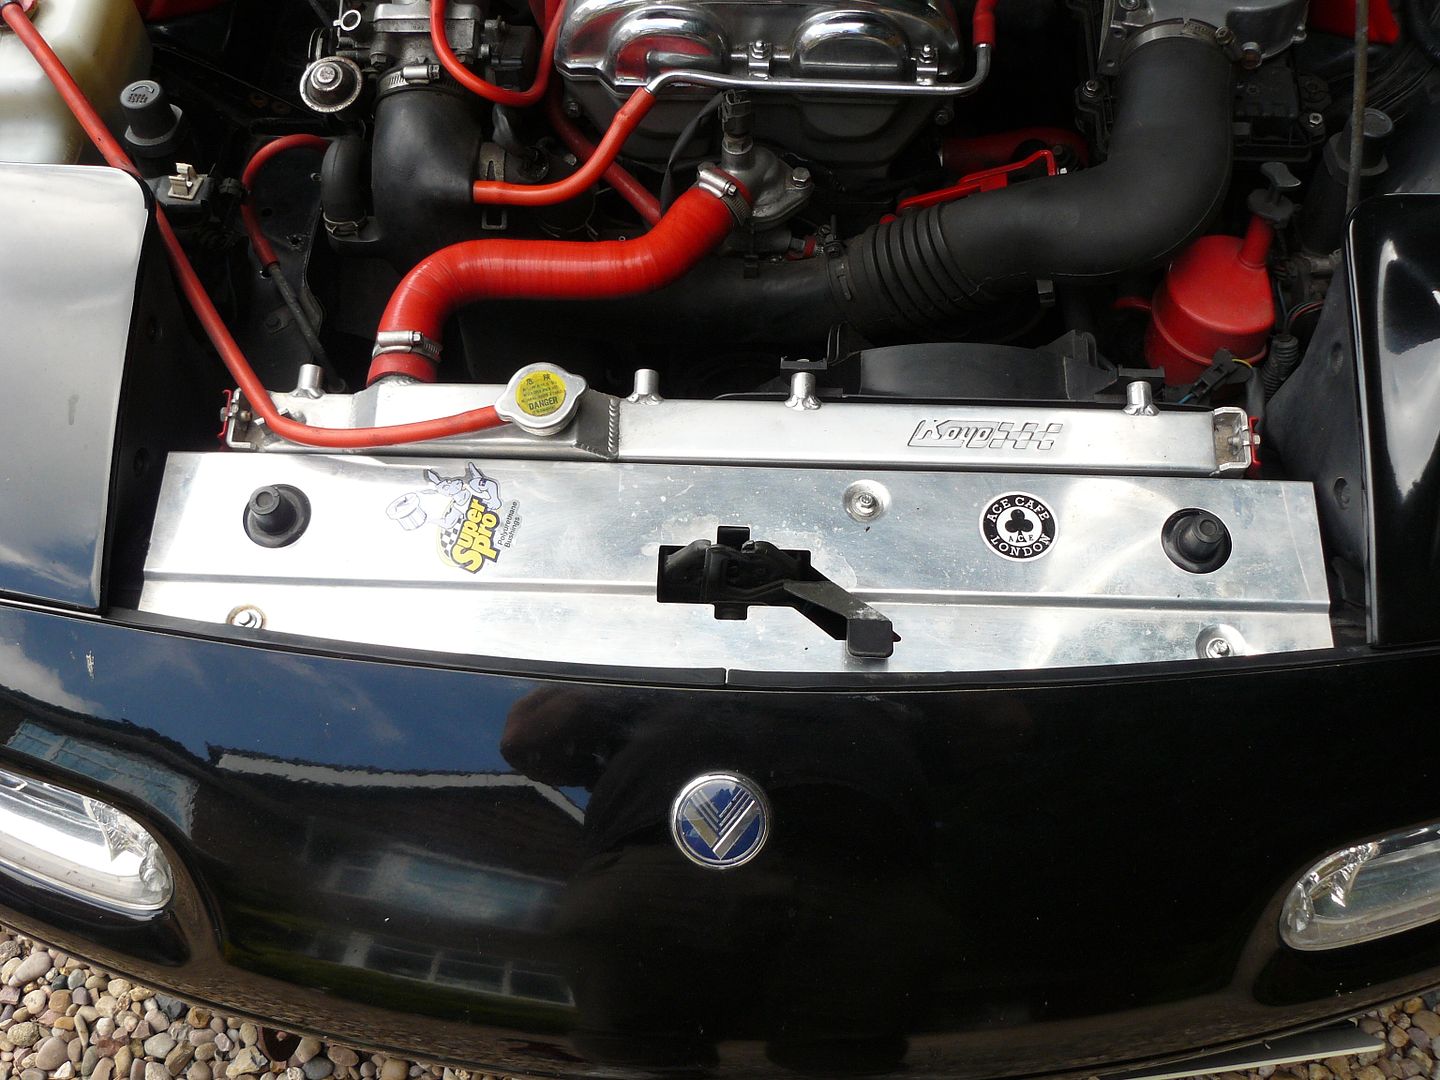
Corns RG coilovers compared to P5 Puredrives:
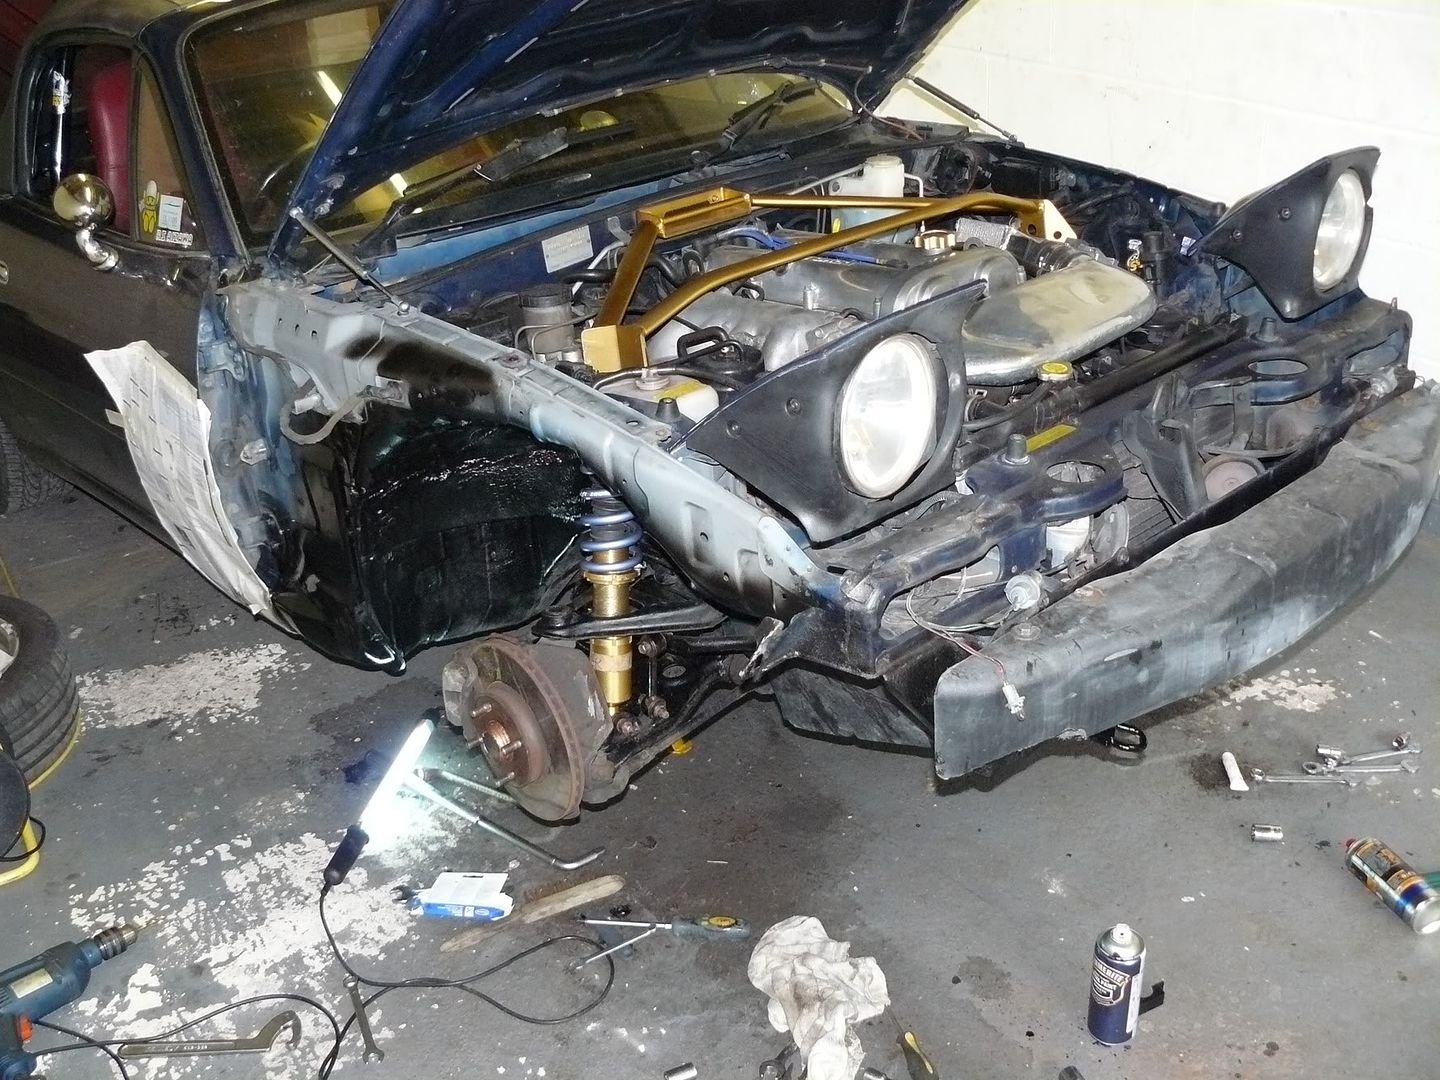
Car in pieces

I like the aluminum piece you machined for the mirrors. Great job man!
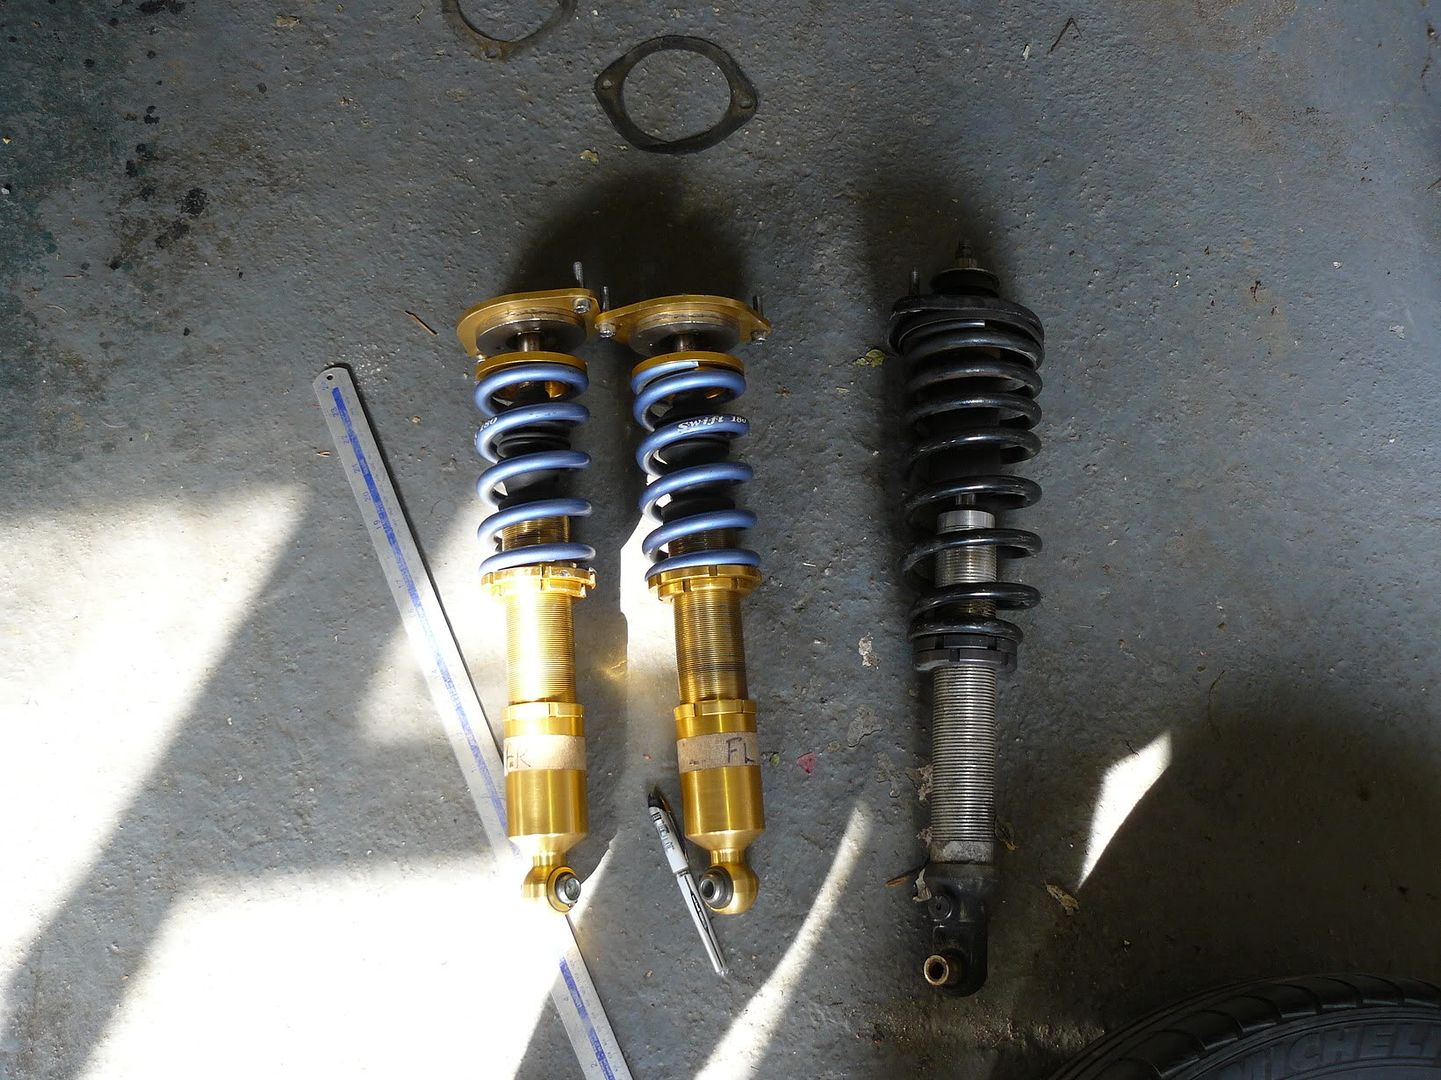
Beautiful coilovers! Matches the strut brace very well
WASABI (12-09-2014)

Damn this is one sweet thread <3
Well, the coilovers had to come off, and back on with the P5 Puredrive coilovers. The spring rates were just too crazy in the end
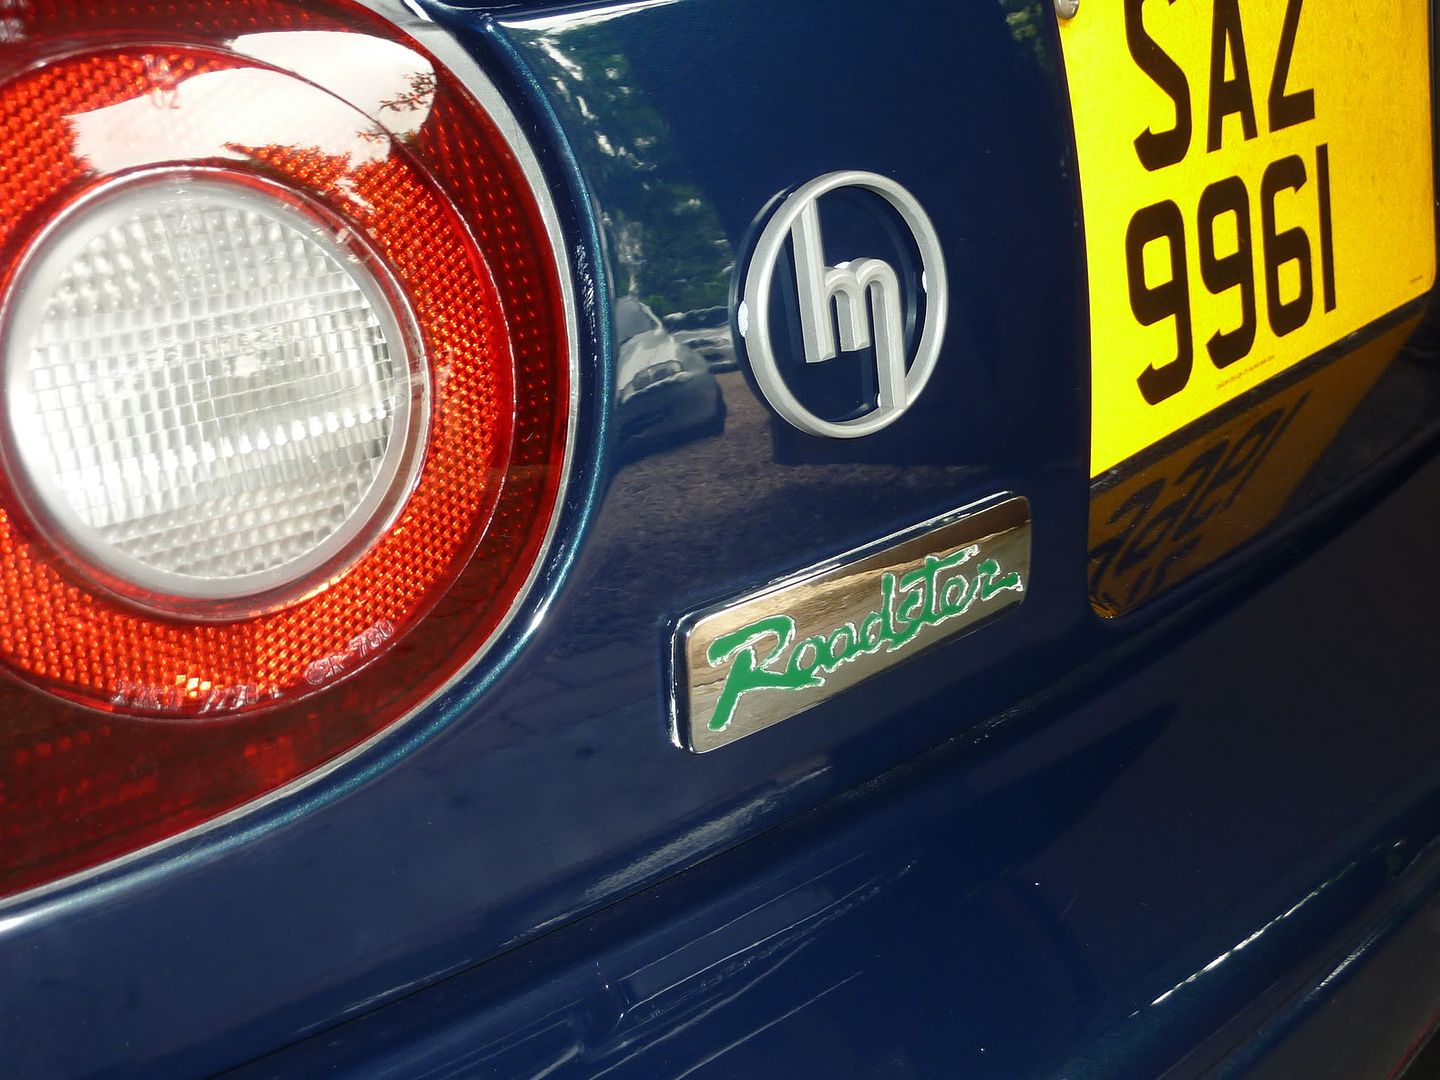
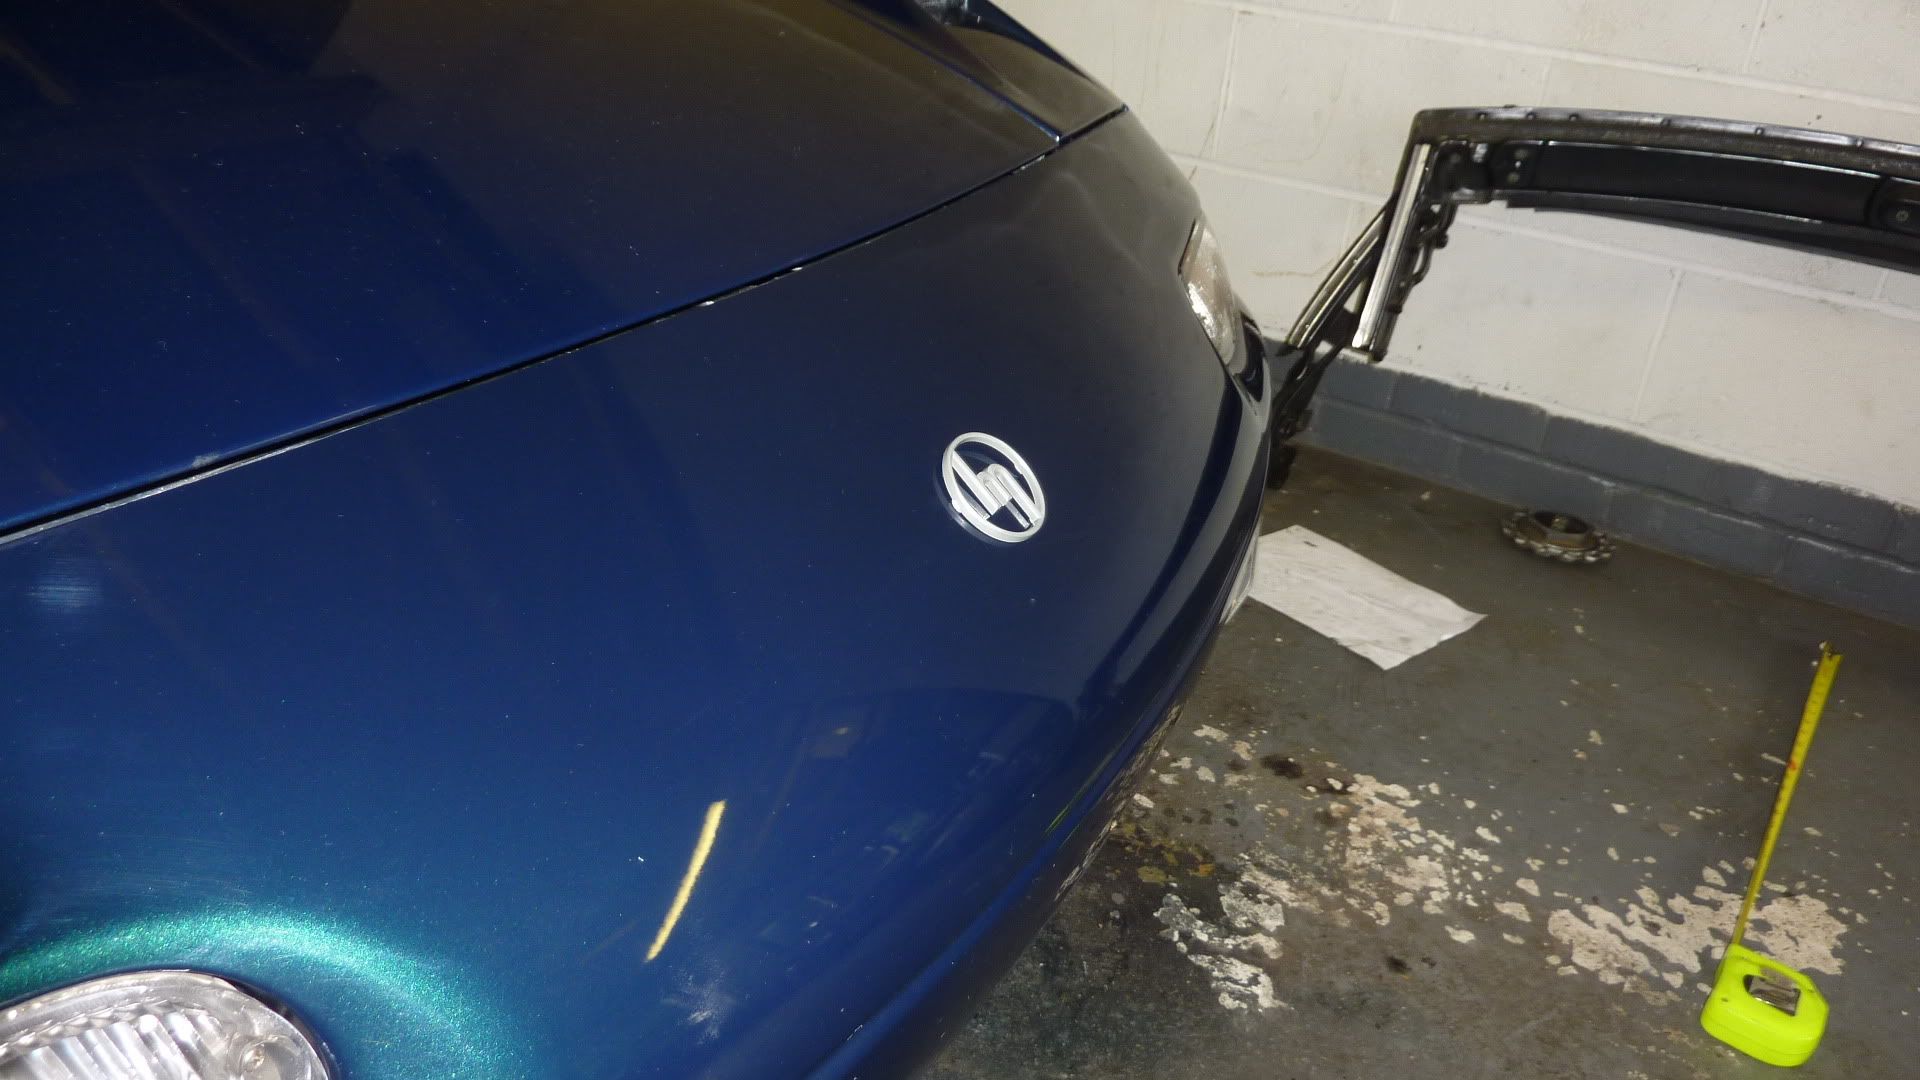
But today, trial fitting my new retro badges.
Yeah, just bluetack at the moment. Not decided which badge to put where.
Long time, no visit.
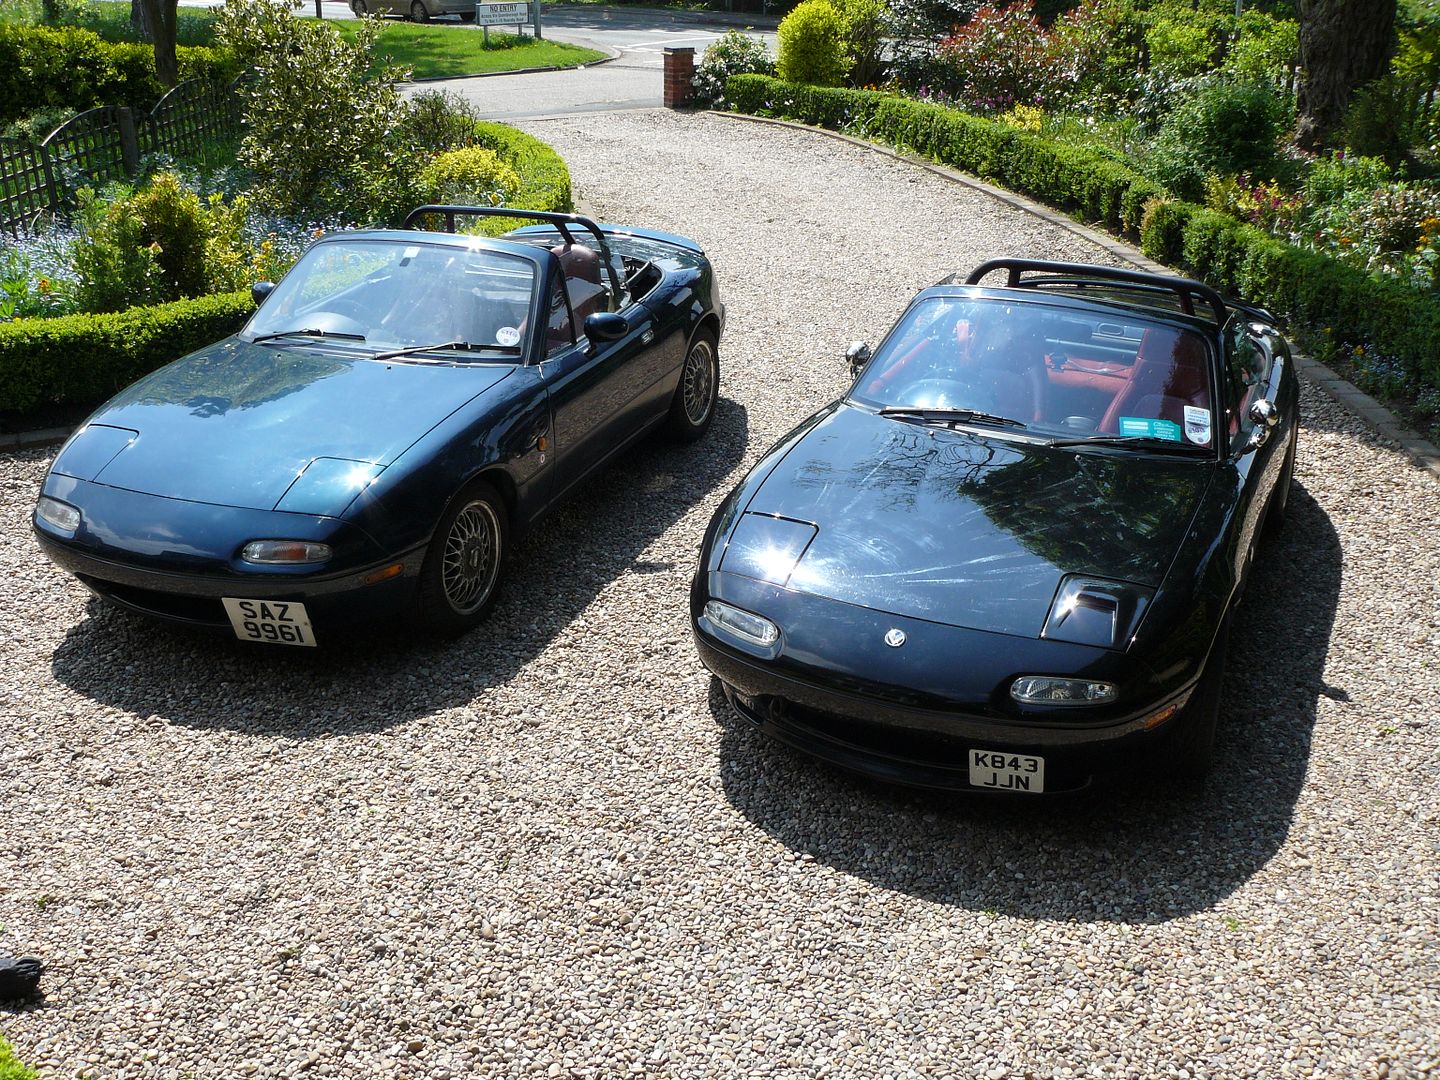
Last year, acquired Roadster #5, a 1993 Eunos Roadster S-Limited that was already well known to the community.
Progress has been a lot slower than I wanted, due to lack of garage (so the car ends up being stored 100 miles from my home), but things have been moving recently.
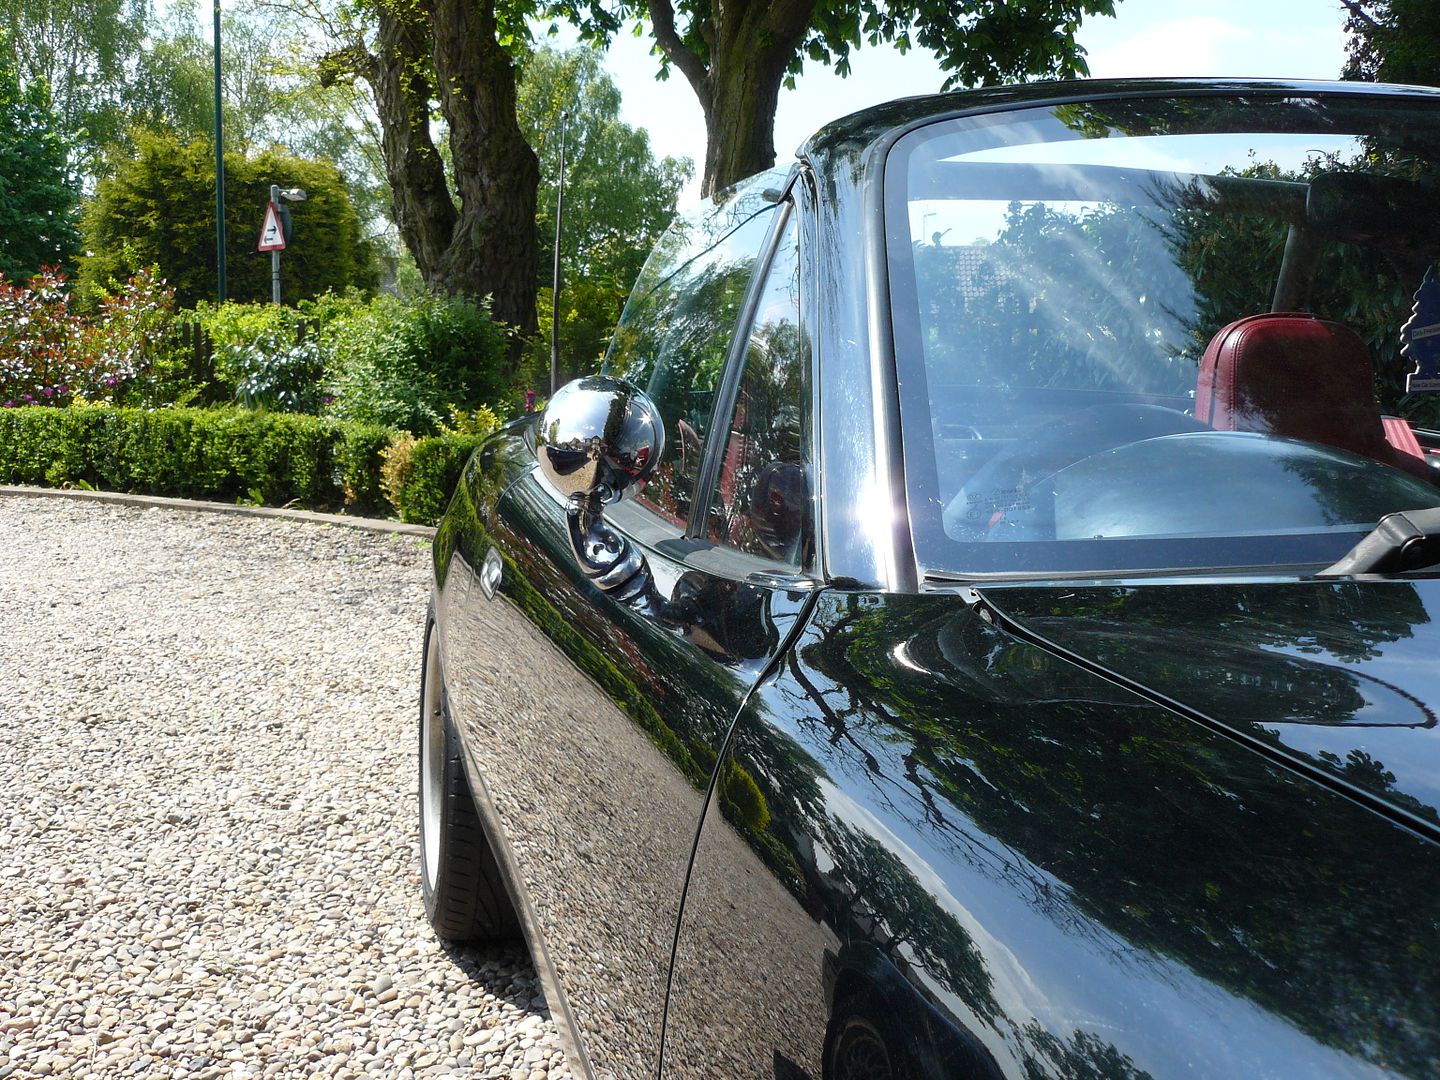
When I got the car, it had a number of issues, some niggling, that needed to be sorted out. The obvious flaw was a year earlier, the car had been caught in a major hail storm, and every panel was dented. Surprisingly, for an ex-show car as well, it was obvious there were some also paint bodges that needed sorting, plus dreaded rusting was taking hold in the wheel arches, but not in the usual way.
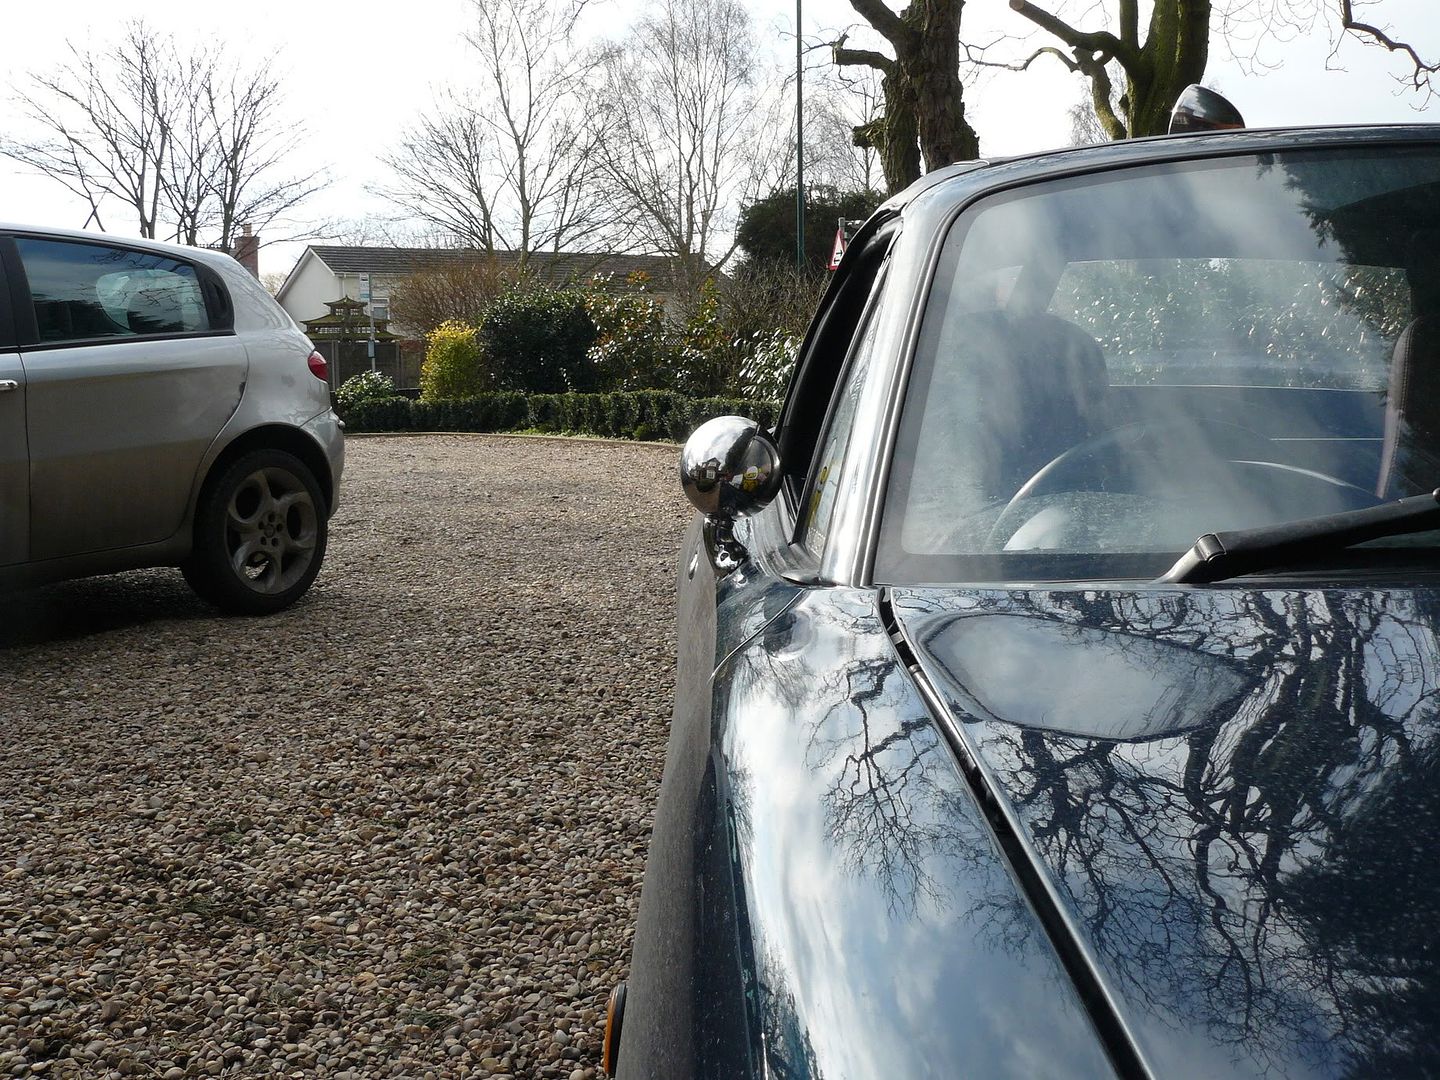
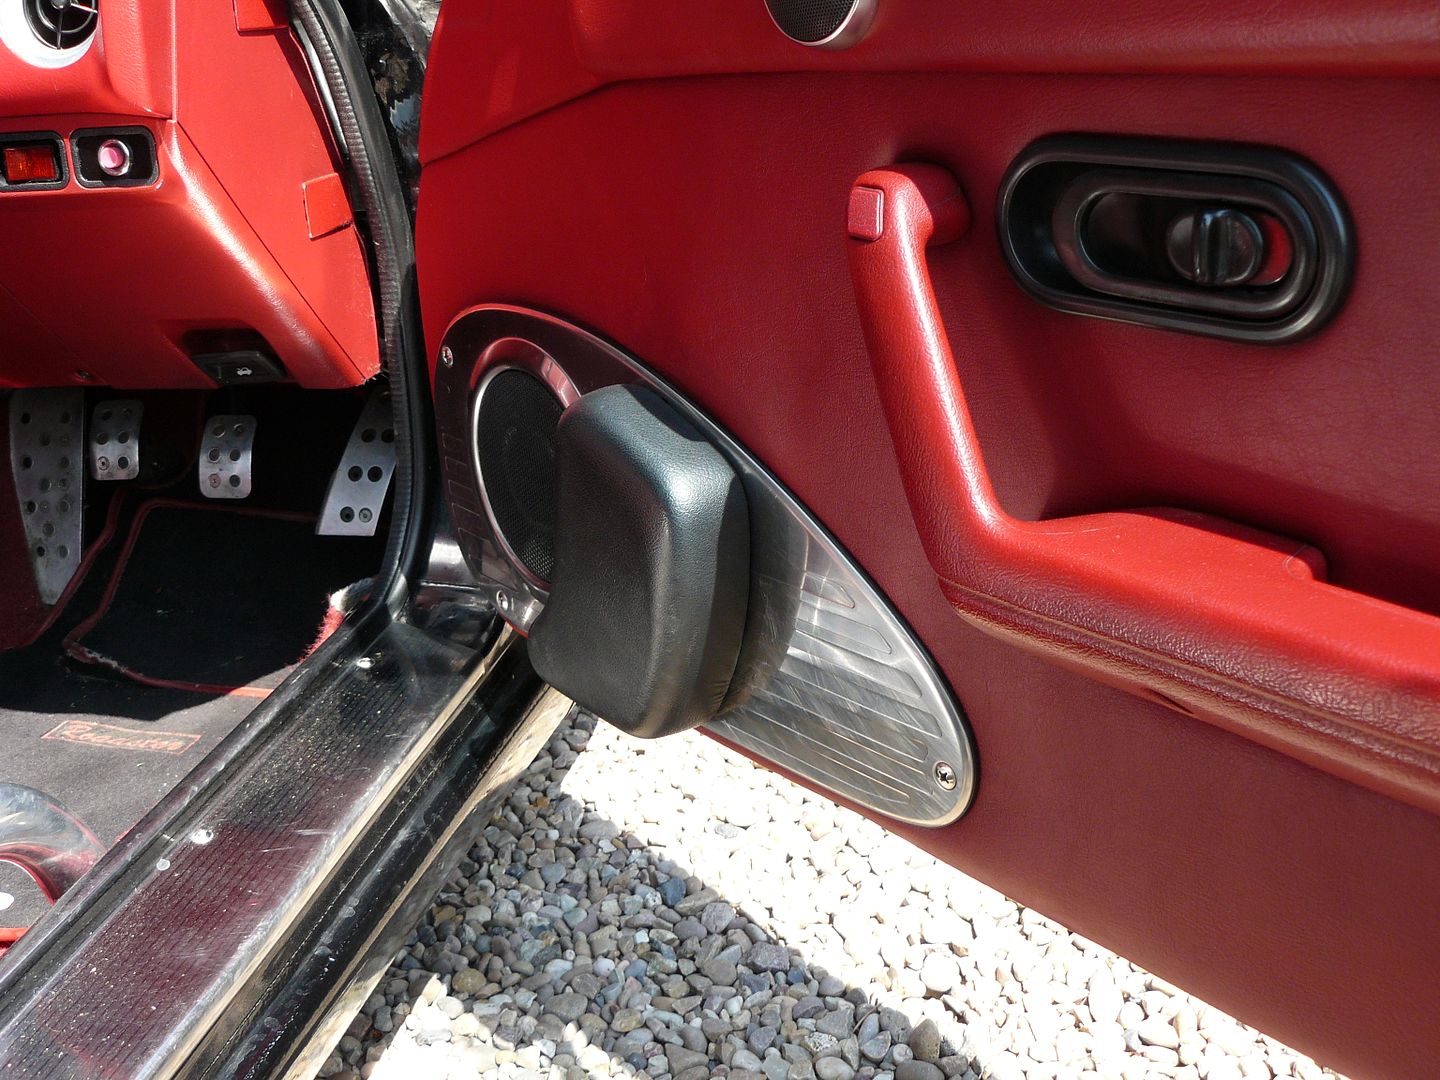
First thing, transfer over my home-made "M2" bullet mirrors.
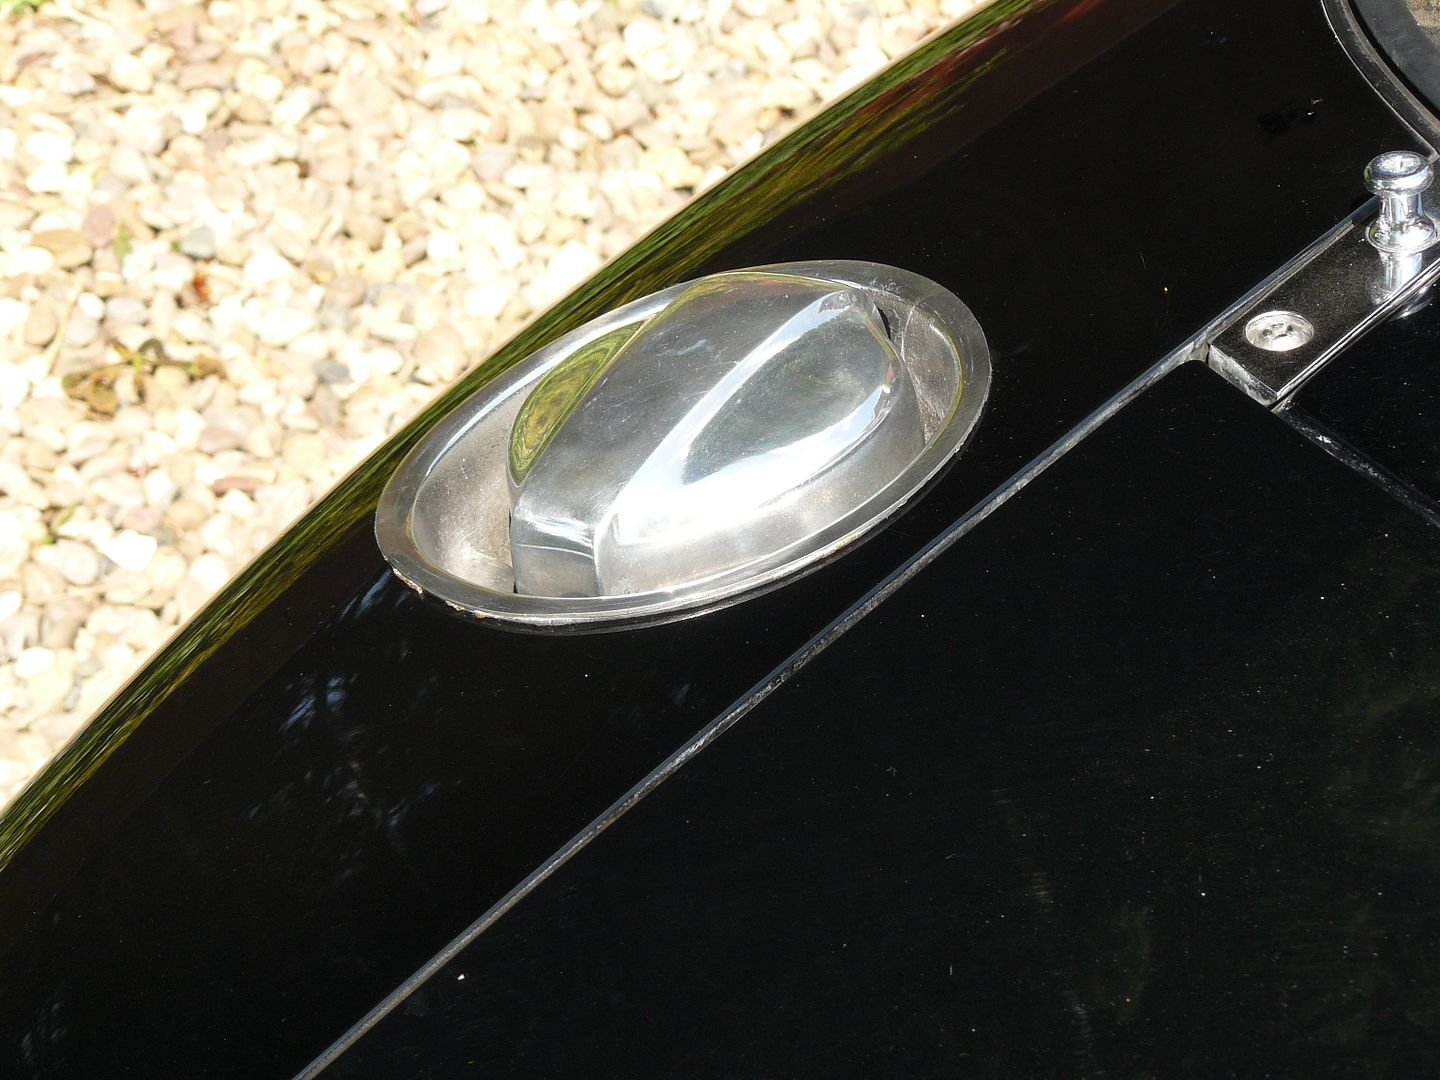
Then a Zoom filler cap to replace the OE Mazda chrome item.
Garage Ohno slam panel to replace the pig iron that was there before (Roberts?)
Mazdaspeed knee brace
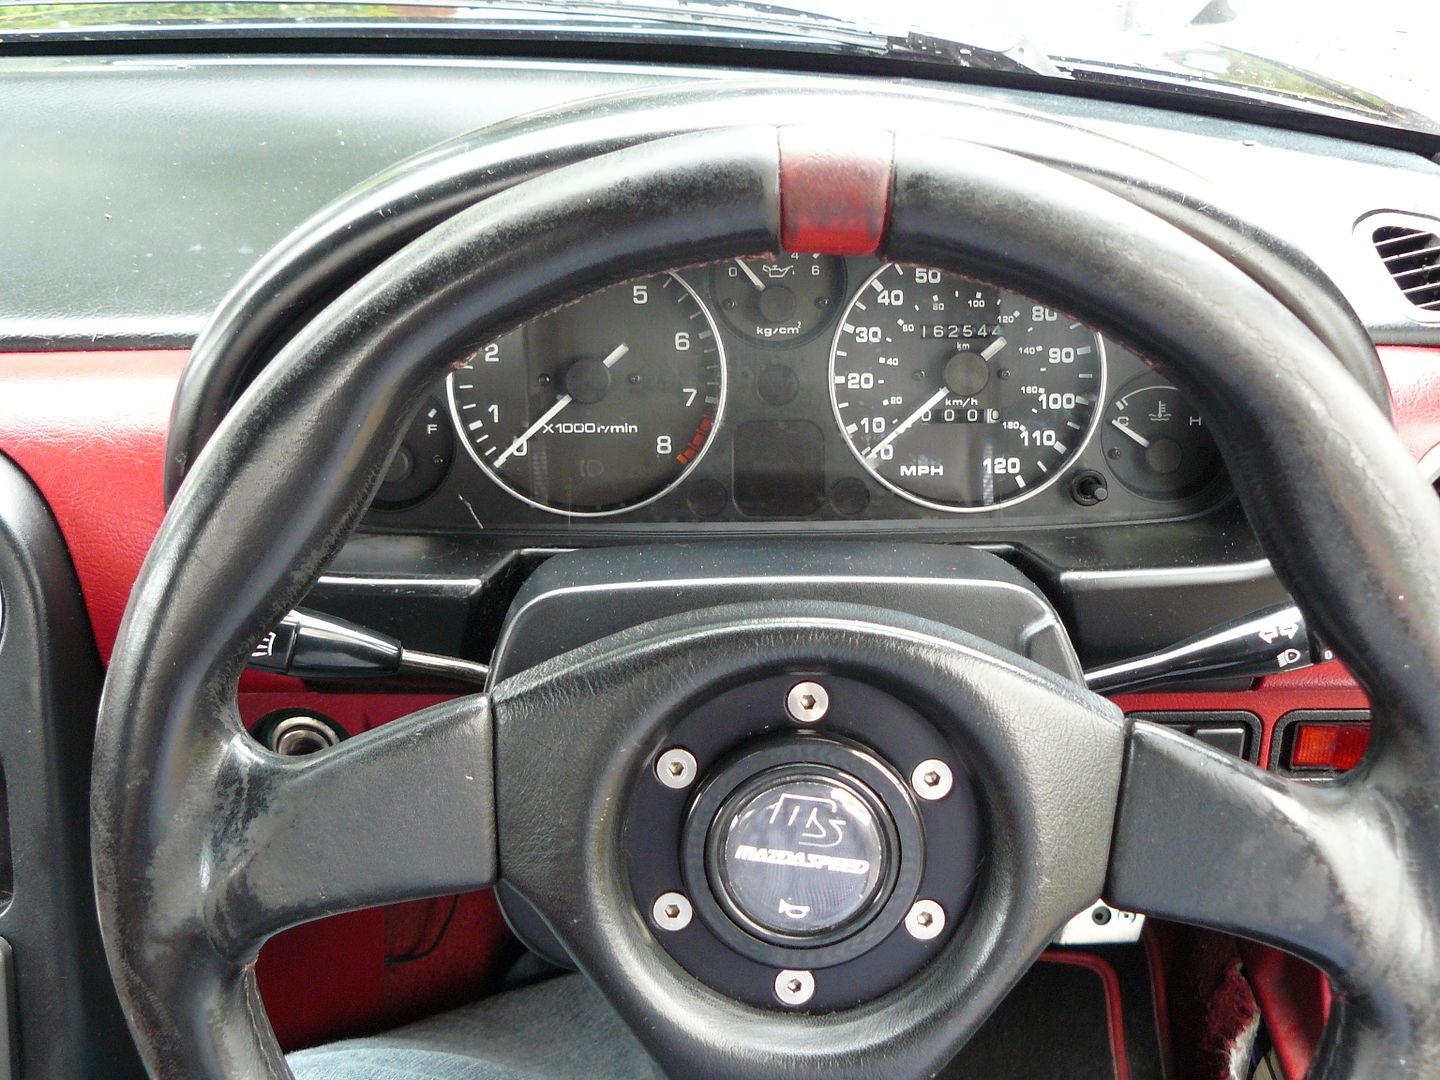
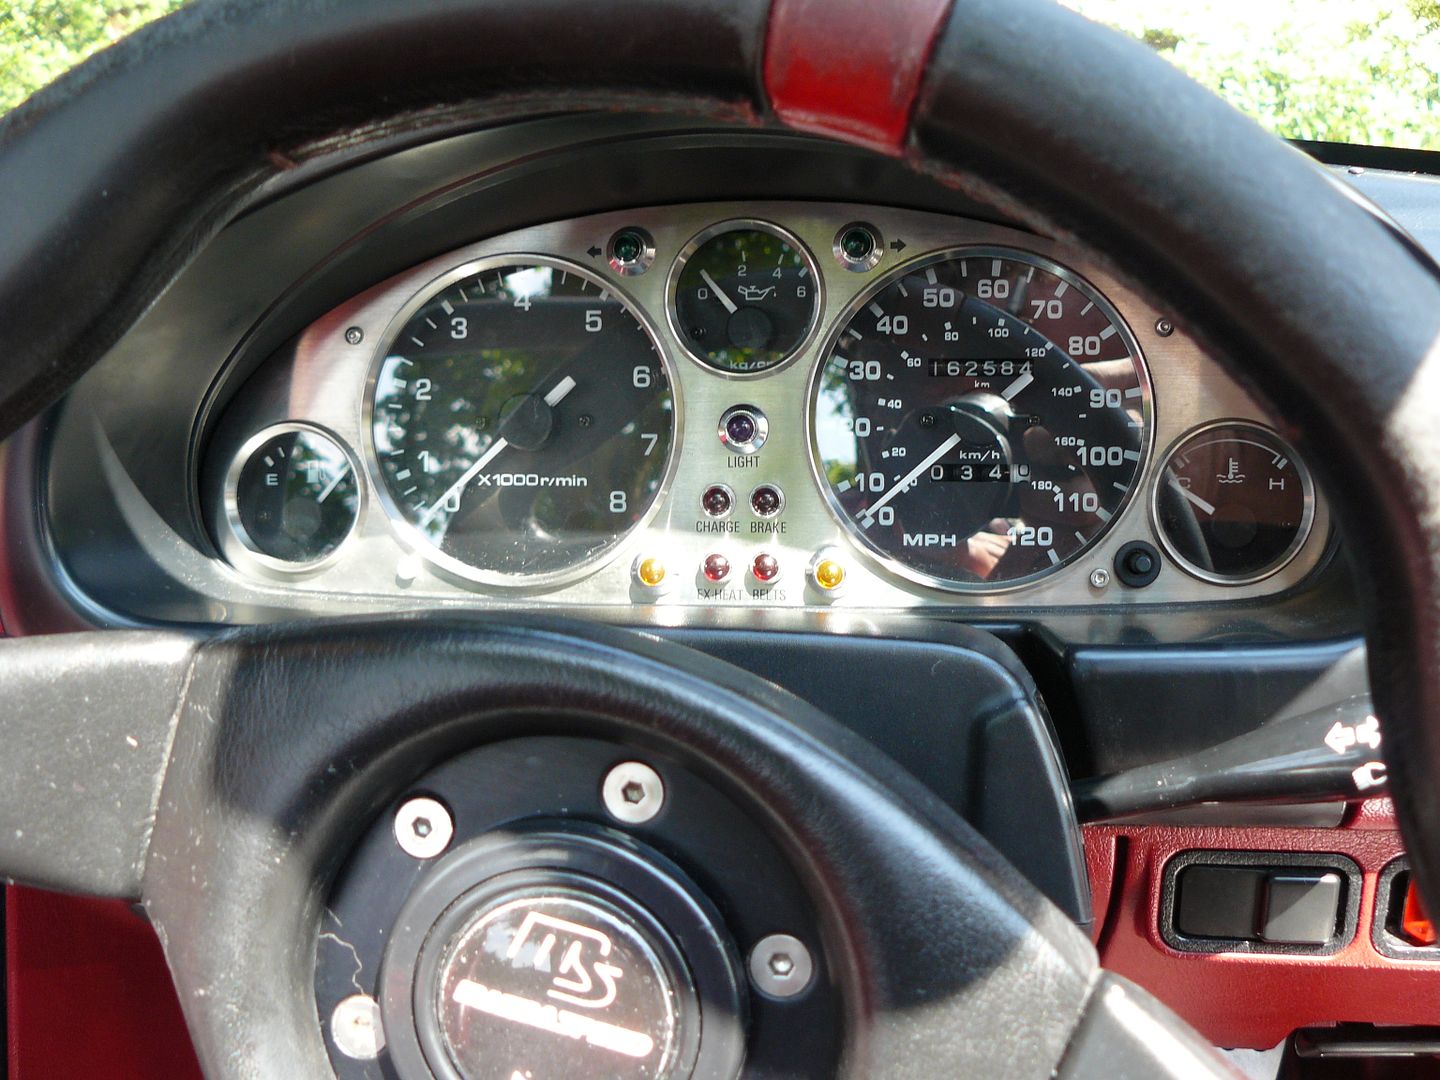
KG Works clocks surround:
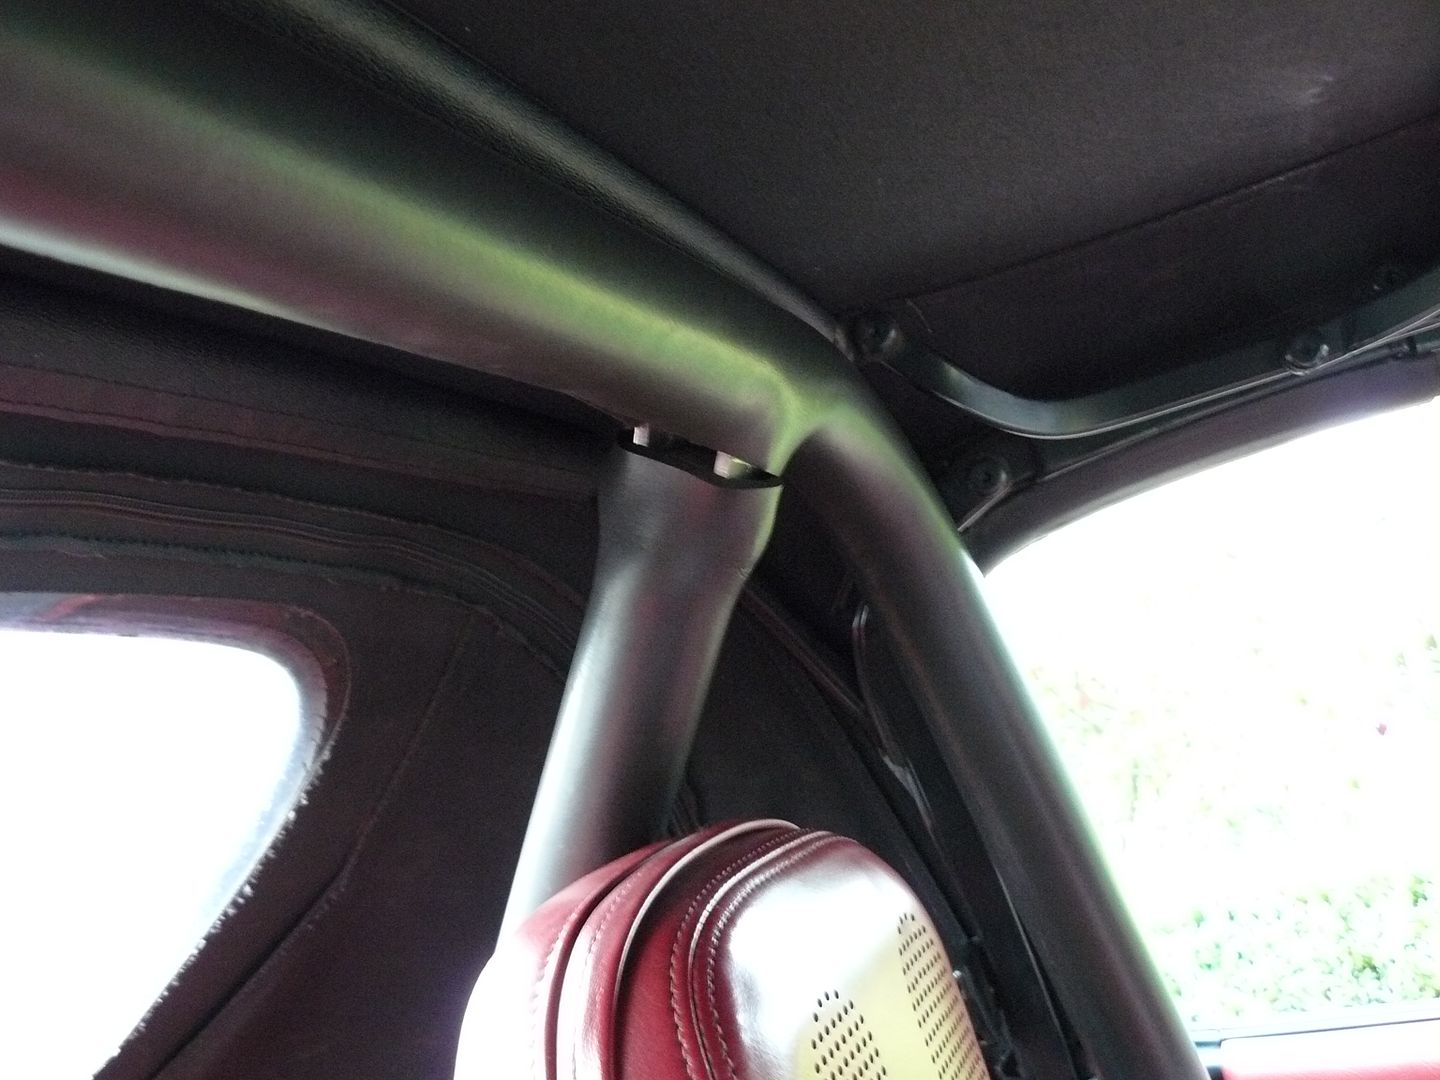
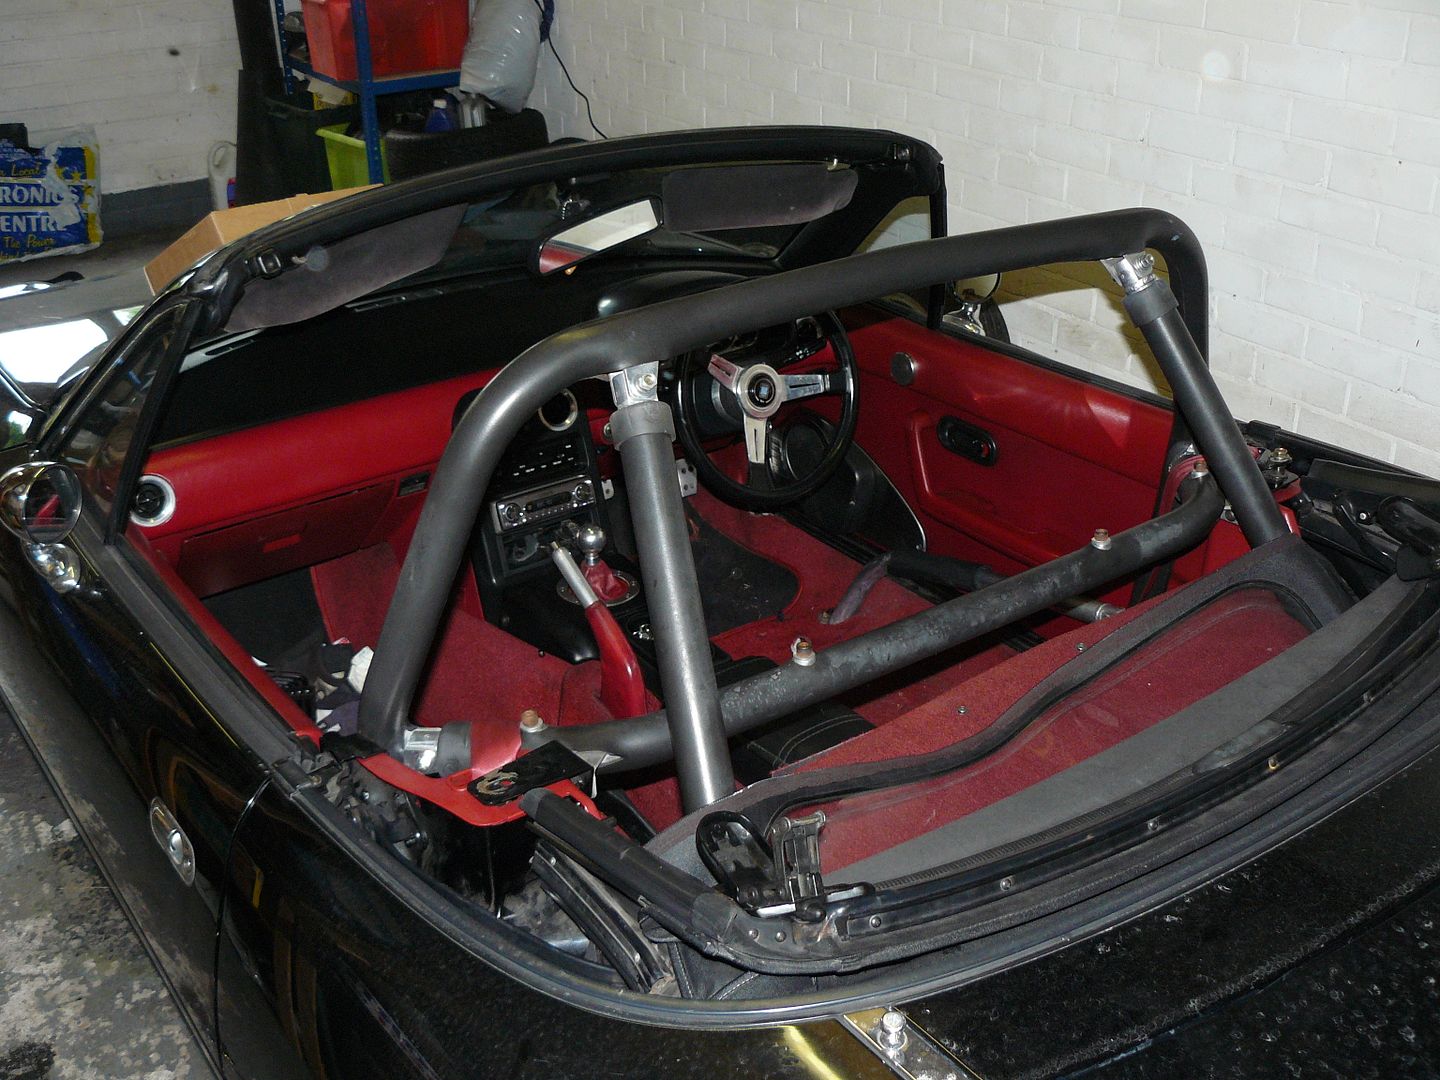
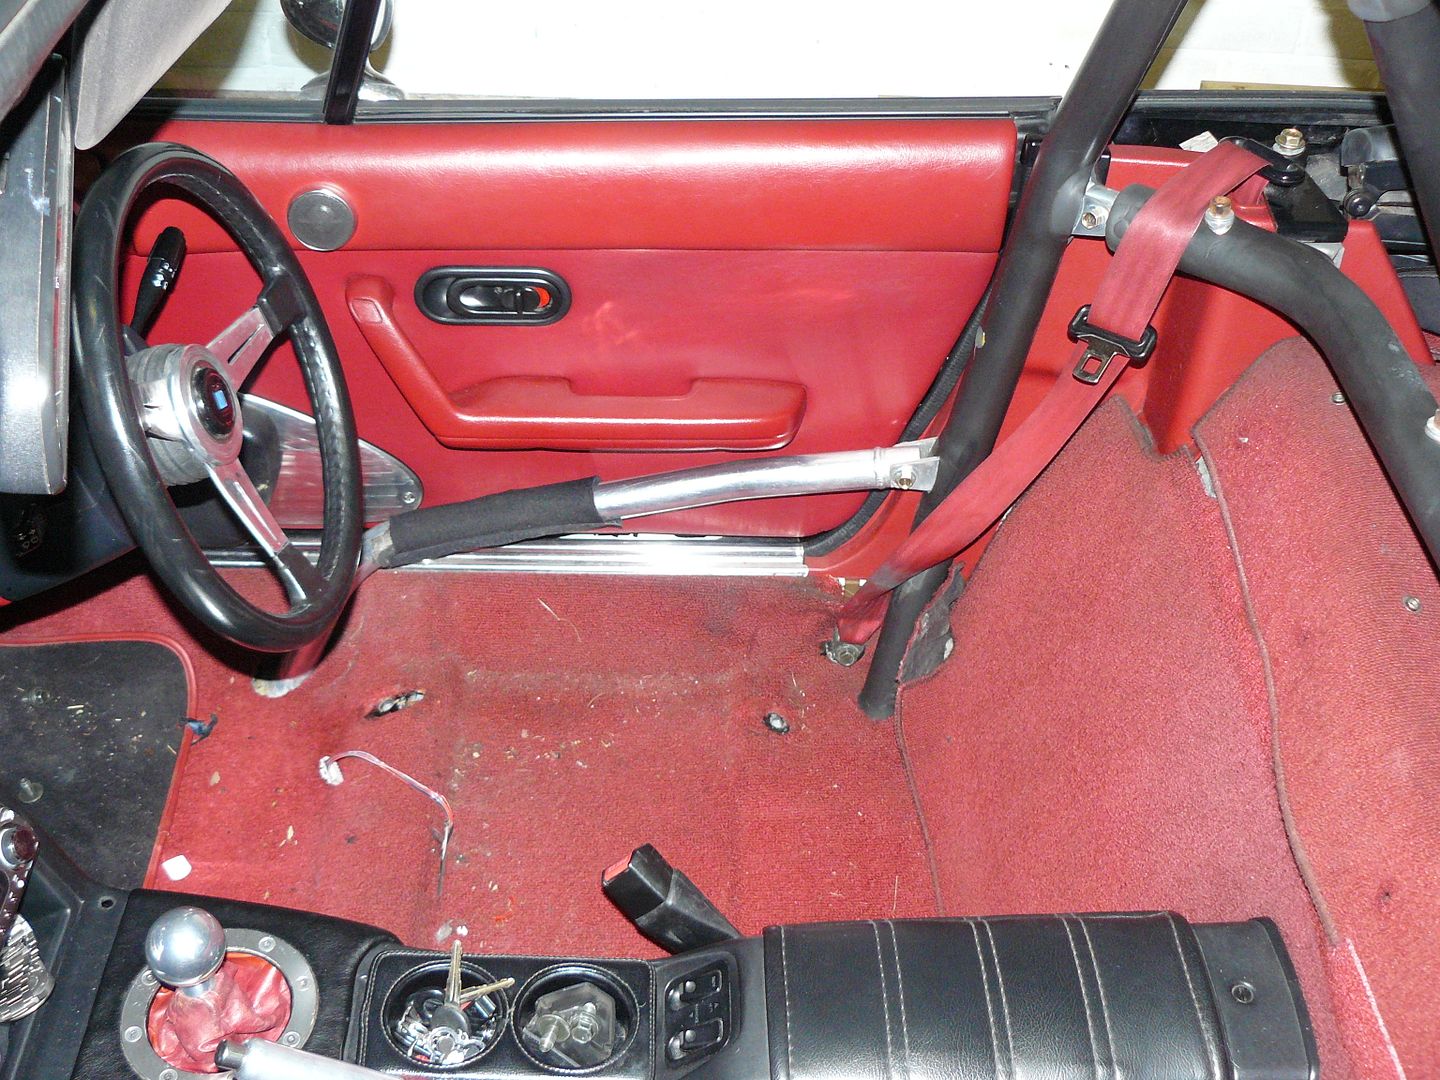
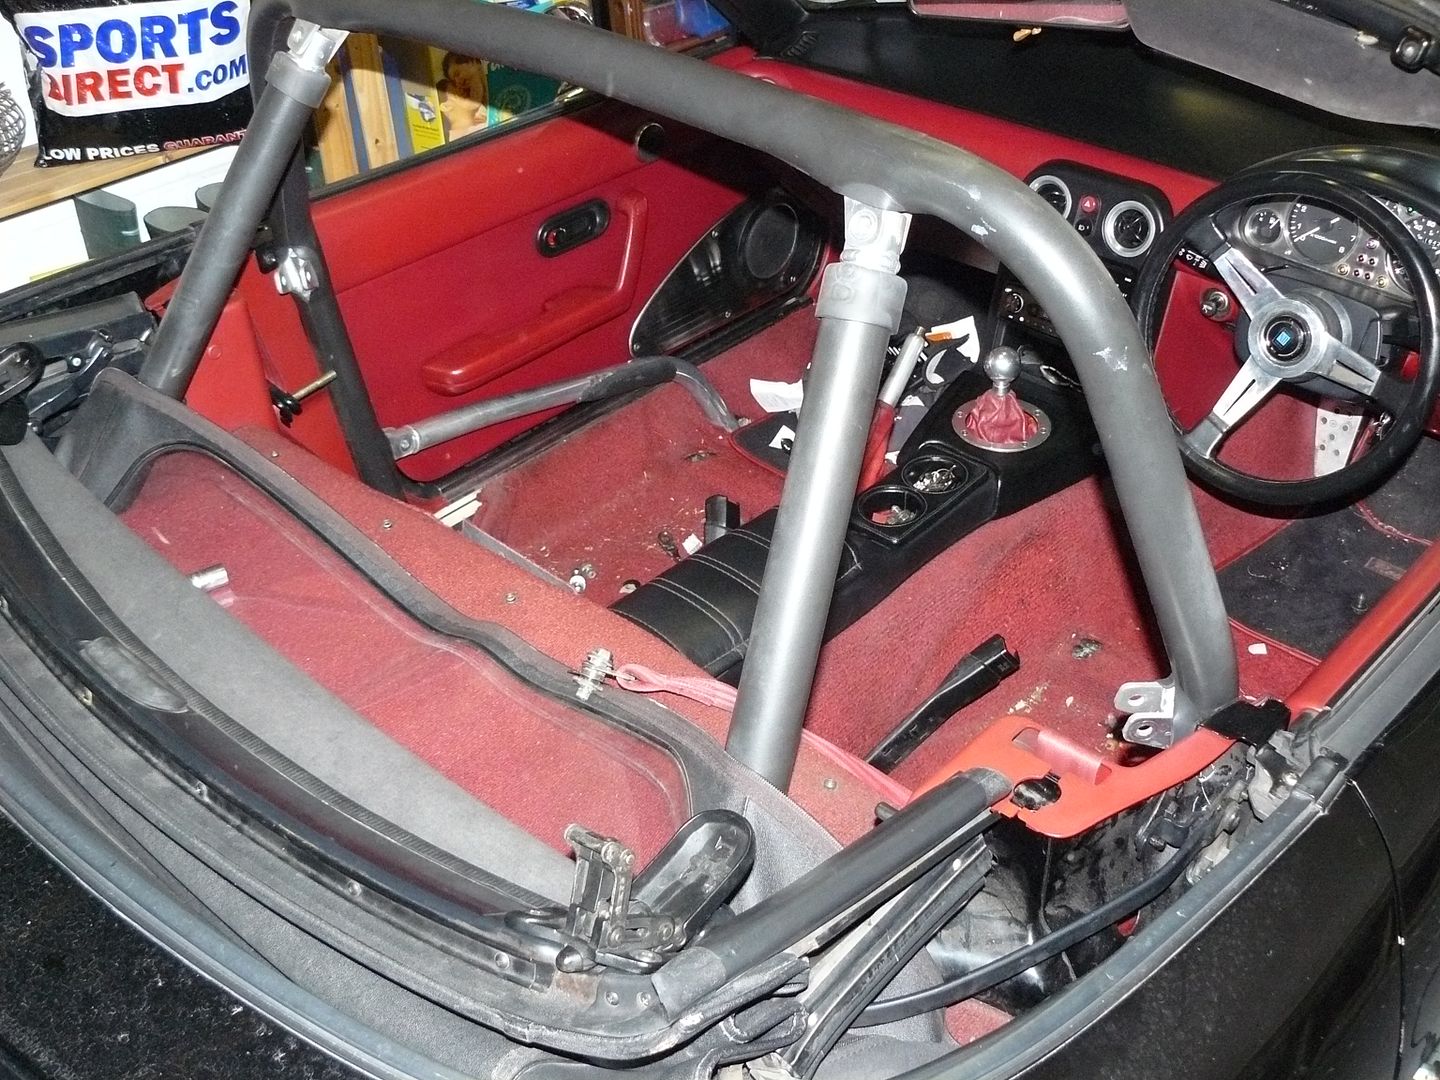
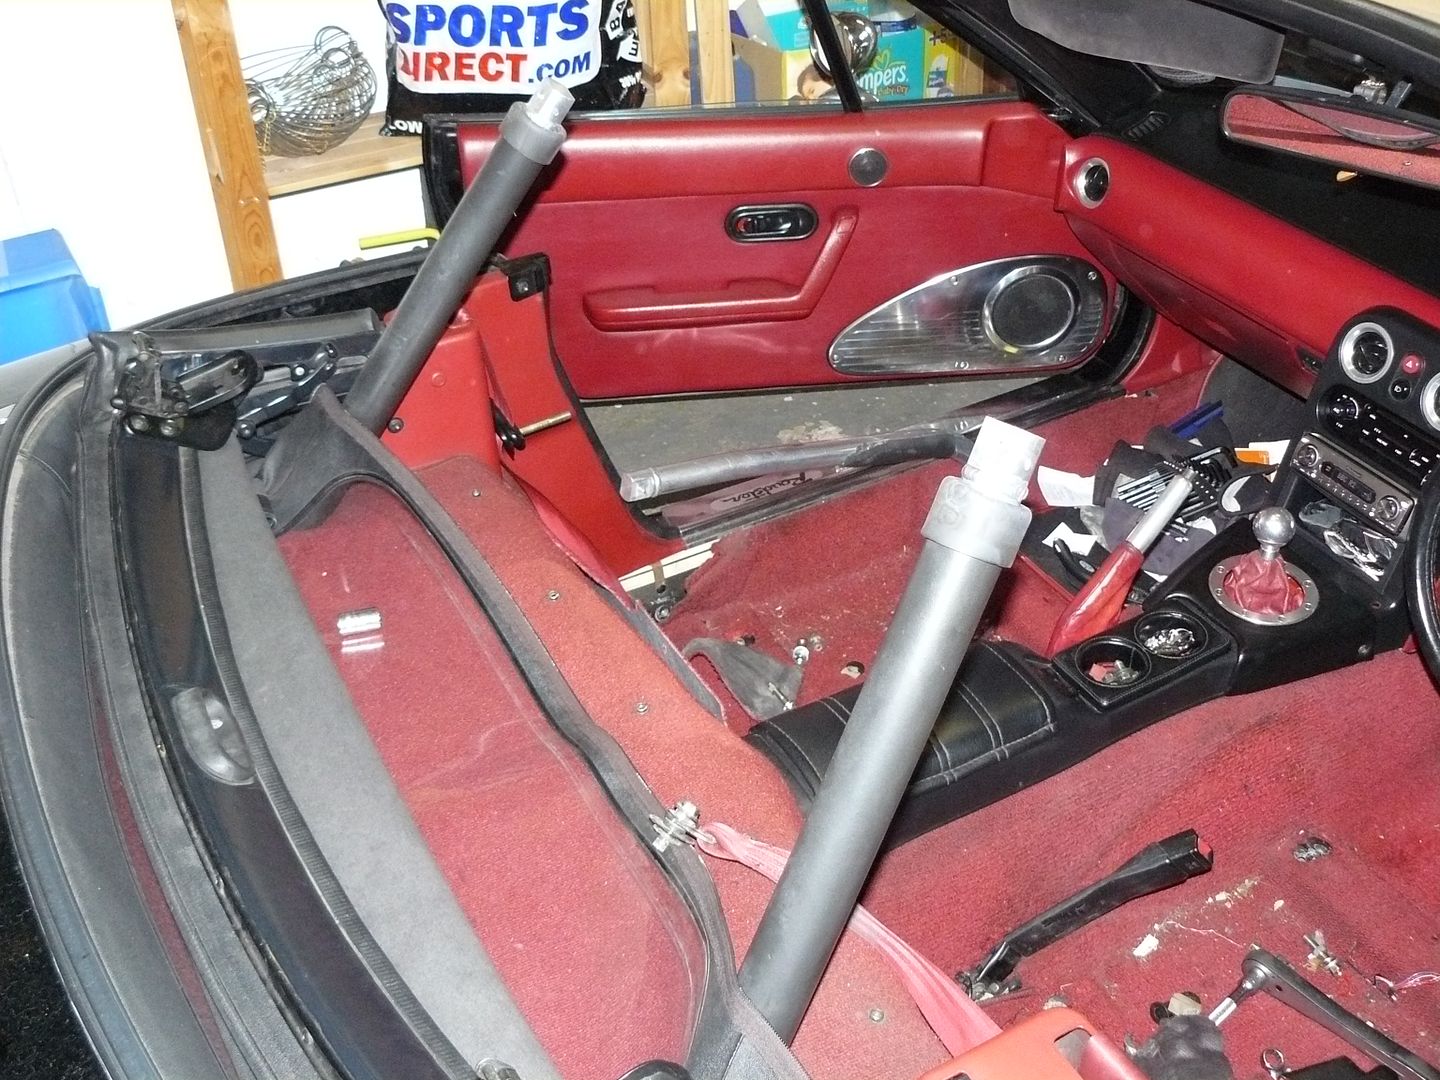
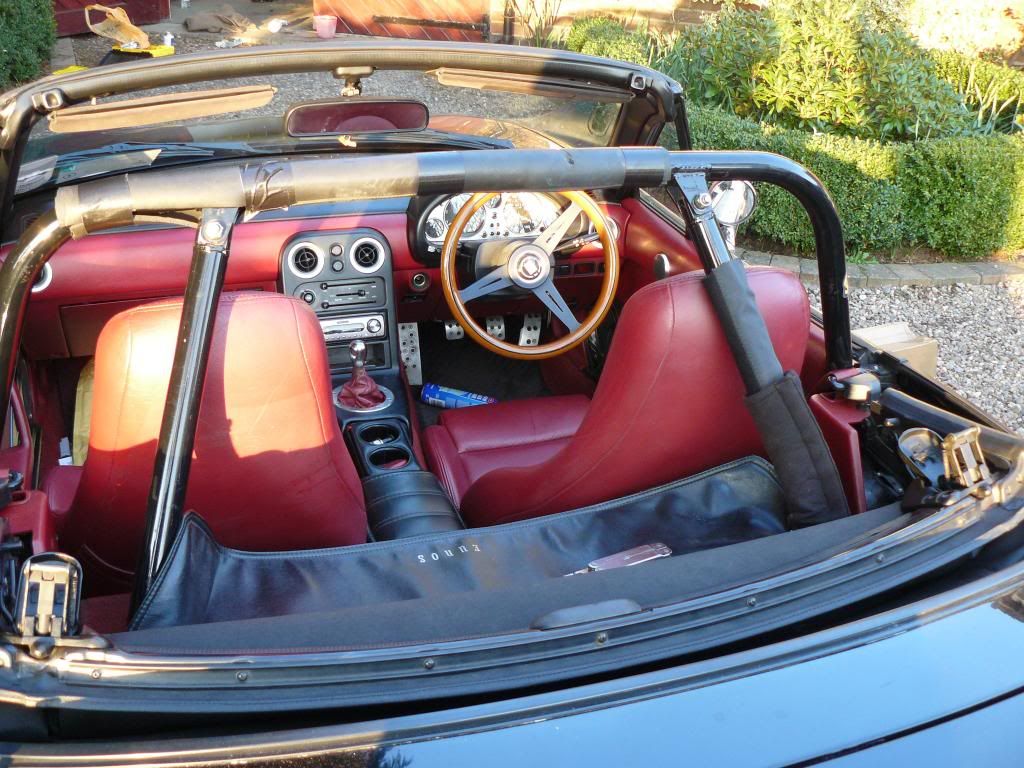
The polished Carbing rollbar was wonderful to look at, but it had to go; I had previously had the steel version, and I'm no longer to flexible to accommodate the drastic loss of seat travel. So removal.
I replaced this bar with a 4P D-Technique item, which sits a little further back, and gives that little bit more seat travel (as well as a bar not so perilously close to the skull). Amazingly, the drill holes for the Carbing bar virtually matched those for the D-Tec bar (just a little reaming).
phk (01-21-2015)
I came across this photo of a late Austin Healey that had been decked out for road ralleys;
Maybe I'm getting old, but suddenly I like a wooden dash.
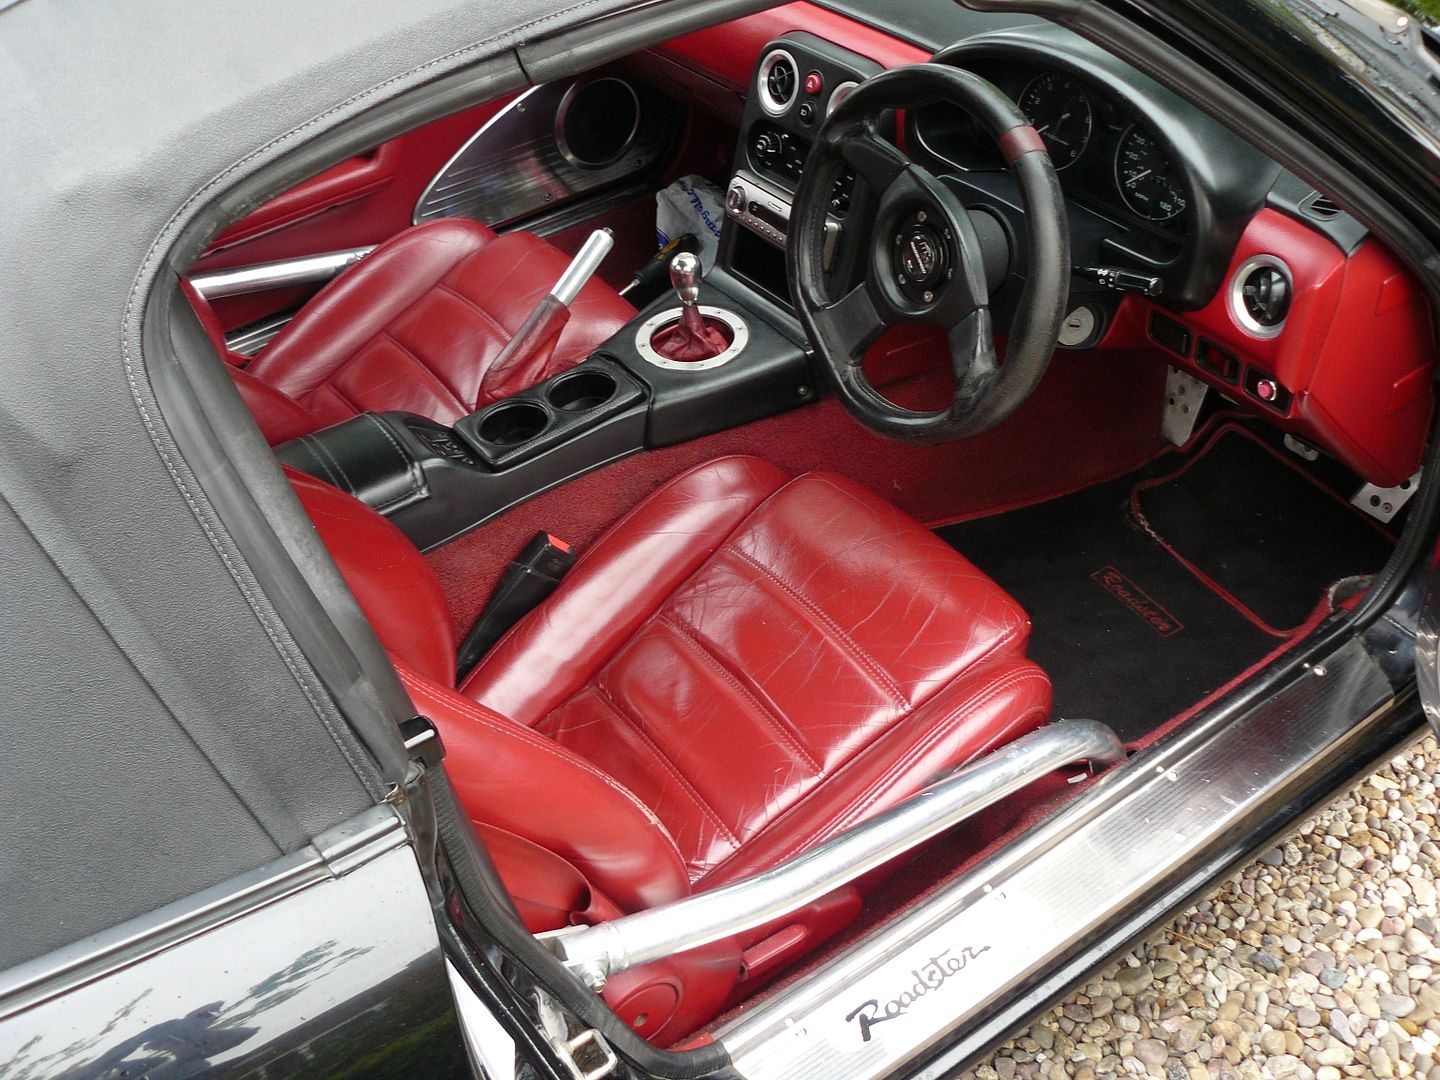
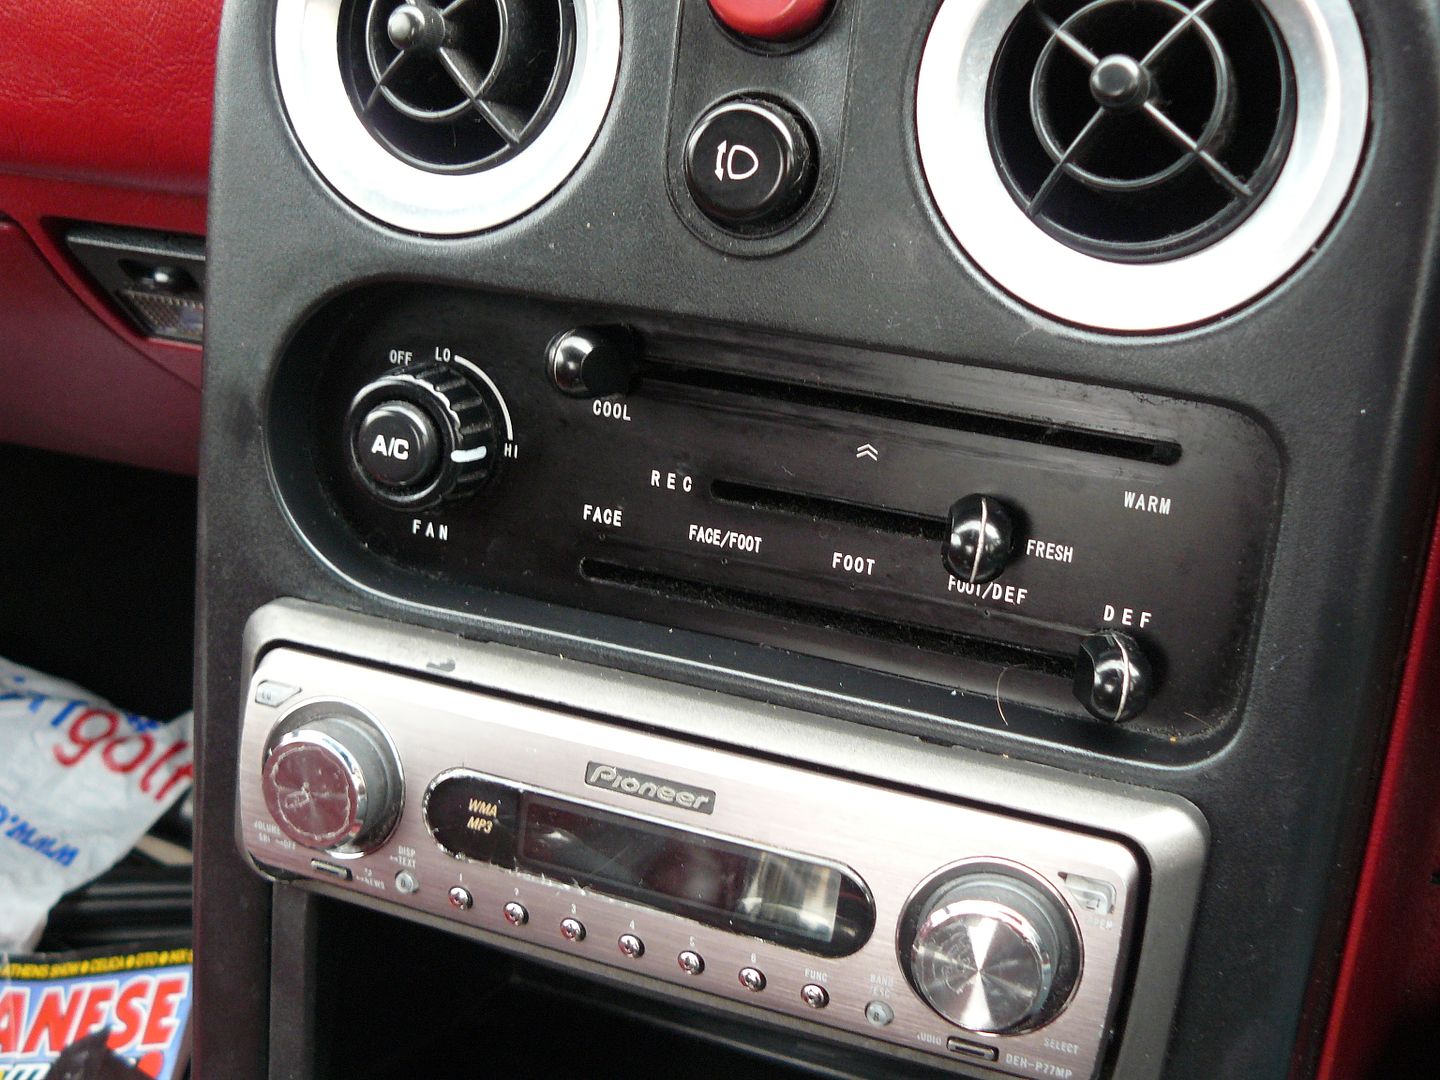
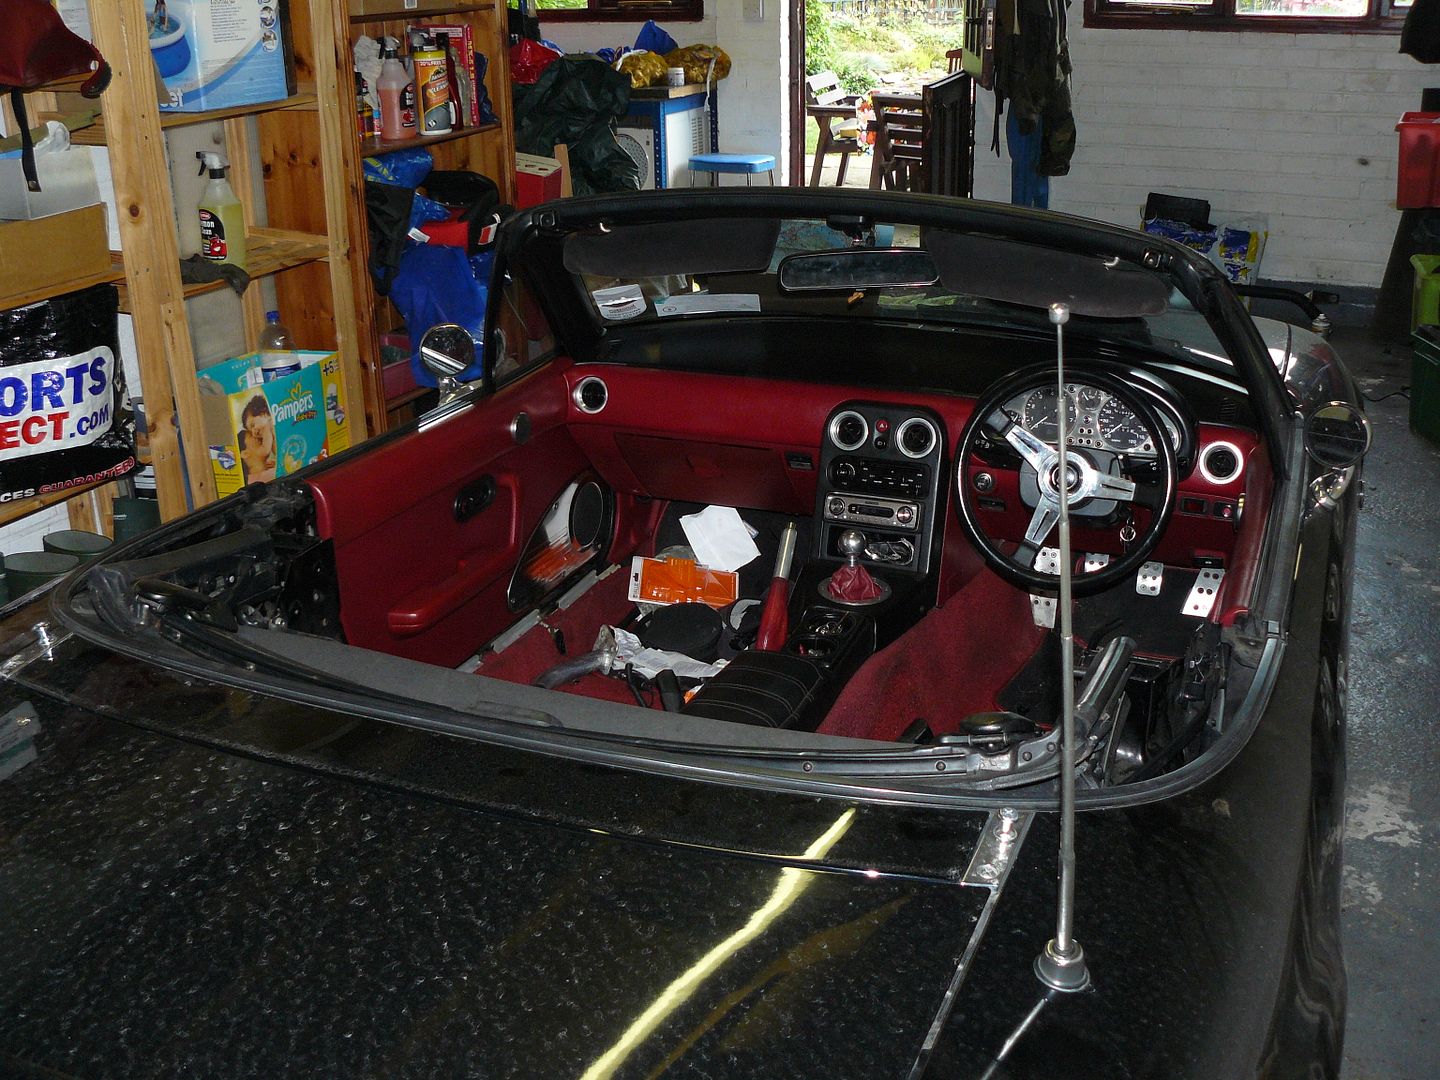
I also changed the 93 tombstone for a 96 (JDM) tombstone; I was sick of my hand hitting the radio during gear shifts, and the later surround allows the radio to be installed flush. Also, the option seats went in. I fitted a wood Nardi steering wheel. Tried a leather Nardi, but plumped for the wood version because of the look.
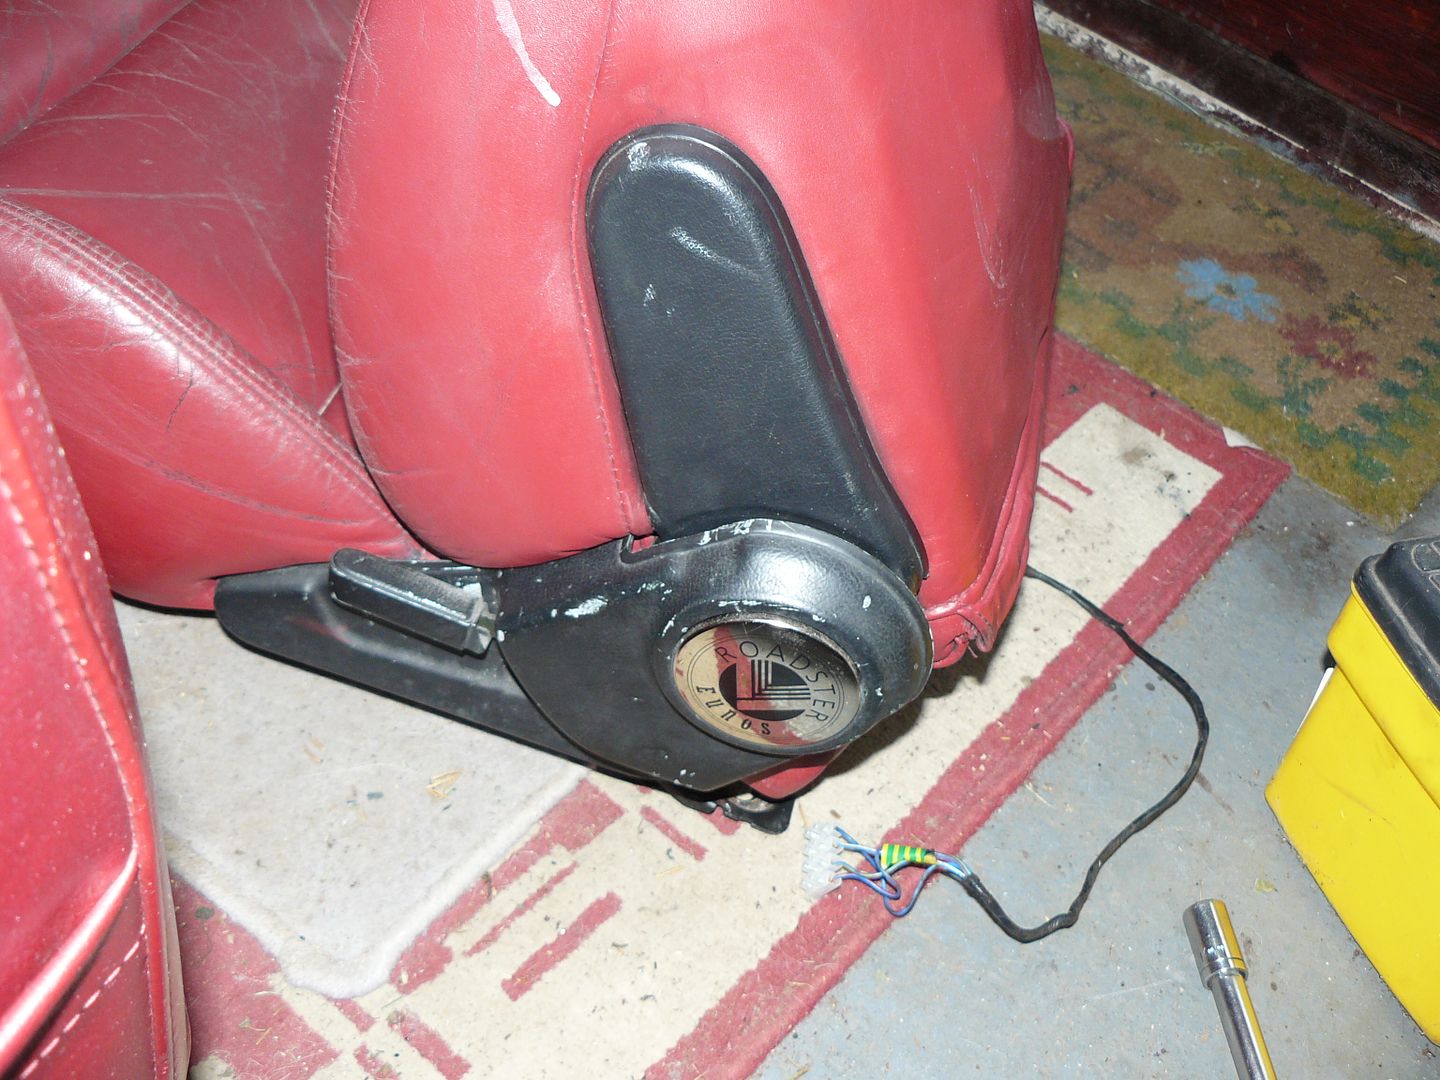
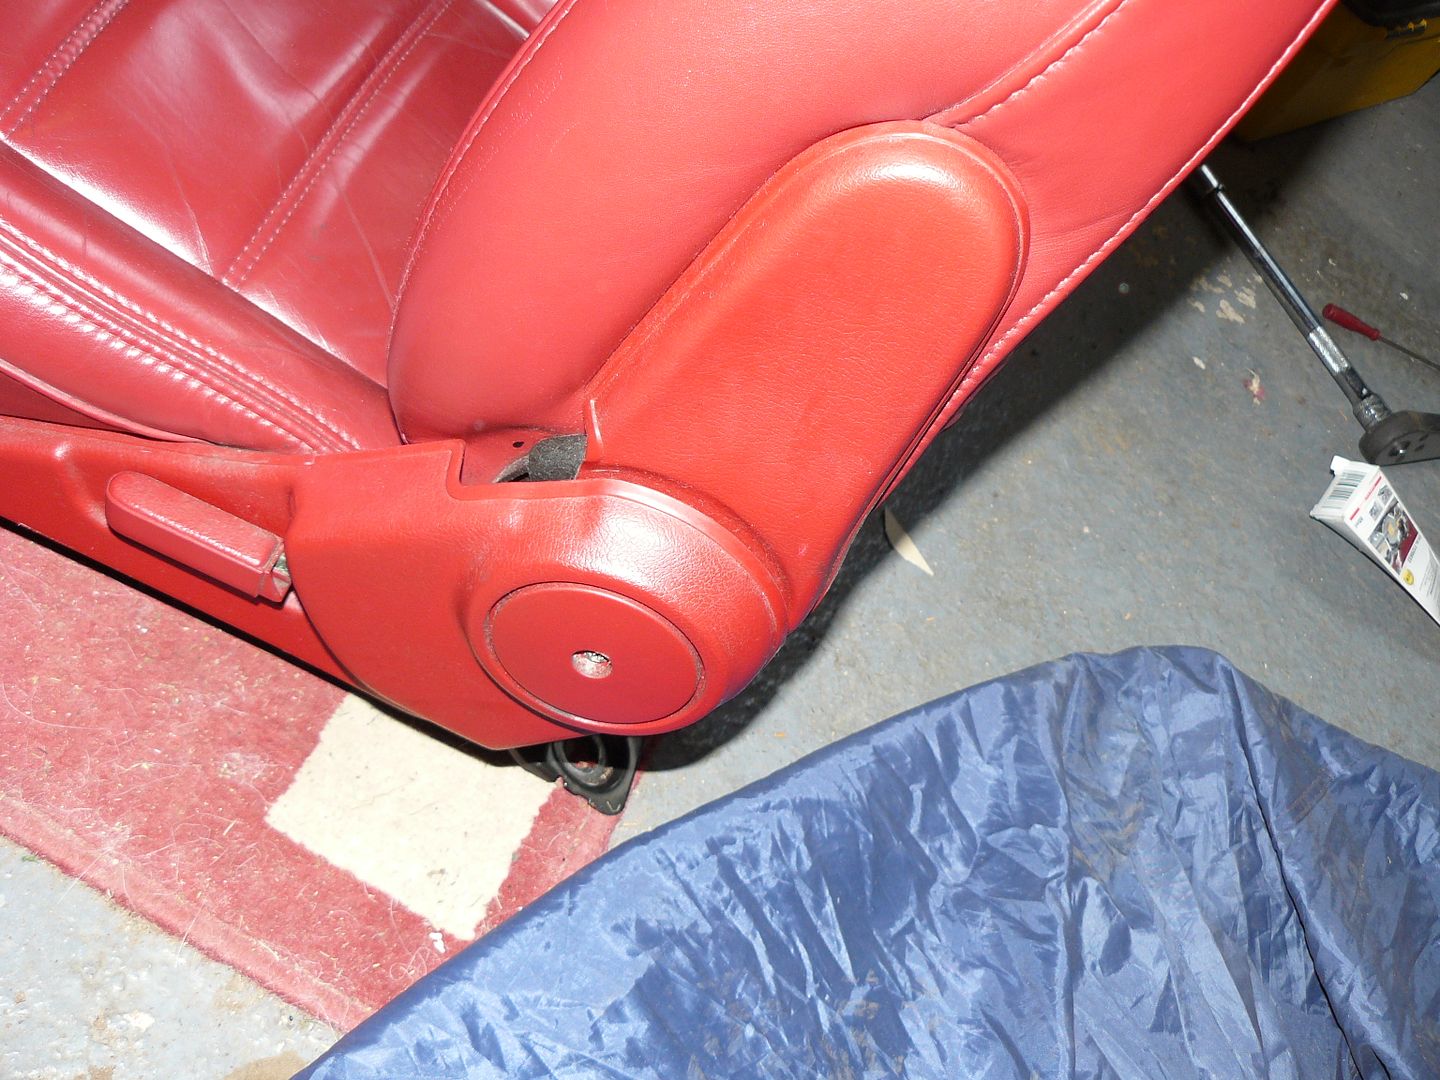
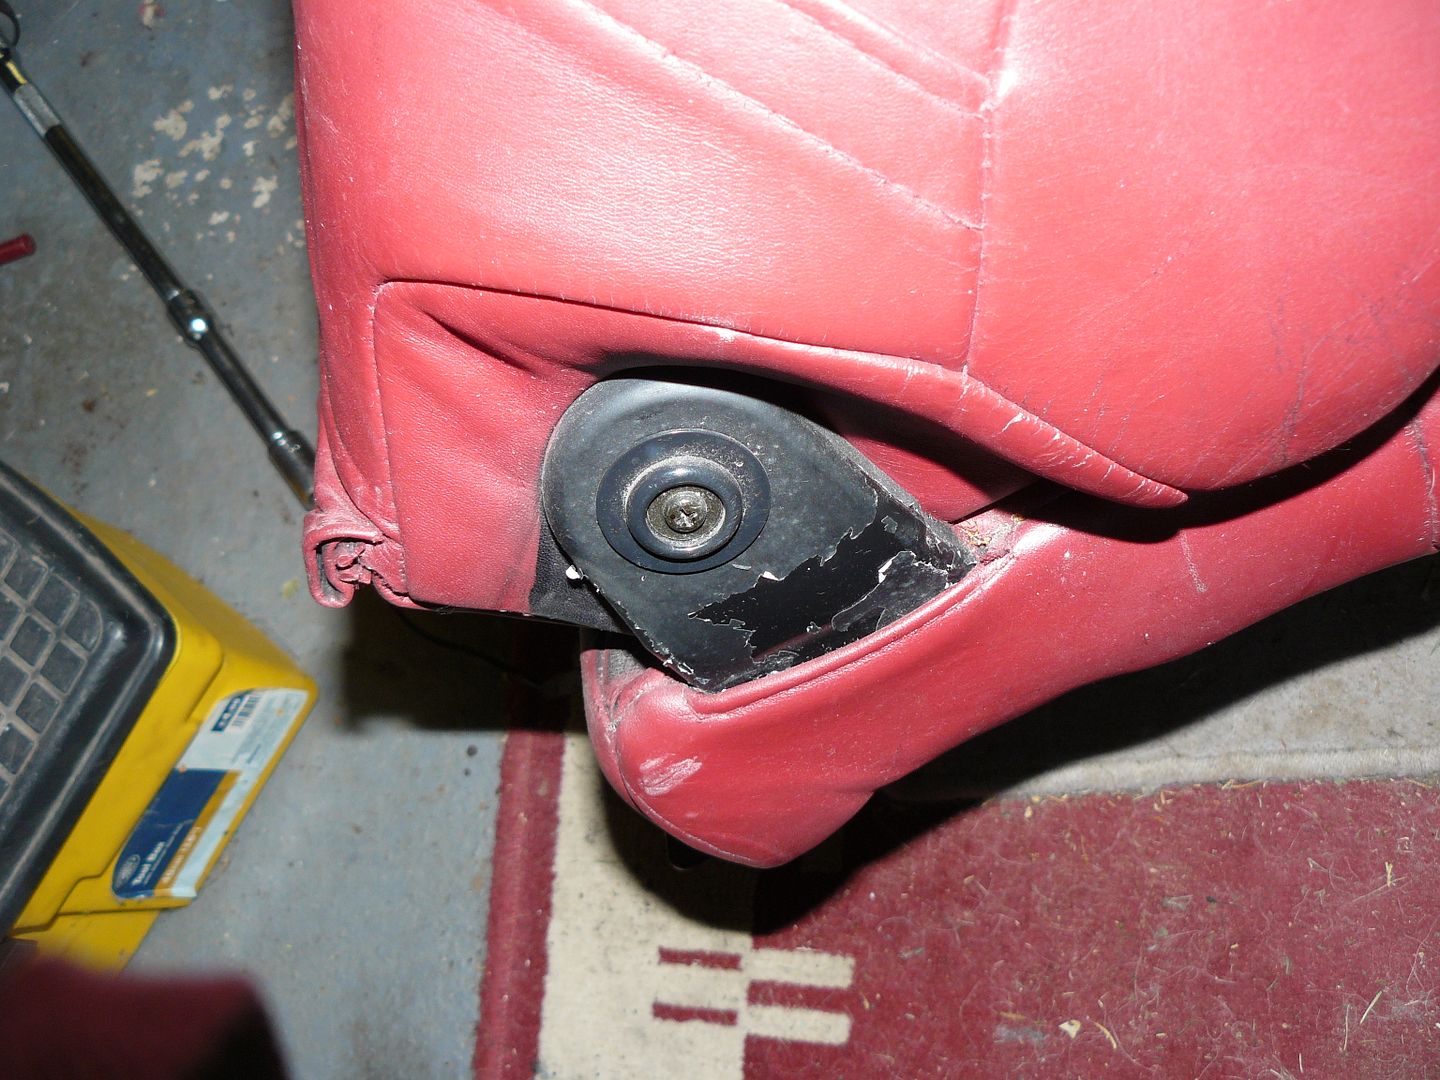
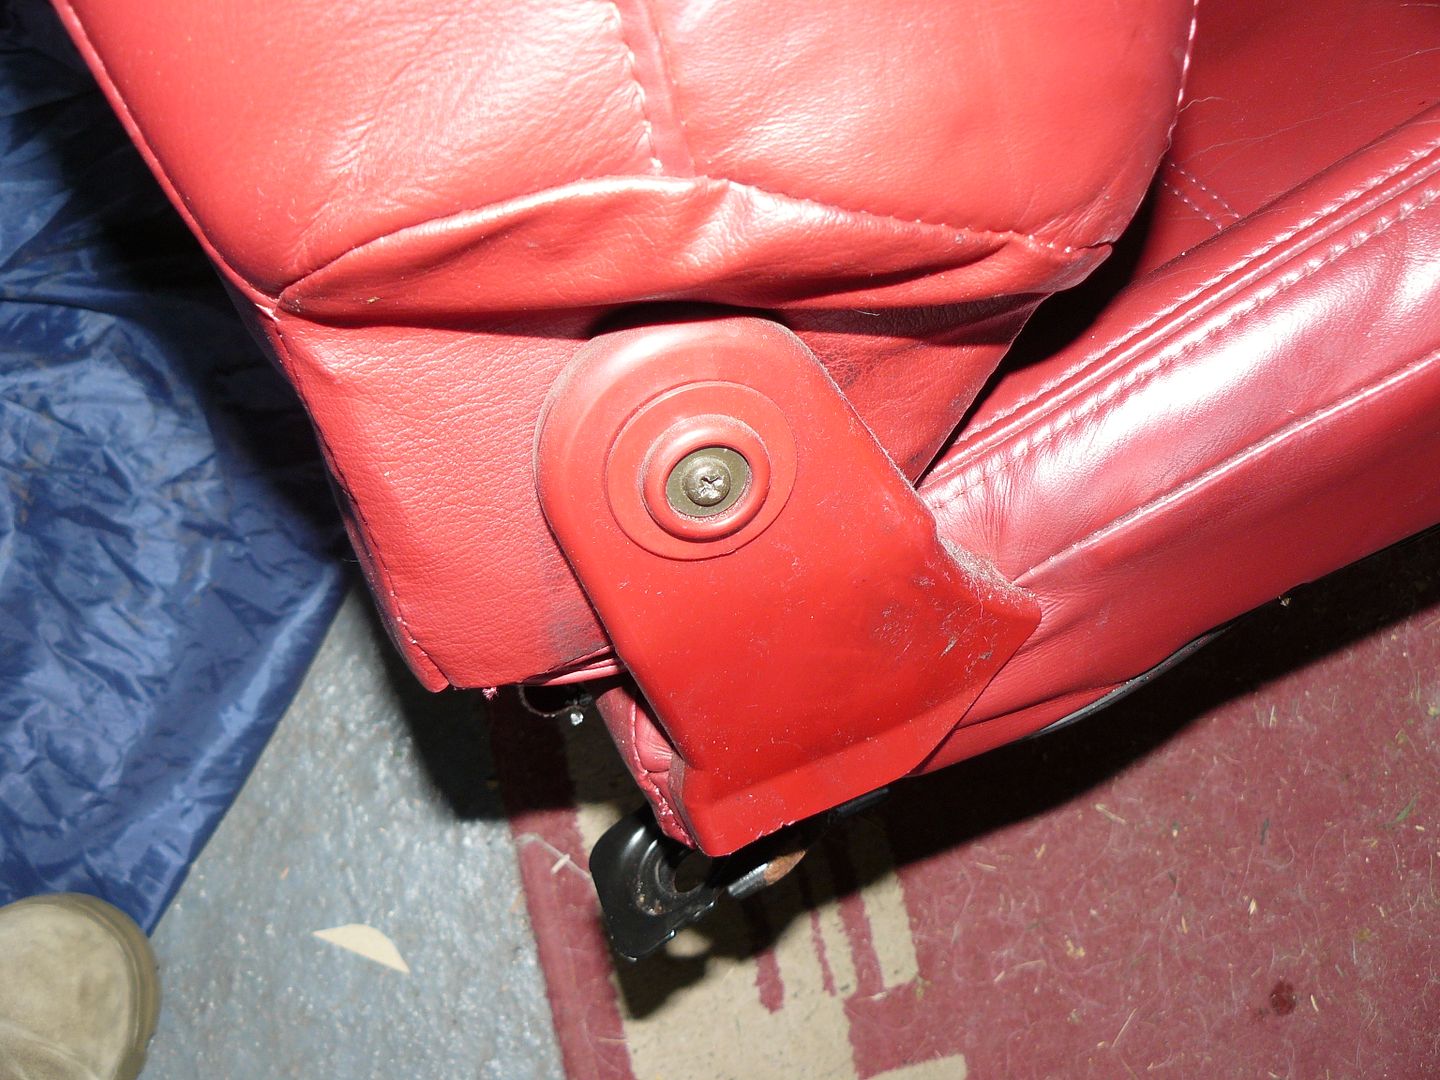
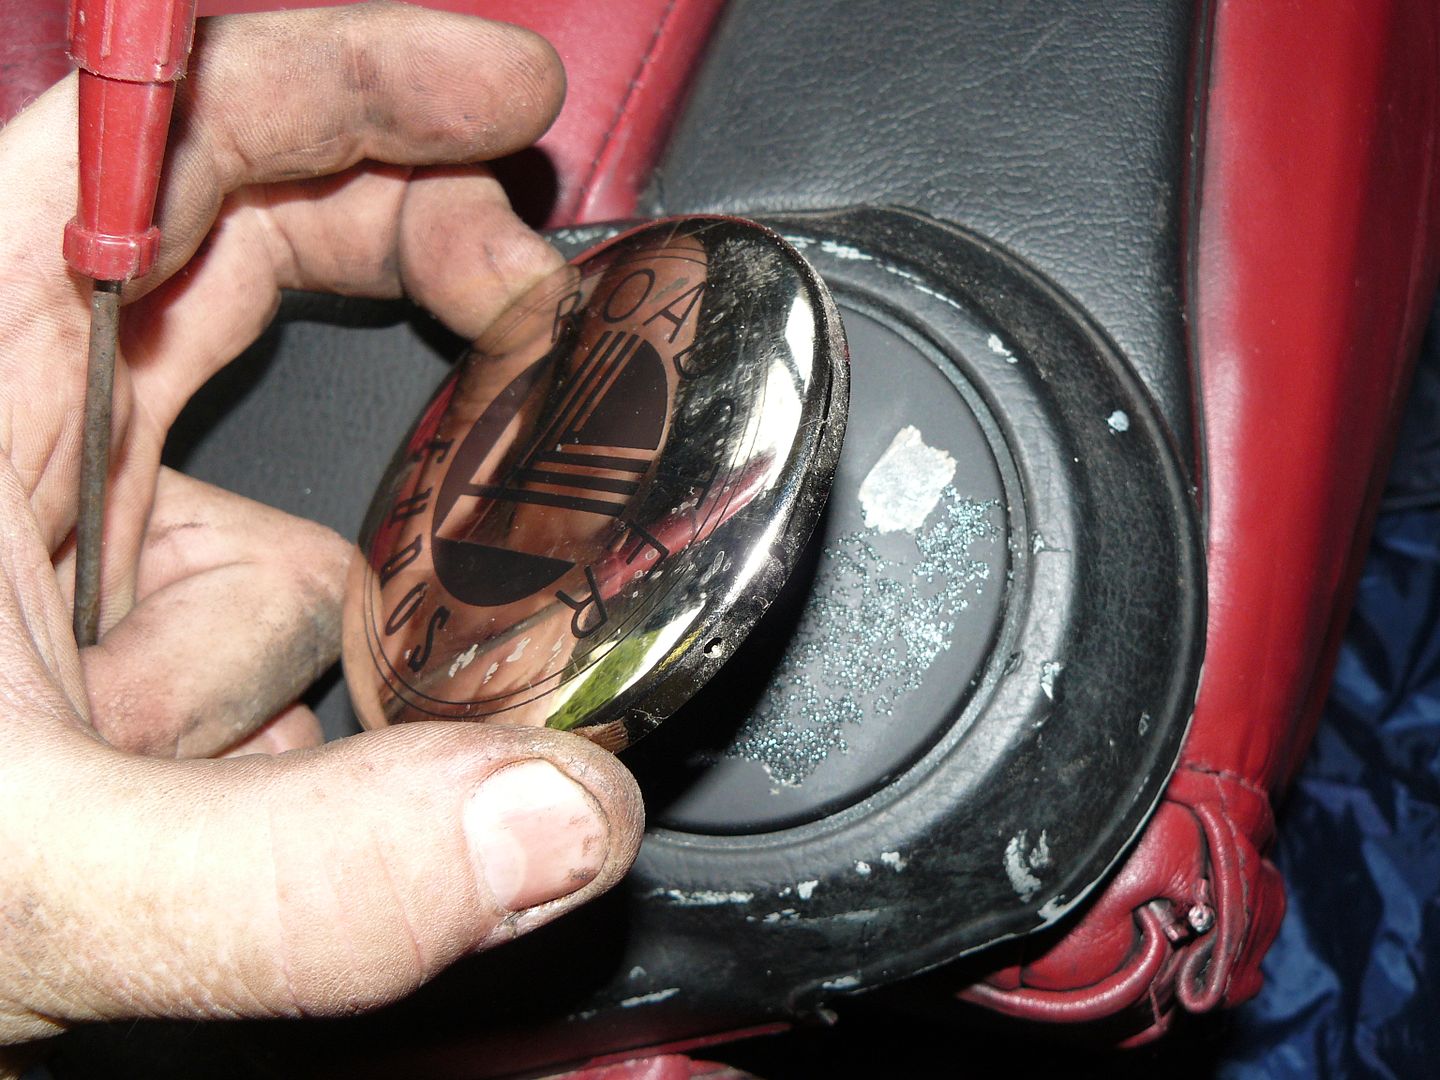
The Option seats had originally been black, and then dyed red. Consequently, they retained the original (tatty) black plastic furniture. I decided to do the unthinkable and transfer the plastic furniture from near mint S-Limited seats to these,
Comparison of the two seats:
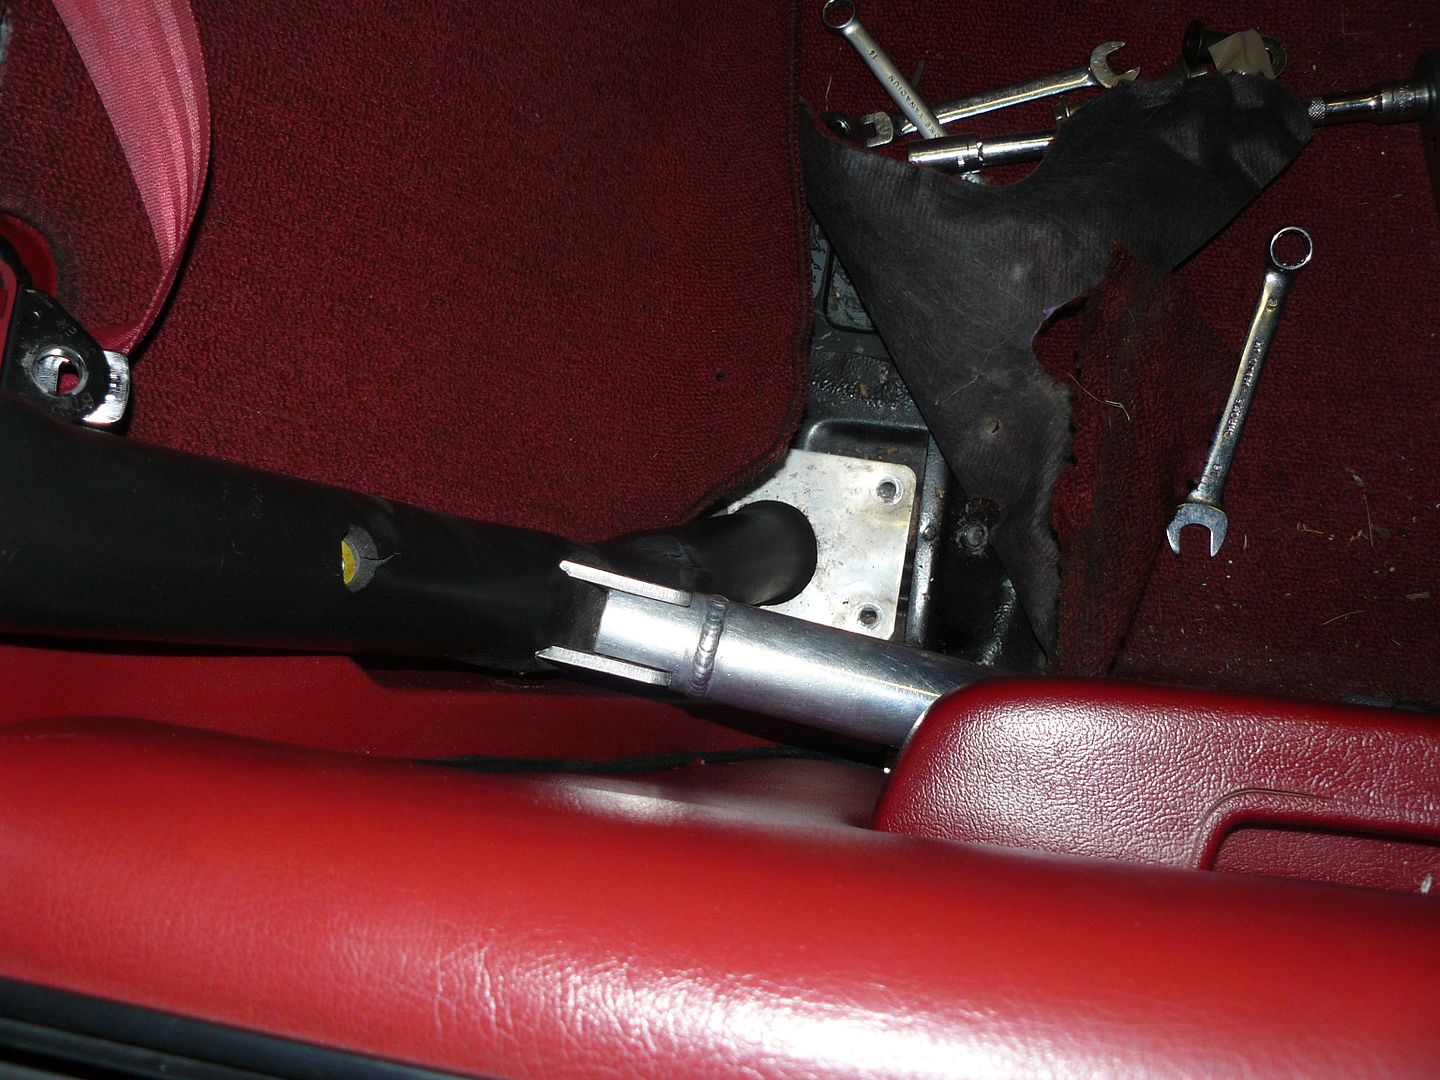
This part can't easily be swapped, but is hidden anyhow:
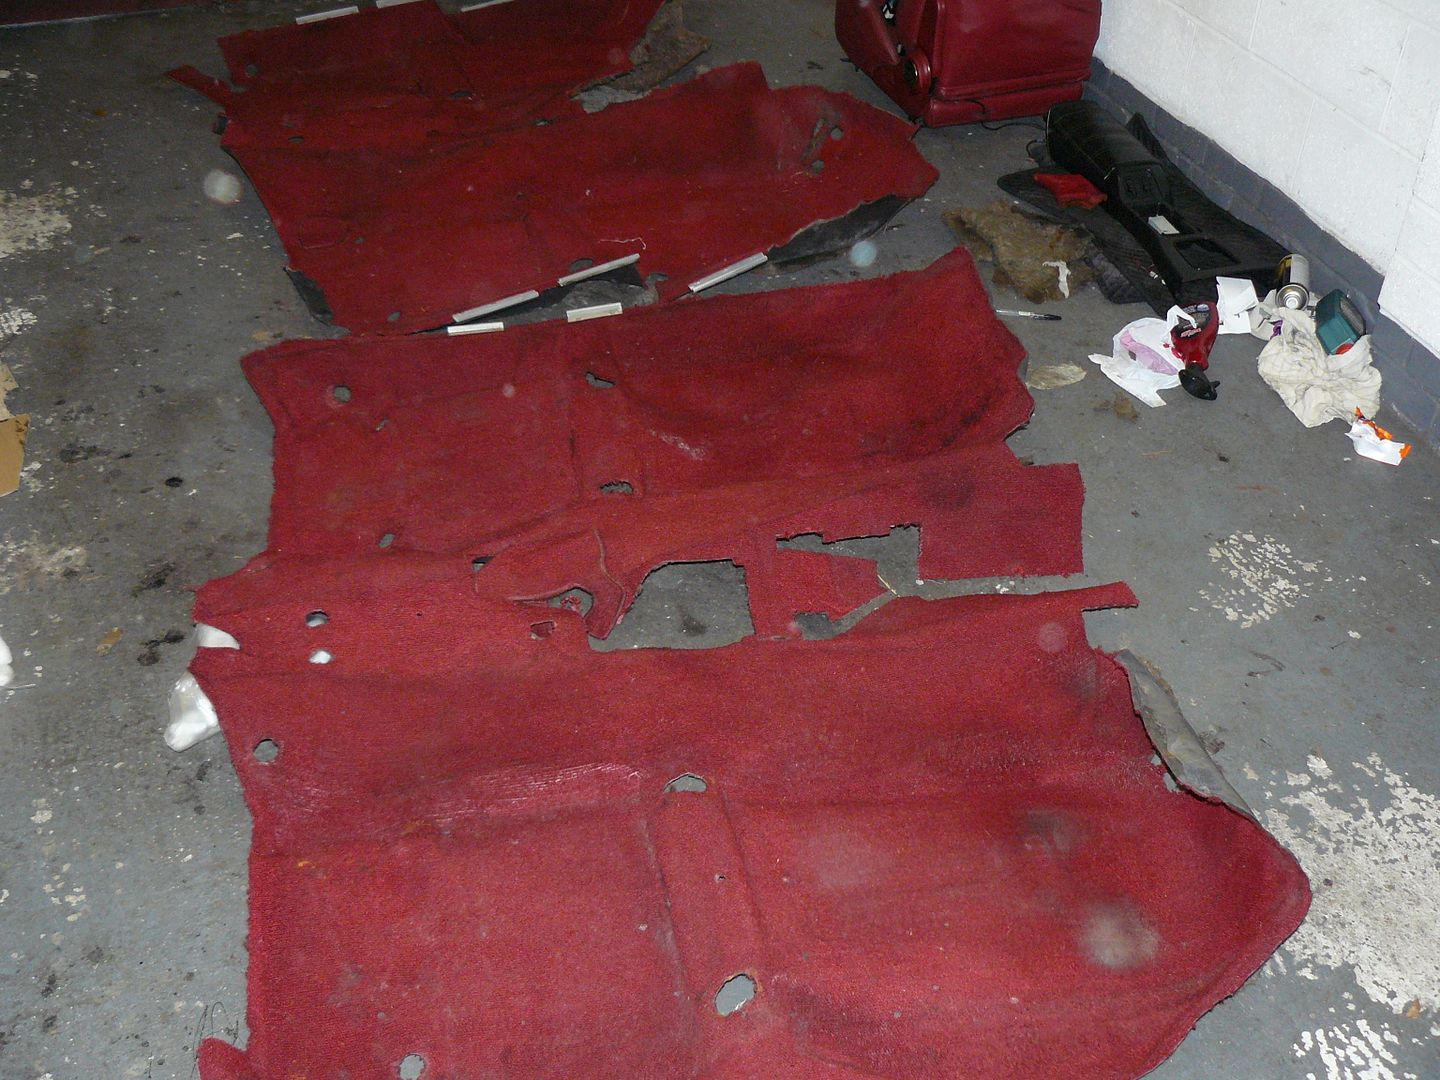
Removing the Carbing bar had left two gaping holes in the footwells where the side bars were fitted. Using footmats wasn't going to work. I was lucky enough to source a R-Limited carpet, which is virtually identical, except for the holes for the seatbelt stalks.
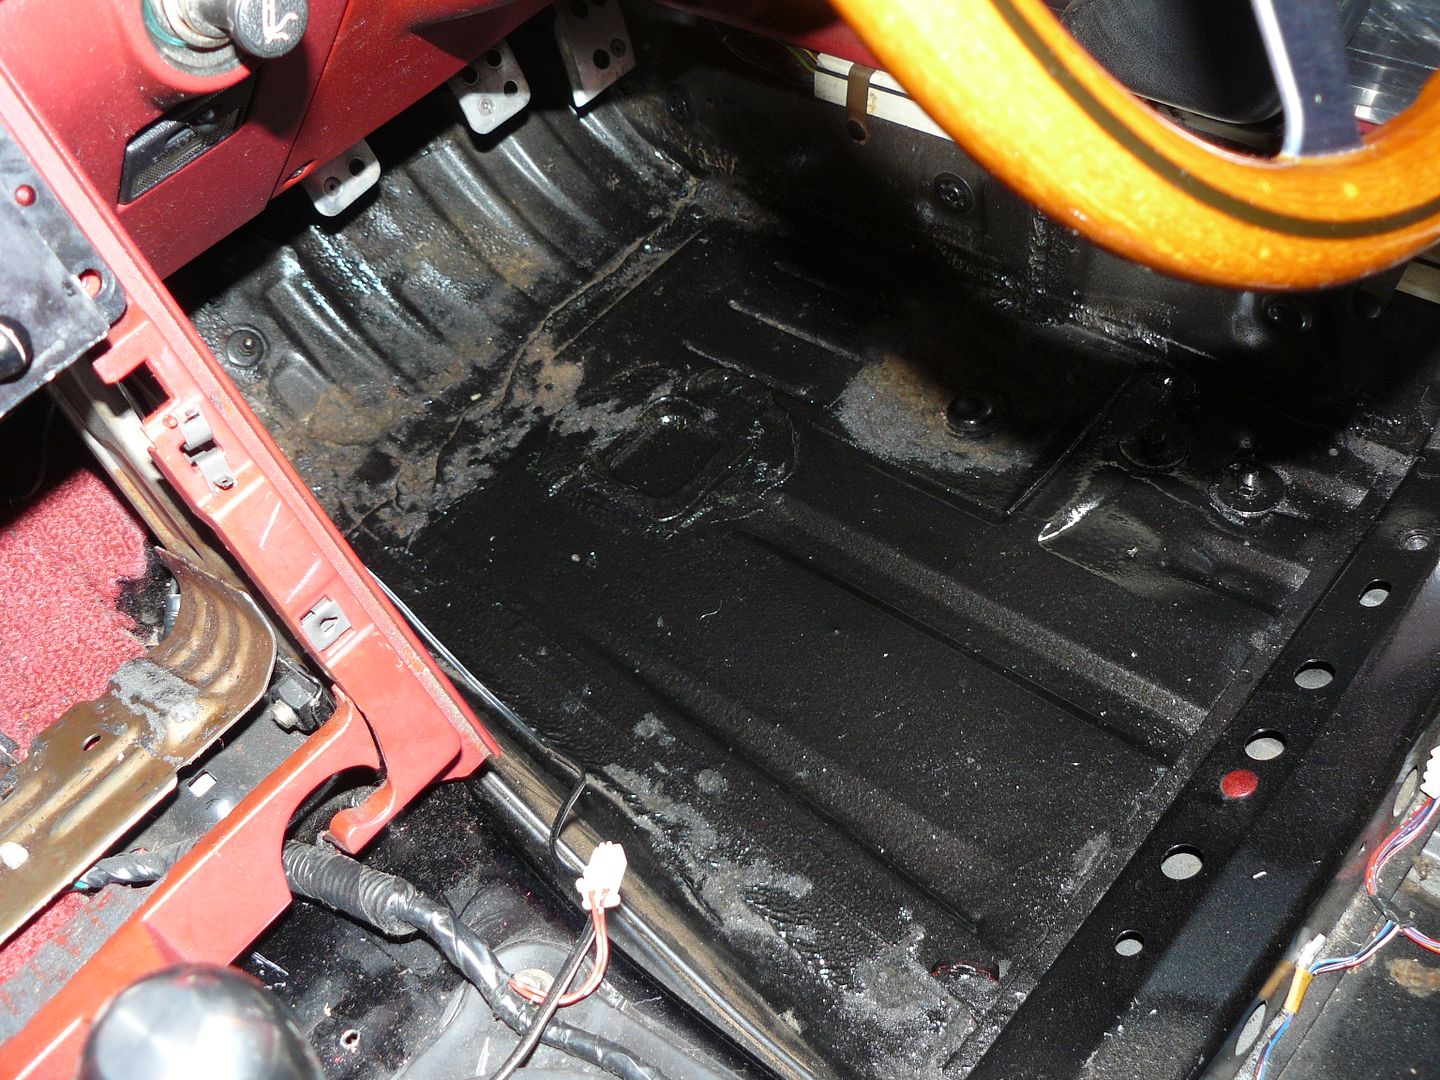
Removing the old carpet revealed quite extensive rusting in the drivers footwell, from a leaking roof. Loose rust removed and hammerited. Hope it holds up:
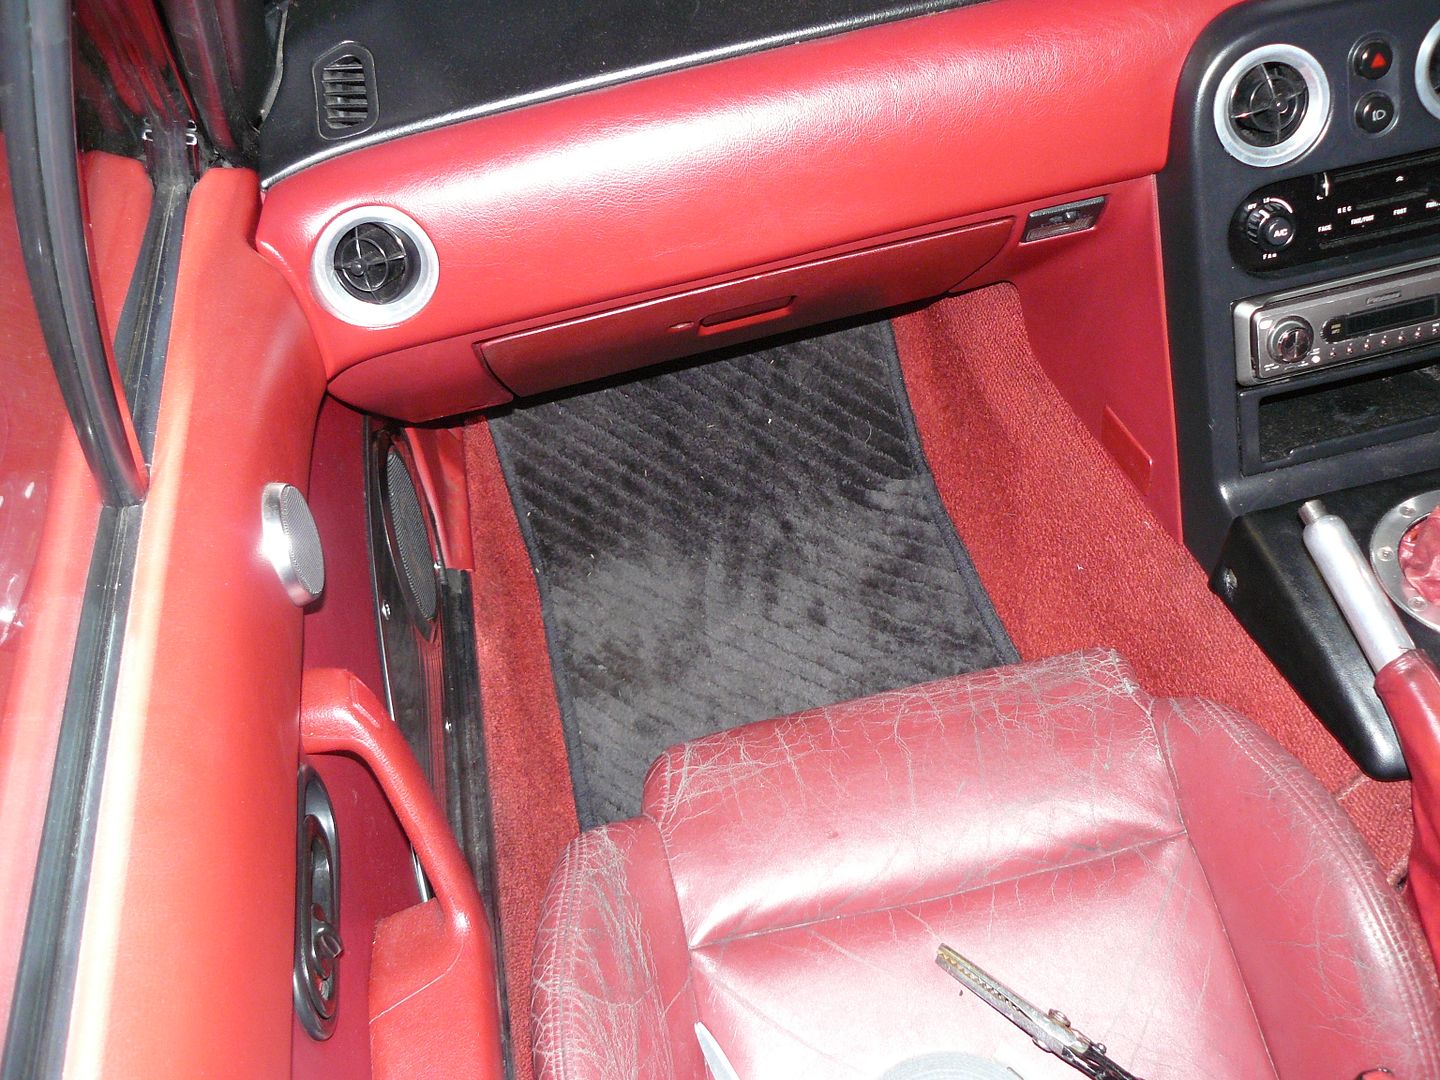
I cheated in fitting the carpet, by not removing the dash. "New" carpet fitted, and black S-Spec overmats fitted; will do until I can track down S-Limited mats.
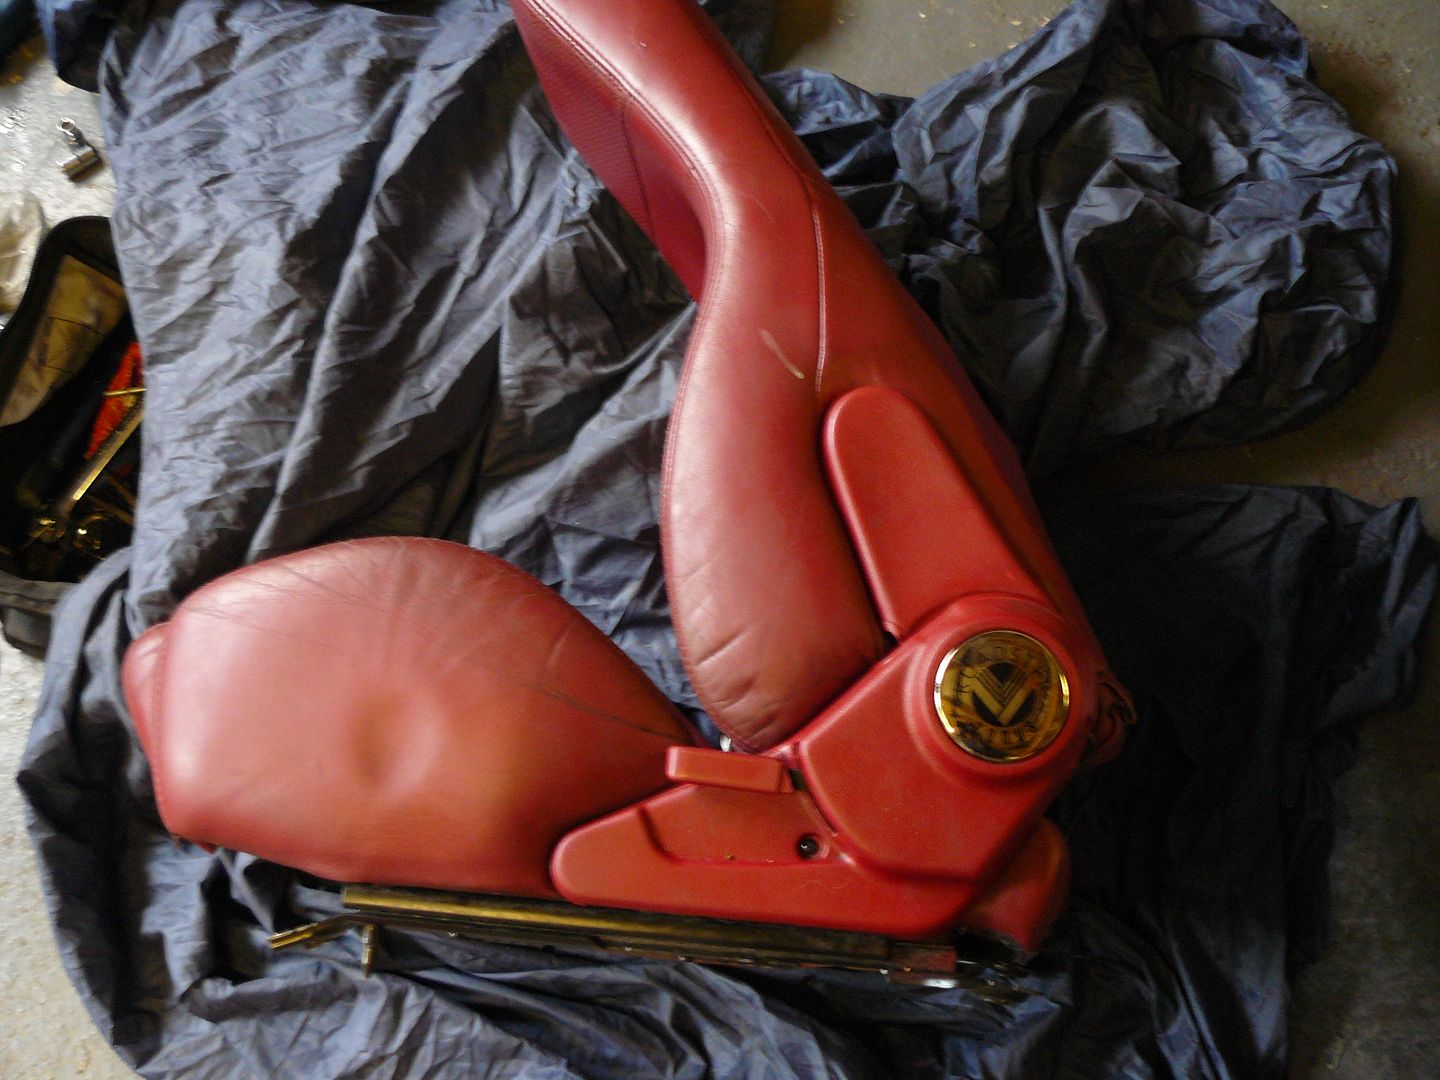
This shot shows how tired the red leather was looking on the seat; the seats needed redying.

 Reply With Quote