Would love one of those Harry !


Would love one of those Harry !

That looks amazing.Originally Posted by HarryB

I'm with this guy.
'00 SE, intercooled BRP MP62, Reverant MS2, Ohlins DFV, Konig Flatout (now X 2)
__________________________________________________ ____________
This ain't no build thread!

Thanks for your kind words! PM me, I have a few left ;)
Mike, it seems like your PM inbox is full
Just cleared it.
Yours is full now.
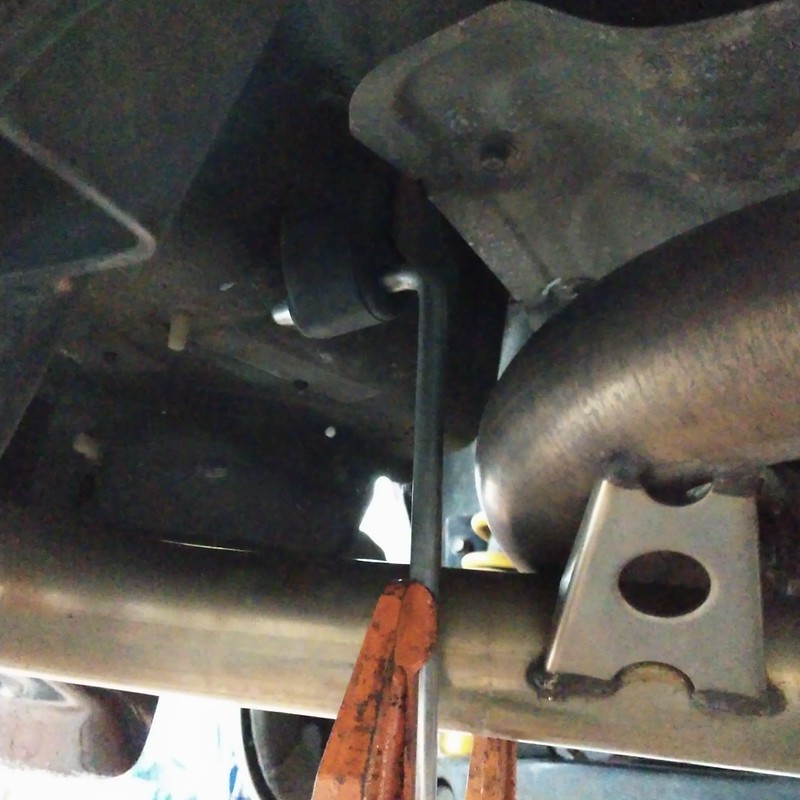
The weather finally got warm enough to get some work done. Hoisted her into the air, pulled and calibrated the wideband O2 sensor which I hope will correct some surging I had when I took her out the other day. Then I moved to the rear. ;) Removed the lower diffuser and my temporary muffler hanger (which has been installed for something like two years). I then set up the new hanger I bought:
I need to buy myself some proper ViseGrip welding pliers to make this easier the next time. I didn't have any stainless stock to practice on and my first attempt (which was vertical) was barely good enough to get it stuck in place. I ended up removing the muffler to do flat welding. Not the best I have ever done but it's solid and only ended up a little off-set:
Once that was done I put it all back together. I forgot how much of a PITA a couple of the screws at the back of the diffuser were to get in place. I literally was straining to put the middle one on the passenger side together. If I did any sort of bulk exercise I would have been screwed. In any event it is all back together and as can be seen, the muffler is well clear of the previous impact zone on the diffuser:

Agent☣Orange (02-27-2021),Bryan (03-01-2021),MiataQuest (02-26-2021)

Nice job. You definitely did a better job welding the hanger than I could do that's for sureYou're are just one step closer to laying down some dimes in the future

chiefmg (02-28-2021)
Nice job! And inbox cleared now, sorry for that!
chiefmg (02-28-2021)
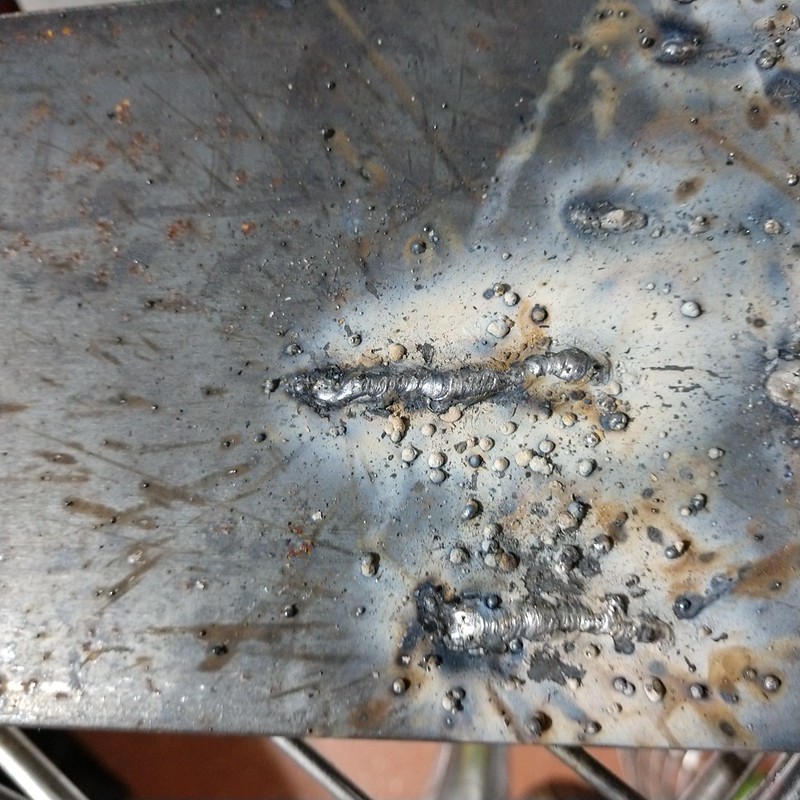
You mean like this?
Those were my practice welds on mild steel. I believe I had the amps set too high when I did the stainless (the cheat sheet Hobart thoughtfully provides didn't cover the material and wire I was using so I had to guess). First time using a wire feed welder so I have some learning to do.
Saturday I got out to the garage repack my new hubs. I followed the how-to listed here:
https://www.miataturbo.net/suspensio...ont-hub-75372/
I should note that when I disassembled my bearings the retainer with the protrusions that is shown as being for the outboard bearing in the above thread was in my inboard bearing. Don't know why the difference, I recommend doing yours one at a time and making sure you don't mix up the parts. Other than that one change, everything else worked well. Here are some pictures of the hub as delivered, one of the bearings disassembled, the retainer with protrusions:
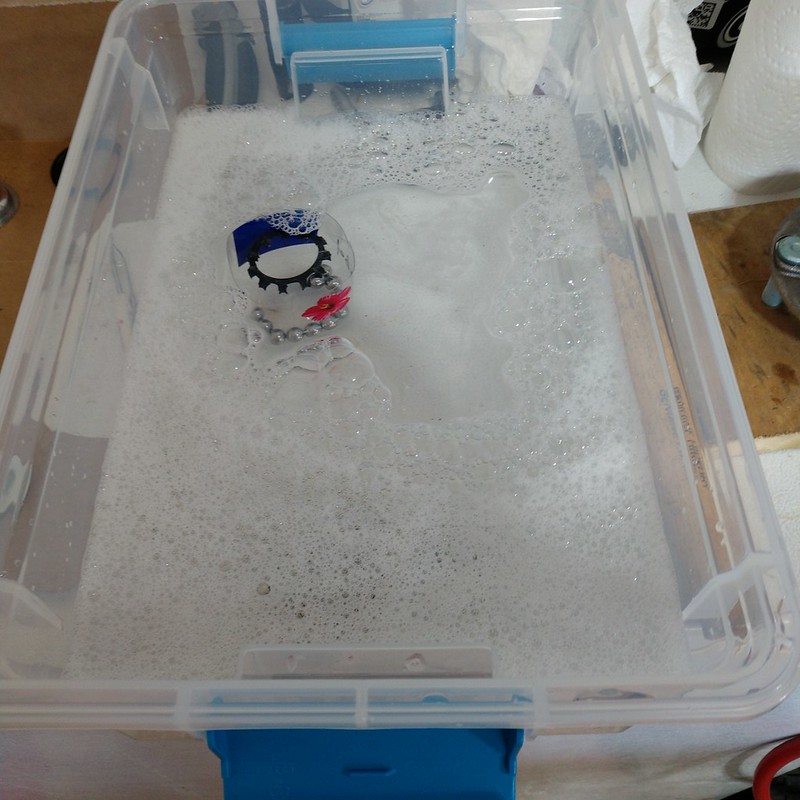
You can see I put the separated bearing parts into a labelled cut down water bottle so I didn?t mix them up.
I used the following cleaner I picked up at Tractor Supply:
Diluted it with water and put it in a container I bought to use as my cleaner:
Wiped off all the grease before I put the parts into the solution. Swished things around a little to clean them, then removed them and wiped them down. Some compressed air helped with the backside of the retainers (they are slotted), a Q-tip worked great to clean the recesses for the balls in the retainers. After that I assembled everything, greased it with some Redline CV-2 and set them aside.
Today I went about replacing the hubs. Pretty straightforward with the right tools. Since I was doing this job I decided to put the correct dust shields on for my new Sport brakes. For anyone thinking about doing the same, here are the part numbers for the right ones:
Kind of hard to see it, but these have a protrusion that fits behind the caliper bracket (it's on the left side of the left-hand shield in the picture) that the original shields did not. I cleaned all the stickers off before installation. Here's a shot comparing the two differently sized shields:
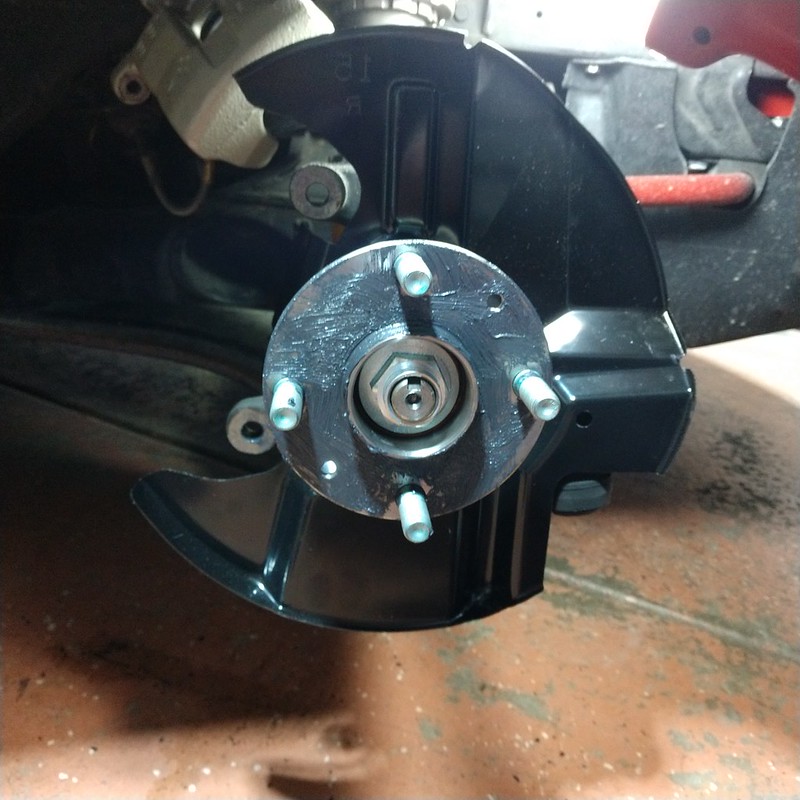
Remove all the brake parts (like if you were replacing your rotors). The hardest part of the job was removing the dust cap that covers the hub nut. Used some AeroKroil and then flat-bladed screwdrivers to pry it off. Used my Milwaukee 1/2" impact to remove the hub nut after prying up the staked part. Once that is off the hub slips right off. Dust shield is held on with three bolts, pulled that off and cleaned everything up. After that it's just a matter of assembling in the reverse order. You have to jiggle the new hub a little to coax it to slide on. I put the hub nut on and hit it lightly with the impact to give it an initial seating:
Put all the brake components back and put the wheel on with the center cap removed. I torqued the lug nuts before the hub nut. You need to have some of the car's weight on the wheel before trying to torque the hub nut. I used 170 lb-ft for my setting, this is recommended by Mazda Motorsports for racing use. My final setting is a bit less because I have to use a short extension between the socket and my torque wrench for clearance.
Once the hub nut was torqued I jacked her back up, removed the wheel and then staked the hub nut. Put the dust cap back on (tapped it in using a dead-blow hammer) and then put the wheel on for the final time. Test drive showed everything to be good.
Bryan (03-01-2021),lifebyevan (03-02-2021),MiataQuest (03-01-2021)

Those wheels sure are pretty!
Why'd you decide to redo the hubs, again?
chiefmg (03-01-2021)
Almost 96,000 miles on the clock. Figure with what I put them through it was good preventive maintenance. Also gave me an excuse to put in the right dust shields. Now I just have to do the rears.
'00 SE, intercooled BRP MP62, Reverant MS2, Ohlins DFV, Konig Flatout (now X 2)
__________________________________________________ ____________
This ain't no build thread!
*Looks at 120k+ odometer*
Why do I ask? Oh, no reason.
Honestly, unless there is some slop in your front hubs you should be ok. If you do want to replace the hubs I got mine off Amazon for just less than $180. I have said this before, but my situation is a lot different from others and I am not shy about upgrading where I can. Lets me enjoy the car more while I'm home.
 Posting Permissions

 Reply With Quote