Page 2 of 7 FirstFirst 1234567 LastLast
Results 16 to 30 of 91

Thread: Midori

  1. #16
    3,000 rpm - starting to feel the power ueru's Avatar
    Drives
    1996 NA8C, 1998 NB8C
    Location
    Tochigi, Japan
    Join Date
    Feb 2012
    Posts
    568
    Thanks Given
    1,116
    Thanked 534 Times in 126 Posts
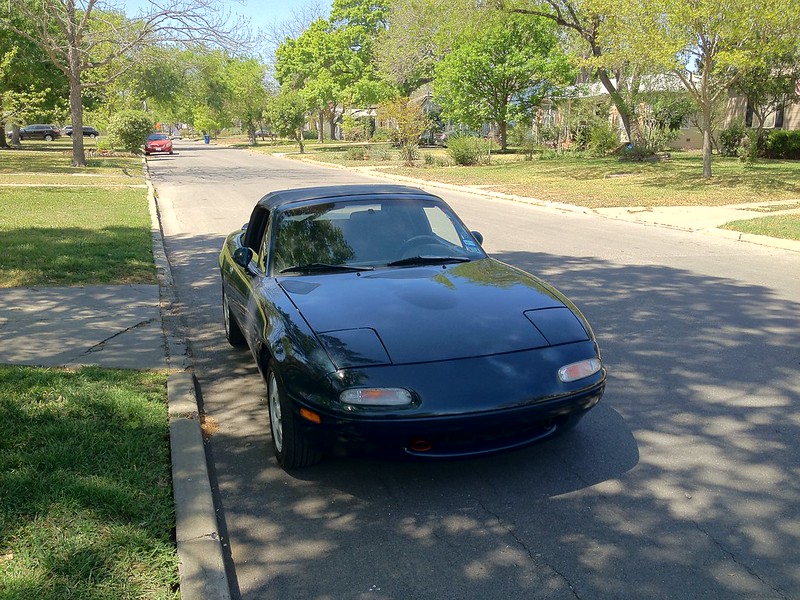
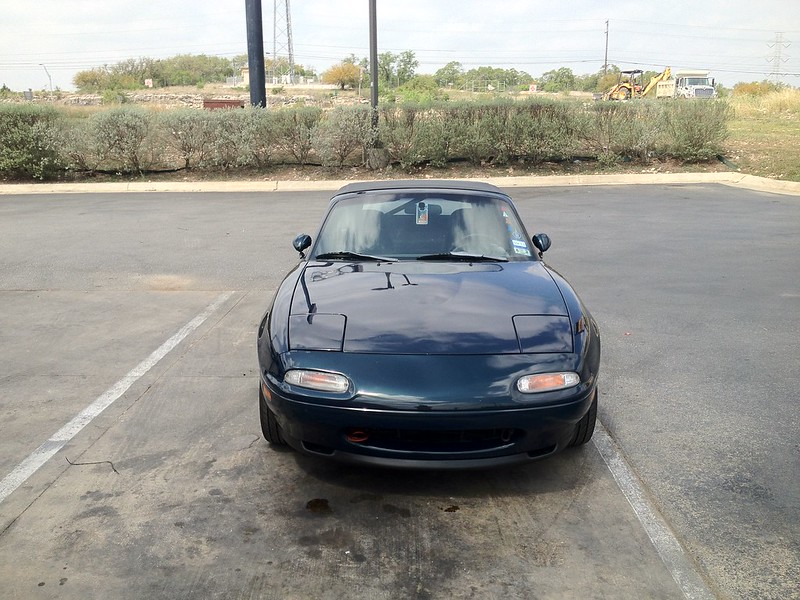
    Not much of an update. (well, not as much as there will be in a couple weeks)

    I got a box from Japan and a box from Joel (thanks again!) recently.

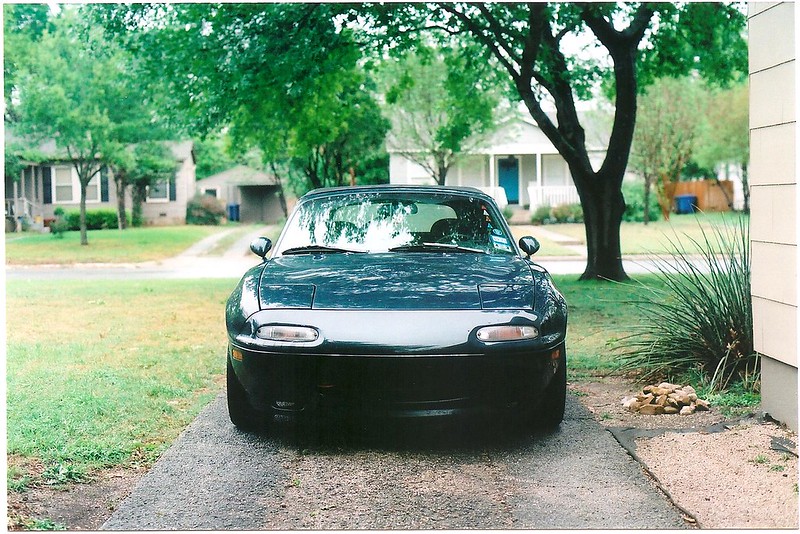
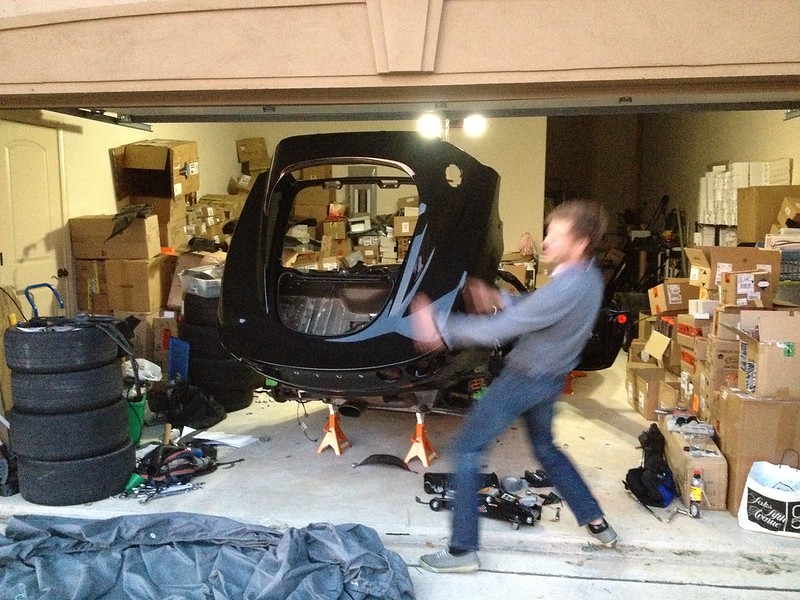
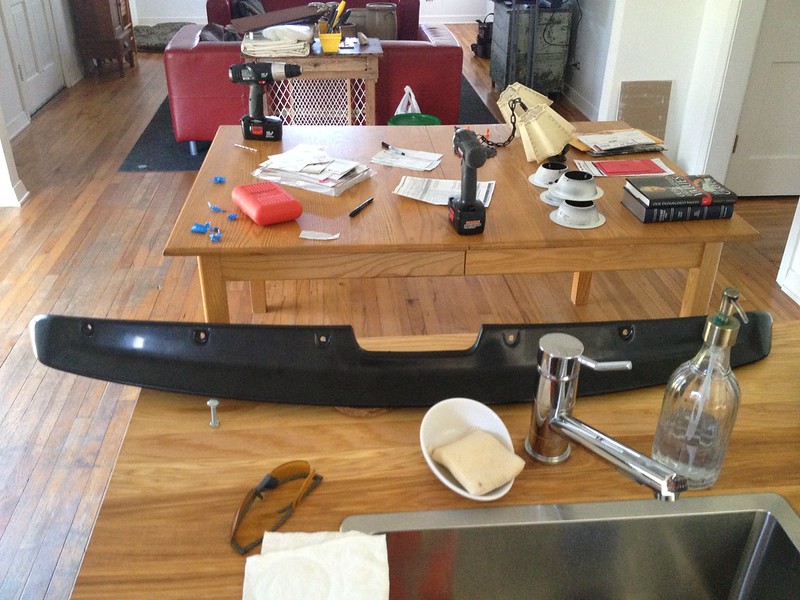
    Unfortunately, I've had no time to install or fix anything lately; my friend (Mike) asked me to help him take some parts off his car, so we've been busy with that on odd nights the last few weeks. We're not professionals by any means, but we managed the diffuser, exhaust, header, supercharger/manifold, clamshell hinge modification, oil catch can, fuel surge tank, front sway bar and end links, rear tow links, and a surprisingly difficult air/fuel ratio gauge.

    We thought it'd be put onto an Exige, but he's decided on another, very nice Elise. So, some parts will be sold (supercharger, diffuser), and some are currently being installed (surge tank, oil catch can, etc) on the new Elise.

    It's going pretty well (put the clam hinge on last night):


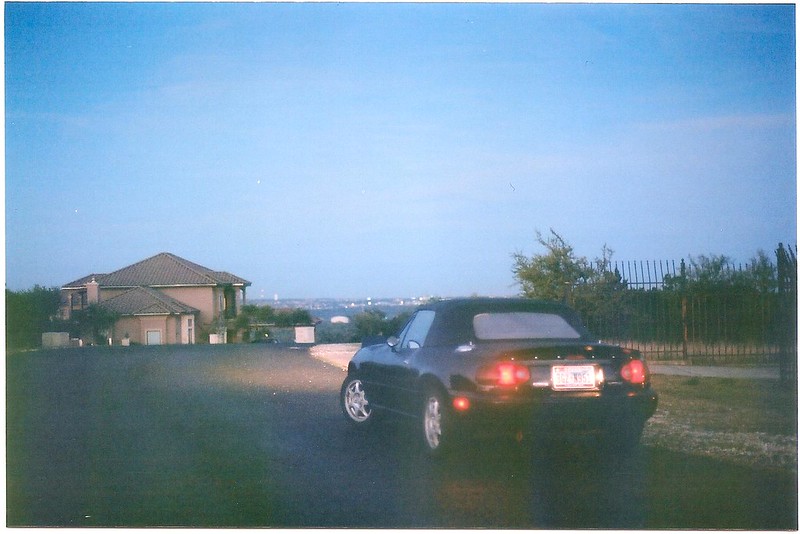
    Last Sunday, I got to go to a road course for the first time! I didn't drive quite as well as I wanted, but it was really fun.


    I got some parts in recently, too:
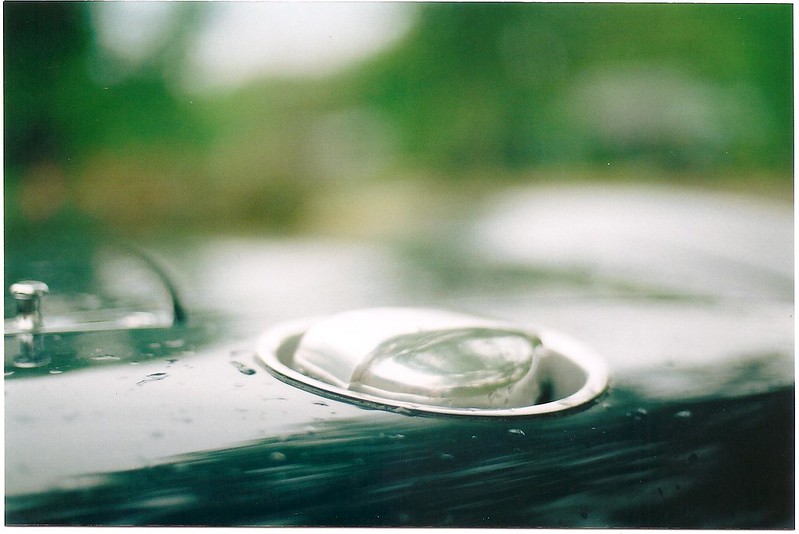
    Zoom fuel lid
    (still have no pictures of it)
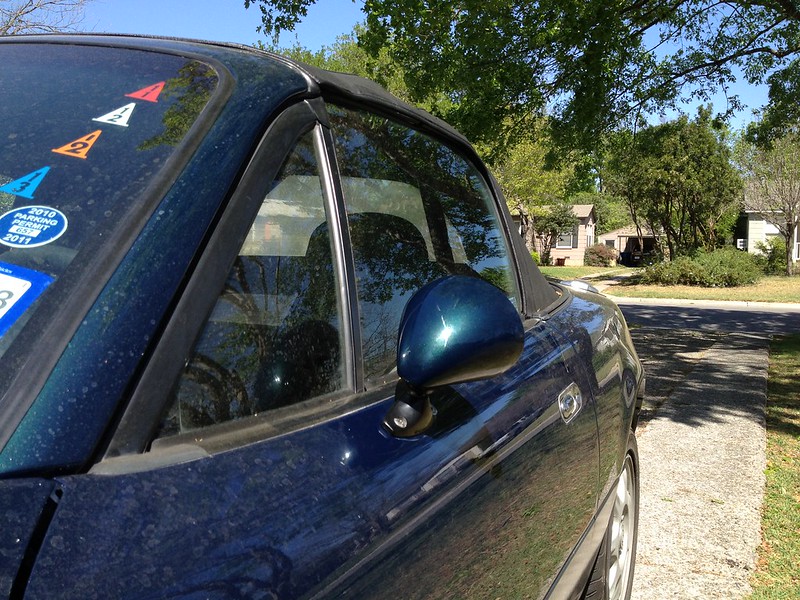
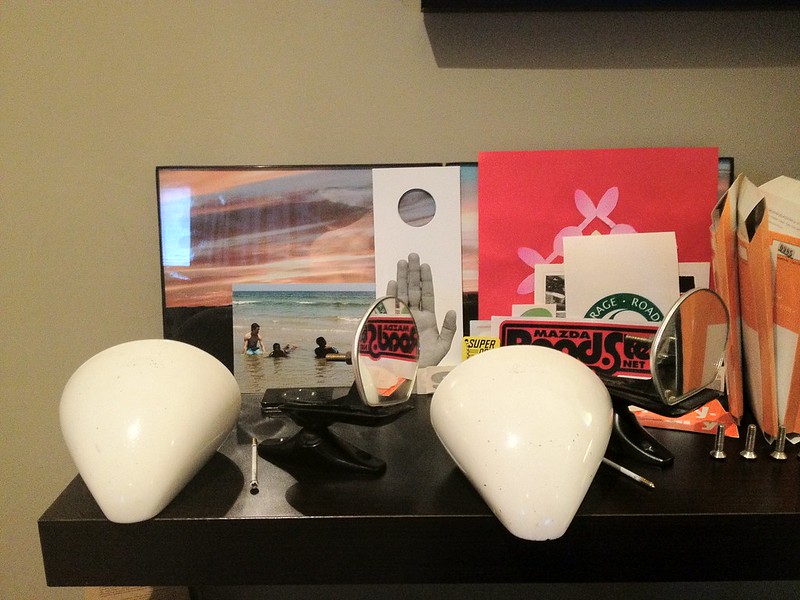
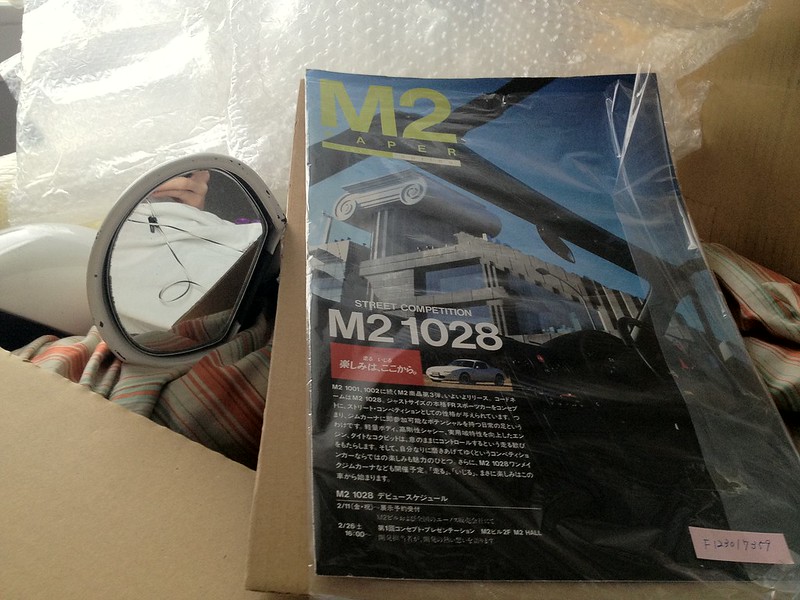
    M2 1028 mirrors


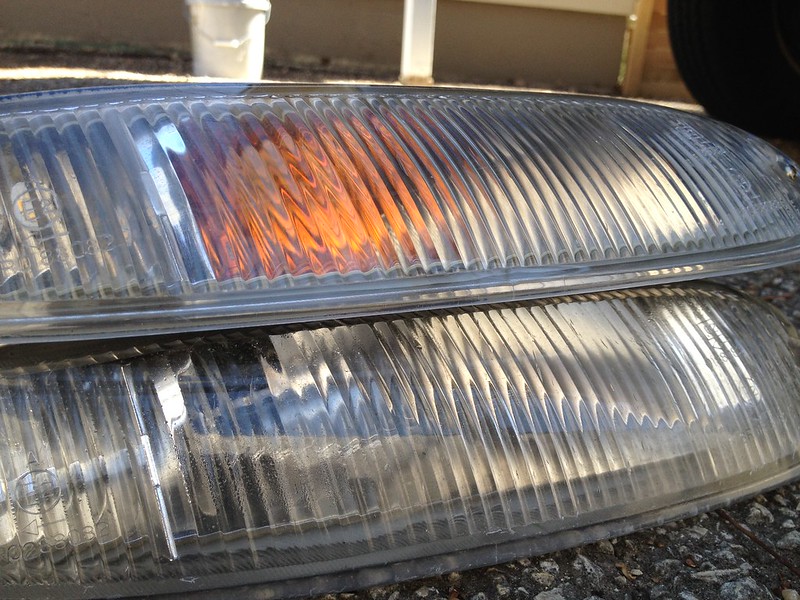
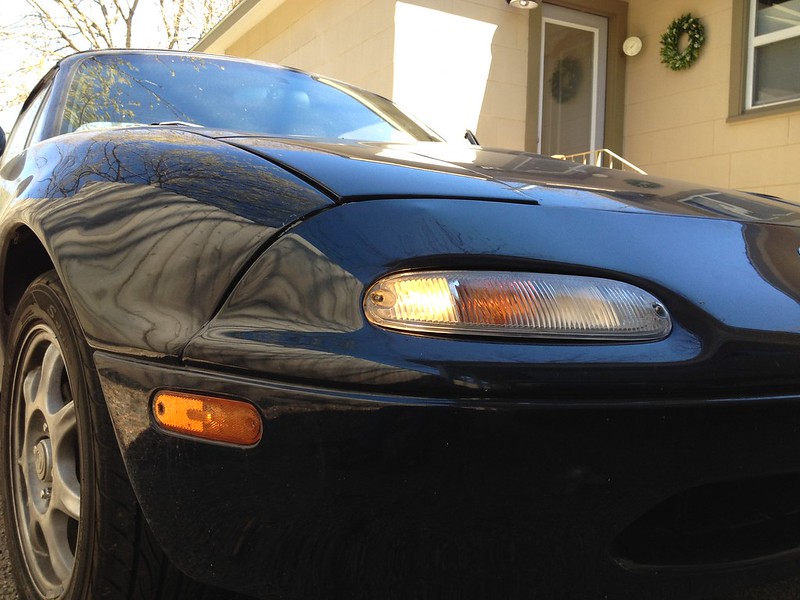
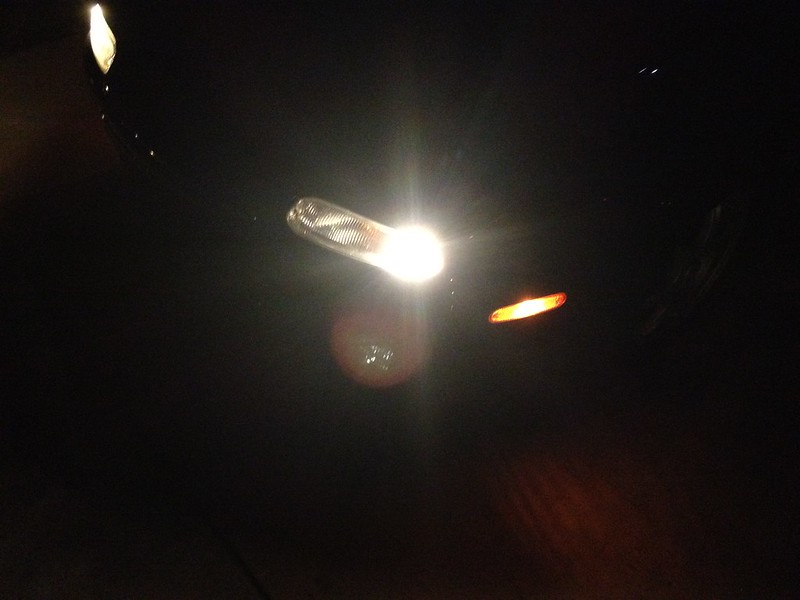
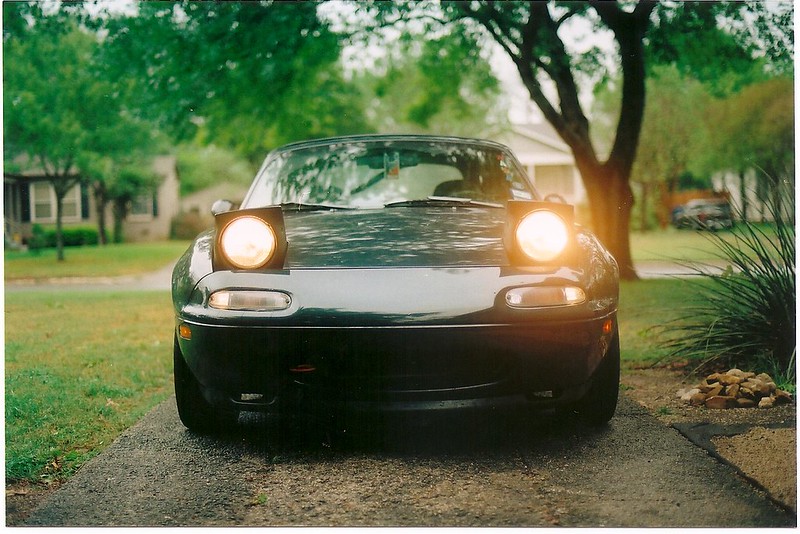
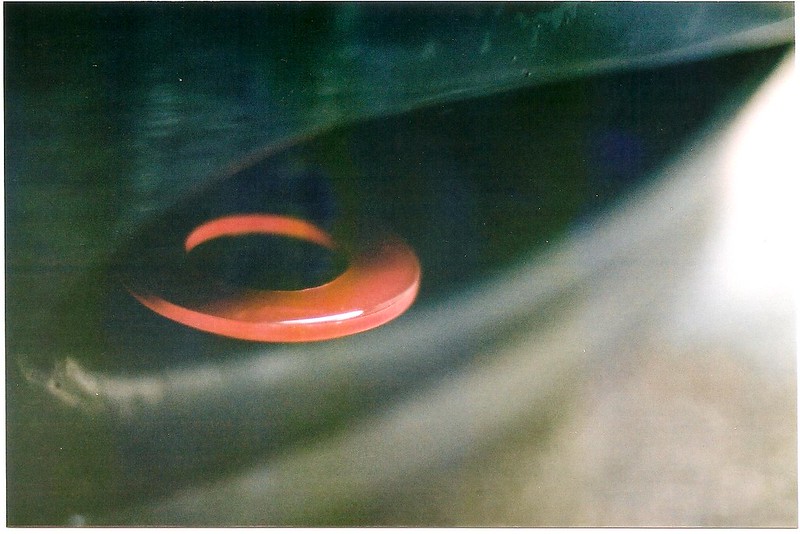
    Eunos Roadster turn signal harness w/ corner parking lights


    A cool M2 Paper catalogue about the 1028 Clubman-II.


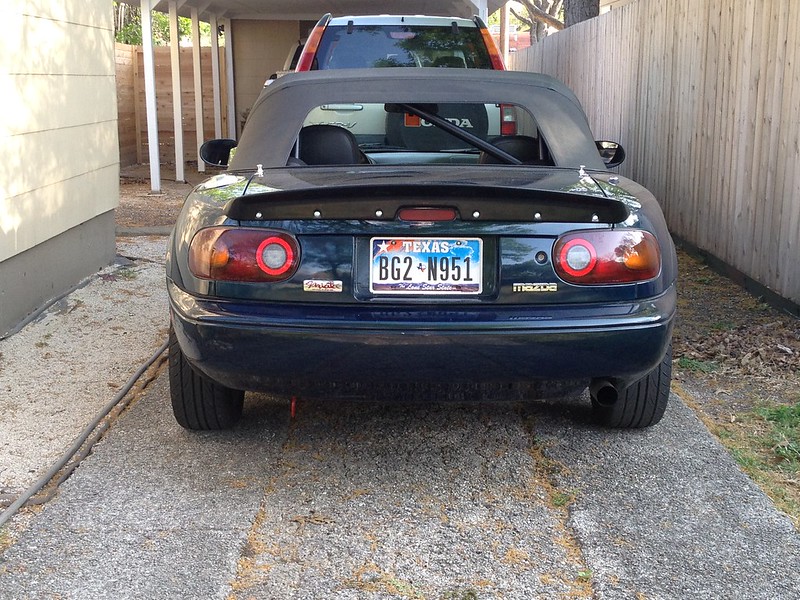
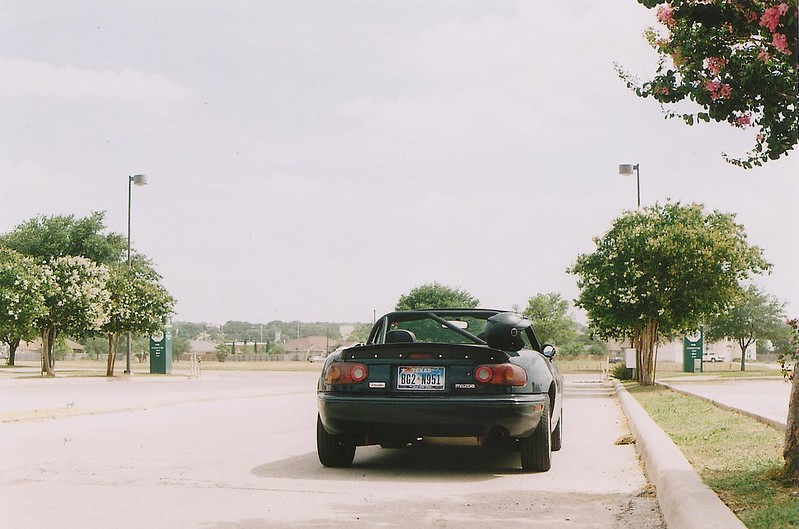
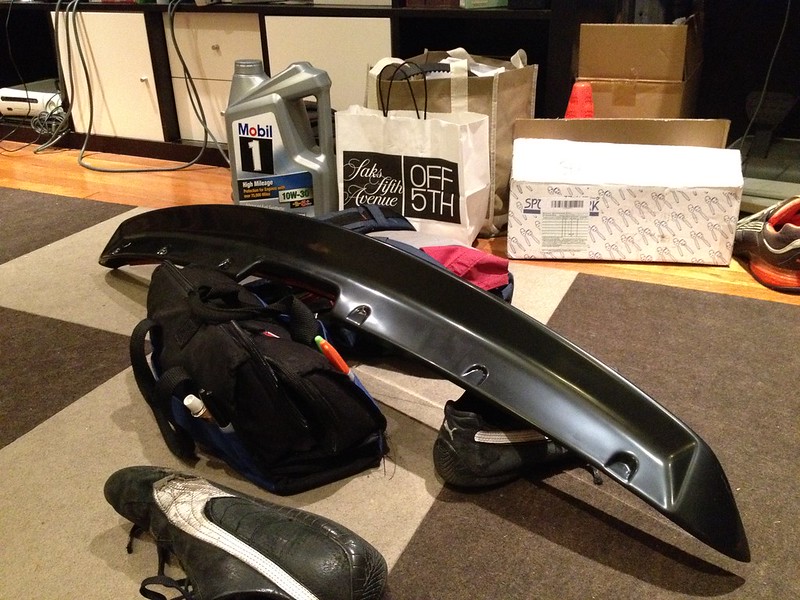
    and, finally, a KG Works rear spoiler (free shipping ftw!)


    I decided to mount the spoiler on with bolts rather than the double sided tape it comes with. It's not a pretty process and it's irreversible, but it's now safely mounted. Plus, I like the way the bolts look.

    I'm not sure I want to post the pictures (again, not pretty), but if someone wants to know how to bolt the KG Works onto the trunk, maybe this will be helpful. This was my first time using a hand-held saw, so, not perfect.

    What I used:
    Angle grinder w/ metal cutting wheel
    Cordless 19v drill (craftsman C3?)
    1/4" drill bit
    Some bigger drill bit
    6 1/4" diameter bolts/6 nuts
    sharpie
    KG Works Spoiler

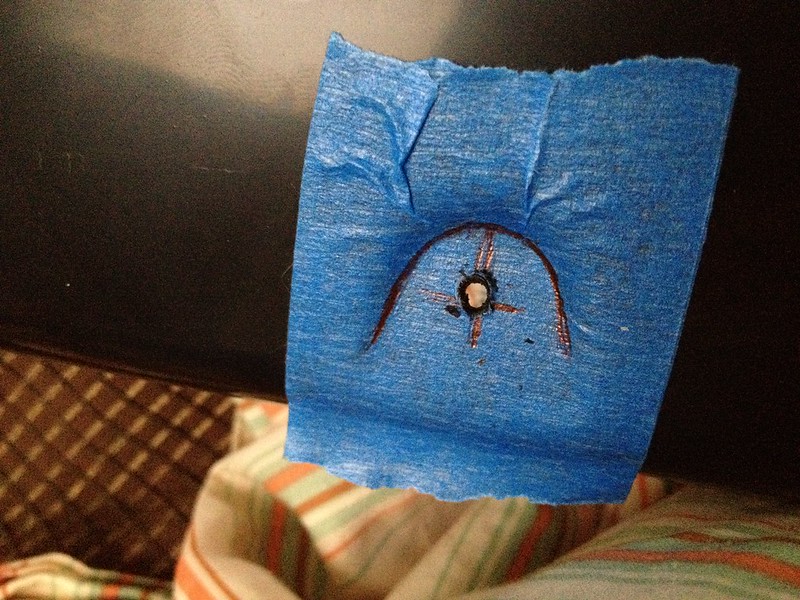
    First, I taped up and marked where I'd be drilling into the spoiler. I drilled a small hole first, then worked up to the correct size. I just chose the smallest bit and skipped up.

    Pilot hole


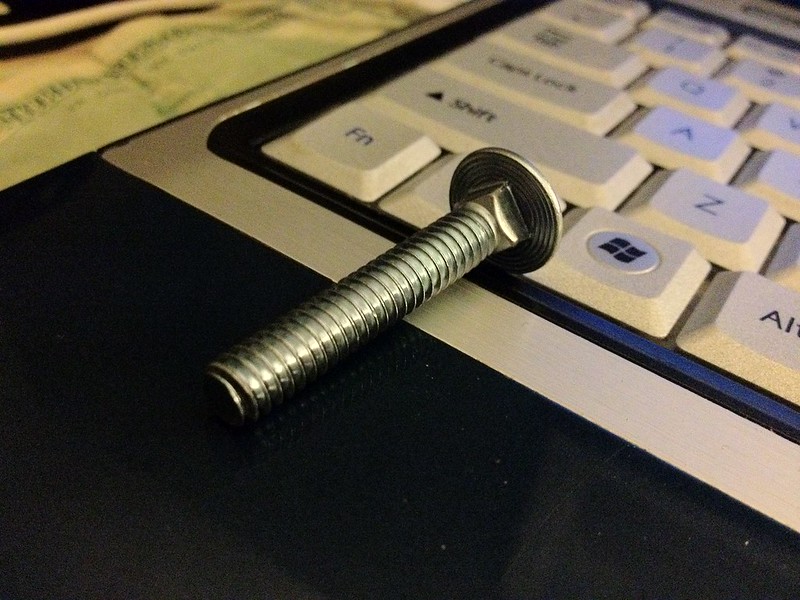
    Originally, I was planning to use button-head style metric hex bolts in chrome, but with 6 bolts (no nuts) coming to a total of $25, I bravely decided not to go that route. Locally, the only thing available that was somewhat close to what I wanted was some carriage bolts. Still, only $1 for ten including nuts. So, carriage bolts:


    Because carriage bolts have nothing on the face, they have a small indention on the underside of the head to sit in a slot. This allows them to be tightened down. I didn't have a square seat for the bolt, though. To get around this, I counter-sunk the bolt. The spoiler is drilled through first with the 1/4" bit, then partway through with the larger bit to accommodate this square. The correct size bit took some testing.

    Drilled spoiler:


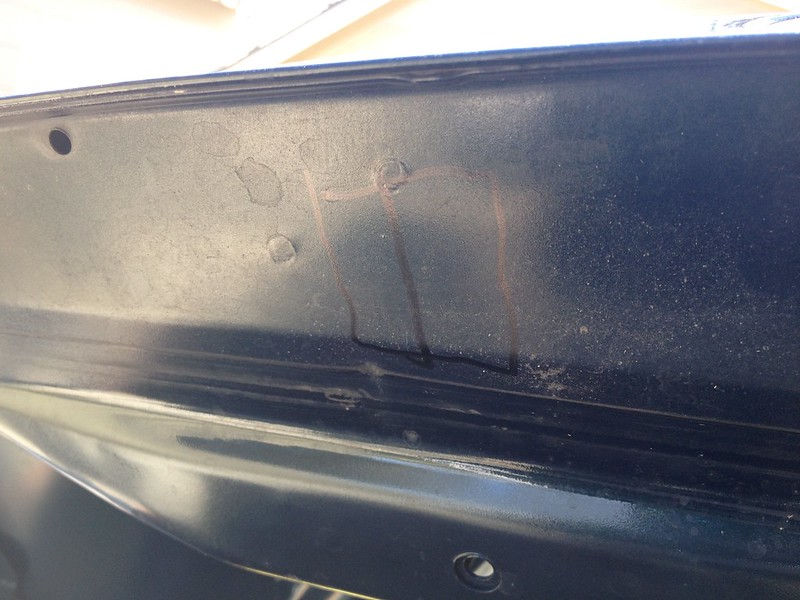
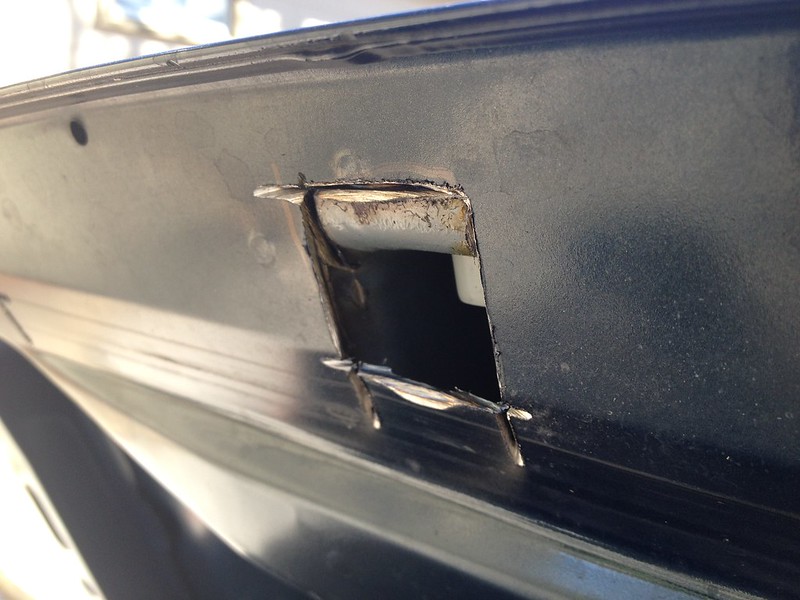
    Next is to prepare the trunk for the spoiler. To reach the nuts you'll need to screw in, some of the bracing needs to be cut. Place the spoiler on and draw a vertical line down on the brace inline with the holes in the spoiler. Then, draw a square over that line. The square should be large enough to fit a few fingers in.

    Measure and mark carefully and...


    whoops. Didn't come out as clean as the lines suggested. :/


    Also, be careful with the angle grinder. It will shoot sparks downwards and sideways when working. I removed the carpet and everything from my trunk, then placed a wet towel over the rear deck. Afterwards, check around and make sure nothing is smoldering.

    Next, place the spoiler on and mark the hole locations with the sharpie. Take it off, and drill through the skin with the 1/4" bit. You may have to enlarge outside holes due to the angle at which they go in.

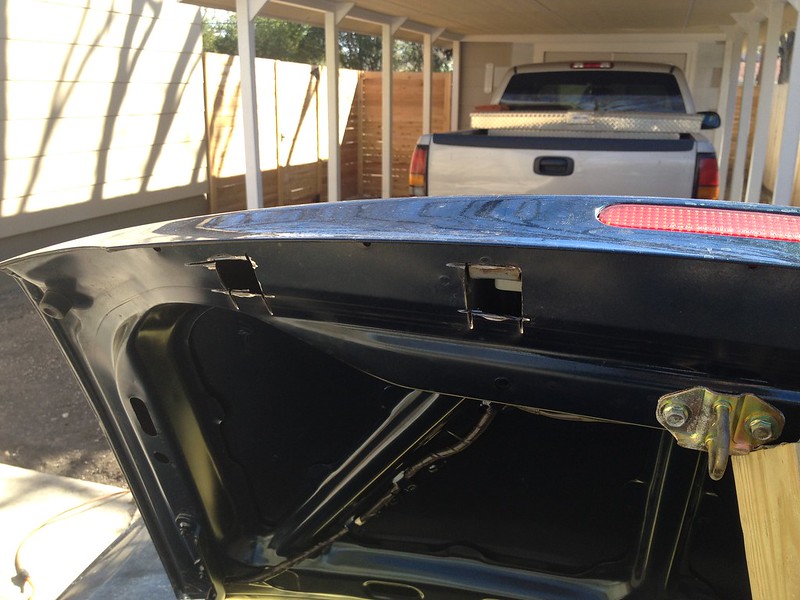
    With my 1 1/2" long bolts, the inside two bolts closest to the 3rd brake light are shrouded by the 3rd brake light bracket. This isn't really a problem; it will still fit, you just have to remove the 3rd brake light to screw in the bolts. I would recommend either getting 1 1/2", 1 1/4", or something much longer (2 1/2"). I'm afraid now that 2" (what I originally wanted) would end up somewhere inside the 3rd brake light mount and not be able to accept a nut.
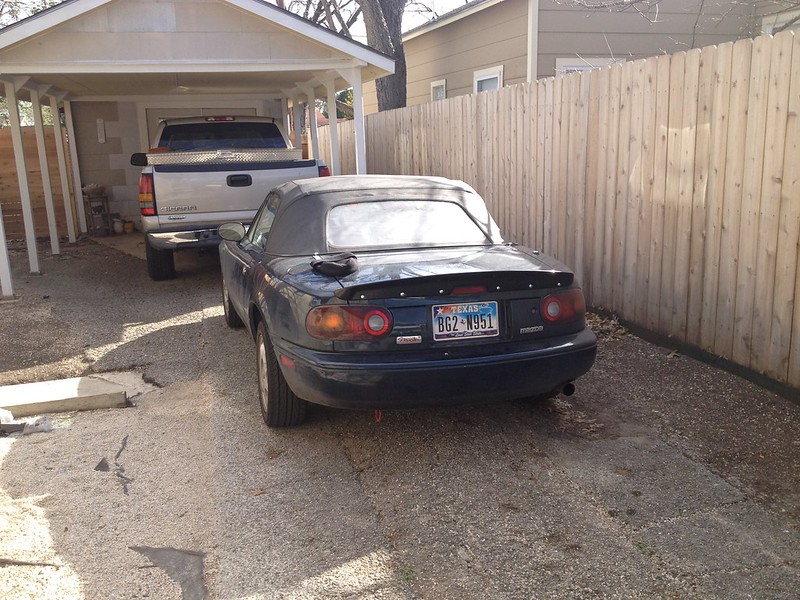
    Final results:


    In a couple weeks, the car will go into paint and body. When it comes out, it will have a new OEM front bumper and paint on the trunk (spoiler is staying black), windshield frame, and rear quarter panel to fix some sun damage/clearcoat failure. Finally, after that, I can fit the mirrors, R-package front lip, and some other stuff.

    Then will come more maintenance. After co-driving at autocross with Mike a few weeks ago and watching my car take corners from outside the cabin, I've decided that I need new shocks (at least). The nose-dive on braking was violent. :S
    So, wheel bearings, brakes, and suspension. In that order.
    Last edited by ueru; 02-28-2013 at 11:38 PM.

  2. #17
    3,000 rpm - starting to feel the power ueru's Avatar
    Drives
    1996 NA8C, 1998 NB8C
    Location
    Tochigi, Japan
    Join Date
    Feb 2012
    Posts
    568
    Thanks Given
    1,116
    Thanked 534 Times in 126 Posts
    My car just went into paint 30 minutes ago, but I got my LED bulbs in the mail this morning and I managed to test them out beforehand.

    New housings (top, Eunos) vs old housings (bottom, USDM Miata):


    They work in the Japanese wiring harnesses! Thanks for everything Chuck (ccw180, great seller)!


    Old setup:


    Meanwhile, the Vitaloni bases are drying


    Can't wait for the end of the week!

  3. #18
    3,000 rpm - starting to feel the power maharaj's Avatar
    Drives
    angry
    Location
    Earth
    Join Date
    May 2012
    Posts
    898
    Thanks Given
    120
    Thanked 111 Times in 62 Posts
    Midori is coming along well.....GREAT build thread, details and photos!

  4. #19
    3,000 rpm - starting to feel the power ueru's Avatar
    Drives
    1996 NA8C, 1998 NB8C
    Location
    Tochigi, Japan
    Join Date
    Feb 2012
    Posts
    568
    Thanks Given
    1,116
    Thanked 534 Times in 126 Posts
    Thanks maharaj! I have thousands of photos, but they're all blah cellphone pics. Mainly just archival.

    I'll feel better once some more wear parts are up-to-date and perhaps some performance parts are installed. I had the privilege of driving an STS prepped NA6 (700lb/500lb springs) at autocross last weekend, and the difference was eye opening. Between that and the Elise, my car feels a little soft.

  5. #20
    3,000 rpm - starting to feel the power ueru's Avatar
    Drives
    1996 NA8C, 1998 NB8C
    Location
    Tochigi, Japan
    Join Date
    Feb 2012
    Posts
    568
    Thanks Given
    1,116
    Thanked 534 Times in 126 Posts
    After two weeks, I finally got my car back from the paint & body shop Friday night! New OEM front bumper, paint on the trunk, windshield frame, driver quarter panel, and deck lid. I installed and re-installed some parts yesterday.

    So, photos:


    Yesterday morning, nothing installed


    Those LEDs are bright!

    I fit the 1028 mirrors half an hour ago, too:


    I love the way these mirrors look. As usable mirrors, though, they're... um...
    I'm not looking behind so much as I am just looking at the mirrors themselves. Oh well lol.

    I'll try to fit the R-pkg front lip later today, as well. Then, after a wash, I'll try to get some actual pictures

  6. #21
    4,000 rpm - entering the fun zone etikoner's Avatar
    Drives
    1995 Merlot Mica
    Location
    Miami Beach, Fl.
    Join Date
    Dec 2011
    Posts
    1,511
    Thanks Given
    1,024
    Thanked 296 Times in 211 Posts
    Those mirrors look awesome color matched!

    Your car is looking clean, you should look into some BLUE HD mirrors to fit into those side view mirrors, you'll love them so much more.

    Good stuff

  7. #22
    3,000 rpm - starting to feel the power ueru's Avatar
    Drives
    1996 NA8C, 1998 NB8C
    Location
    Tochigi, Japan
    Join Date
    Feb 2012
    Posts
    568
    Thanks Given
    1,116
    Thanked 534 Times in 126 Posts
    Thanks man! For the first time, I'm loving having a car that doesn't look like it has been bumped into. I still need to massage the passenger headlight, but I'm so pleased with how it looks.

    I'm getting used to the mirrors, but the passenger side keeps drooping at speed (>70mph) or over bumps. When actually aimed, they're not bad at all...

    Also, I just bolted the R-package lip on half an hour ago; I'll get some pics tomorrow when it's a bit brighter.

  8. #23
    Supporting Member artcentermiata's Avatar
    Drives
    Silver Fastback NB / Blue NA
    Location
    Pasadena, Ca
    Join Date
    Jan 2012
    Posts
    508
    Thanks Given
    33
    Thanked 254 Times in 91 Posts
    You Probably didn't need to cut all those holes and use those bolts... A simple pilot hole and using a big rivet probably would've worked better, No access holes needed

  9. #24
    3,000 rpm - starting to feel the power ueru's Avatar
    Drives
    1996 NA8C, 1998 NB8C
    Location
    Tochigi, Japan
    Join Date
    Feb 2012
    Posts
    568
    Thanks Given
    1,116
    Thanked 534 Times in 126 Posts
    Very true :/

    I can't really say I didn't have access to a rivet gun or rivets; I had just bought those for the Lotus before I did this. I thought that I'd be able to remove it easily for autocross (in stock class), but no one in my class seems to mind the spoiler. Otherwise, I can't explain why I decided bolts over rivets.

    If I were to do it all again, I might use rivets instead... I hate those access holes...

  10. #25
    Mod Squad
    Drives
    2016 Ceramic GT
    Location
    Bentonville, Arkansas
    Join Date
    Dec 2011
    Posts
    9,295
    Thanks Given
    2,075
    Thanked 2,452 Times in 1,353 Posts

  11. #26
    3,000 rpm - starting to feel the power ueru's Avatar
    Drives
    1996 NA8C, 1998 NB8C
    Location
    Tochigi, Japan
    Join Date
    Feb 2012
    Posts
    568
    Thanks Given
    1,116
    Thanked 534 Times in 126 Posts


    I should have looked into this more. I was rushing to get the holes drilled before it got painted, I guess.


    On a less-regrettable note, I got the front lip attached:


    I might have better photos, but I have to shoot the rest of the roll and have them developed before I can tell for sure...

  12. #27
    3,000 rpm - starting to feel the power ueru's Avatar
    Drives
    1996 NA8C, 1998 NB8C
    Location
    Tochigi, Japan
    Join Date
    Feb 2012
    Posts
    568
    Thanks Given
    1,116
    Thanked 534 Times in 126 Posts
    Have a little free time, so...


    Just saving up for parts, enjoying my car. I just bought some NA6 carpet and I really want to complete my interior, but suspension comes first. It'll probably be quite a while before I can afford to make any drastic changes.

  13. #28
    3,000 rpm - starting to feel the power treeafodo's Avatar
    Drives
    a rustbucket.
    Location
    Windsor, Ontario
    Join Date
    Jan 2012
    Posts
    660
    Thanks Given
    9
    Thanked 97 Times in 61 Posts
    Nice build so far. I love builds with a story.
    Austin.
    Lexy (Little Hobo) - Transforming from Wreck to Race Car.
    Quote Originally Posted by Blueiii View Post
    Your priorities seem a bit messed up to me, although that's because I try to get my lap times to decrease.

  14. #29
    3,000 rpm - starting to feel the power ueru's Avatar
    Drives
    1996 NA8C, 1998 NB8C
    Location
    Tochigi, Japan
    Join Date
    Feb 2012
    Posts
    568
    Thanks Given
    1,116
    Thanked 534 Times in 126 Posts
    thanks!

    I got back from a short (2 week) study abroad in Japan a couple months ago. I don't want to derail my own thread, but here are a few pictures. Honestly, the best time of my life. Counting the days until I can go back.


    fuji 200 superia

    redscale kodak gold 800

    fuji 200 superia, I think

    xpro E6 fuji provia 100

    lomography 100 or 400, probably


    Quote Originally Posted by ueru View Post
    ...I really want to complete my interior, but suspension comes first.
    I know I said the interior of my car would have to wait, but...
    While I was in Kyoto, I picked up something for myself at a Super Autobacs...


    350mm used, but perfect condition Prototipo. I first saw it sitting on the rack while carrying one of my host family's sons around on my back, buying gifts for my friends. I nearly bought it, but decided against it.

    While we were touring around Kiyomizudera the next day, I decided I had to buy it; this was the exact wheel I wanted. I was planning on buying it in the States later down the road anyway. Buying it in Japan, though, and the memories of the trip/absurdity of carrying around with me from that point on was something I couldn't pass up.

    After a walk back home from the train station at sunset, my friend and I borrowed (after asking if it was really alright 20 times or so, throwing in some 'sumimasen's) our host family's bikes and rode to Autobacs. Also, side note, some bikes (ie. our bikes) are powered and it freaked me out when we first set off. Wasn't ready for that lol. They have about the same top speed, but the electric motor assists you on acceleration, so it launches from a stop. Anyway, brought the wheel home, carried it on the bullet train, around Kyushu for the next 4 days, then on the plane back to Texas.

    To compliment that, I had to buy more...


    Seriously, NOW I'm going to save up for suspension. It'll be around September by the time I can afford it. Hopefully. Then, seats, so I can finally install this Miata interior I have set up in my room into my car.


    I shot off the rest of a roll I had loaded at an autocross a month or so ago, too...


    these all are lomo 800, if you're curious
    I wish I had functioning light metering; all overexposed...

  15. #30
    Super Moderator atank's Avatar
    Drives
    1994 LB / 2014 MX5CE / 91 SD Italia
    Location
    Chatsworth, Georgia
    Join Date
    Dec 2011
    Posts
    9,988
    Thanks Given
    3,788
    Thanked 2,712 Times in 1,646 Posts
    Very Nice Read and Build!!!!!!

Page 2 of 7 FirstFirst 1234567 LastLast

Posting Permissions

  • You may not post new threads
  • You may not post replies
  • You may not post attachments
  • You may not edit your posts
  •