Always wanted to drive a Targa.
Congrats


Always wanted to drive a Targa.
Congrats
Originally Posted by DazedAndConfused
Greasemonkey2000 (04-23-2019)


Congrats Chad, looks like a great environment to work at!
Greasemonkey2000 (04-23-2019)

Congrats, Chad! Indeed looks like a very nice place to work
Sent from my iPhone using Tapatalk
Greasemonkey2000 (04-23-2019)

Thanks, Bryan!
Appreciate it, Harry! It is a pretty cool garage.
Thanks Peter! It had been a fun learning process thus far.
'01 NB2 aka MisF1re: http://mazdaroadster.net/showthread....218#post207218
'97 M aka Warbird, gone but not forgotten: http://mazdaroadster.net/showthread....B&goto=newpost
Instagram: @greasemonkey2000
tsingson (04-20-2019)
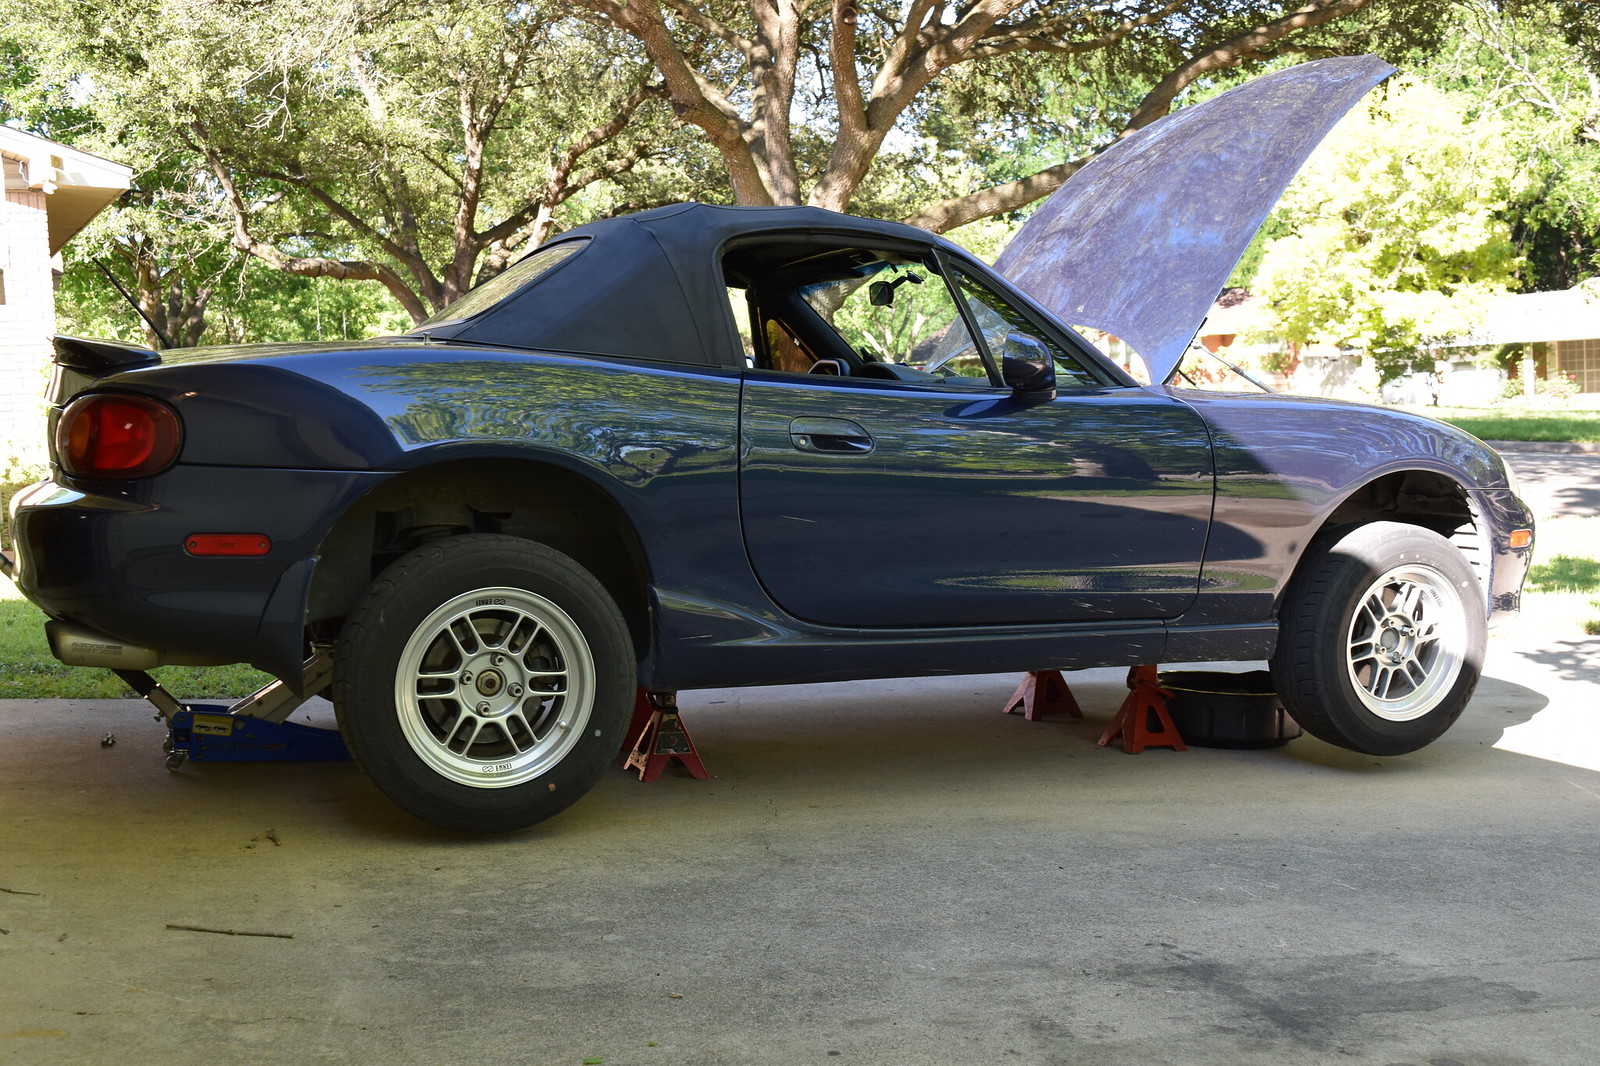
04-20-19, Mileage-119,205: It was a beautiful day here in central Texas so I took advantage of it and change the oil in Misfire, rotate the tires and clean up the inner barrels of the RPF1's.
I had planned on changing the oil earlier this week and put in approx. 4 ounces of Seafoam to help clean the crank case, etc. so it was probably in there for approx. 30+ miles. I also thought i had installed a magnetic oil drain plug when I did the first oil change(Sept. 2017 @ 112,822 miles, yes over a year and a half but only 6400 miles) but upon reviewing my build thread, I realized I had not, so I ordered that earlier this week and received it today.
Rotella T6 5w40, a Purolator Boss PBL14610(a larger filter for the Mazda 2.5 v6 motor) and the magnetic oil drain plug on hand I could proceed forward.
First order of business was to get Misfire on jack stands...
....then I drained the oil.
Next I removed the RPF1's so that i could rotate the tires(front to back) and clean the inside of the wheel barrels. They weren't too bad as i try to do this at least a few times a year.
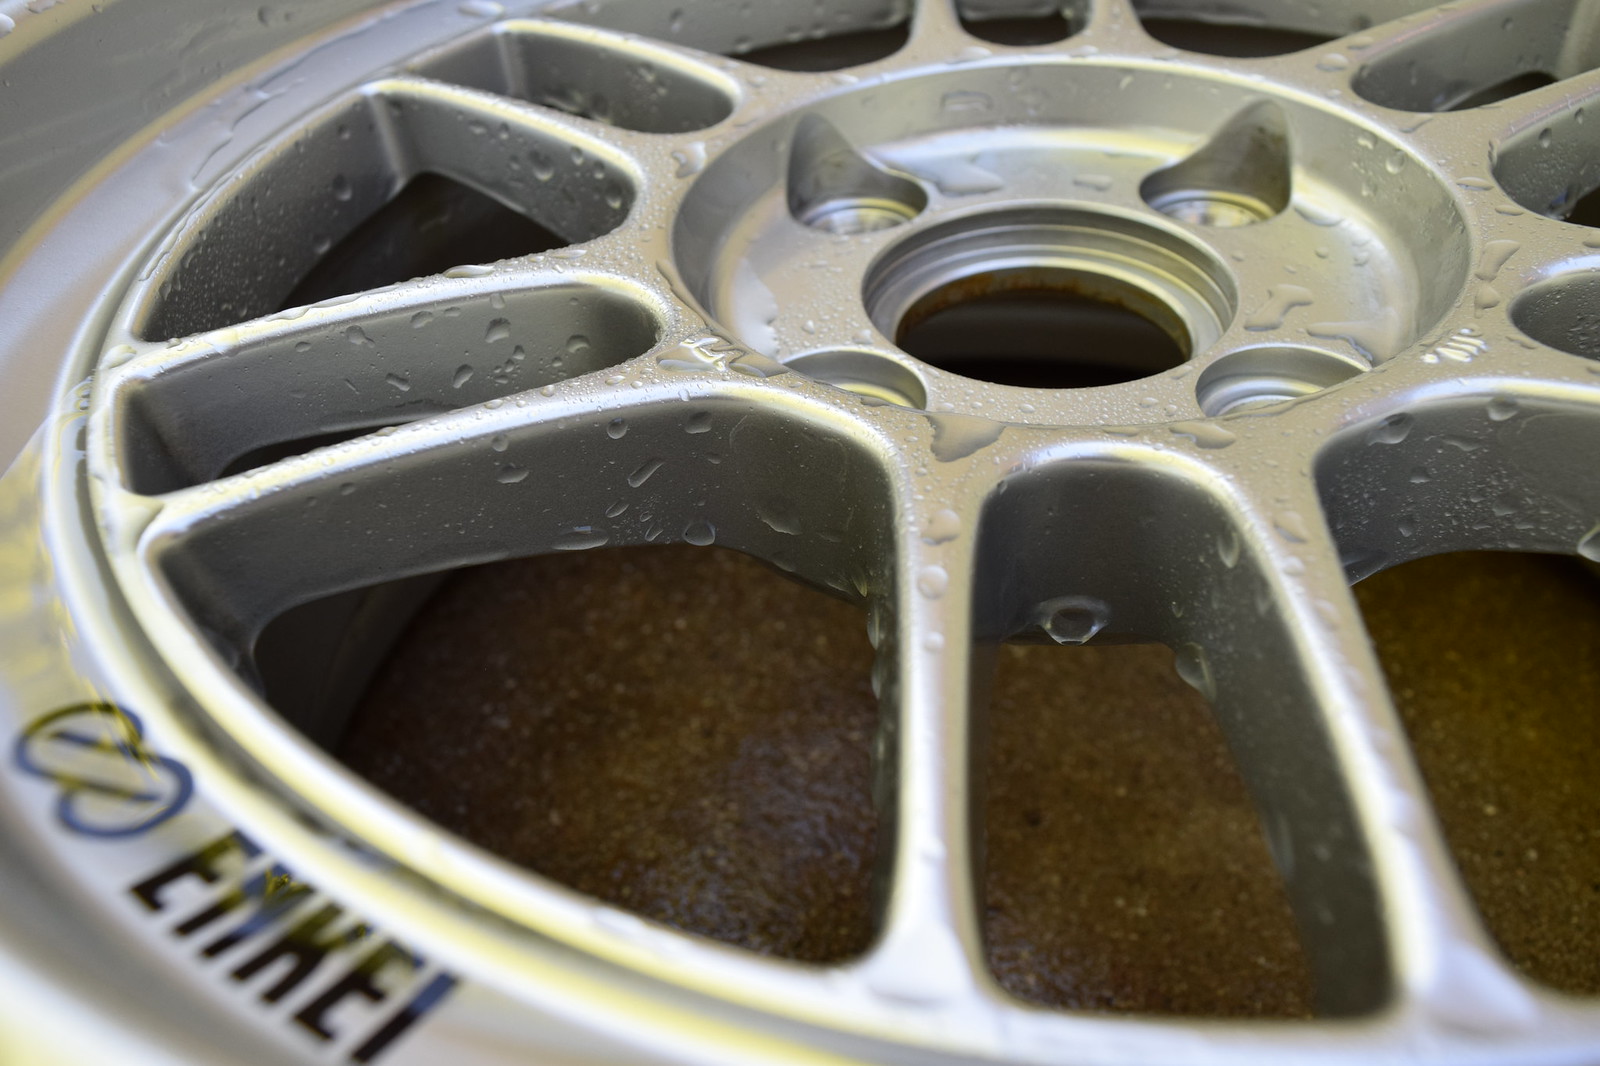
It's easy to see the difference after cleaning two of them.
All of them clean!
Not perfect as there was a few road tar spots but need to get some cleaner for that.
Thought the water beads looked pretty cool on the Enkei's so I had to take a couple close up pics, lol.
Midways thru cleaning the wheels I removed the belly pan and the old filter to let if drain. I usually try to let the oil drain from the pan for at least thirty minutes. I then cleaned up the oil filter location and installed the new Purolator Boss filter....
...and then the new magnetic oil drain plug(M14x1.5) and torqued it to 30ft/lbs.
Refilled the crank case with the Rotella T6, started Misfire and idled while I dried the RPF1's and put them on. As I type this I realized I didn't torque them, so will go do that as soon as I finish the post...oops.
Also the Falken Azenis RT615K+ tires have worn really well for a 200tw tire as I have almost 9k miles on them and they look they still have at least 50% of the tread and since I have rotated them at least twice a year that don't have any weird wear patterns.
Will FINALLY have a few actual mods/upgrades in the next few weeks, so I am SUPER excited about that! Stay tuned!!
'01 NB2 aka MisF1re: http://mazdaroadster.net/showthread....218#post207218
'97 M aka Warbird, gone but not forgotten: http://mazdaroadster.net/showthread....B&goto=newpost
Instagram: @greasemonkey2000
You actually take off the pan for oil changes?!
Uh...no. I just re-read what I wrote and unsure how you came to that conclusion Bryan. Unless I missed something.
'01 NB2 aka MisF1re: http://mazdaroadster.net/showthread....218#post207218
'97 M aka Warbird, gone but not forgotten: http://mazdaroadster.net/showthread....B&goto=newpost
Instagram: @greasemonkey2000
This.
Bear in mind, when I said "pan", I meant "belly pan", not "oil pan".Midways thru cleaning the wheels I removed the belly pan and the old filter to let if drain. I usually try to let the oil drain from the pan for at least thirty minutes. I then cleaned up the oil filter location and installed the new Purolator Boss filter....
Oh my bad Bryan....ya I get the filter from below. Isn't that how everyone does it? The mess really makes me want a oil filter relocation setup again.
'01 NB2 aka MisF1re: http://mazdaroadster.net/showthread....218#post207218
'97 M aka Warbird, gone but not forgotten: http://mazdaroadster.net/showthread....B&goto=newpost
Instagram: @greasemonkey2000
I don't have the patience to take the belly pan off. I take the filter off from above the car or through the wheel well. I treat the oil that drops as free rustproofing.
HarryB (04-21-2019),kung fu jesus (04-21-2019),tsingson (04-21-2019)
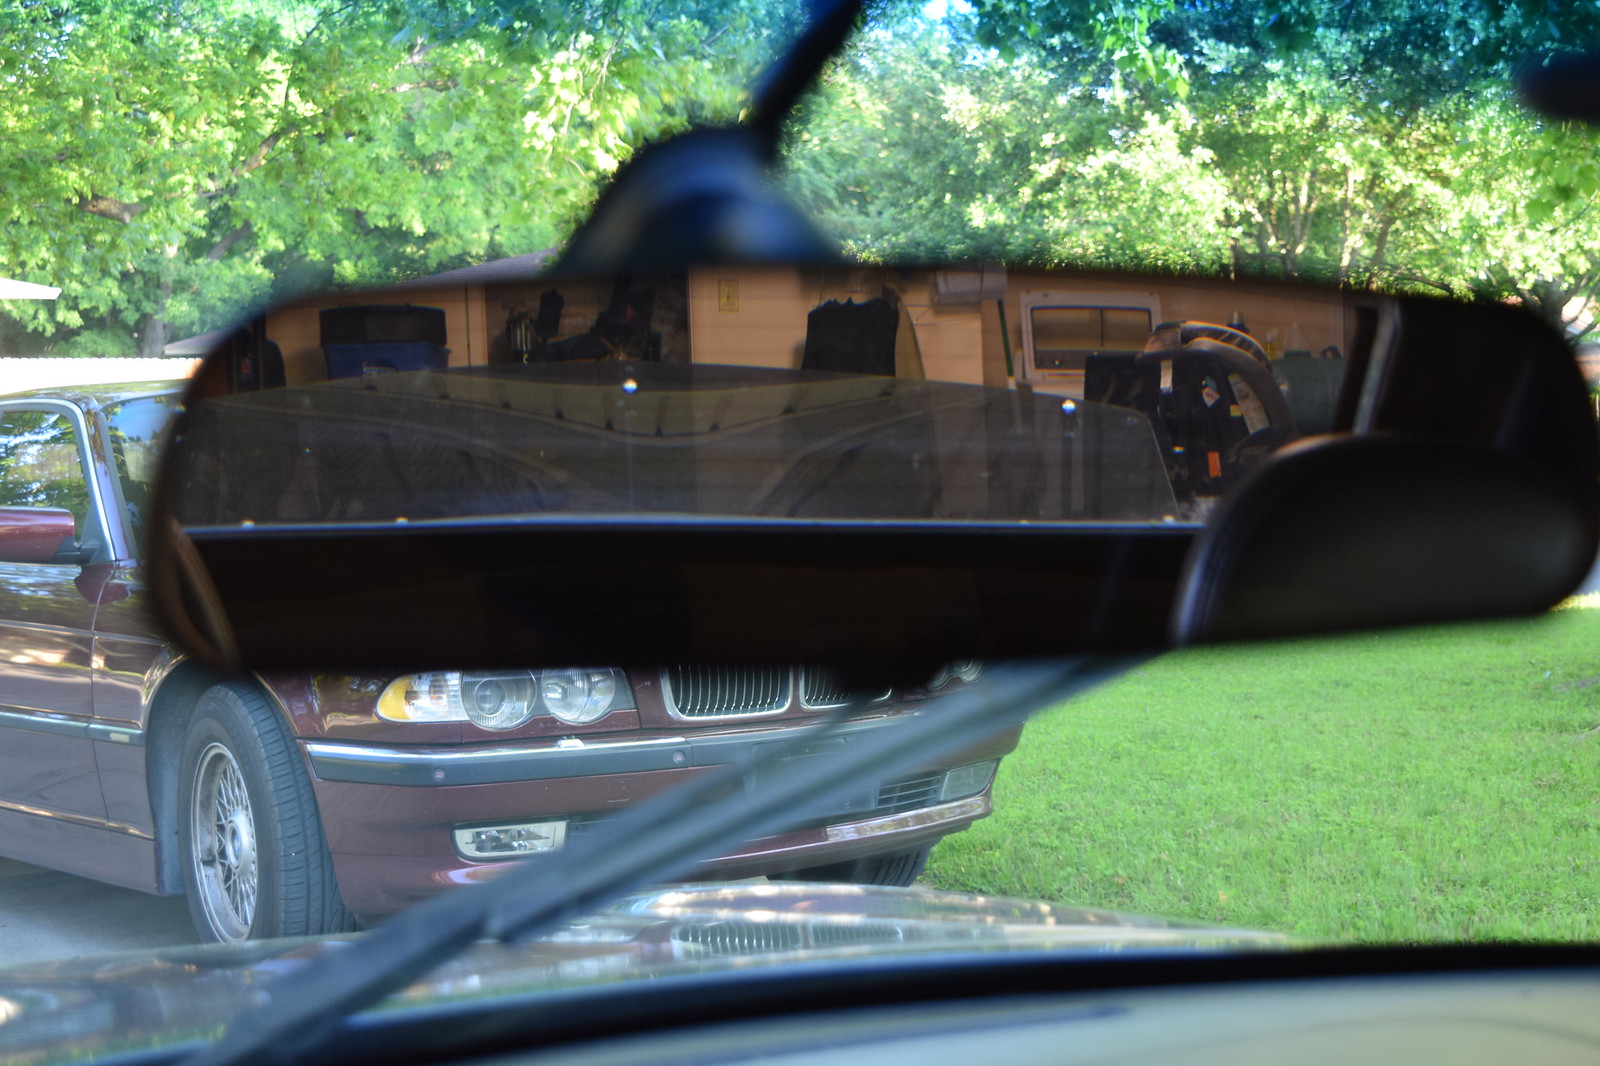
04-23-19: What's this?
Someone order some downforce?To be continued.
'01 NB2 aka MisF1re: http://mazdaroadster.net/showthread....218#post207218
'97 M aka Warbird, gone but not forgotten: http://mazdaroadster.net/showthread....B&goto=newpost
Instagram: @greasemonkey2000
Bryan (04-24-2019),jakemx5 (04-26-2019),MiataQuest (04-30-2019),oldgrayleather (05-01-2019),tsingson (04-23-2019)
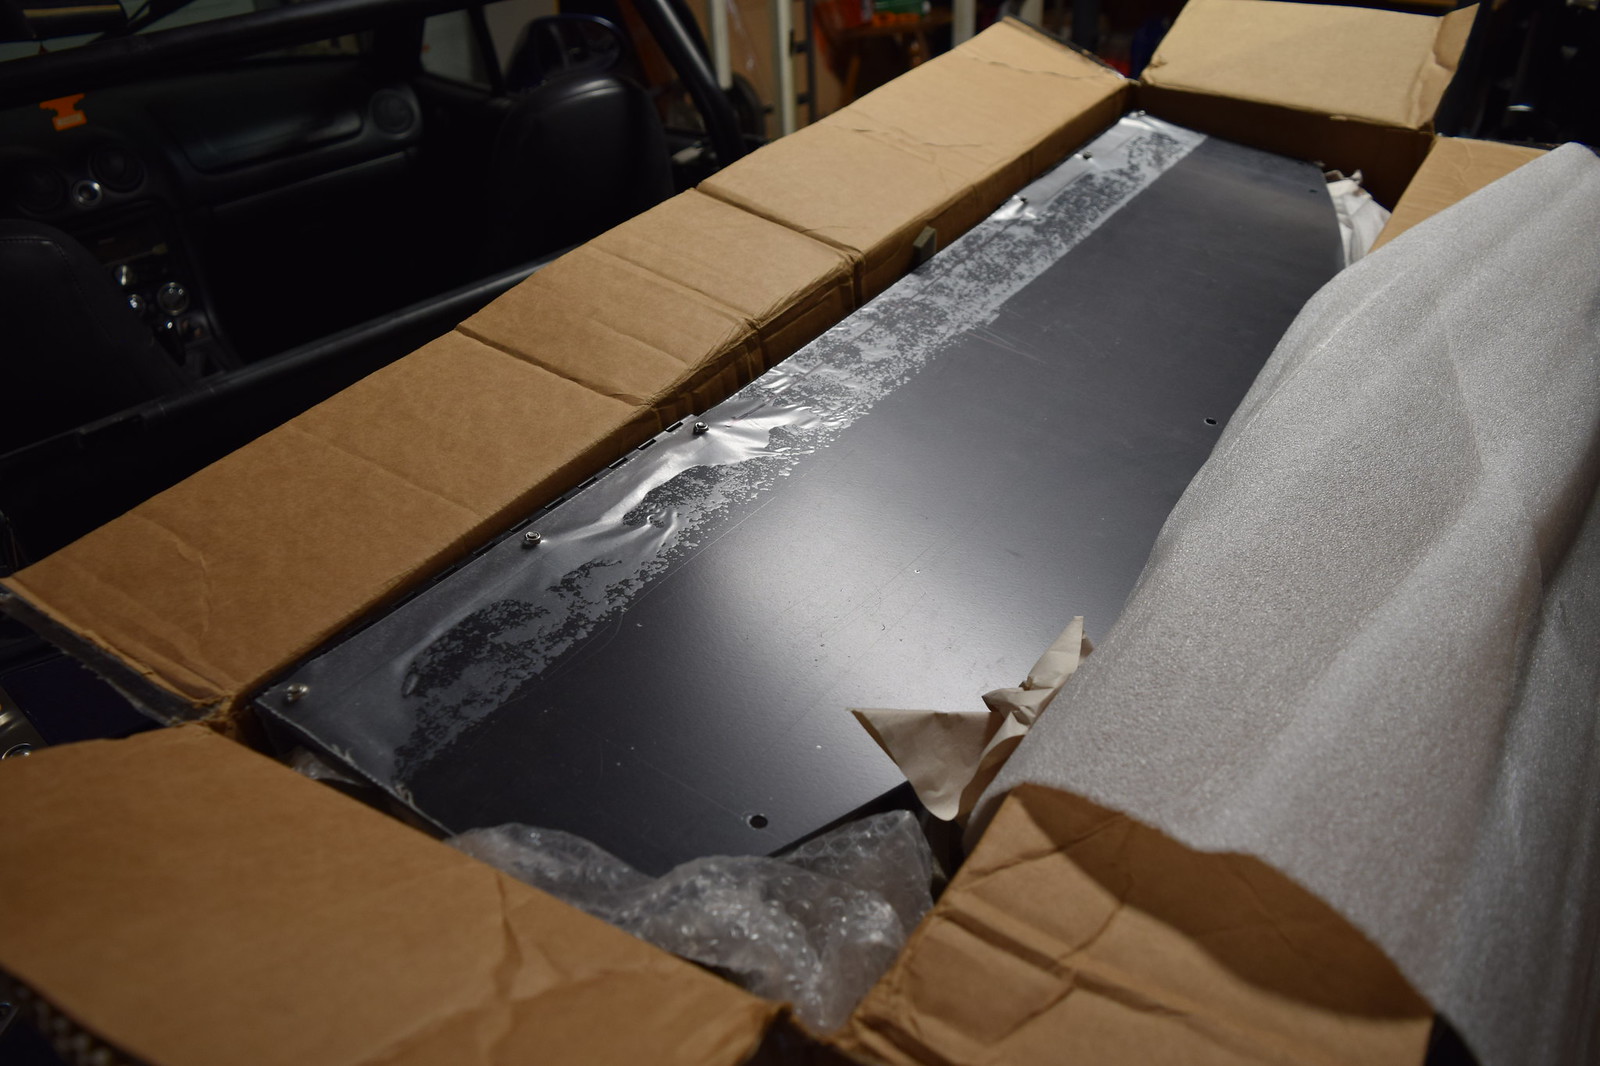
04-27-19: About time Misfire got a upgrade and if the previous post left you wondering what that was....that was the idea! If not, well you stay informed! All laid out...
....one brand new Blackbird Fabworx Black Edition lexan spoiler that the truly great guy Ben aka notbenh so graciously held on to for me over 14 months and let me make payments, "when I had extra funds", which wasn't very often. I cannot say enough about how much that meant to me, again thank you so much Ben!
First order of business was to get the OEM spoiler removed. There was supposed to be three studs coming thru the trunk, one on each outer edge and one just in the middle just behind the third brake light. The two outer ones were there but no middle one....weird.
Removed those the spoiler seem to be free enough to start "man handling" it off. It really didn't take much effort, which is weird because it was supposed to have 3M tape as well, which fully expected needing to heat up to remove. yet this is what I found...
...four blobs of silicone! So this tells me that this was added on later in Misfire's life as he shows to be a "base model" which probably means the side skirts and such were added later, or at least that would be my assumption.
I sure was "hating" whoever installed it as the silicone was FAR MORE difficult to removed than any 3M tape I have ever removed. It probably took 45+ minutes to get it to this point.
Goo-gone worked pretty well when used with a plastic pry tool to scrape it off. Then I cleaned the residue off with rubbing alcohol. I also went ahead and filled the outer holes from the OEM spoiler studs with JB Weld.
No reason to bore you with the ins and outs but here is one after getting the first four bolts installed.
One "install tip" that differs from the instructions is to make a 2" hole for the inner most bolt instead of a 1'' hole which while it definitely made it "easier", it was still a pain to install those and dropped several of the nylock nuts into the trunk reinforcement and couldn't get them back.
Unfortunately I didn't get to finish. I would have to wait one more day.
'01 NB2 aka MisF1re: http://mazdaroadster.net/showthread....218#post207218
'97 M aka Warbird, gone but not forgotten: http://mazdaroadster.net/showthread....B&goto=newpost
Instagram: @greasemonkey2000
oldgrayleather (05-01-2019)
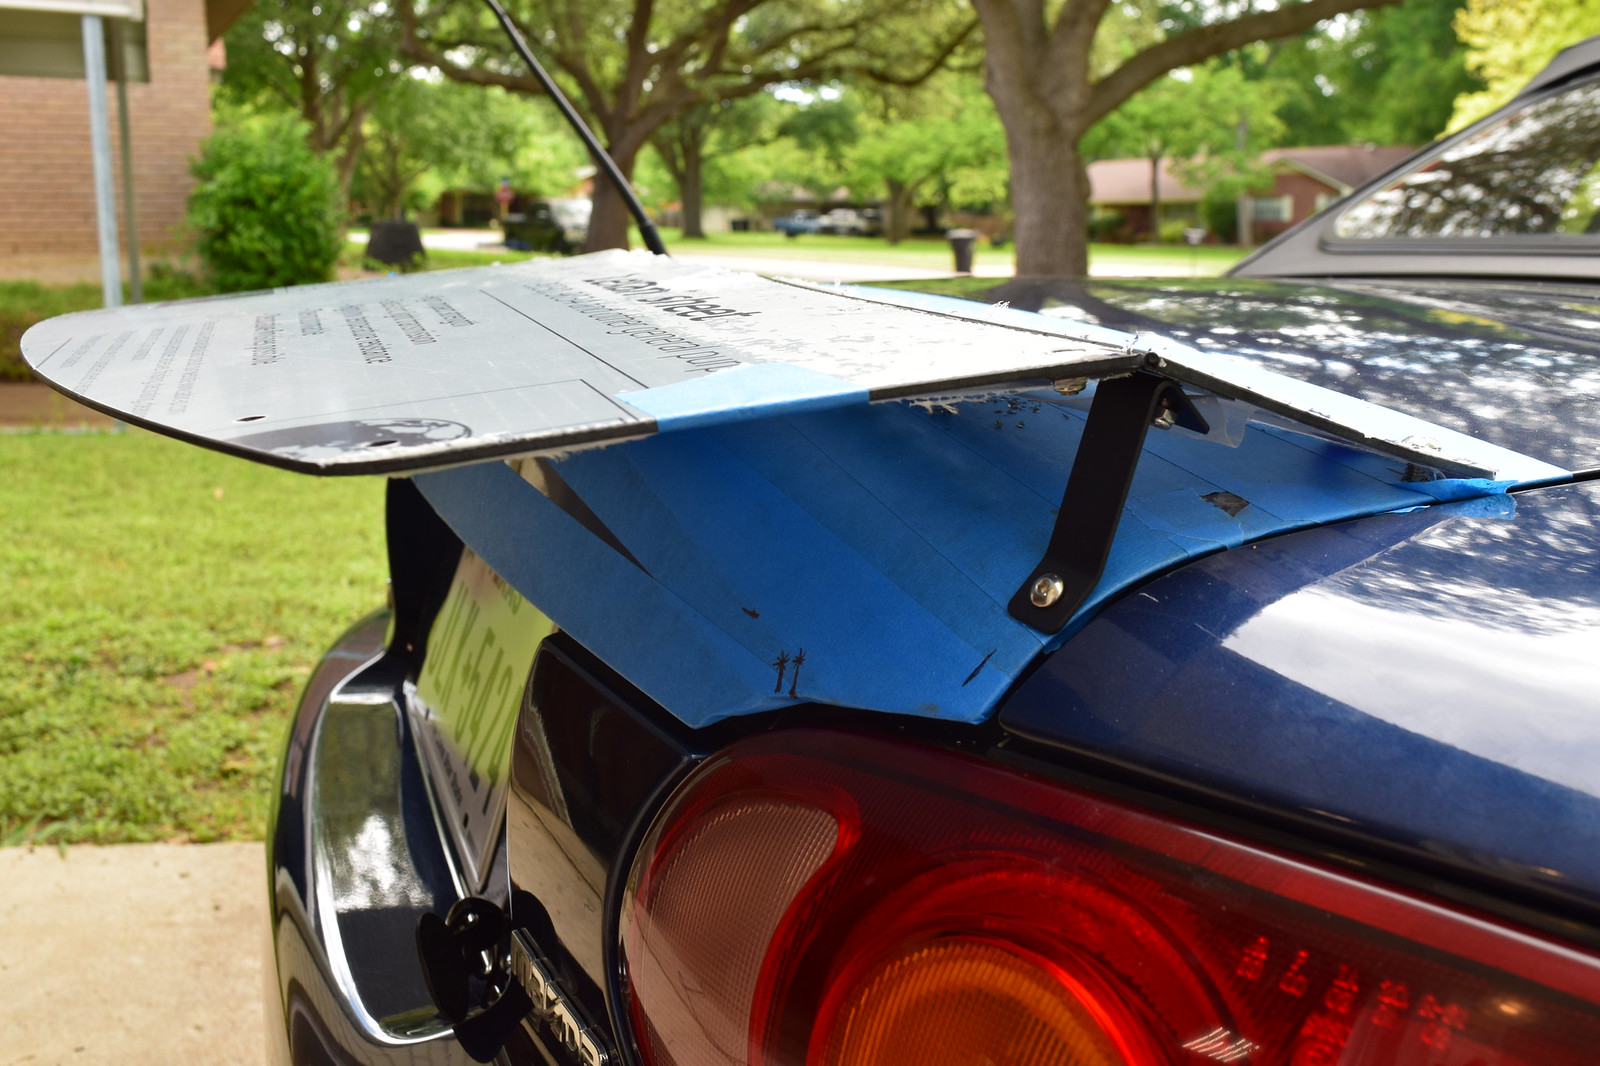
04-28-19: Back at it the next day it went well. Here is the BBFW Black Edition lexan spoiler "soft mounted".
At this point I just had to remove the BBFW lexan spoiler, remove all the tape and protective film from the bolt holes and put on the rubber seal that goes between the two triangle mounts. So here are pics of the Blackbird Fabworx Black Edition lexan spoiler installed vs the OEM spoiler.
Really pleased with how it turned out! Some observations...adjusting can be tricky to get it "flat"(Moti feel free to chime in with any tips)...still need a little more. I noticed that at 45+mph there is some flex which I asked another owner about highway speeds and he said his flexes as well. I decided to tighten the turn buckle mounts this evening so lets see if that does anything.
If not a MAY use a piece of aluminum and run it across the bottom side to see if that takes care of the flex. It isn't bad and probably perfectly "normal and acceptable". Visibility is slightly reduced but in the daylight, not by much...now at night I'm sure it affects that but have yet to drive at night with the BBFW spoiler to find out.
For those curious this is just "one piece of the puzzle" that is what I plan for aero which will also include a front splitter, rear diffuser and a flat bottom. Yes this is a street car, yes it is "overkill" but why not!
Very excited to get some "backroad" seat time to see if I can tell a difference which I am sure it makes but seeing how I haven't had Misfire on many "twisty roads" it may be difficult to gauge the difference.
Received one other package last week and will hopefully be able to install this week along with another part I've had for months, stay tuned!
'01 NB2 aka MisF1re: http://mazdaroadster.net/showthread....218#post207218
'97 M aka Warbird, gone but not forgotten: http://mazdaroadster.net/showthread....B&goto=newpost
Instagram: @greasemonkey2000
lucmor444 (04-30-2019),MiataQuest (04-30-2019),oldgrayleather (05-01-2019)

Street car shmeet car. Spoiler looks great! For my 99% street car, I also want the singular NC hood vents on my NB so... I get it ;)
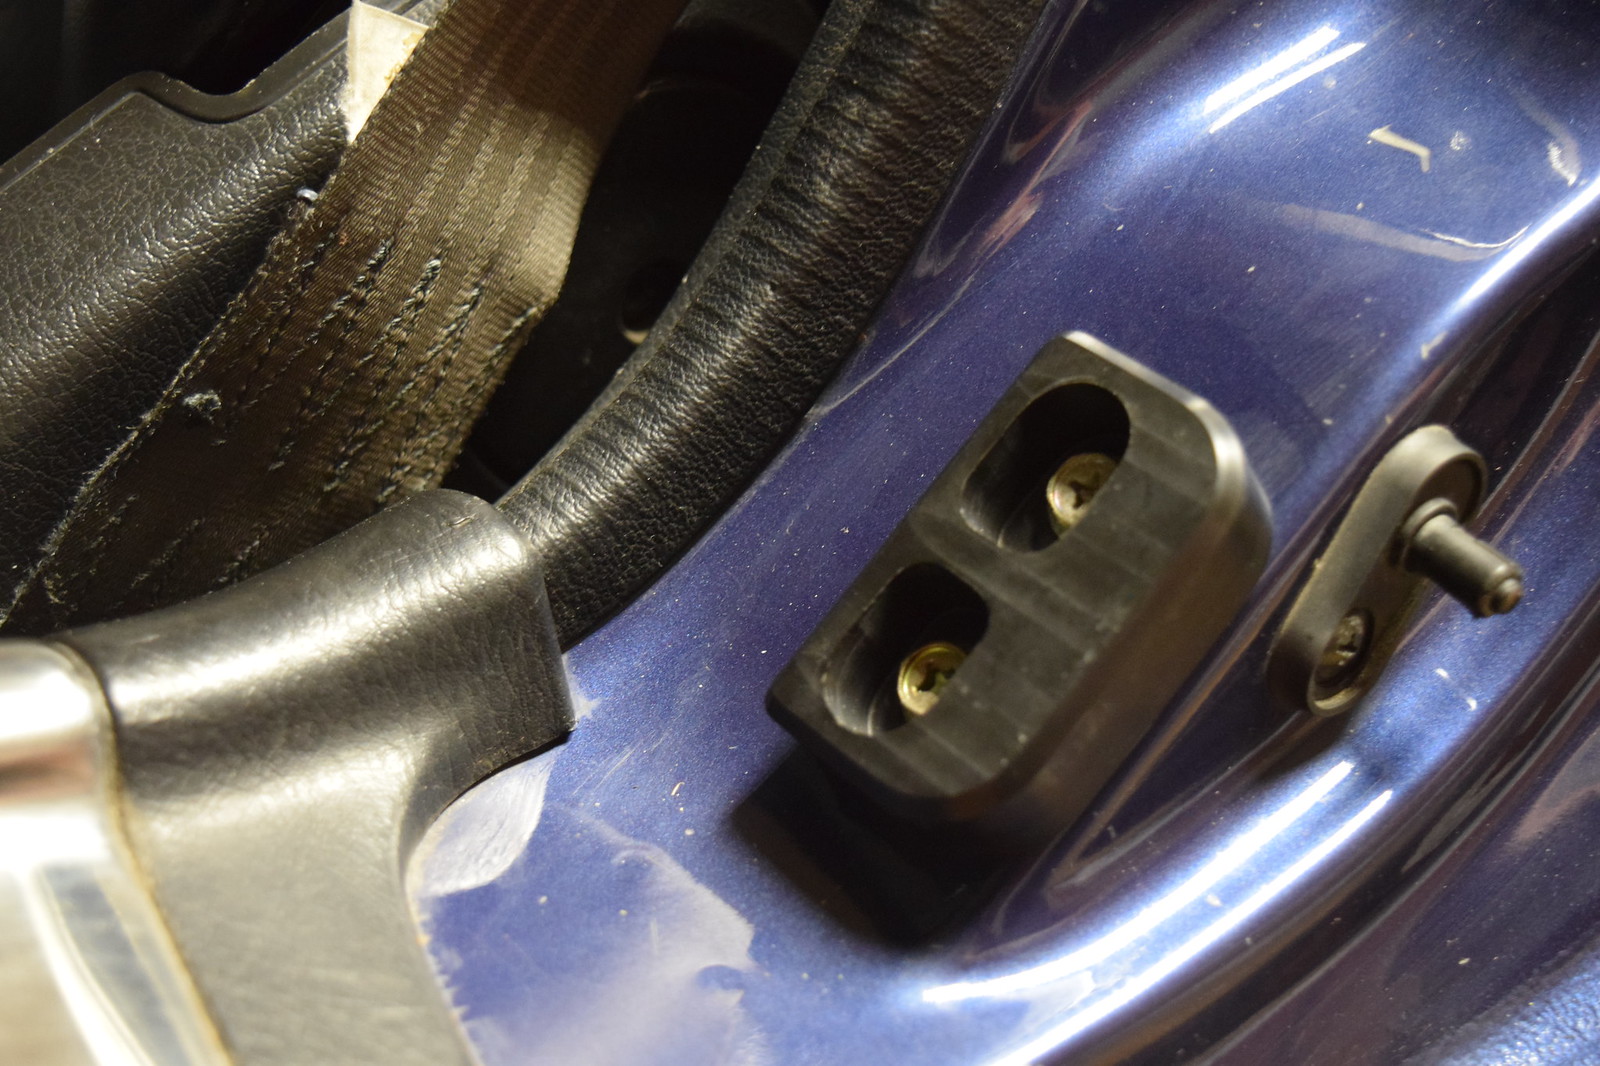
06-03-19: Misfire's first "chassis modification" in the form of delrin door bushings!
This time around I decided to save a few bucks and decided to try this set off eBay, https://www.ebay.com/itm/Mazda-Miata...72.m2749.l2649 , after a fellow enthusiast made me aware of them, thanks masterjr33 for sharing the information!
Not much to this modification, just remove two 10mm bolts from the OEM rubber door bushings...
...and install the new delrin door bushing...
...leaving the bolts loose enough for the bushing to move, shut the door a few times and then tighten the bolts down...that simple!
I haven't drove Misfire yet and while I know what to expect I am excited to see the difference since my previous experience with them was on Warbird, my NA8, which wasn't as rigid in stock form but Warbird had Flyin Miata frame rails w/ butterfly brace, GarageStar fender braces, 949 Racing rear subframe brace, Beatrush PPF brace and FatCat Motorsport custom coilovers, while Misfire, NB2, just has a Hard Dog roll bar and lousy(blown?) KYB shocks(w/ lowering springs?) currently.
Until I get some seat time here is the most thorough review I could find and done by none other than Adam aka Revlimiter: https://revlimiter.net/blog/2015/07/...ushing-review/
Granted those are GarageStar bushings and these are from a individual on eBay but as you can see they are pretty much identical, as I am sure most are. I have another upgrade that I will install in the next week or so and will follow up with feedback on the door bushings!
'01 NB2 aka MisF1re: http://mazdaroadster.net/showthread....218#post207218
'97 M aka Warbird, gone but not forgotten: http://mazdaroadster.net/showthread....B&goto=newpost
Instagram: @greasemonkey2000
oldgrayleather (06-04-2019),tsingson (06-04-2019)
 Posting Permissions

 Reply With Quote