Page 1 of 2 12 LastLast
Results 1 to 15 of 24

Thread: Front Caliper Rebuild

  1. #1
    Ninja Messiah kung fu jesus's Avatar
    Drives
    1999 White
    Location
    Atlanta, GA
    Join Date
    Dec 2011
    Posts
    15,852
    Thanks Given
    2,791
    Thanked 7,202 Times in 3,433 Posts

    Front Caliper Rebuild

    Rebuilding you front calipers is easy and cheaper than buying a remanufactured piece from the auto parts store. Because the Miatas from 90+ without sport or MSM brakes have the same caliper, this DIY covers a lot of different years.

    If you price it out, you can completely rebuild both front calipers for far less than one refurbished caliper.

    You need to assess what your caliper needs for rebuilding it. Typically, just the seals are all that is needed. One set of seals is usually $5 and less, depending on where you buy them. If you chose, you can also replace the slider pins, pin boots, anti-rattle clips and pad springs. If you find your caliper piston is rusty on the circumference, you may need to replace it. It, too, is available for $12-17.

    Tools you need:

    14mm wrench
    17mm wrench
    pick tool or small flat screw driver
    gloves
    compressed air
    air nub/trigger
    seals
    brake fluid
    silicone grease

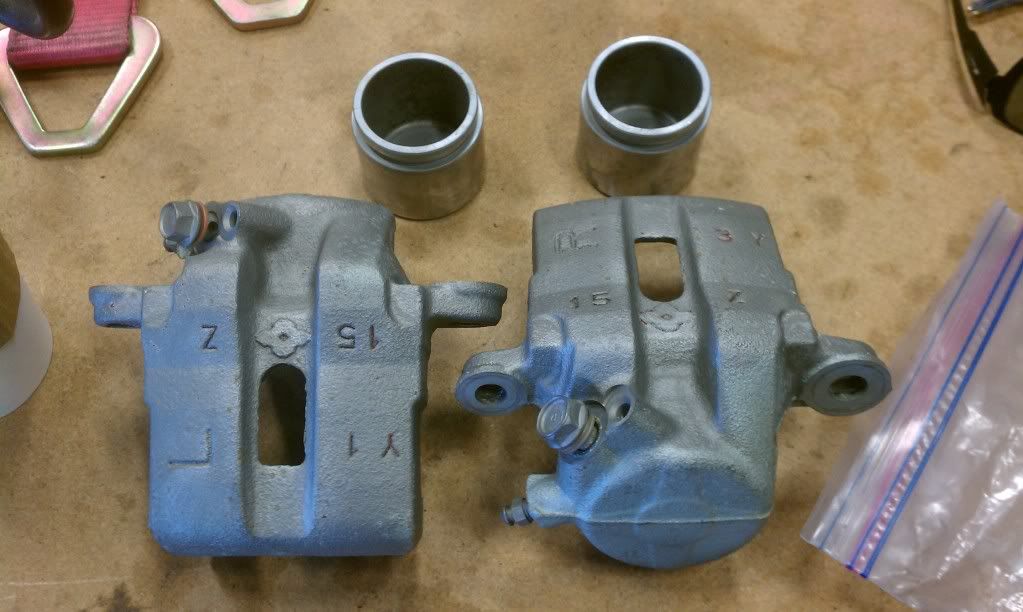
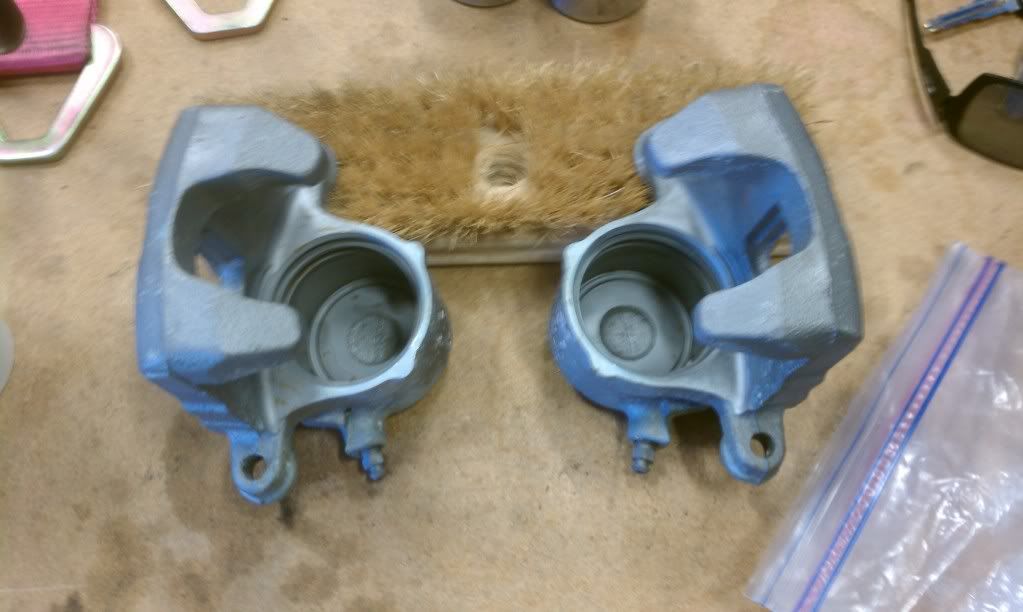
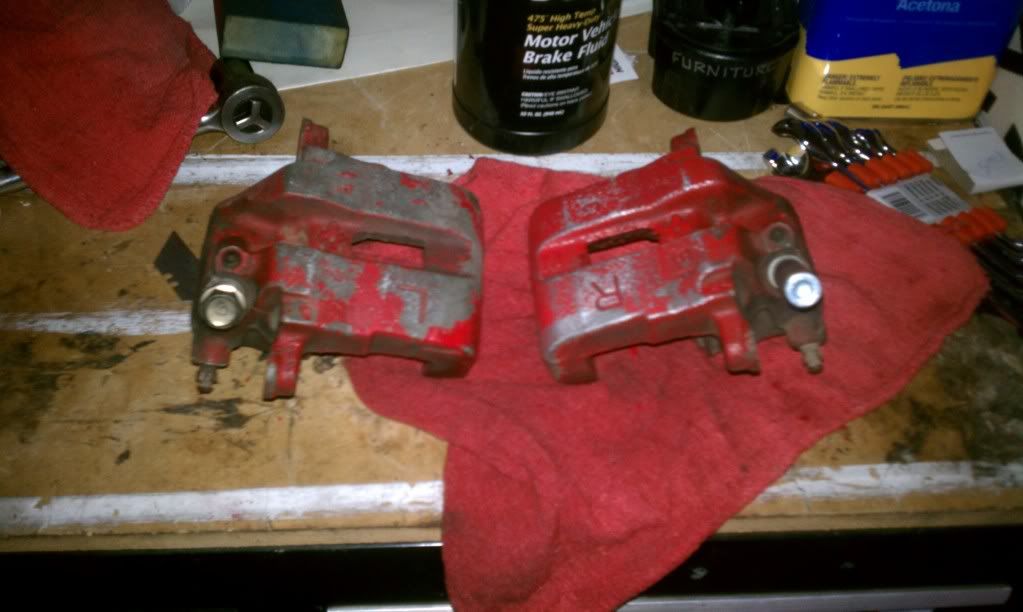
    For my purposes, I am completely restoring a pair of calipers. They were painted red at some point, so I am going to bead blast them and replace all the associated hardware.

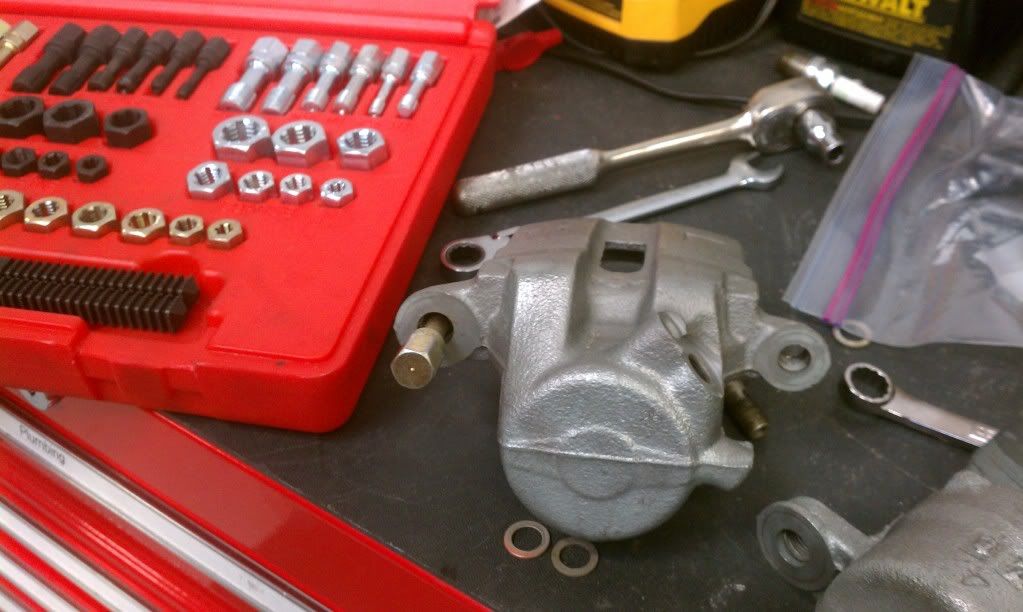
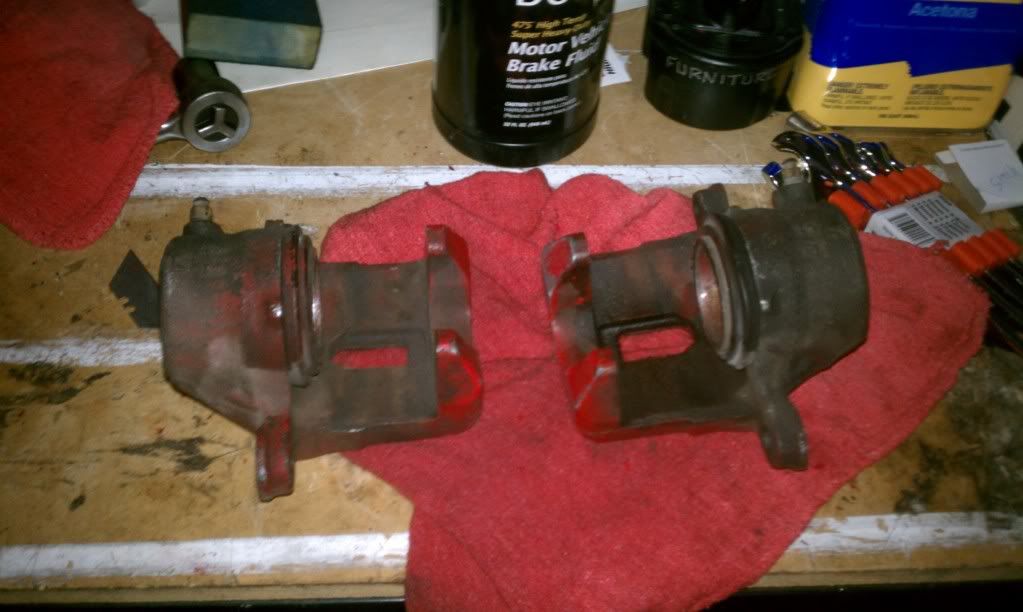
    I had this pair of fronts sitting in storage for many years. I recently noticed my front right caliper might be dragging a bit, so I decided to rebuild these spares. They were dry, so they are a bit gummy. Yours might not be so bad. I have removed the slider pins and boots from the caliper and drained the fluids:


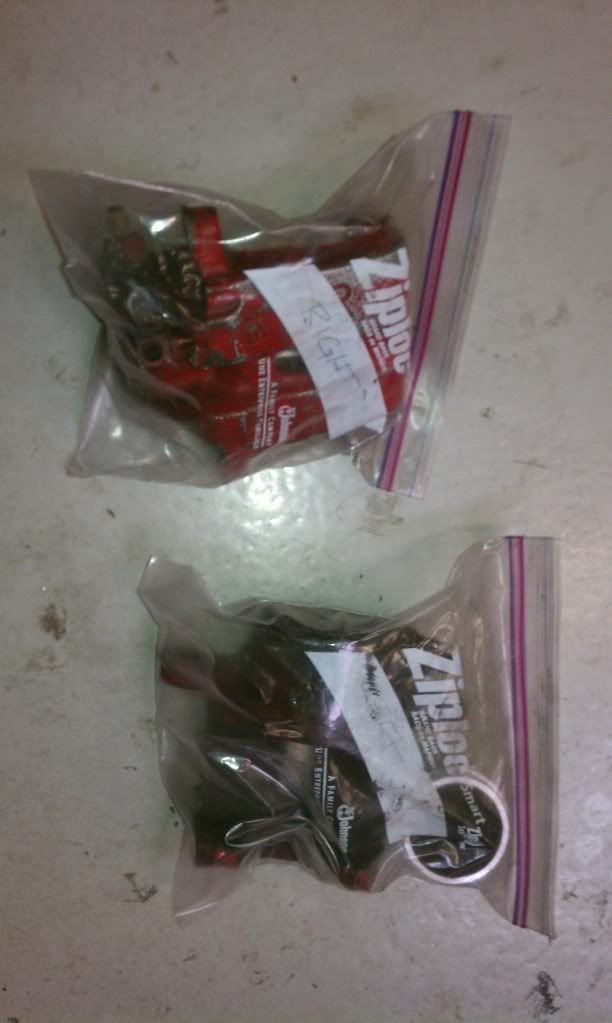
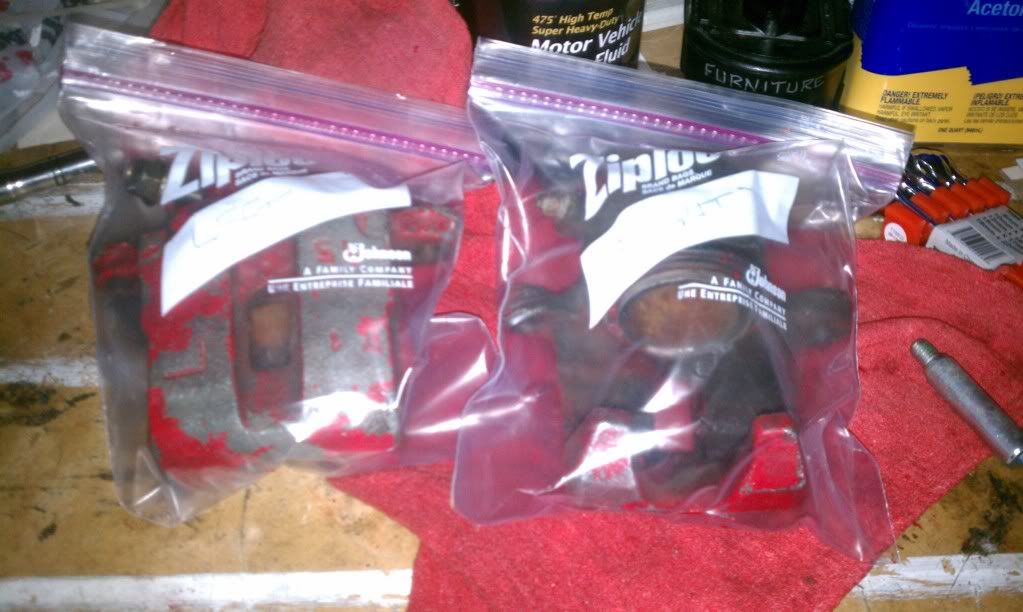
    It's always helpful to keep parts with each other. They have been an assembly for a long time and like each other, so I use plastic bags to organize them and keep fluid from leaking all over:


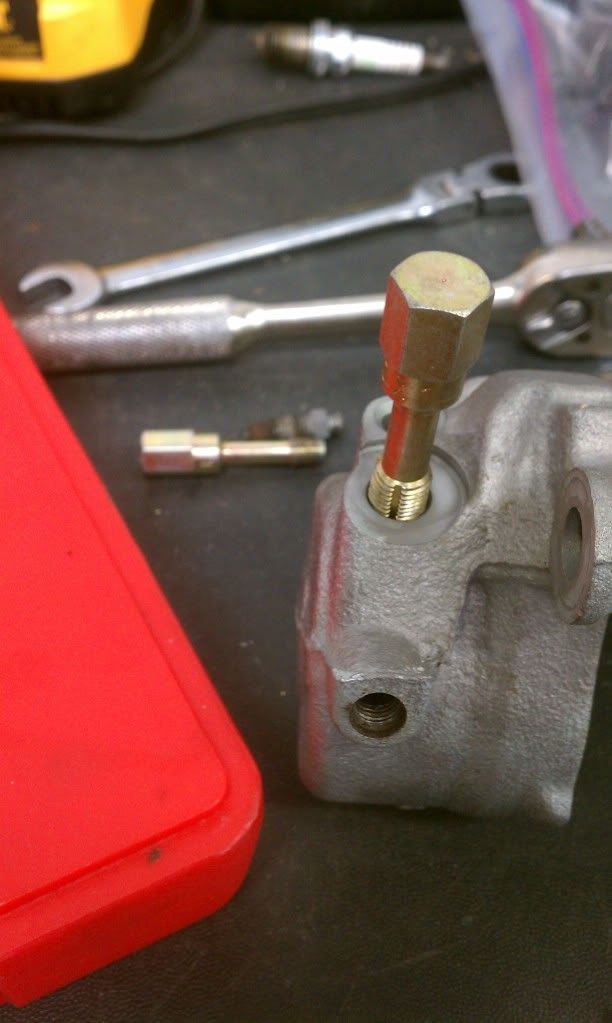
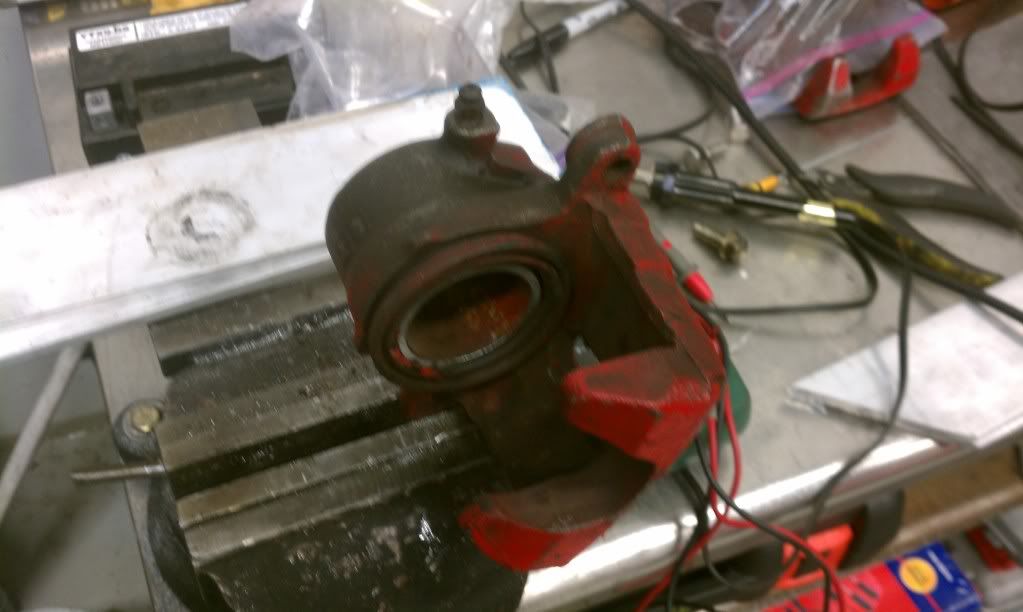
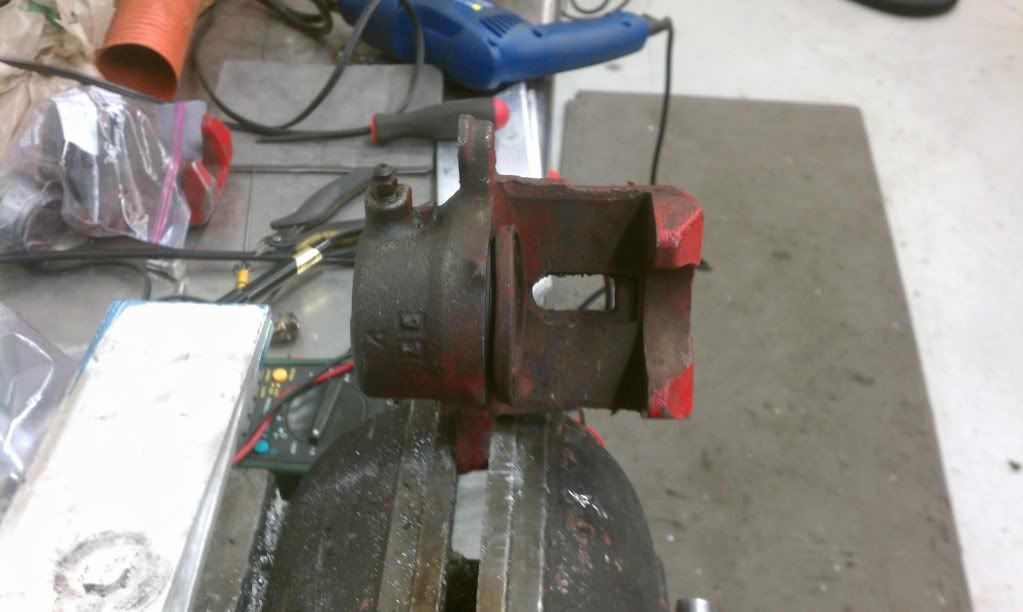
    After disassembly, you need to remove the piston. The best, easiest way is with compressed air. Please use glove and glasses. A little fine mist of remaining brake fluid is likely to shoot out during this process and brake fluid is not a pleasant chemical. I began by placing the caliper in a bench vise:


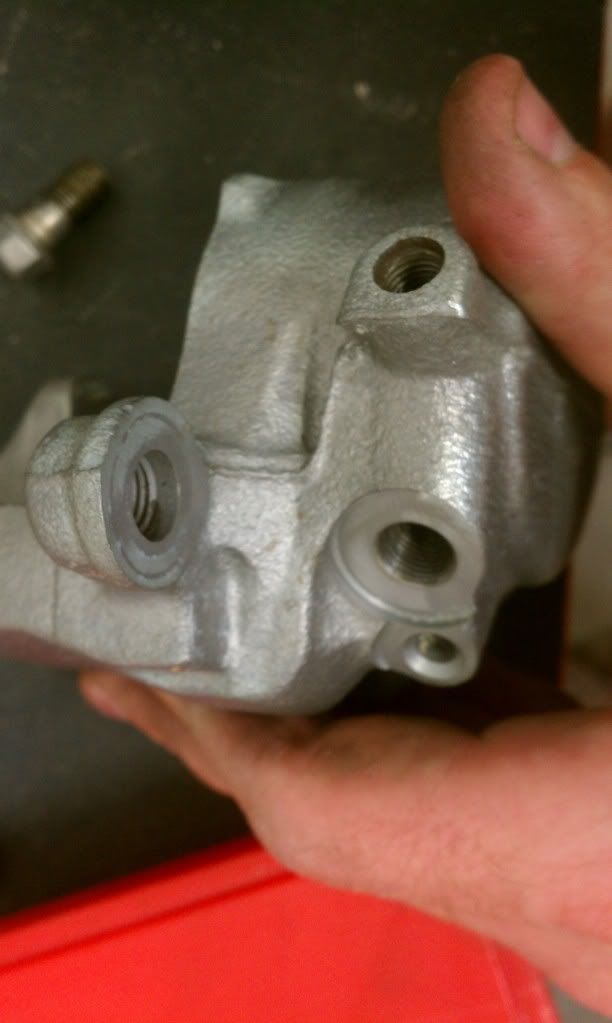
    You want to make sure the bleeder is tight and the banjo bolt is removed, you are going to feed air into the caliper through the banjo bolt hole. (FYI - a banjo bolt is the hollow bolt that attaches the brake line to the caliper.) Find something flat and sturdy to put in the caliper between the piston and the caliper body to act as a backstop. This will prevent the caliper from shooting out of the hole. DO NOT use your hands, the force of the caliper will hurt a bit. You can see a few pieces of flat stock aluminum I used for this (it is sitting on the vise). You only need something about a 1/2"-3/4" thick (13-19mm). you can use cardboard stacked up, a magazine, rolled up newspaper, etc.

    Now, with the backstop in place and your finger out of the way, put the air nub in the banjo bolt hole and squeeze the trigger. Here's a video of what happens:


    (Thanks, Sonny!)

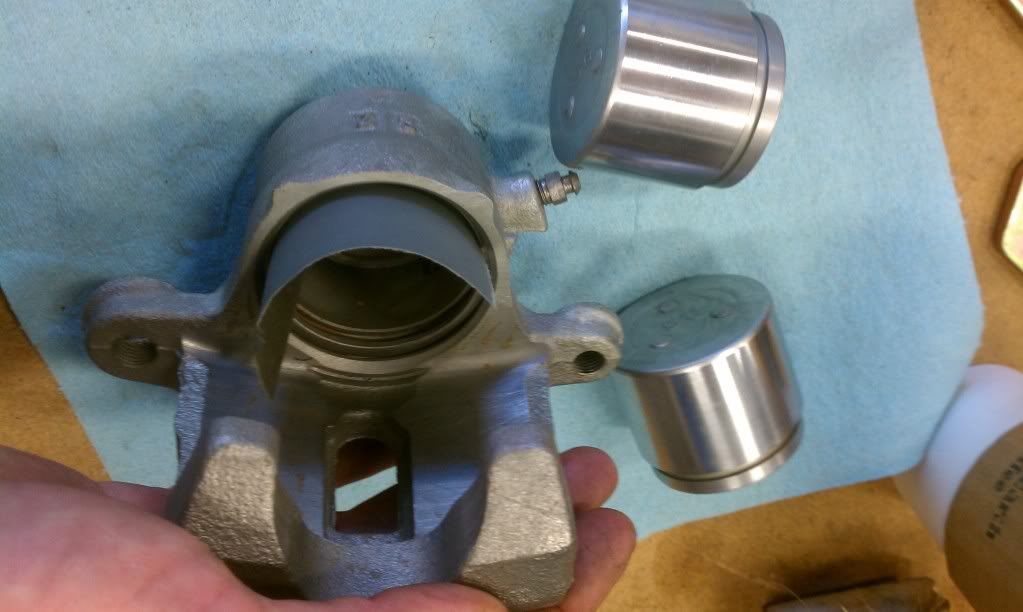
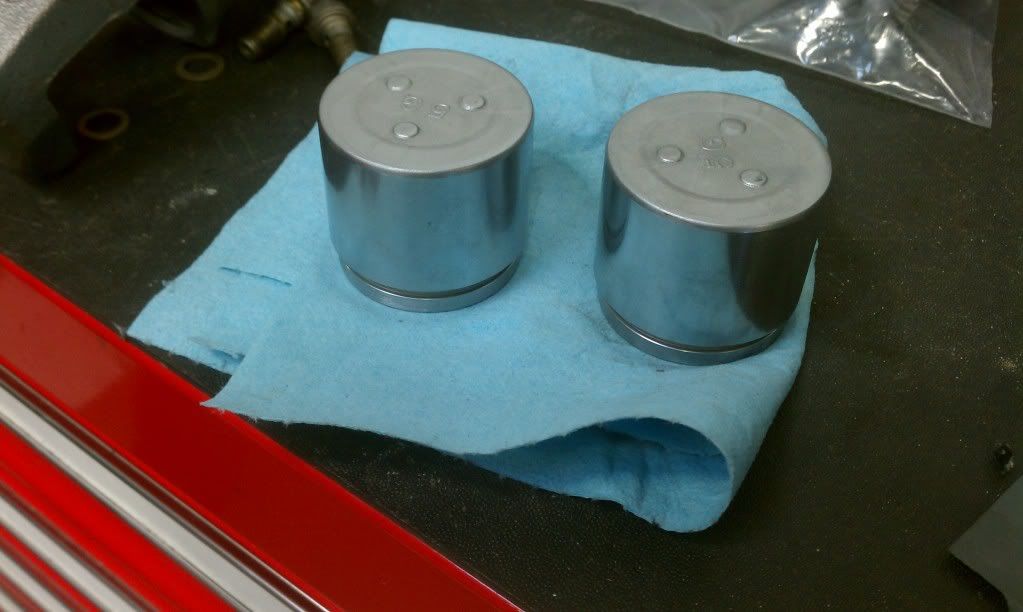
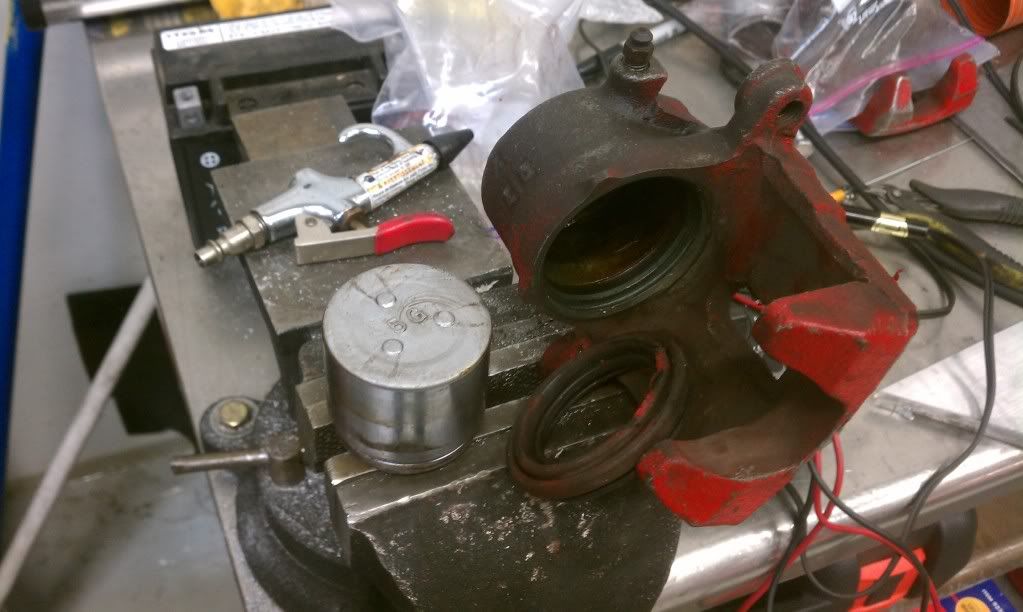
    Remove the piston and outer seal:


    (the air nub is one the back of the vise, the outer seal is at the lower right, the piston on the left.)

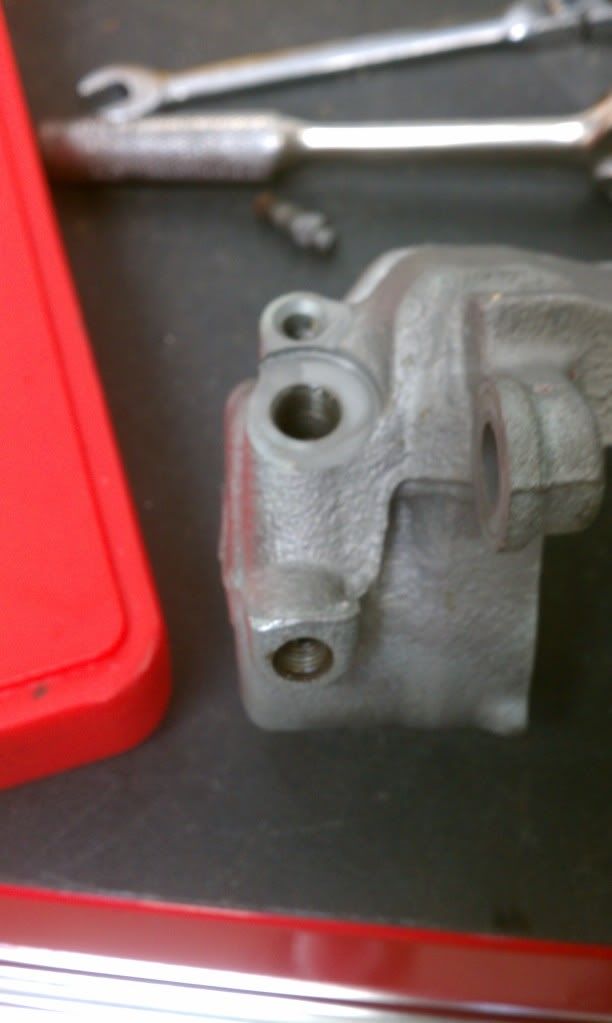
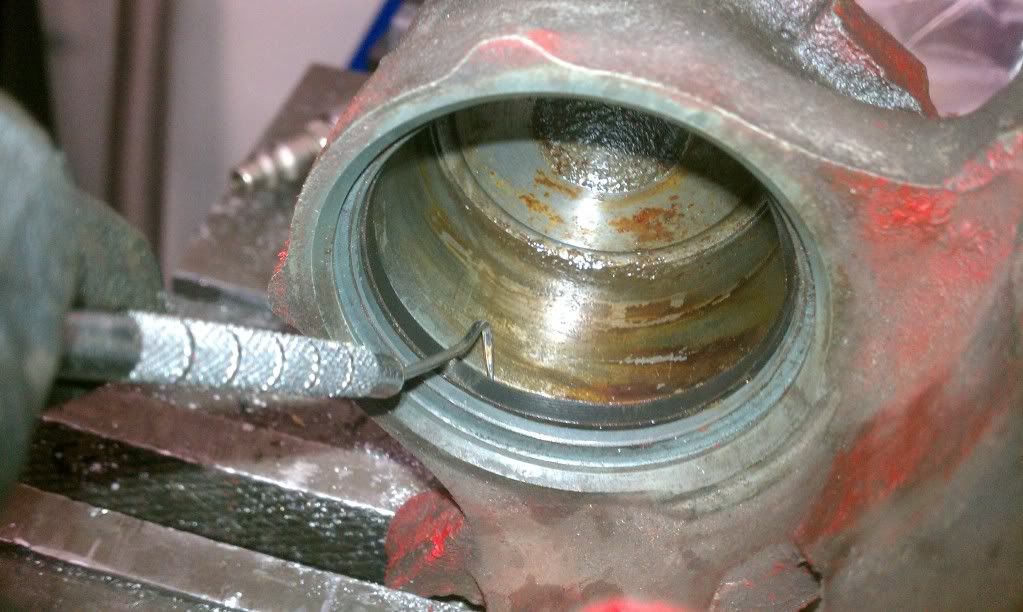
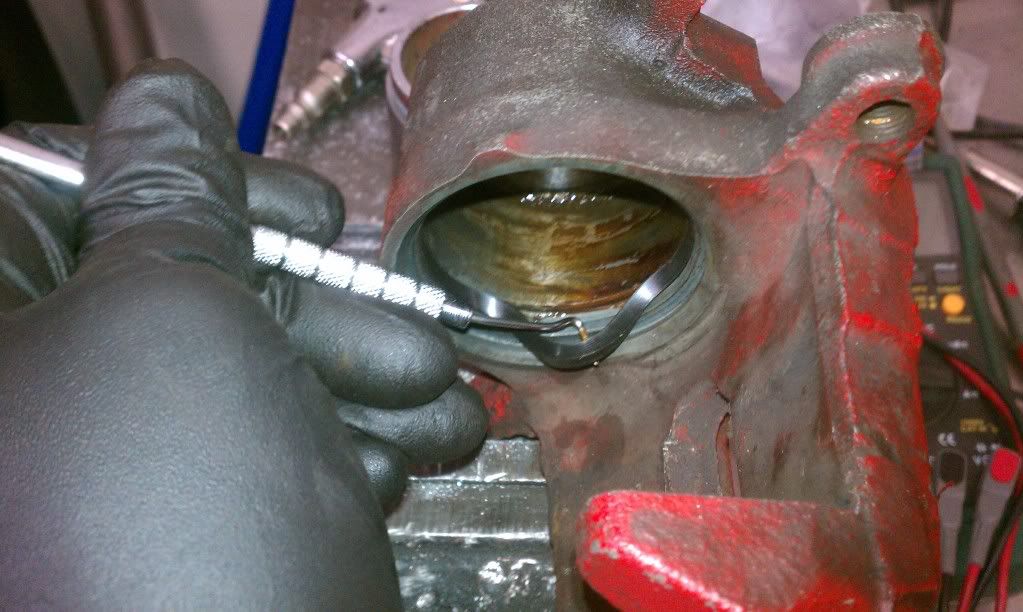
    Now, remove the inner seal with the pick tool or small flat screwdriver:


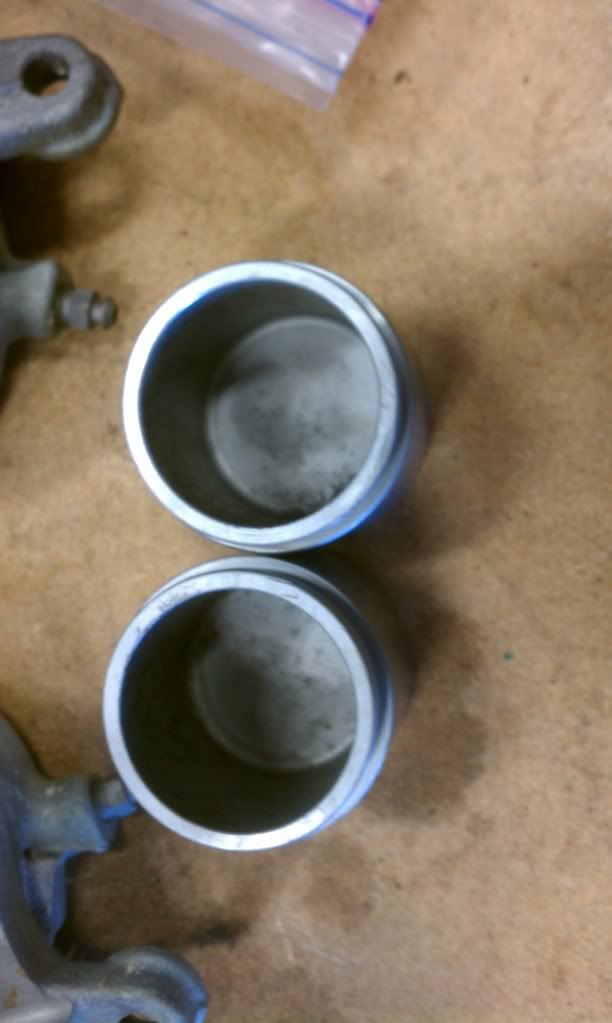
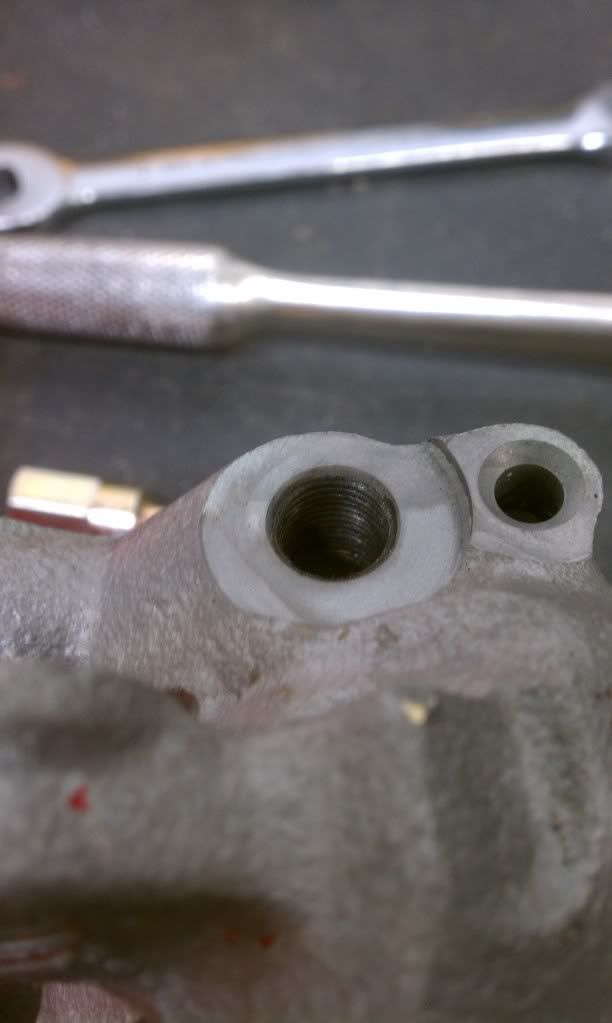
    Now use a towel or clean shop rag to clean the cavity in the caliper. Inspect the piston's outer surface for rust, gouges, scoring, or damage. Insect the piston bore on the caliper for similar damage. If the piston bore is damaged, a hone tool may be needed. It's a cheap tool you can put in a drill to clean and hone the bore. The bore is ~2" (51mm), so you don't need a monster hone. A two prong hone will do. You can clean the caliper with brake fluid, mineral spirits, or brake cleaner.

    Next, I'll document how to reassemble it, but first I am sending them out for blasting!


  2. #2
    Idling - Listen to it purr... dustinlib's Avatar
    Drives
    04 MSM, 93 NA, 93 323
    Location
    lexington, ky
    Join Date
    Feb 2012
    Posts
    23
    Thanks Given
    0
    Thanked 0 Times in 0 Posts
    i'm glad you're posting this, one of my rear calipers is leaking, and i think i would rather rebuild it than buy a reman caliper.

  3. #3
    Ninja Messiah kung fu jesus's Avatar
    Drives
    1999 White
    Location
    Atlanta, GA
    Join Date
    Dec 2011
    Posts
    15,852
    Thanks Given
    2,791
    Thanked 7,202 Times in 3,433 Posts
    The rears are a little different, but still easy to do and cheaper to rebuild than buying a reman. There isn't a lot of moving parts in these brakes, so it's extremely rare to find a caliper that isn't serviceable.

  4. #4
    2,000 rpm - light wheelspin, no bog here! MiataLife's Avatar
    Drives
    1994 Red Miata
    Location
    SoCal
    Join Date
    Dec 2011
    Posts
    144
    Thanks Given
    0
    Thanked 0 Times in 0 Posts
    Steve..keep up the good work! Sharing your knowledge for posterity is needed!!!! A+

  5. #5
    2,000 rpm - light wheelspin, no bog here! Neocataboi's Avatar
    Drives
    99' Black Mica Leather and 92' BP4W smurf blue
    Location
    Fontucky
    Join Date
    Dec 2011
    Posts
    196
    Thanks Given
    0
    Thanked 0 Times in 0 Posts
    Awesome!


    I see you did this at the shop. I haven't spent enough time there in the last few weeks...
    Quote Originally Posted by Mr.Woolery View Post
    This is MY signature, and don't you dare copy it, gawdammit!

  6. #6
    Ninja Messiah kung fu jesus's Avatar
    Drives
    1999 White
    Location
    Atlanta, GA
    Join Date
    Dec 2011
    Posts
    15,852
    Thanks Given
    2,791
    Thanked 7,202 Times in 3,433 Posts
    I went to the shop to kill some time. I didn't want to fire up my compressor and make the neighbors crazy.

    It's all good, John put me to work on Crusher for a little bit.

  7. #7
    2,000 rpm - light wheelspin, no bog here! bokehmon's Avatar
    Drives
    1995 Brilliant Black
    Join Date
    Jan 2012
    Posts
    239
    Thanks Given
    0
    Thanked 0 Times in 0 Posts
    Very nice. I'll have to do this soon myself!

  8. #8
    Ninja Messiah kung fu jesus's Avatar
    Drives
    1999 White
    Location
    Atlanta, GA
    Join Date
    Dec 2011
    Posts
    15,852
    Thanks Given
    2,791
    Thanked 7,202 Times in 3,433 Posts
    Thanks for the comments, guys.

    Here is an excellent video of a guy rebuilding a front NC caliper. My calipers would be rebuilt in the same way:


  9. #9
    2,000 rpm - light wheelspin, no bog here! Roadster's Avatar
    Location
    Orange County
    Join Date
    Dec 2011
    Posts
    139
    Thanks Given
    1
    Thanked 168 Times in 41 Posts
    Good stuff Steven, I have a pair of calipers I need to disassemble and clean.

  10. #10
    Ninja Messiah kung fu jesus's Avatar
    Drives
    1999 White
    Location
    Atlanta, GA
    Join Date
    Dec 2011
    Posts
    15,852
    Thanks Given
    2,791
    Thanked 7,202 Times in 3,433 Posts
    Thanks, Mike!

    Repairing these is so simple, it just makes sense to do it. The cost of a reman unit is OK, but as the cars age, the parts will become scarce, driving up the cost. A LOT of other models are this way, such as BMWs. It is very common for owners of specific models, like the M3, to rebuild a spare set because finding a reman is difficult, expensive, or takes a lot of lead time. Sometimes all three.

    I *just* heard back and my calipers are about ready from being cleaned. I might pick them up today and order the seals.

  11. #11
    5,000 rpm - there be torque here! WASABI's Avatar
    Drives
    1991 British Racing Green
    Location
    Amesbury, MA
    Join Date
    Dec 2011
    Posts
    3,864
    Thanks Given
    6,206
    Thanked 1,464 Times in 795 Posts
    This is good stuff Jesus! I have rebuild two sets of calipers myself, so I want to add, that if you are going through the process of cleaning them up, and want to add color, powder coating is the way to go!!!


    I have done strip, high temp primer, paint ($pecial caliper paint), and rebuild, on my red '91...lasted about a year, before the paint started to come off/dull.


    And powder coating on my BRG. The powder coated calipers, look as good as new, every time I wash them....two+ years now!


    -Jim

  12. #12
    Ninja Messiah kung fu jesus's Avatar
    Drives
    1999 White
    Location
    Atlanta, GA
    Join Date
    Dec 2011
    Posts
    15,852
    Thanks Given
    2,791
    Thanked 7,202 Times in 3,433 Posts
    Thanks, Jim.

    I'm not a fan of colored calipers. I will probably just paint mine with BBQ paint, flat black.

    In the meantime, I got the calipers back and started the final cleaning (Thanks, Tom!). Here they are all clean:


    for comparison (before shot from above:


    I hit the calipers with a light wire brush to shine 'em up a little and remove any chemical residue. I used some 2000 grit on the inside of the bore for the same purpose:


    I turned my attention to the pistons. They turned out very nice! I used some scotchbright on them to polish them up for smooth operation:


    Some of these steps aren't necessary, I am just doing it for posterity.

    I turned my attention back to the calipers. I chased the threads on all the tapped holes; the banjo bolt hole, bleeder hole, and the mounting holes:


    Next, I taped off the outside of the pistons and sprayed the insides with high temp paint to prevent corrosion:


    That's about it for today. I'll order the seals and hardware now. Next, I will tape off the calipers and paint them.

  13. #13
    5,000 rpm - there be torque here! WASABI's Avatar
    Drives
    1991 British Racing Green
    Location
    Amesbury, MA
    Join Date
    Dec 2011
    Posts
    3,864
    Thanks Given
    6,206
    Thanked 1,464 Times in 795 Posts
    Nice job Jesus!


    One thing though, brake fluid will take off paint, so this might end up coming off?


  14. #14
    Ninja Messiah kung fu jesus's Avatar
    Drives
    1999 White
    Location
    Atlanta, GA
    Join Date
    Dec 2011
    Posts
    15,852
    Thanks Given
    2,791
    Thanked 7,202 Times in 3,433 Posts
    That surface does not touch fluid. Sure, in a seal failure, but the surface I painted is opposite of the bore. So, if the paint came off from a seal failure I would rebuild them again.
    Last edited by kung fu jesus; 03-09-2012 at 10:20 AM.

  15. #15
    5,000 rpm - there be torque here! WASABI's Avatar
    Drives
    1991 British Racing Green
    Location
    Amesbury, MA
    Join Date
    Dec 2011
    Posts
    3,864
    Thanks Given
    6,206
    Thanked 1,464 Times in 795 Posts
    Forgive me Jesus, for I have sinned. I totally got that wrong, thinking they were reversed when installed, like the rears. Brainfart

Page 1 of 2 12 LastLast

Posting Permissions

  • You may not post new threads
  • You may not post replies
  • You may not post attachments
  • You may not edit your posts
  •