Page 2 of 56 FirstFirst 1234567891252 ... LastLast
Results 16 to 30 of 852

Thread: Sharka

Hybrid View

Previous Post Previous Post   Next Post Next Post
  1. #1
    Forum Sponsor revlimiter's Avatar
    Drives
    Sharka
    Location
    Revlimiter.net
    Join Date
    Dec 2011
    Posts
    3,199
    Thanks Given
    749
    Thanked 5,007 Times in 1,278 Posts

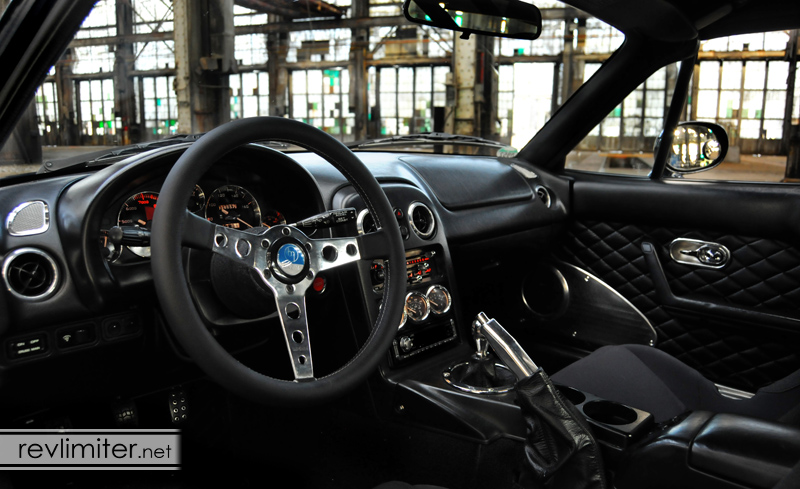
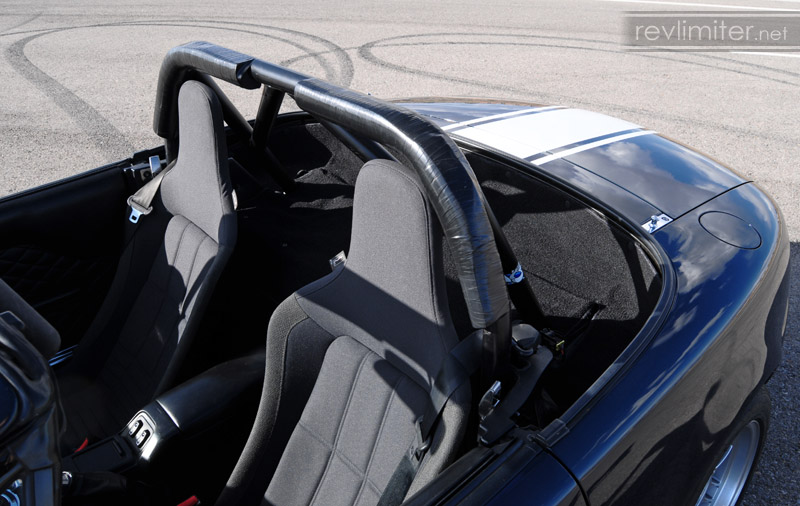
    Elise seats - now with less mexi-tilt!


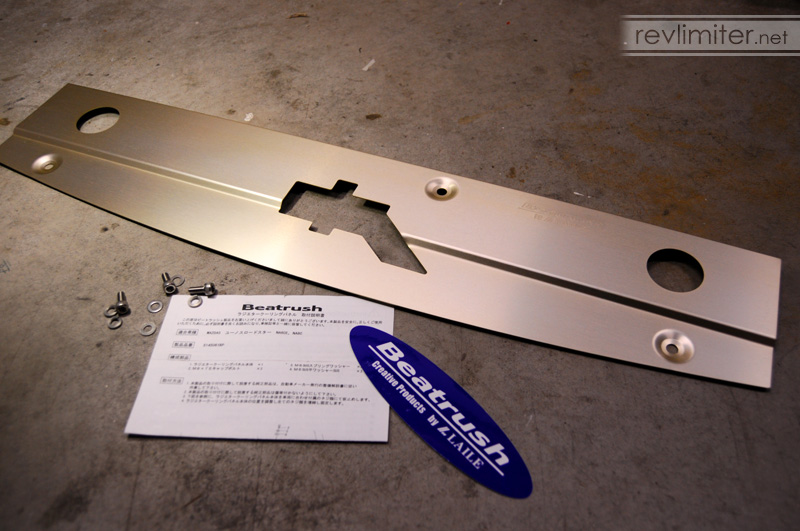
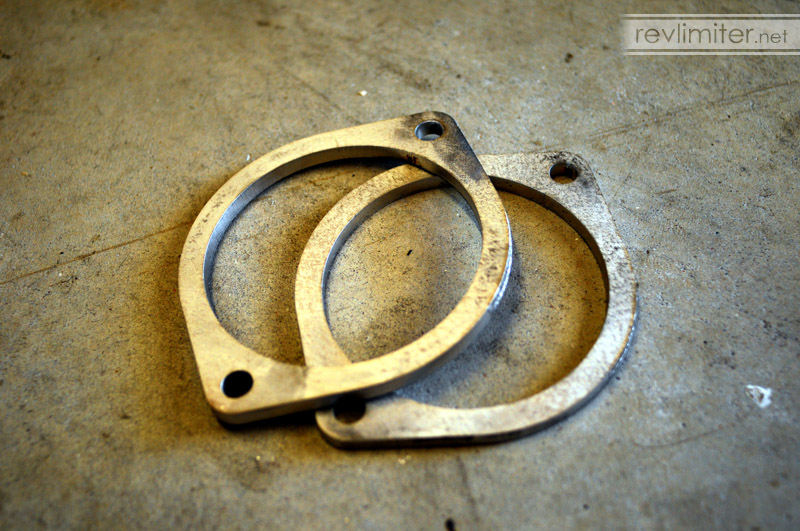
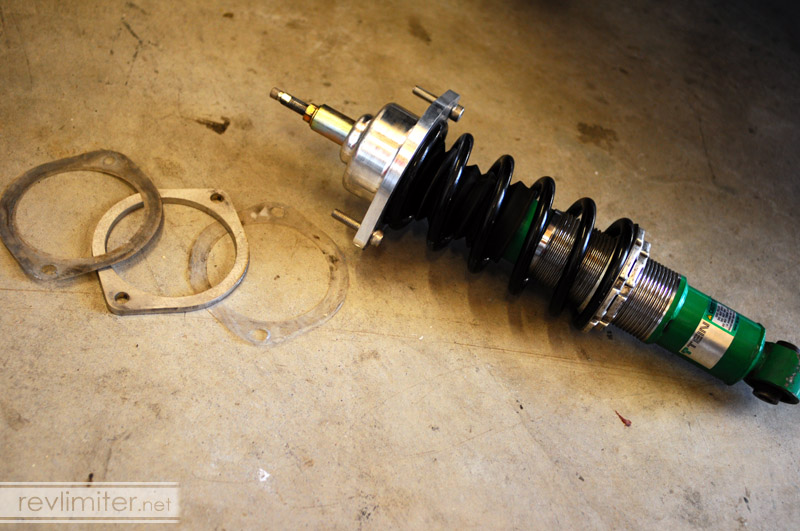
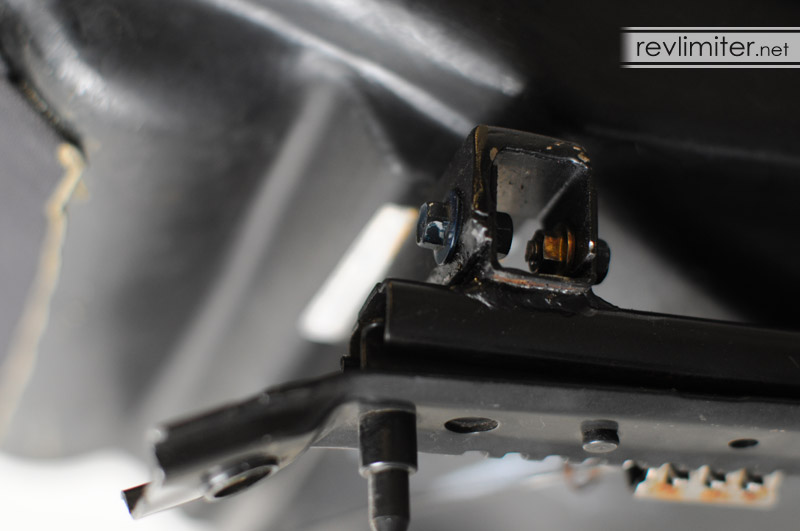
    I sliced the front brackets in half and then bolted them back together. Then I slotted the rear brackets to allow for the tilt. Ta-da! Done. That's it.


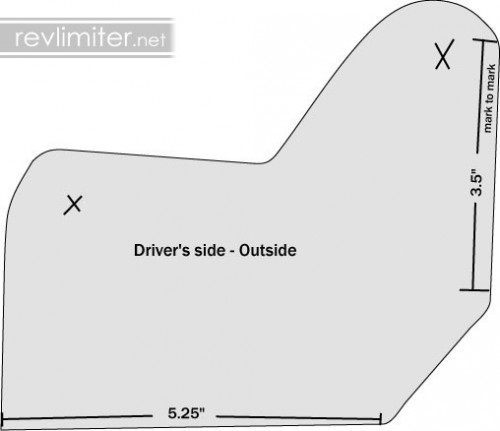
    And I made tracings of my seat brackets!!! This is NOT it. Do NOT try to print this pic. This is just a screencap.

    Hit my blog to grab and print the PDFs of the brackets.

  2. #2
    Forum Sponsor revlimiter's Avatar
    Drives
    Sharka
    Location
    Revlimiter.net
    Join Date
    Dec 2011
    Posts
    3,199
    Thanks Given
    749
    Thanked 5,007 Times in 1,278 Posts


    Around Christmas, 2009, I got a chance to drive my car around in the abandoned Railyard here in Albuquerque. I did a full photoshoot.


    Hit my blog for the full shoot.


  3. #3
    Forum Sponsor revlimiter's Avatar
    Drives
    Sharka
    Location
    Revlimiter.net
    Join Date
    Dec 2011
    Posts
    3,199
    Thanks Given
    749
    Thanked 5,007 Times in 1,278 Posts

    http://speedhunters.com/archive/2010...of-sharka.aspx

    Insert 1,000,000 happy smilies here.

  4. #4
    Forum Sponsor revlimiter's Avatar
    Drives
    Sharka
    Location
    Revlimiter.net
    Join Date
    Dec 2011
    Posts
    3,199
    Thanks Given
    749
    Thanked 5,007 Times in 1,278 Posts
    I did this a long time ago. Back when I first bought Sharka in 2000. But I never really typed a word about it. Boot mod to make it fit with the rollbar.


  5. #5
    Forum Sponsor revlimiter's Avatar
    Drives
    Sharka
    Location
    Revlimiter.net
    Join Date
    Dec 2011
    Posts
    3,199
    Thanks Given
    749
    Thanked 5,007 Times in 1,278 Posts
    I removed my soft top last week. I did a whole how-to on my blog. Miata Soft Top Removal - revlimiter.net Not hard at all. About 45 minutes of work with pictures.


    and my new gauge set:


  6. #6
    Forum Sponsor revlimiter's Avatar
    Drives
    Sharka
    Location
    Revlimiter.net
    Join Date
    Dec 2011
    Posts
    3,199
    Thanks Given
    749
    Thanked 5,007 Times in 1,278 Posts

    What the heck could this be?


    Boost!


    It's really hard to shoot a decent pic of intercooler hoses.


    No recirculating BOV for me.


    Yay for not having to splice my harness!


    Water and oil hardline upgrades.


    And I didn't take a shot of the exhaust. It's just the 2.5" single. Nothing special.

  7. #7
    Forum Sponsor revlimiter's Avatar
    Drives
    Sharka
    Location
    Revlimiter.net
    Join Date
    Dec 2011
    Posts
    3,199
    Thanks Given
    749
    Thanked 5,007 Times in 1,278 Posts
    Something I've wanted for most of my Roadster-driving life: The KG Works Instrument Panel. I put up a full review on my blog.

    Highlights:


    It's just.... perfect. I love it. It's better than I ever expected it to be. Should have bought one of these things years ago.

    Thanks to Rod for selling me this and to Cooper for the heads up that Rod had one of these to sell.

  8. #8
    Forum Sponsor revlimiter's Avatar
    Drives
    Sharka
    Location
    Revlimiter.net
    Join Date
    Dec 2011
    Posts
    3,199
    Thanks Given
    749
    Thanked 5,007 Times in 1,278 Posts


    My dad came over and helped me pull the motor. He'd never done anything like that before and was quite amused by the Miata motor pulling process. And having this shot on my blog makes me smile.


    Filthy. Fucking filthy. I shot this last weekend. I've spent the past week cleaning. No wire tuck. Just cleaning.


    The 95 engine will now get a nice long rest. It'll live in the corner as a spare.


    After a week of cleaning.

    I did a great job of hiding the dirt in that first shot and a not-great job of showing the cleanliness in this shot. Trust me. It's much cleaner. Everything shines. Er... as well as engine paint can shine. Mine came pretty thin from the factory.


    slotted frame for turbo space.


    Heat shrink tubing to protect the FM injector pigtails. Had this idea right before I took the engine off the stand. I'm glad I did it. I'd hate to lose a wire to rubbing.


    Another brainstorm. Motor mount heat shield. It's just stick-on stuff. But it's gotta be better than not having it.


    Engine off the stand for the first time in about 3 months.


    refinished flywheel and clutch. Fidanza and MSM stock.


    Installed and torqued.


    One problem. The compressor could not be moved enough to give me space to clear the oil drain line. So I had to remove it (the drain line). Which was not hard but was a little disappointing.


    Now to hook everything up. And fill all the fluids. And do everything else.

  9. #9
    Forum Sponsor revlimiter's Avatar
    Drives
    Sharka
    Location
    Revlimiter.net
    Join Date
    Dec 2011
    Posts
    3,199
    Thanks Given
    749
    Thanked 5,007 Times in 1,278 Posts
    words cannot express my hatred for the 15 image posting limit.

  10. #10
    Forum Sponsor revlimiter's Avatar
    Drives
    Sharka
    Location
    Revlimiter.net
    Join Date
    Dec 2011
    Posts
    3,199
    Thanks Given
    749
    Thanked 5,007 Times in 1,278 Posts
    Here's the final pix. Just updated my blog with them.


    So THAT'S what it's supposed to look like!


    The good oil return line fit like a champ.


    The lower water hose was a huge pain in the ass. Mainly because of all the test fitting and trimming. I had that thing in and out 20 times to get it to fit well.


    I ended up trimming off this much so that the water line and intercooler pipe could live happily together.


    So happy together.


    Mounted a little bit out of the way, but still where I can get to it. It looks pretty clean back there.


    This little guy supports the exhaust in hopes of preventing broken/backed out studs. Yay!


    This is the best fitting exhaust system I've ever personally fondled. It fits better than stock.


    My little mod to the intake isolator box. I got a 36"x12" sheet of this stuff for $3. I figure if it makes the intake box even 1% more efficient, it's worth the effort to stick it on there.


    Right before the first start. It fired right up.


    All buttoned up. So pretty.

  11. #11
    Forum Sponsor revlimiter's Avatar
    Drives
    Sharka
    Location
    Revlimiter.net
    Join Date
    Dec 2011
    Posts
    3,199
    Thanks Given
    749
    Thanked 5,007 Times in 1,278 Posts
    IN A WORLD.... of boring factory tail lamps...


    One shark decided to swim against the current.


    This fall, about 2 months from this posting date... Nostalgic style will return!


    revlimiter.net presents: The Garage Vary Nostalgic Tail Lamp Conversion.


    Coming soon to a theater near you. Rated R for violence, nudity, and adult situations.

    (I had to wait a month for the paint to cure on these before I could stripe. And I couldn't install without striping.)

  12. #12
    Forum Sponsor revlimiter's Avatar
    Drives
    Sharka
    Location
    Revlimiter.net
    Join Date
    Dec 2011
    Posts
    3,199
    Thanks Given
    749
    Thanked 5,007 Times in 1,278 Posts
    RS Factory Stage front tow hook


    I actually got this months ago. Before putting the turbo in. I'm just now getting around to posting pix.


    I got it from Max. He stocks them now.


    I wanted a tow hook with a bend in it so that it wouldn't just stick down at an angle. And this one has a bend. Not quite enough of a bend to be parallel with the ground, but it's better than a flat hook. My photos do well in making it not look straight at all. But really, it comes out of the mouth at a nice angle.

  13. #13
    Forum Sponsor revlimiter's Avatar
    Drives
    Sharka
    Location
    Revlimiter.net
    Join Date
    Dec 2011
    Posts
    3,199
    Thanks Given
    749
    Thanked 5,007 Times in 1,278 Posts

    My wife bought me a Beatrush Radiator Cooling Panel for my birthday. I've wanted one of these for so long. Rather, I've wanted a cooling panel. I wasn't sure which one. After installing the turbo, I knew I wanted a metal one to go with the metal heat shields that FM gave me.

    It's a beautiful piece. Lots of nice bends to follow the bodywork. I never noticed the lip on the back of the panel (it's holding it off the ground in the above shot). Everything follows the lines of the Mazda metal perfectly.


    Gurren has never had a parts install all to himself. Until now.


    Even the hardware with the Beatrush panel is beautiful.


    Before. So sad and stock.


    My assistant took care of tool fetching duties.


    ... and those hard to reach bolts on the corners.


    Yes, I think Gurren did more actual work on this install than I did.


    Installed!


    STICKERED!!! Totally the reason I've wanted one of these. I've been saving stickers for ages. Years. That TEIN plate has been in a drawer for 5 years waiting to be stuck to something.


    I am a 6 year old girl. And this is my stickerbook.


    Team Gurren! Number one!!!!

  14. #14
    Forum Sponsor revlimiter's Avatar
    Drives
    Sharka
    Location
    Revlimiter.net
    Join Date
    Dec 2011
    Posts
    3,199
    Thanks Given
    749
    Thanked 5,007 Times in 1,278 Posts

    Before the plastic surgery.


    The official "This isn't a knockoff" symbol...


    Sharka's new ass! The install went great. No problems. I've got about 20 photos to add text around, then I'll post it on my blog and link back in a few places.

    Hmmm. What's that badge below the keyhole?


    Prime knows Vintage.

    This is a modified Mazda RX-2 wing badge imported from Australia. I scoured ebay for about 2 weeks looking for just the right badge. The problem with old Mazda text-only badges is that they all mounted centered on the trunk lids. That placement meant they were mostly huge. 8" wide and bigger. Finding a small one to fit on the GV panel's small space available was hard.


    Chrome dipped metallic awesome.


    Resist the urge to smack it.

  15. #15
    Forum Sponsor revlimiter's Avatar
    Drives
    Sharka
    Location
    Revlimiter.net
    Join Date
    Dec 2011
    Posts
    3,199
    Thanks Given
    749
    Thanked 5,007 Times in 1,278 Posts
    FM shock spacers


    I used two little teflon isolators for each shock because I couldn't decide what side of the spacer to put them on. Since I had spares, I used them.


    My hands are getting the parts dirty.


    Spaced down.


    My new ride height is 11.75" F / 12.25" R. About a half inch higher than I was before.


Page 2 of 56 FirstFirst 1234567891252 ... LastLast

Tags for this Thread

Posting Permissions

  • You may not post new threads
  • You may not post replies
  • You may not post attachments
  • You may not edit your posts
  •