-
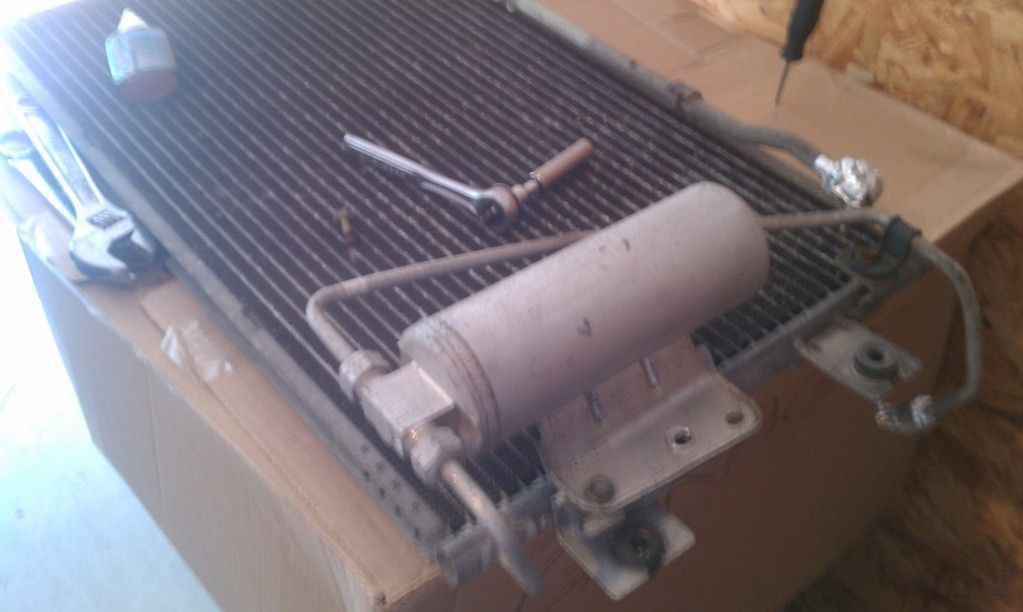
The Condenser/Drier Assy
You can do this step next or the compressor assy, it's up to you.
I replaced the drier before installing this assembly. It's easy to do at this point and most pros will recommend you do it anyway. It's $15 at the most brand new.
Something I should have mentioned earlier; there are a lot of soft metals in the AC system (aluminum, copper, brass), they are easy to bend so use some tactful force when you work on these parts. A lot of the parts also have REALLY sharp edges, like the fins on the evaporator and condenser, so wear cloth gloves to save your hands. Some of the working spaces are tight and simply brushing your hands on them may cut them.
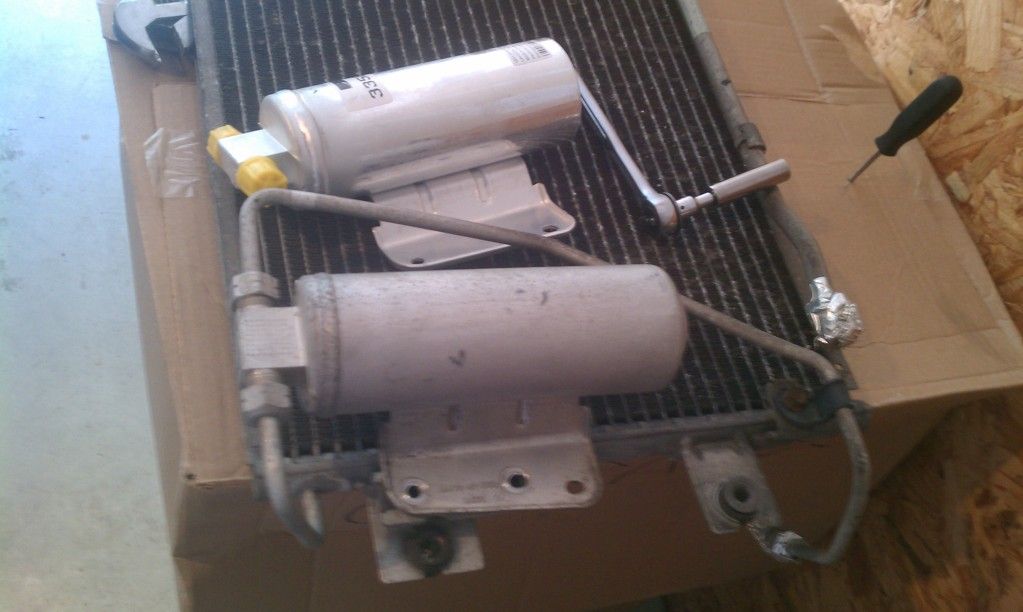
Onto the drier! Loosen the fittings on either side of the drier. Every AC fitting has two sides. USE A WRENCH ON BOTH SIDE AT THE SAME TIME WHEN LOOSENING OR TIGHTENING THESE. You can bend, crush, tear the tubing if you don't. The tube may bend a little in during this, but you can easily bend them back CAREFULLY. If the tube collapses, it's no good and you need to replace it.
Remove the two 10mm bolts that attach the drier to the condenser. Finish removing the fittings you loosened previously.
The new drier might come with new o rings. If not remove the old o rings and lay it next to your assortment to find the right one.
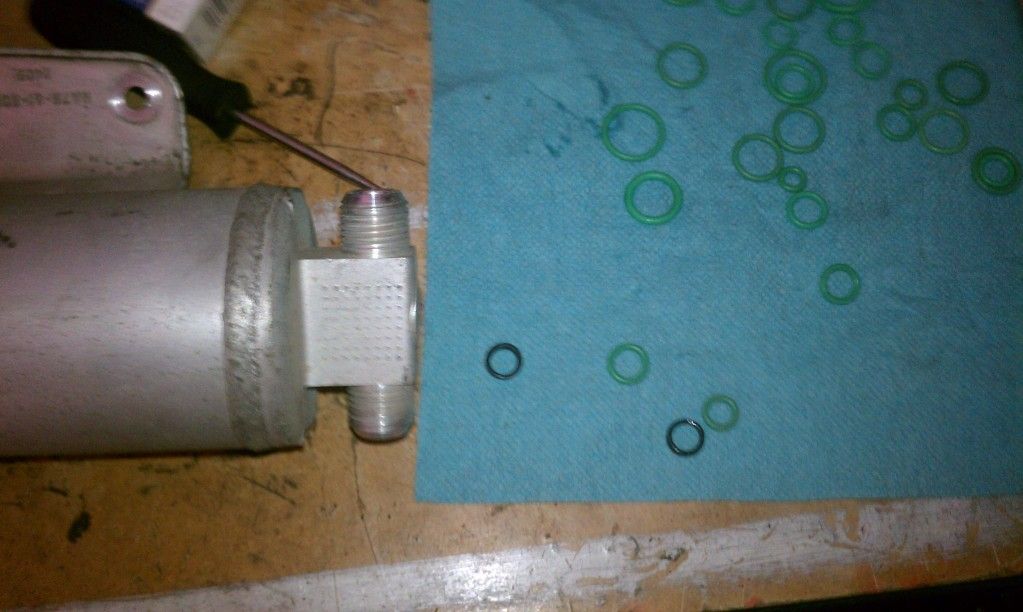
If you aren't sure, lay them side by side. The new ring should be a little snug, needing a little force to slide it on. If it drops on, it may be too big. If the o ring twists while sliding it on, it may be too small. Don't let the o ring twist up while sliding it on. Always lube the new rings with AC compressor oil or Nylog before reinstalling.
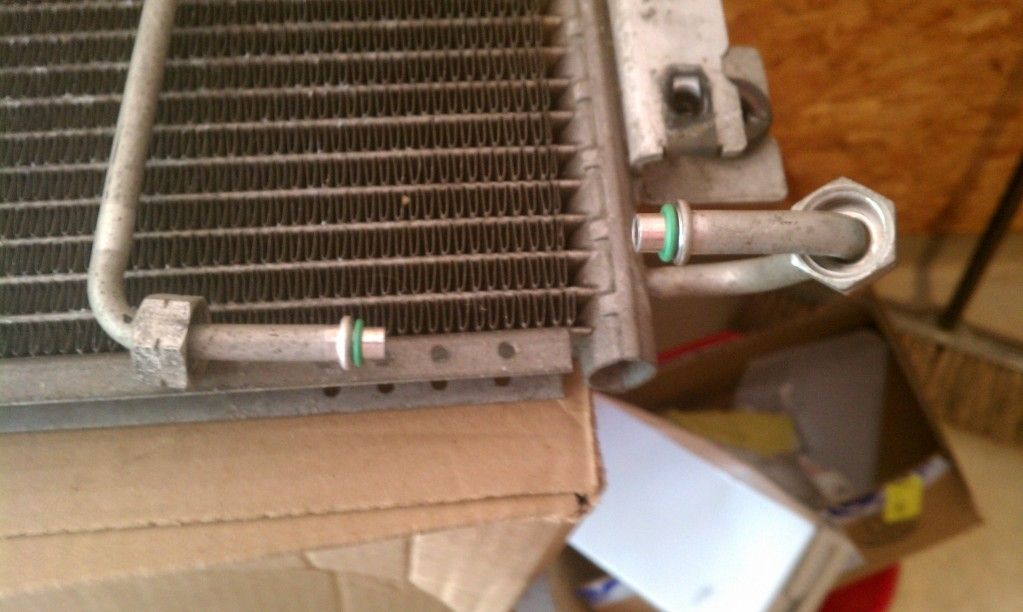
Bolt the new drier to the condensor with the two 10mm bolts. Reinstall the fitting on both sides of the drier. No need to go Hulk-smash tight on these fittings! Refer to the FSM link for torque settings to get an idea of how much to tighten them.
OK! The assembly is ready to install at this point. It may be a good time to straighten any bent fins in the condenser at this point. Inspect both sides and gently straighten any flattened fins with a pick tool or small, flat electronics screwdriver.
Lift up the front of the car, like you would to do the front brakes or something, use jackstands.
You will have to remove the air diverter first. It's 6 bolts, IIRC. It's the black plastic piece between the front bumper and the radiator. Place it aside and work the condensor/drier assy up from the bottom. the top of the dryer will be on the passenger side, facing the front of the car, just under the upper radiator support. There are four mounting tabs on the condensor that correspond to mounts in front of the radiator. On the driver side, there is one stud in place. This is helpful to line up the condenser. Use 3 10mm blots (about 16mm long) to attach the condensor at the other three points. The upper mount on the passenger side is a royal bitch. Removing the bumper tilting the radiator will help. It will take some patience. The other three are pretty easy. Good to wear your gloves while doing this part!
From underneath, look up into the mall space between the condensor and the radiator. Make sure the gap is consistent and the two aren't touching! They will rub through one another pretty quickly if they are.
With the condenser/drier in place you can now move to the next sub assembly...
-
 Posting Permissions
- You may not post new threads
- You may not post replies
- You may not post attachments
- You may not edit your posts
-
Forum Rules


 Reply With Quote