-
STAR Sponsor


G-Shield Helpful Tips
G-Shield Helpful Tips.
As its been stated many times, Professional Installation Is Highly Recommended. We know there are plenty of you out there who are more than capable of doing this yourself, but at the same time we know there are plenty of you who are not. So just be honest with yourself, put your pride aside, and answer the question, Can I comfortably do this myself? If the answer is Maybe, then seek professional help. For someone who is familiar with working with plexiglass, it should be a breeze.
Ok, so youre still reading, so Im assuming you feel this is something you can do. The first piece of advice I want to give anyone tackling this project is, TAKE YOUR TIME. There is no reason to rush this. It will take far more time to replace this if you screw it up than any amount of time you can spend doing any of these steps. So remember, TAKE YOUR TIME.
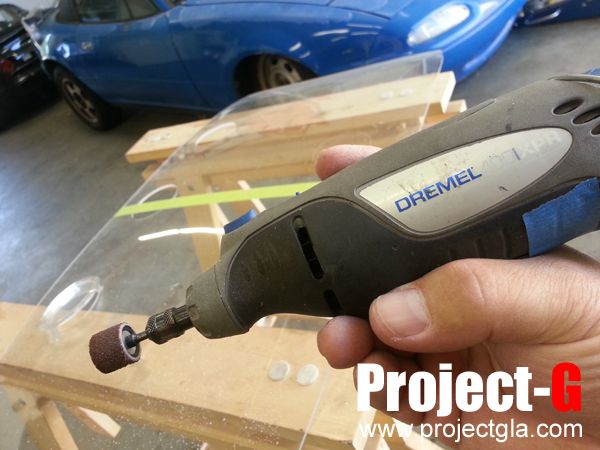
To cut or shape the G-Shield I have found a Dremel Rotary Tool to be the ticket. THIS INCLUDEDS CREATING HOLES FOR HARDWARE. I have read write-ups in the past advising of special drill bits, and special cutting blades, etc. I have found in my past experience there is still a pretty high level of risk involved with these methods. Using a Dremel Tool and only 2 different bits, I have successfully shaped literally hundreds of pieces of polycarbonate and acrylic without any damage from cracking. Im not saying I havent messed up, Im simply saying no damage from cracking.
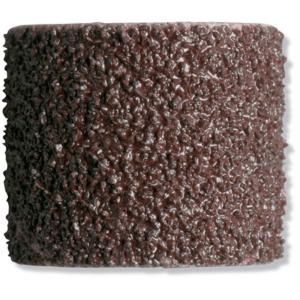
Below are the tools I am speaking of: Dremel Rotary Tool, High Speed Cutter #194, 60 Grit Sanding Band #408:

To make any holes on the G-Shield, I found the High Speed Cutter works well. I just mark where I want the hole to be with a Sharpie, and I proceed to make the dot the exact size and shape I want it. Then I use the Dremel Tool with the High Speed Cutter to SLOWLY make a hole in the center of my mark. Then I SLOWLY remove the material and any of the Sharpie mark I have left. Take your time, its not a race.
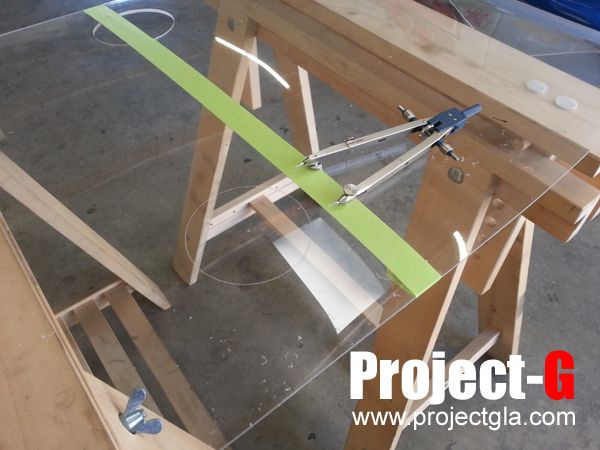
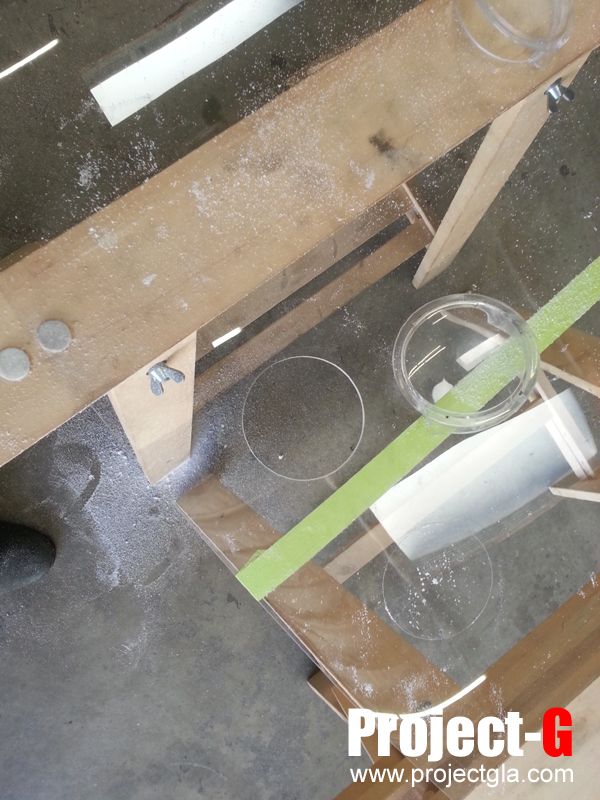
Doing larger holes becomes slightly more work, but equally as easy. It just take a little more time, but is actually easier to do it nicely. After finding where you want to make the holes, figure out EXACTLY what size you want to make it. Then divide that measurement in half, and use a compass and use 2 of the sharp points. Make it the measure you came up with after you divided in half and proceed to scribe your circle. I make sure I really make a good center point before starting the circle. Take your time to set that center point. This is more important than the actual circle you are going to scribe, because you can keep coming back to this point if you lose it.
Once you have your circle marked, you can proceed to cut it out using the Sanding Band (Drum).
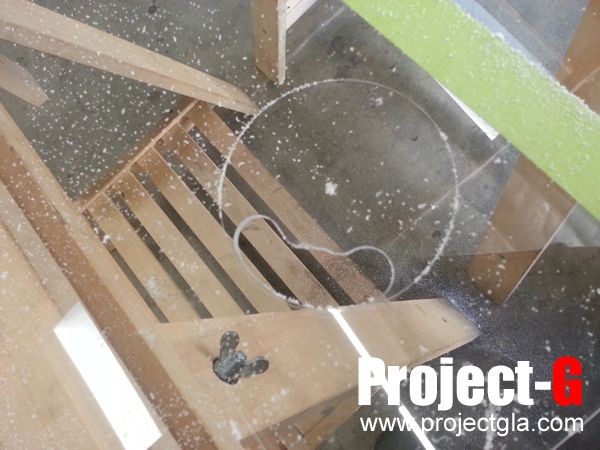
REMEMBER, TAKE YOUR TIME. Again, this is not a race. Also remember, YOU CAN ALWAYS REMOVE MORE MATERIAL, BUT YOU CANNOT ADD IT BACK ONCE YOU REMOVE IT. So better to have to keep removing more, than to go too far. Try to keep the angle of the Sanding Band perpendicular to the surface of the G-Shield. This will ensure it does not make the hole too large or too small on the inside face of the G-Shield.
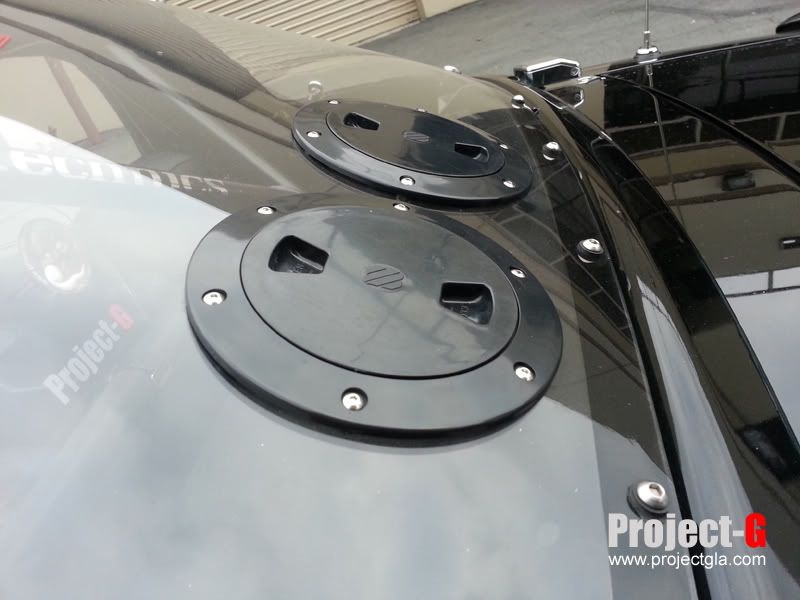
Heres the finished hole. People ask how do I get it so perfectly round. I just take my time and make sure I dont remove too much material. The Sanding Band is pretty forgiving, but it does have the potential to really mess things up if youre not paying attention.
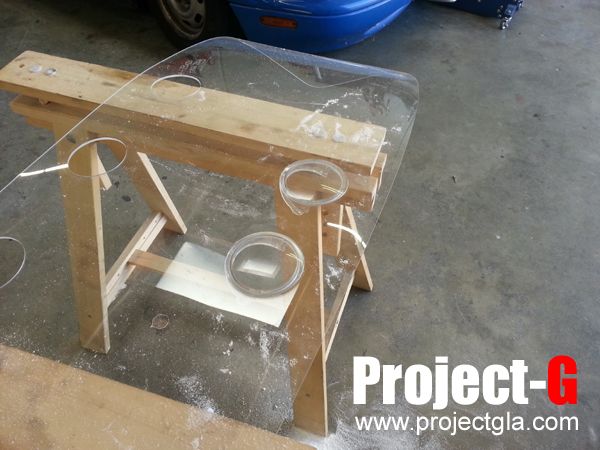
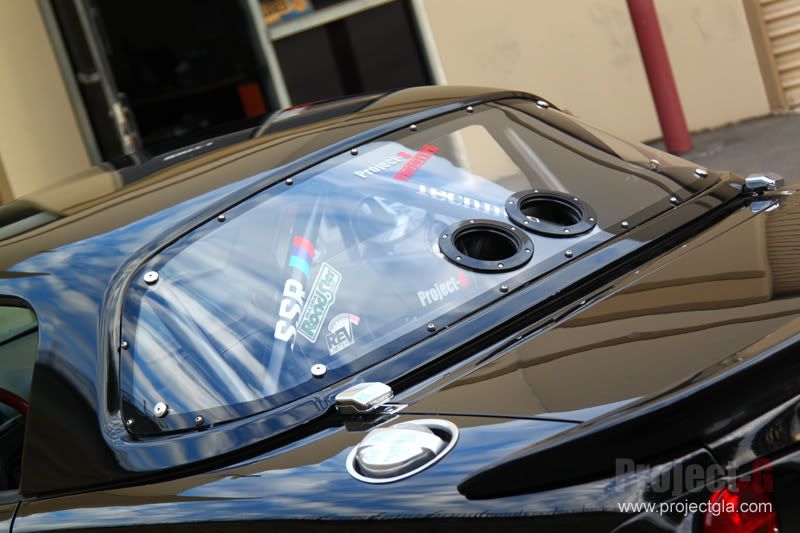
Heres with the vent installed. It wasnt that bad now was it?
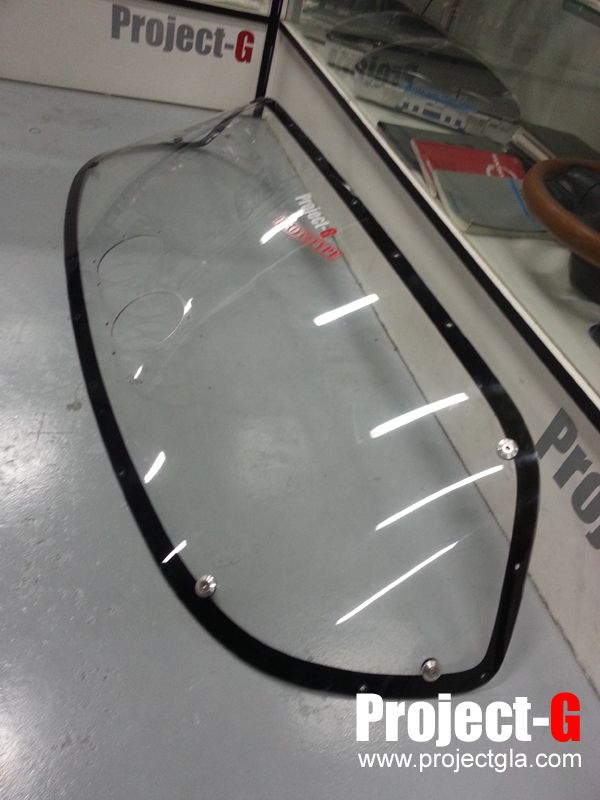
G-Shield Border
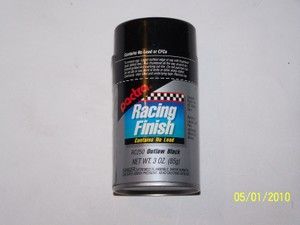
If you choose to paint a border around your G-Shield, we used Pactra Outlaw Black paint. This is a paint made by Testors, specifically formulated for plastics such as polycarbonate used on R/C cars.
The main reason we recommend some sort of border is there is no way for the adhesive to lay uniformed all around the edge. So by painting a border, it ensures the edges will have a very finished appearance.

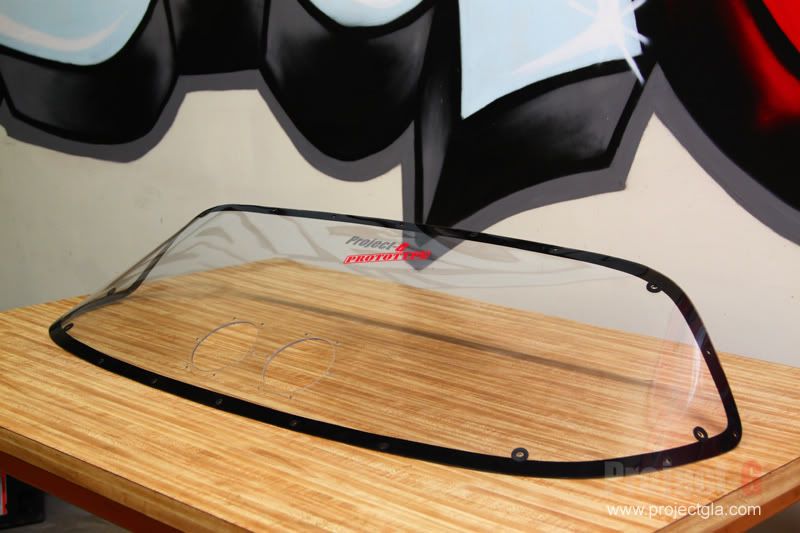
For our G-Shield we decided to paint a 1 thick border around the outer edge. We fought with the idea of painting the outside or inside surface. Painting the inside produces a glossy border, where as painting on the outside surface would produce a matte finish.
Pros:
Inside Glossy finish, OEM look, protected from the elements.
Outside Matte finish, Clean custom look, can be touched up if needed, allows the adhesive used in installing the G-Shield to adhere to the material itself. This ensures the strongest possible bond.
Cons:
Inside Cant be touched up (easily), adhesion of G-Shield relies on the adhesion of the paint. If the paint doesnt stick, the G-Shield doesnt stick. (This should be a huge consideration)
Outside Paint is exposed to the elements. Can be scratched.
Other options:
We have seen people use black or colored vinyl on the outside to cover the adhesive areas and in our opinion looks really good. We have also seen it left bare, and although it doesnt look quite as clean and sharp, it doesnt look bad. So depending on how particular you are, or what you are after, it may not be necessary to spend the time to paint the border.
Another option which we have done on our personal cars is to not even glue the G-Shield in. We went for many months only using both hardware kits we sell to secure the G-Shield in. This allowed us the ability to remove the G-Shield to clean it, or to take a drive with the hardtop only, with no rear window. Its a new experience and quite enjoyable. To make it easy, we used the appropriate wing-nuts to secure the G-Shield. It took about a minute to remove the G-Shield completely.
Really this part of the installation is a personal touch. Take the opportunity to make it your own. You may come up with a design that looks even better.
-
-
2,000 rpm - light wheelspin, no bog here!

Great write up man, if I had a hardtop I would be all over this!
-
-
-
 Posting Permissions
- You may not post new threads
- You may not post replies
- You may not post attachments
- You may not edit your posts
-
Forum Rules


 Reply With Quote


