-
Idling - Listen to it purr...

DIY Randall Intake w/detailed instructions!!!
So you've probably heard about the Randall intake which takes air from the high pressure, sealed off area before the windshield. A lot of members use accordion type piping since it's easier to manipulate the thing. But accordion piping have the ridges and is not optimal for smooth air flow. I chose PCV piping and had to trim the pipings a bunch of times, so I figured I'd put together somewhat of a detail write-up. Save some time for future DIYers. Of course I wont be responsible for any damages done following this guide.
Tools and Parts used:
- 90* 2" elbow (3)
- 2ft 2" PVC pipe (1)
- 2" rubber coupler, no hub, with heat shield (1)
- 3/8" rubber hose (used to line the hole in the firewall)
- PVC hand saw, super easy to cut PVC pipes
- 2 1/2" bi-metal hole saw w/arbor and drill bit
- shop vac was VERY useful for clean up, you'll have lots of metal and PVC shavings all over
- Eyes and ear protections for when cutting the firewall
Note: the Randall intake I followed mentioned PVC cement to seal the junctions of the pipes. I did not use any, it's easier to disassemble if they're not fixed together permanently. Also I found the other 2" coupler found at the hardware store was too long to be used with this particular application, it's probably would be a better choice since the rubber is a lot thicker.
First, disconnect the OE intake snorkel, I also took off the 2 bolts and 1 nut that hold the intake box to chassis, so it's easier to manipulate everything. Then cut the 2ft pipe into 4 segments, as follow (yes, you'll have a lot extra):
#1 - 3 1/2"
#2 - 2"
#3 - 4 1/4"
#4 - 1 3/4"
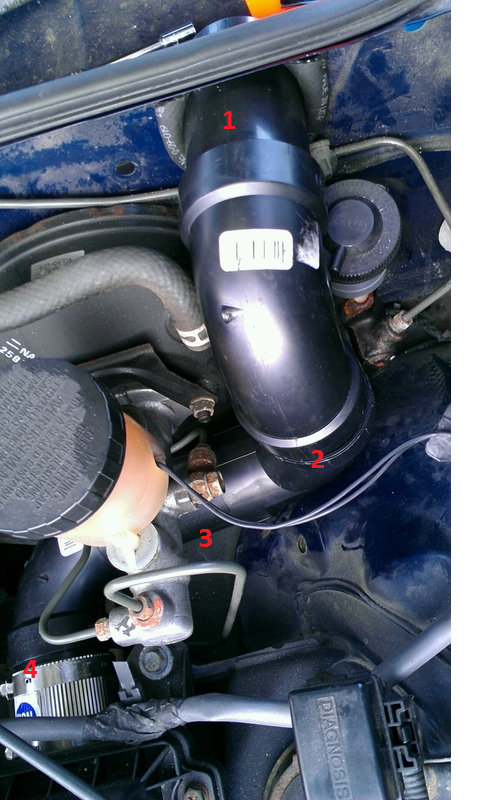
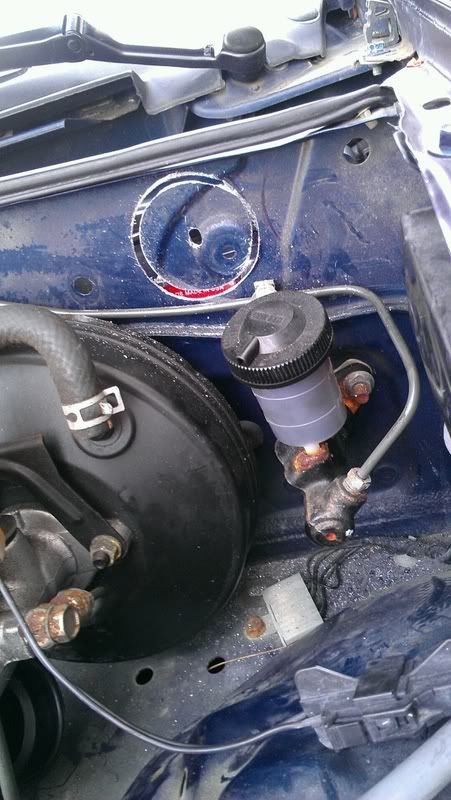
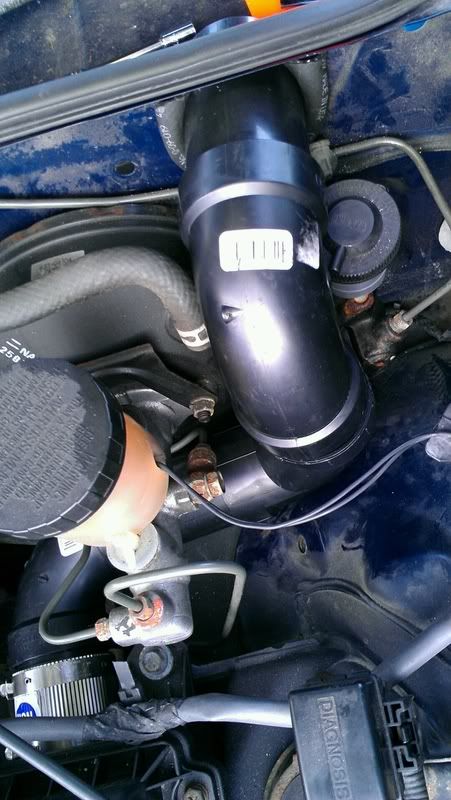
Assemble everything with the exception of segment #1. Just so you can see where the hole needs to be. Make sure you cut a hole so that the plumbing wont put stress on the clutch reservoir. Here's a pic for idea:
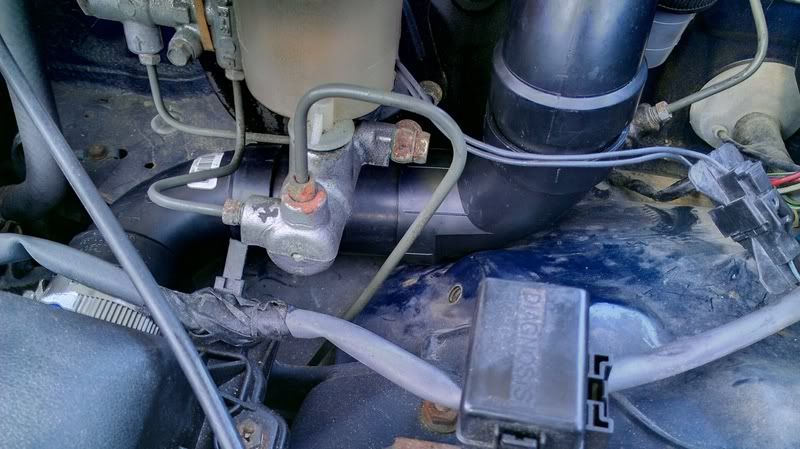
After the hole is cut, you can apply to paint to prevent rust. Also, a Dremel or file can be used to remove the burs after the hole is cut. Then, cut a slit in the 3/8" hose and use it to line the hole. #1 segment will take some elbow grease to get in the hole, it's a snug fit. But, being #1, it can get into any damn hole it wants to. Finished product:
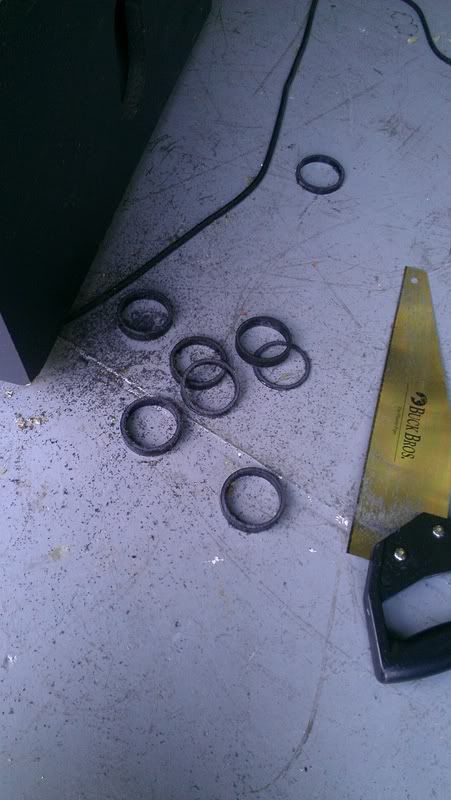
Hopefully you wont have this many rings:
Results: nice throaty rumble near and at WOT, notice hesitation during acceleration is gone, throttle is more responsive. Have fun!
Next up: advance timing by 14*!!
-
The Following 4 Users Say Thank You to 95montego For This Useful Post:
Agent☣Orange (01-22-2014),atank (09-20-2013),NCGreasemonkey (12-23-2015),Phatmiata (09-02-2013)
 Posting Permissions
- You may not post new threads
- You may not post replies
- You may not post attachments
- You may not edit your posts
-
Forum Rules


 Reply With Quote