I figured I'd do a DIY for polishing headlights since I've done it a few times in the past with this method and finally got around to doing it on my NB. Please note, there are headlight restoration products out there but I have never used those and just stuck to this method since it seemed to work for me. You may choose to use those products but I found this easy enough to do and it was essentially free with materials I had laying around.
The method I use is wet sanding the headlights and then polishing them afterwards and then buffing with some polish.
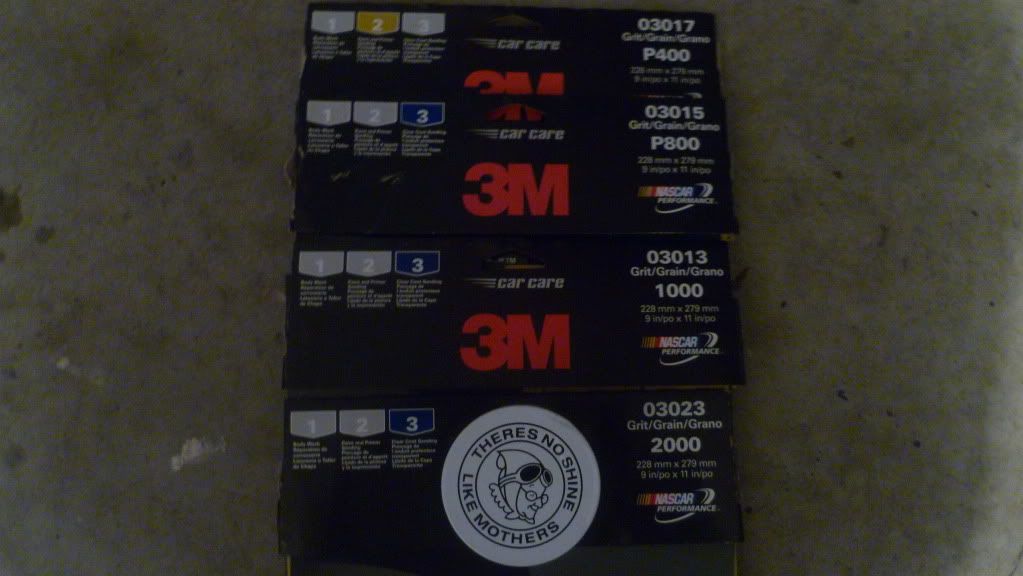
You want to start with a lower grit and work your way up to something very fine. I usually start with some 600grit but I didn't have any this time around so I used 400grit and went all the way up to 2000grit and then finished with some Mother's metal polish.
Make sure to keep the headlight lenses wet at all times while sanding!
Materials:
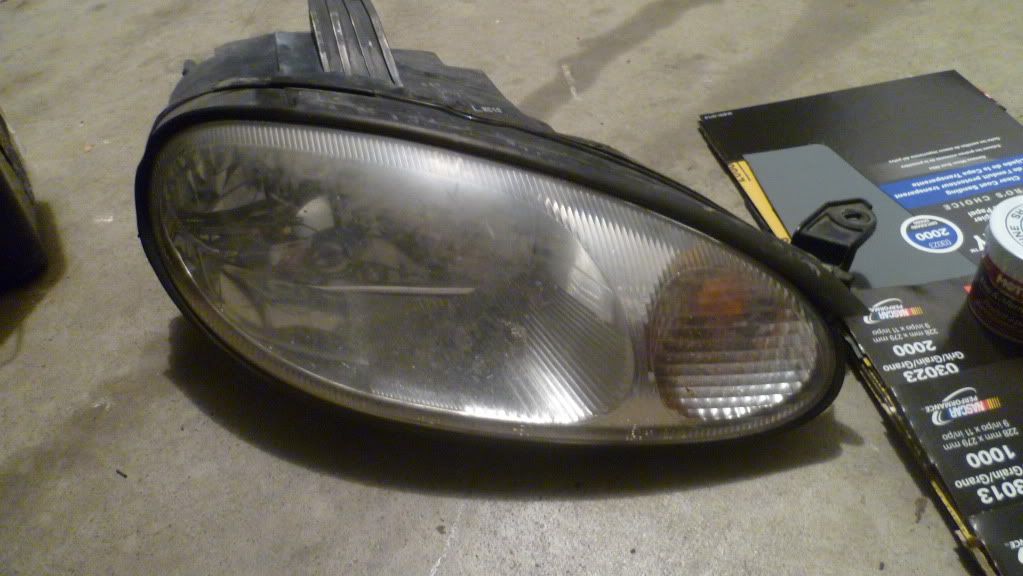
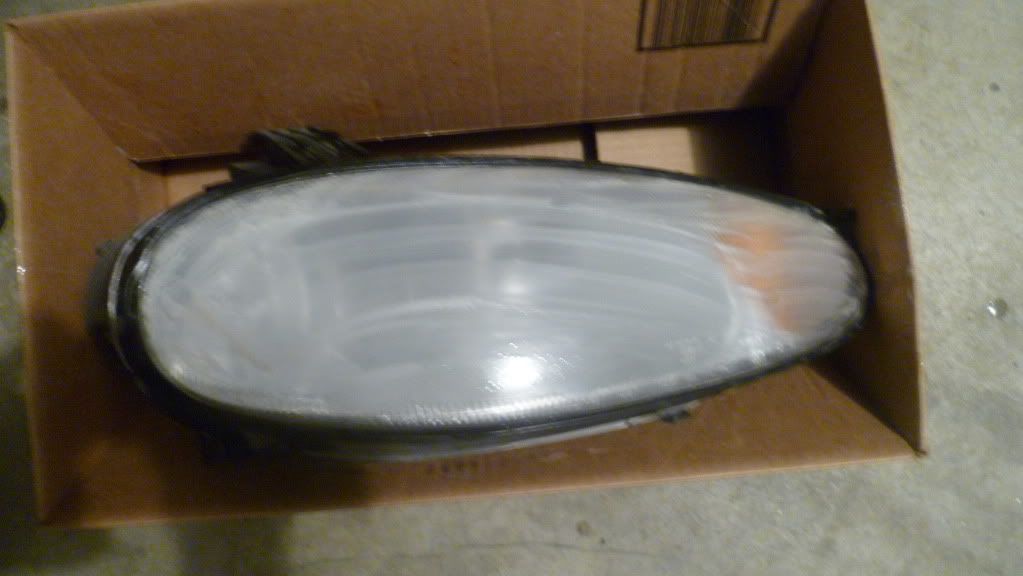
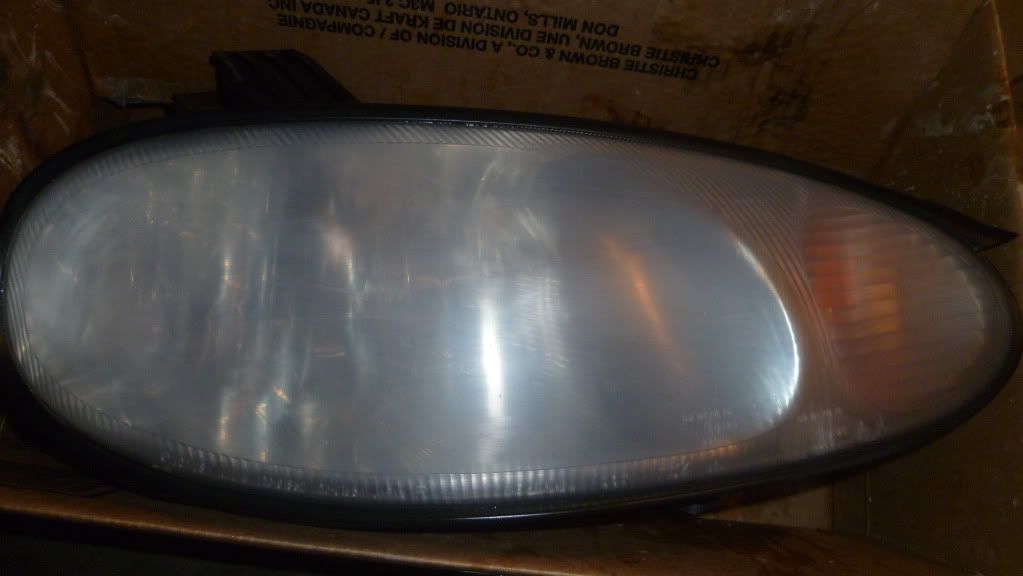
What my headlight looked like before starting:
Step One: You can either begin by masking the headlights off with painter's tape or removing the headlights all together. For this how-to I will be removing the headlights because I was going to bake them later in the evening to black out my housings anyways. If you are going to remove your headlights there are two 10mm bolts holding the headlight in at the top, and then 4 bolts in the center of the car near the hood latch. Undo these 6 bolts, pull the bumper forward a bit and pull the headlights straight out. This may take a bit of work to get the headlights to finally pop out.
Step Two: Get your bucket of water or spray bottle and your lowest grit sandpaper, this time around it was 400 grit but I usually go with 600. While keeping the headlight surface wet sand back and forth in the same direction. You want to use a little bit of pressure but not too much because you will put deeper scratches into the lens. As you continue to do this you will notice a milky residue begin to form, this is what you want to happen because you are basically taking all of that residue off of the lens. You can wipe it down after you've sanded it enough that the entire surface is smooth for the most part.
Here you can see the milky residue:
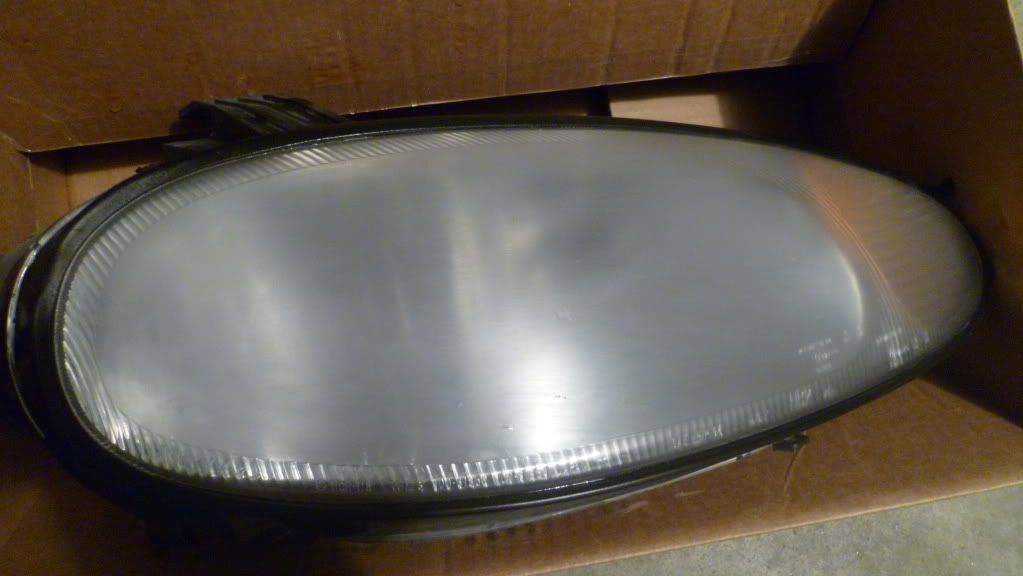
What your headlight will look like after wiping it down after the first step:
Step Three: Repeat step two with your next level up of sand paper, in my case I bumped it up to 800 grit. Continue sanding making sure to keep the surface wet the entire time otherwise you risk gouging your headlights with deeper scratches.
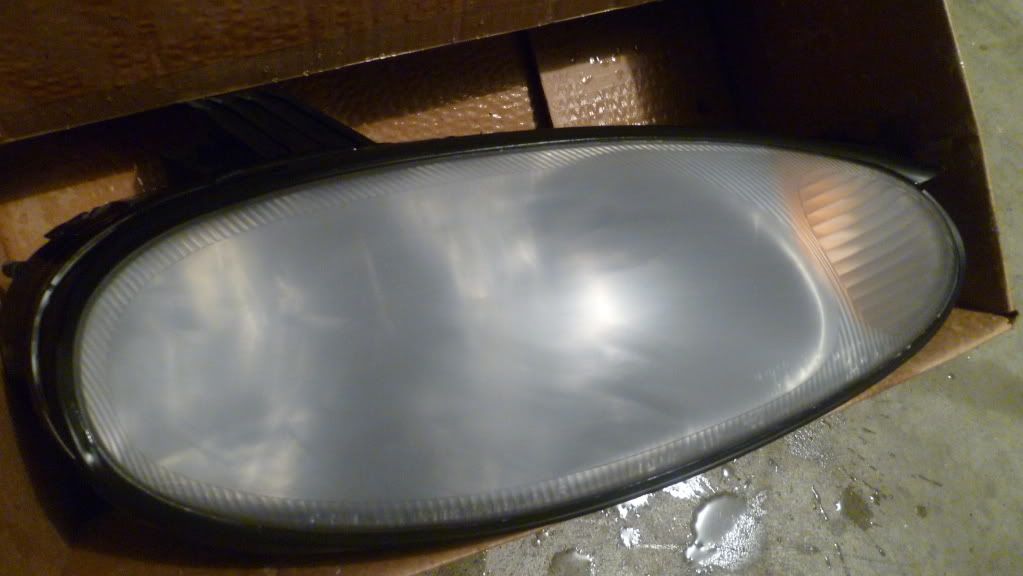
After 800 grit:
Step Four: Now you are getting to the finer stuff with 1000 grit, continue wetsanding it again until you don't see as much of that milky residue coming off of the headlights.
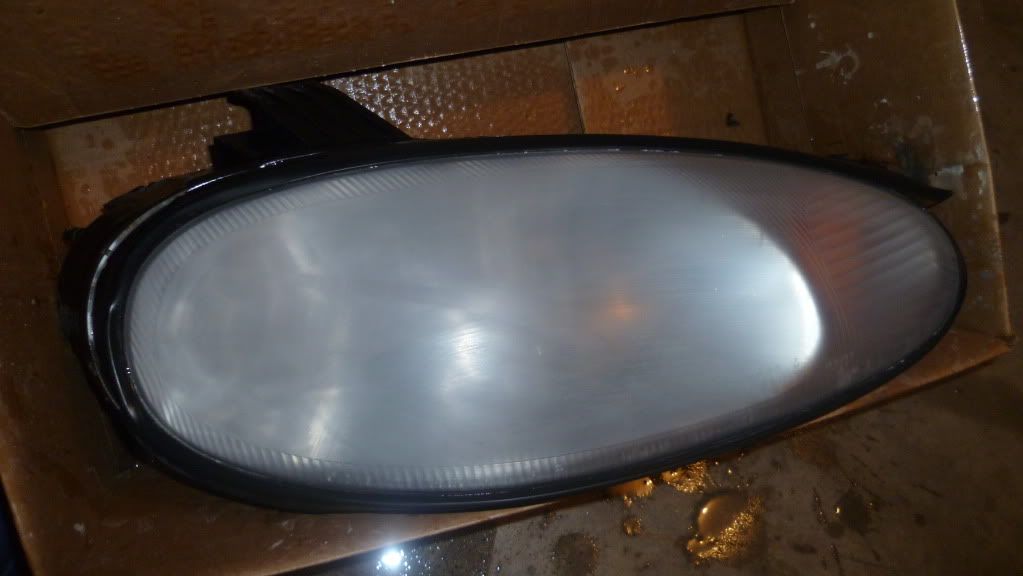
After 1000 grit, notice how you can see a couple spots where there are more obvious streaks? This is because of two things, I didn't wet the surface enough and I pushed down a bit too hard in those sections, you want to avoid doing that because it leads to more work later trying to get a perfectly clear finish:
Step Five: I finished my sanding with 2000grit sandpaper. Follow the same method as before ensuring to keep the surface wet the entire time and keep sanding until you don't see anymore of that residue forming (for the most part).
After 2000 grit:
Step Six: Now you want to polish the lenses. Grab a microfiber cloth and your polishing compound, apply the compound to a small section of the headlight with the microfiber, buffing in a circular motion until you see a faint black film beginning to form. Now buff the compound off with a clean microfiber and repeat for the rest of the headlight.
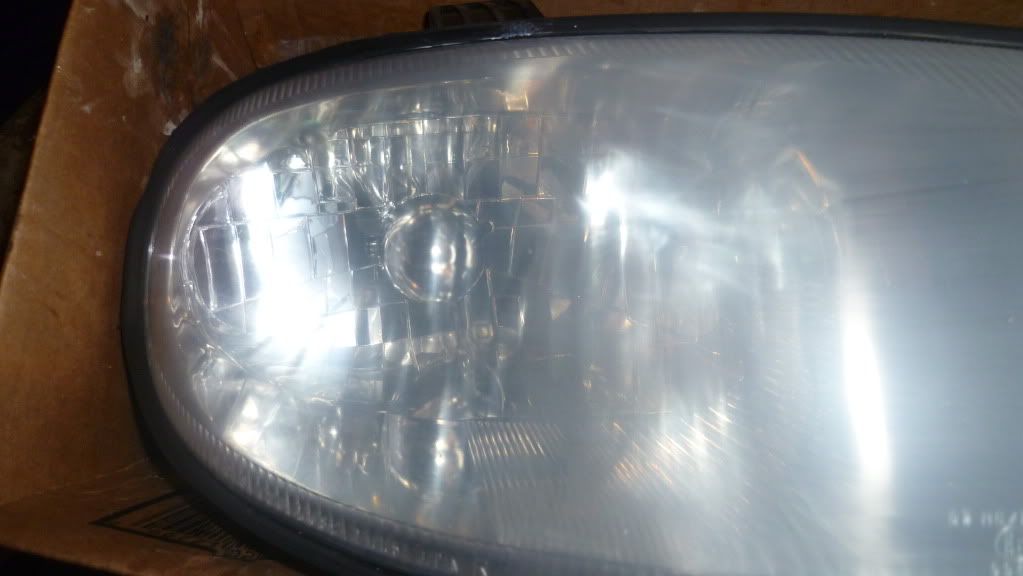
Here you can see where I buffed the headlight in one section, the finish it gives:
Step Seven: After using the polishing compound on the entire headlight you may want to add a layer of wax to it just to give it that extra shine.
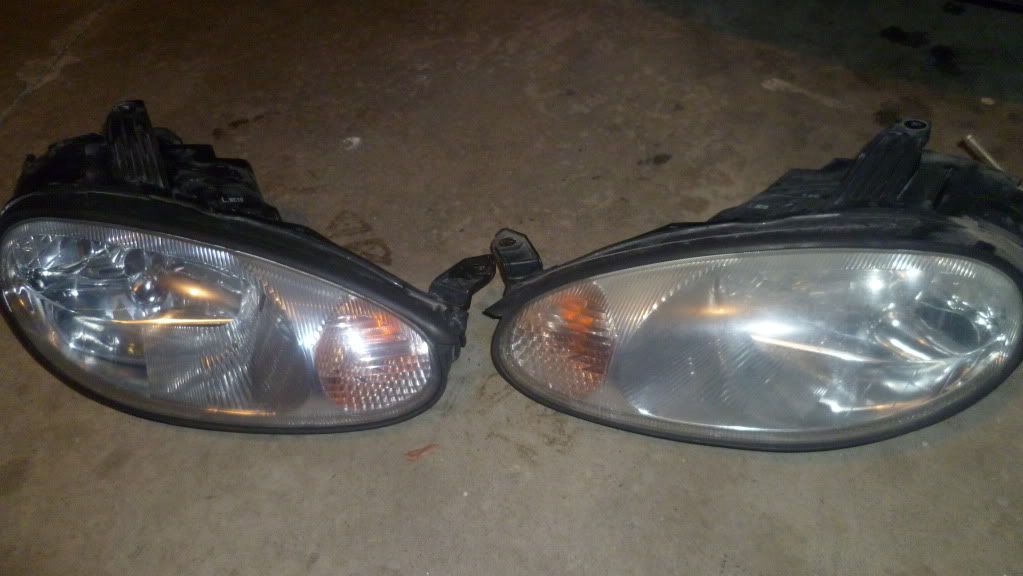
Here's a picture showing one headlight completed and the other not:
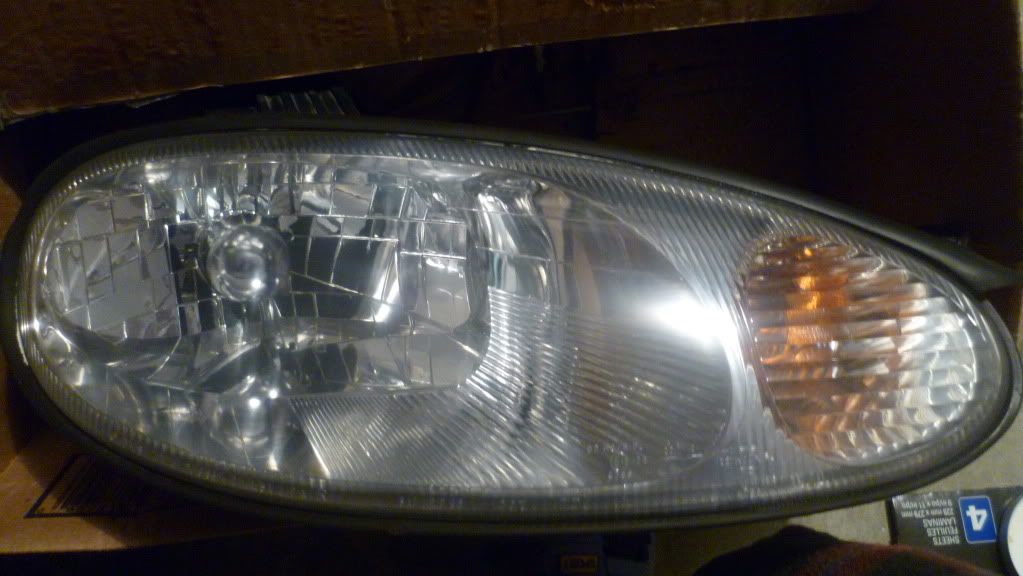
Before and After:
Hopefully this helps you clean up your headlight lenses a bit if they've become cloudy like mine were!


 Reply With Quote